Note
Access to this page requires authorization. You can try signing in or changing directories.
Access to this page requires authorization. You can try changing directories.
Automated Deployments streamline the process of setting up a GitHub Action or Azure DevOps Pipeline, making it easy to create a continuous deployment pipeline for your application to Azure Kubernetes Service (AKS). Once connected, every new commit automatically triggers the pipeline, delivering updates to your application seamlessly. You can either bring your own deployment files for quick pipeline creation or generate Dockerfiles and Kubernetes manifests to containerize and deploy non-containerized applications with minimal effort.
Prerequisites
- A GitHub account or an Azure DevOps organization.
- An AKS cluster. If you don't have one, you can create one using the steps in Deploy an Azure Kubernetes Service (AKS) cluster.
- An Azure Container Registry (ACR). If you don't have one, you can create one using the steps in Integrate Azure Container Registry (ACR) with an Azure Kubernetes Service (AKS) cluster.
- An application to deploy.
Connect to source code repository
Create an automated deployment workflow and authorize it to connect to the desired source code repository.
- In the Azure portal, navigate to your AKS cluster resource.
- From the service menu, under Settings, select Automated deployments > Create.
- Under Repository details, enter a name for the workflow, then select GitHub or ADO for your repository location.
- Select Authorize access to connect to the desired repository.
- Choose the Repository and Branch, and then select Next.
Choose the container image configuration
To get an application ready for Kubernetes, you need to build it into a container image and store it in a container registry. You use a Dockerfile to provide instructions on how to build the container image. If your source code repository doesn't already have a Dockerfile, Automated Deployments can generate one for you. Otherwise, you can use an existing Dockerfile.
Use Automated Deployments to generate a Dockerfile for many languages and frameworks such as Go, C#, Node.js, Python, Java, Gradle, Clojure, PHP, Ruby, Erlang, Swift, and Rust. The language support is built on what's available in draft.sh.
- Select Auto-containerize (generate Dockerfile) for the container configuration.
- Select the location of where to save the generated Dockerfile in the repository.
- Select the application environment from the list of supported languages and frameworks.
- Enter the application port.
- Provide the Dockerfile build context path.
- Select an existing Azure Container Registry or create a new one. This registry is used to store the built application image.
Choose the Kubernetes manifest configuration
Note
The Generate Manifests option also supports advanced features like Service Connector integration, auto-generated Ingress resources, and more detailed, customizable Kubernetes manifest files.
An application running on Kubernetes consists of many Kubernetes primitive components. These components describe what container image to use, how many replicas to run, if there's a public IP required to expose the application, etc. For more information, see the official [Kubernetes documentation][kubernetes-documentation]. If your source code repository doesn't already have the basic Kubernetes manifests to deploy, Automated Deployments can generate them for you. Otherwise, you can use a set of existing manifests. You can also choose an existing Helm chart.
If your code repository already has a Dockerfile, you can select it to be used to build the application image.
- Select Use existing Kubernetes manifest deployment files for the deployment options.
- Select the Kubernetes manifest file or folder from your repository.
- Select Next.
(Optional) Add environment variables
Define environment variables for a container in Kubernetes by specifying name-value pairs. Environment variables are important as they help enable easier management of settings, secure handling of sensitive information, and flexibility across environments.
Review configuration and deploy
Review the configuration for the application, and Kubernetes manifests, then select Deploy. A pull request (PR) will be generated against the repository that you selected, so don't navigate away from deployment page.
Review and merge pull request
When the deployment succeeds, select View pull request to view the details of the generated pull request on your code repository.
- Review the changes under Files changed and make any desired edits.
- Select Merge pull request to merge the changes into your code repository.
Merging the change runs the GitHub Actions workflow that builds your application into a container image, stores it in Azure Container Registry, and deploys it to the cluster.
Check the deployed resources
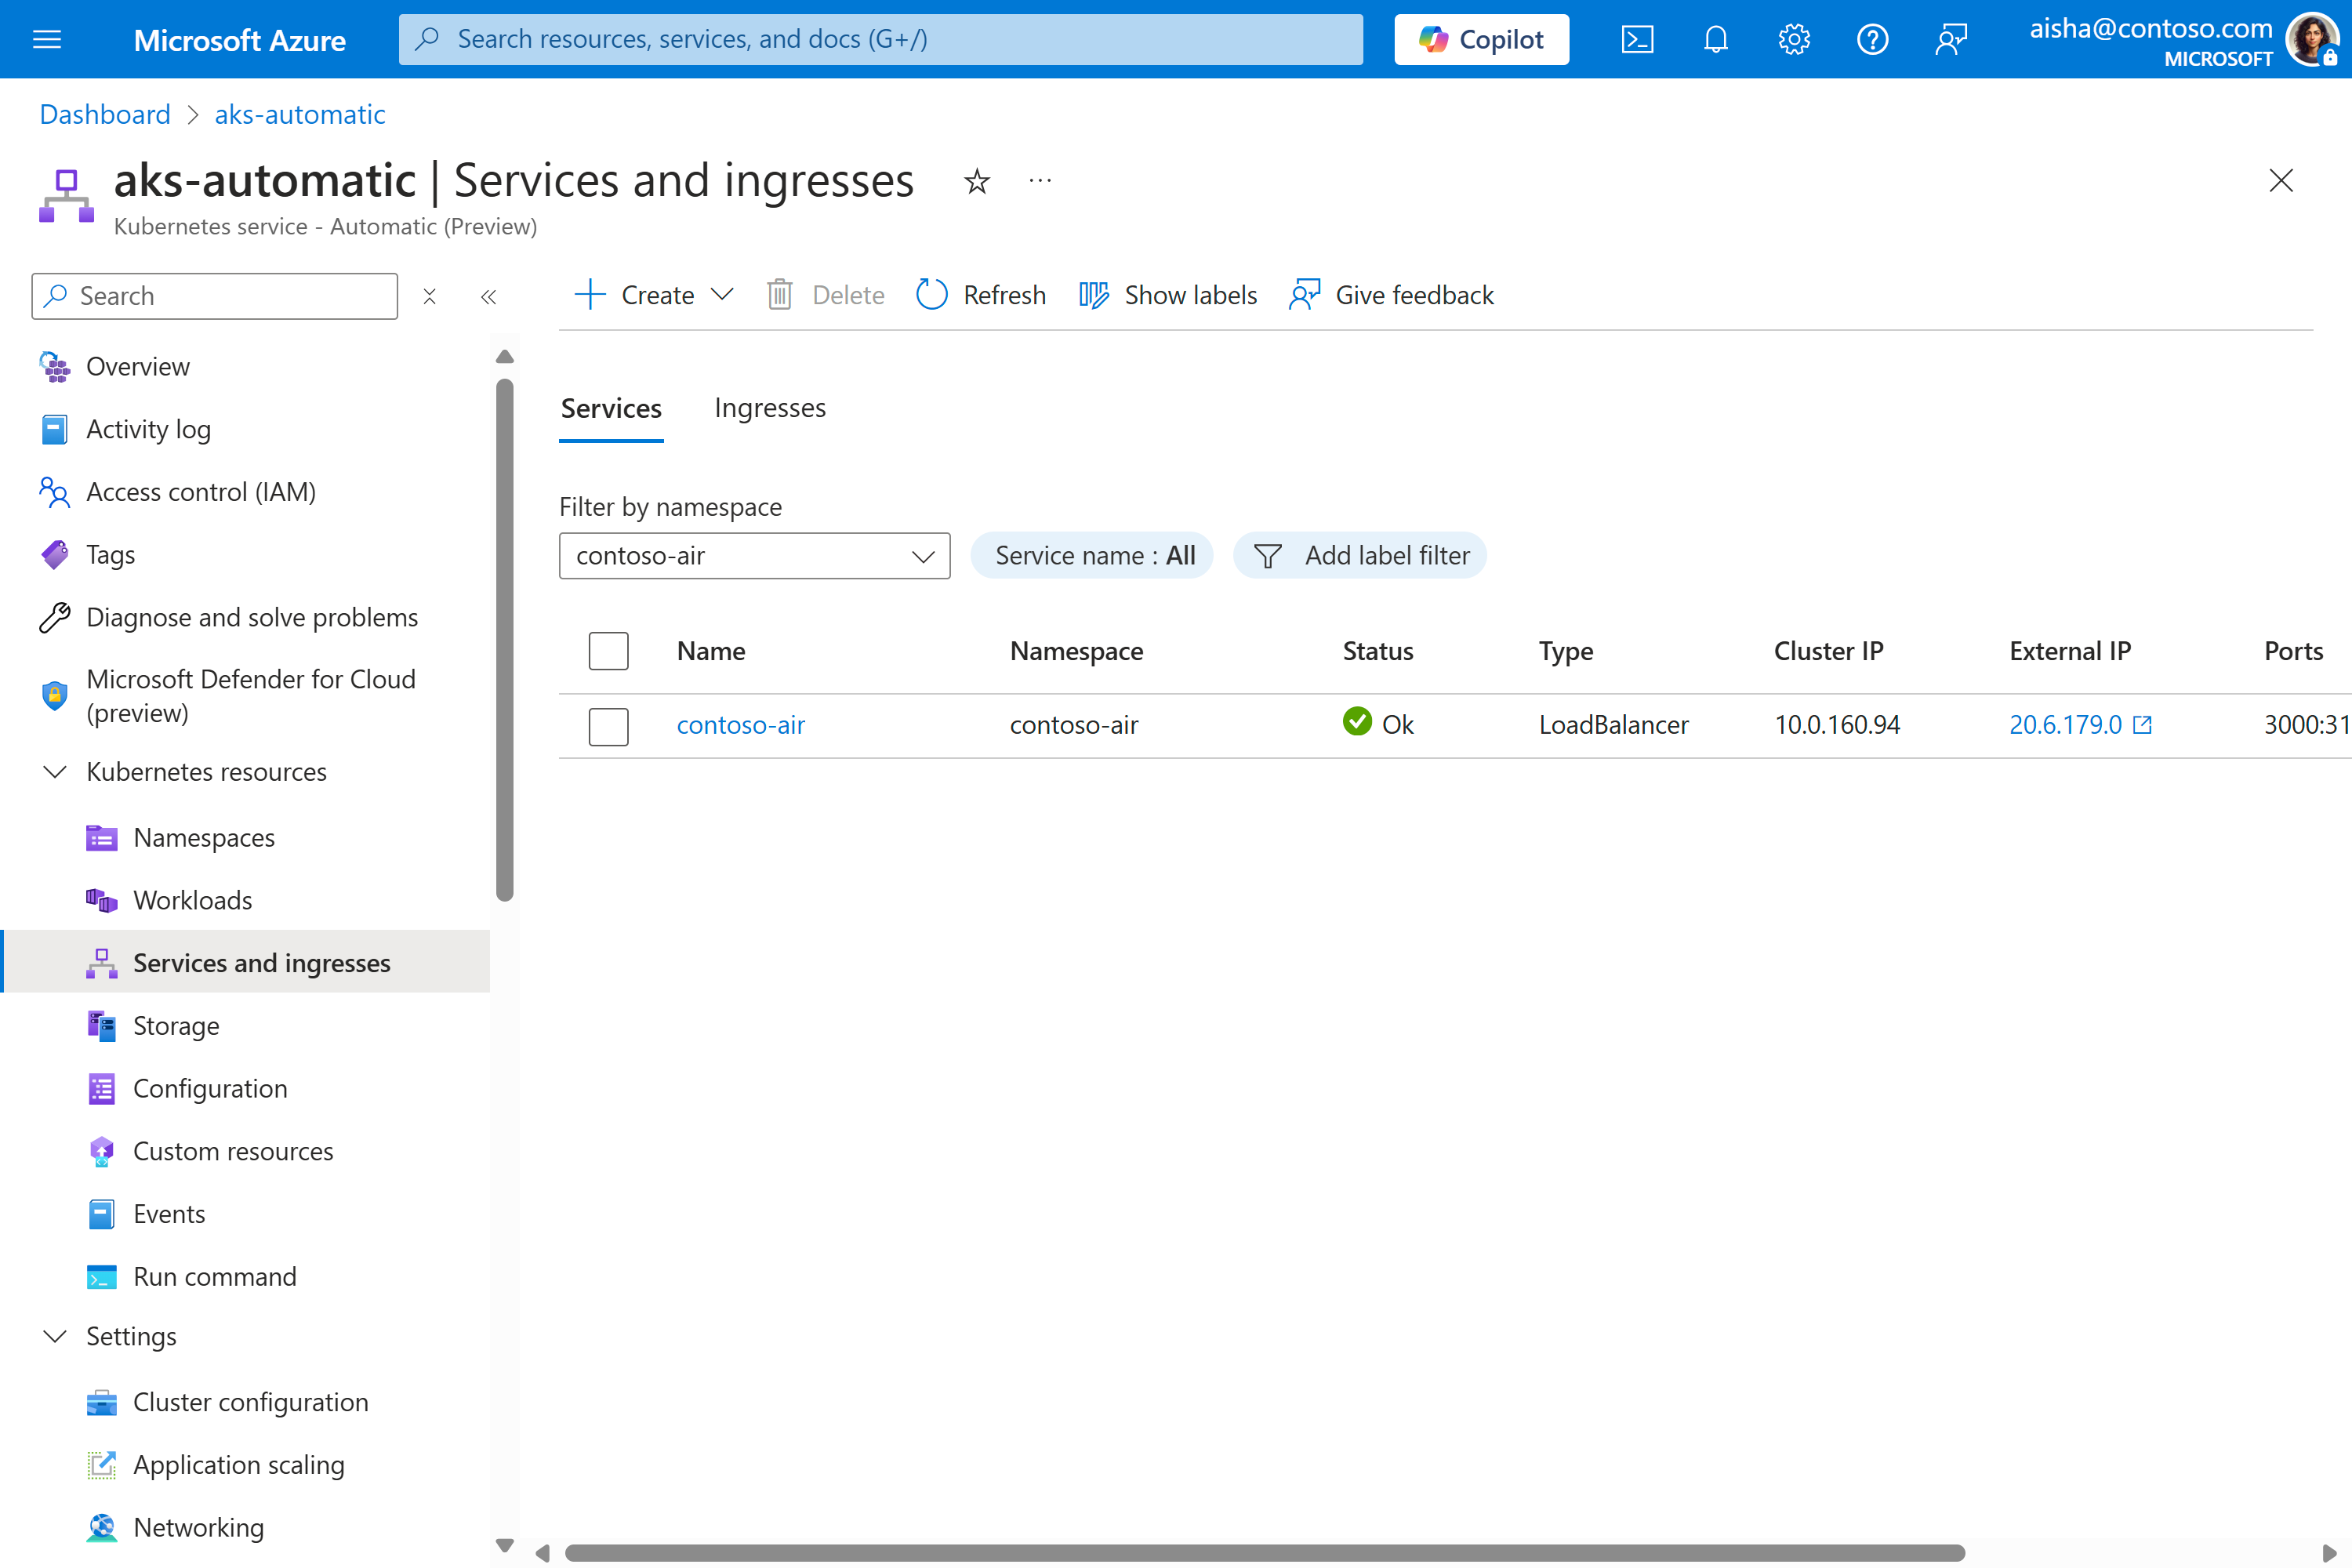
After the pipeline is completed, you can review the created Kubernetes Service in the Azure portal by selecting Services and ingresses under the Kubernetes resources section of the service menu.
Selecting the External IP should open up a new browser page with the running application.
Delete resources
Once you're done with your cluster, use the following steps to delete it to avoid incurring Azure charges:
- In the Azure portal, navigate to Automated deployments
- Select ... on the pipeline of your choice.
- Select Delete.


