Note
Access to this page requires authorization. You can try signing in or changing directories.
Access to this page requires authorization. You can try changing directories.
Data from App Configuration can be loaded as App Settings in a .NET Framework application. For more information, see the quickstart. However, as is designed by the .NET Framework, the App Settings can only refresh upon application restart. The App Configuration .NET provider is a .NET Standard library. It supports caching and refreshing configuration dynamically without application restart. This tutorial shows how you can implement dynamic configuration updates in an ASP.NET Web Forms application. The same technique applies to .NET Framework MVC applications.
In this tutorial, you learn how to:
- Set up your ASP.NET web application to update its configuration in response to changes in an App Configuration store.
- Inject the latest configuration in requests to your application.
Prerequisites
- An Azure account with an active subscription. Create one for free.
- An App Configuration store, as shown in the tutorial for creating a store.
- Visual Studio
- .NET Framework 4.7.2 or later
Add key-values
Add the following key-values to the App Configuration store and leave Label and Content Type with their default values. For more information about how to add key-values to a store using the Azure portal or the CLI, go to Create a key-value.
| Key | Value |
|---|---|
| TestApp:Settings:BackgroundColor | White |
| TestApp:Settings:FontColor | Black |
| TestApp:Settings:FontSize | 40 |
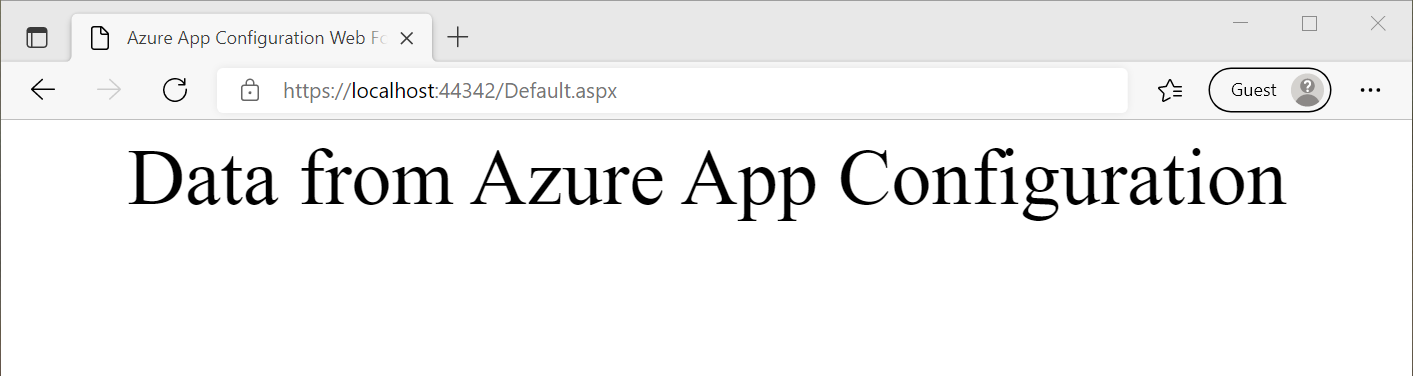
| TestApp:Settings:Message | Data from Azure App Configuration |
Create an ASP.NET Web Application
Start Visual Studio and select Create a new project.
Select ASP.NET Web Application (.NET Framework) with C# from the project template list and press Next.
In Configure your new project, enter a project name. Under Framework, select .NET Framework 4.7.2 or higher. Press Create.
In Create a new ASP.NET Web Application, select Web Forms. Press Create.
Reload data from App Configuration
Right-click your project and select Manage NuGet Packages. On the Browse tab, search and add the latest version of the following NuGet packages to your project.
- Microsoft.Extensions.Configuration.AzureAppConfiguration
- Azure.Identity
Open Global.asax.cs file and add following namespaces.
using Azure.Identity; using Microsoft.Extensions.Configuration; using Microsoft.Extensions.Configuration.AzureAppConfiguration;Add the following static member variables to the
Globalclass.public static IConfiguration Configuration; private static IConfigurationRefresher _configurationRefresher;Add an
Application_Startmethod to theGlobalclass. If the method already exists, add the following code to it.protected void Application_Start(object sender, EventArgs e) { ConfigurationBuilder builder = new ConfigurationBuilder(); builder.AddAzureAppConfiguration(options => { string endpoint = Environment.GetEnvironmentVariable("Endpoint"); options.Connect(new Uri(endpoint), new DefaultAzureCredential()) // Load all keys that start with `TestApp:` and have no label. .Select("TestApp:*") // Reload configuration if any selected key-values have changed. .ConfigureRefresh(refresh => { refresh.RegisterAll() .SetRefreshInterval(new TimeSpan(0, 5, 0)); }); _configurationRefresher = options.GetRefresher(); }); Configuration = builder.Build(); }The
Application_Startmethod is called upon the first request to your web application. It is called only once during the application's life cycle. As such it is a good place to initialize yourIConfigurationobject and load data from App Configuration.Inside the
ConfigureRefreshmethod, you call theRegisterAllmethod to instruct the App Configuration provider to reload the entire configuration whenever it detects a change in any of the selected key-values (those starting with TestApp: and having no label). For more information about monitoring configuration changes, see Best practices for configuration refresh.The
SetRefreshIntervalmethod specifies the minimum time that must elapse before a new request is made to App Configuration to check for any configuration changes. In this example, you override the default expiration time of 30 seconds, specifying a time of 5 minutes instead. It reduces the potential number of requests made to your App Configuration store.Add an
Application_BeginRequestmethod to theGlobalclass. If the method already exists, add the following code to it.protected void Application_BeginRequest(object sender, EventArgs e) { _ = _configurationRefresher.TryRefreshAsync(); }Calling the
ConfigureRefreshmethod alone won't cause the configuration to refresh automatically. You call theTryRefreshAsyncmethod at the beginning of every request to signal a refresh. This design ensures your application only sends requests to App Configuration when it is actively receiving requests.Calling
TryRefreshAsyncis a no-op before the configured refresh interval elapses, so its performance impact is minimal. When a request is made to App Configuration, as you don't wait on the task, the configuration is refreshed asynchronously without blocking the execution of the current request. The current request may not get the updated configuration values, but subsequent requests will do.If the call
TryRefreshAsyncfails for any reason, your application will continue to use the cached configuration. Another attempt will be made when the configured refresh interval has passed again, and theTryRefreshAsynccall is triggered by a new request to your application.
Use the latest configuration data
Open Default.aspx and replace its content with the following markup. Make sure the Inherits attribute matches the namespace and the class name of your application.
<%@ Page Language="C#" AutoEventWireup="true" CodeBehind="Default.aspx.cs" Inherits="WebFormApp.Default" %>

<!DOCTYPE html>

<html xmlns="http://www.w3.org/1999/xhtml">
<head runat="server">
    <title>Azure App Configuration Web Forms Demo</title>
</head>
<body id="body" runat="server">
    <form id="form1" runat="server">
        <div style="text-align: center">
            <asp:Label ID="message" runat="server" />
        </div>
    </form>
</body>
</html>
Open Default.aspx.cs and update it with the following code.
using System;
using System.Web.UI.WebControls;

namespace WebFormApp
{
    public partial class Default : System.Web.UI.Page
    {
        protected void Page_Load(object sender, EventArgs e)
        {
            // Read configuration from the IConfiguration object loaded from Azure App Configuration
            string messageText = Global.Configuration["TestApp:Settings:Message"] ?? "Please add the key \"TestApp:Settings:Message\" in your Azure App Configuration store.";
            string messageFontSize = Global.Configuration["TestApp:Settings:FontSize"] ?? "20";
            string messageFontColor = Global.Configuration["TestApp:Settings:FontColor"] ?? "Black";
            string backgroundColor = Global.Configuration["TestApp:Settings:BackgroundColor"] ?? "White";

            message.Text = messageText;
            message.Font.Size = FontUnit.Point(int.Parse(messageFontSize));
            message.ForeColor = System.Drawing.Color.FromName(messageFontColor);
            body.Attributes["bgcolor"] = backgroundColor;
        }
    }
}
Build and run the application
Set an environment variable.
Set an environment variable named
Endpointto the endpoint of your App Configuration store found under the Overview of your store in the Azure portal.If you use the Windows command prompt, run the following command and restart the command prompt to allow the change to take effect:
setx Endpoint "<AppConfigurationEndpoint>"If you use PowerShell, run the following command:
$Env:Endpoint = "<AppConfigurationEndpoint>"If you use macOS or Linux, run the following command:
export Endpoint='<AppConfigurationEndpoint>'Restart Visual Studio to allow the change to take effect.
Press Ctrl + F5 to build and run the web application.
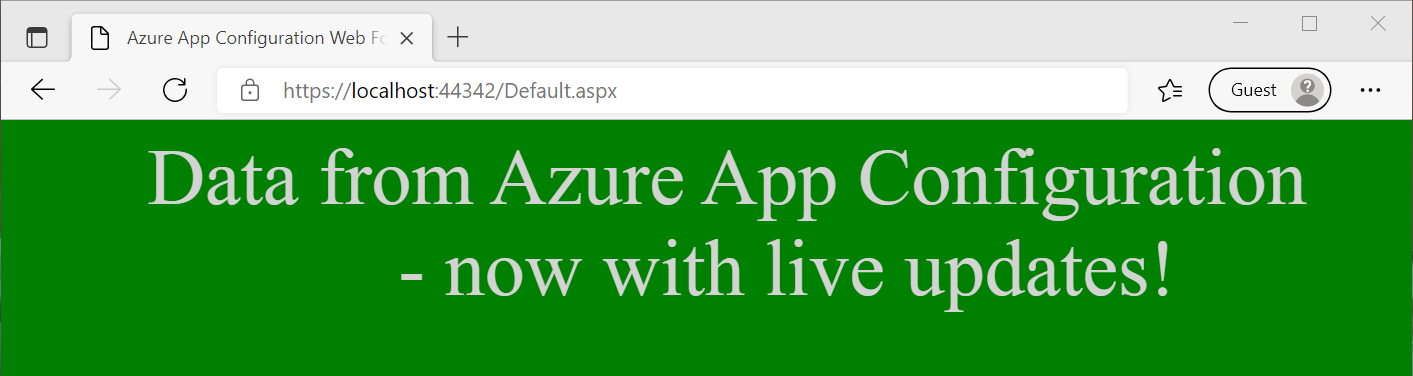
In the Azure portal, navigate to the Configuration explorer of your App Configuration store, and update the value of the following keys.
Key Value TestApp:Settings:BackgroundColor Green TestApp:Settings:FontColor LightGray TestApp:Settings:Message Data from Azure App Configuration - now with live updates! Refresh the browser page to see the new configuration settings. You may need to refresh more than once for the changes to be reflected or change your refresh interval to less than 5 minutes.
Note
You can download the example code used in this tutorial from the Azure App Configuration GitHub repo.
Clean up resources
If you don't want to continue using the resources created in this article, delete the resource group you created here to avoid charges.
Important
Deleting a resource group is irreversible. The resource group and all the resources in it are permanently deleted. Ensure that you don't accidentally delete the wrong resource group or resources. If you created the resources for this article inside a resource group that contains other resources you want to keep, delete each resource individually from its respective pane instead of deleting the resource group.
- Sign in to the Azure portal, and select Resource groups.
- In the Filter by name box, enter the name of your resource group.
- In the result list, select the resource group name to see an overview.
- Select Delete resource group.
- You're asked to confirm the deletion of the resource group. Enter the name of your resource group to confirm, and select Delete.
After a few moments, the resource group and all its resources are deleted.
Next steps
In this tutorial, you enabled your ASP.NET Web Forms application to dynamically refresh configuration settings from App Configuration. To learn how to enable dynamic configuration in a .NET Framework app, continue to the next tutorial:
To learn how to use an Azure managed identity to streamline the access to App Configuration, continue to the next tutorial: