Note
Access to this page requires authorization. You can try signing in or changing directories.
Access to this page requires authorization. You can try changing directories.
Choose the hosting environment for your containerized function app at the top of this article.
If you want to jump right in, the following article shows you how to create your first function in a Linux container and deploy the image from a container registry to a supported Azure hosting service:
Important
This article currently shows how to connect to the default storage account by using a connection string. For the best security, instead create a managed identity-based connection to Azure Storage using Microsoft Entra authentication. For more information, see Connections.
Create containerized function apps
Functions makes it easy to deploy and run your function apps as Linux containers, which you create and maintain.
Important
When you create your own containers, you're required to keep the base image of your container updated to the latest supported base image. Supported base images for Azure Functions are language-specific. See the Azure Functions base image repos.
The Functions team is committed to publishing monthly updates for these base images. Regular updates include the latest minor version updates and security fixes for both the Functions runtime and languages. You should regularly update your container from the latest base image and redeploy the updated version of your container.
For a complete example of how to create the local containerized function app from the command line and publish the image to a container registry, see Create a function app in a local Linux container.
Generate the Dockerfile
Functions tooling provides a Docker option that generates a Dockerfile with your functions code project. You can use this file with Docker to create your functions in a container that derives from the correct base image, which includes language and version.
The way you create a Dockerfile depends on how you create your project.
When you create a Functions project using Azure Functions Core Tools, include the
--dockeroption when you run thefunc initcommand, as in the following example:func init --dockerYou can also add a Dockerfile to an existing project by using the
--docker-onlyoption when you run thefunc initcommand in an existing project folder, as in the following example:func init --docker-only
For a complete example, see Create a function app in a local Linux container.
Create your function app in a container
With a Functions-generated Dockerfile in your code project, you can use Docker to create the containerized function app on your local computer. The following docker build command creates an image of your containerized functions from the project in the local directory:
docker build --tag <DOCKER_ID>/<IMAGE_NAME>:v1.0.0 .
For an example of how to create the container, see Build the container image and verify locally.
Update an image in the registry
When you make changes to your functions code project or need to update to the latest base image, rebuild the container locally. Republish the updated image to your chosen container registry. The following command rebuilds the image from the root folder with an updated version number and pushes it to your registry:
az acr build --registry <REGISTRY_NAME> --image <LOGIN_SERVER>/azurefunctionsimage:v1.0.1 .
Replace <REGISTRY_NAME> with your Container Registry instance and <LOGIN_SERVER> with the sign-in server name.
Update an existing deployment to use the new image. You can update the function app to use the new image either by using the Azure CLI or in the Azure portal:
az functionapp config container set --image <IMAGE_NAME> --registry-password <SECURE_PASSWORD>--registry-username <USER_NAME> --name <APP_NAME> --resource-group <RESOURCE_GROUP>
In this example, <IMAGE_NAME> is the full name of the new image with version. Private registries require you to supply a username and password. Store these credentials securely.
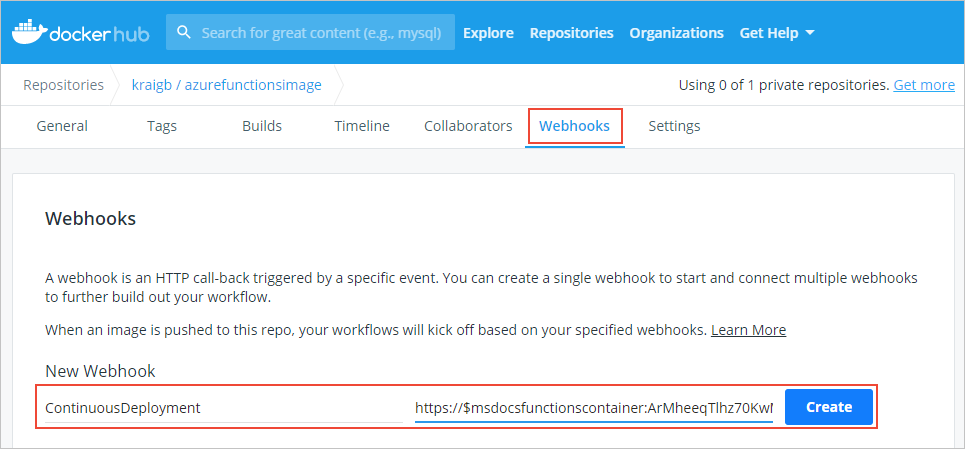
You should also consider enabling continuous deployment.
Work with images in Azure Functions
When your function app container is deployed from a registry, Functions maintains information about the source image.
Use the following commands to get data about the image or change the deployment image used:
az functionapp config container show: returns information about the image used for deployment.az functionapp config container set: change registry settings or update the image used for deployment, as shown in the previous example.

