Note
Access to this page requires authorization. You can try signing in or changing directories.
Access to this page requires authorization. You can try changing directories.
The Alerts page summarizes all alert instances in all your Azure resources generated in the last 30 days. Alerts are stored for 30 days and are automatically deleted after the 30-day retention period.
For stateful alerts, while the alert itself is deleted after 30 days, and isn't viewable on the alerts page, the alert condition is stored until the alert is resolved, to prevent firing another alert, and so that notifications can be sent when the alert is resolved. For more information, see Alerts and state.
Access the Alerts page
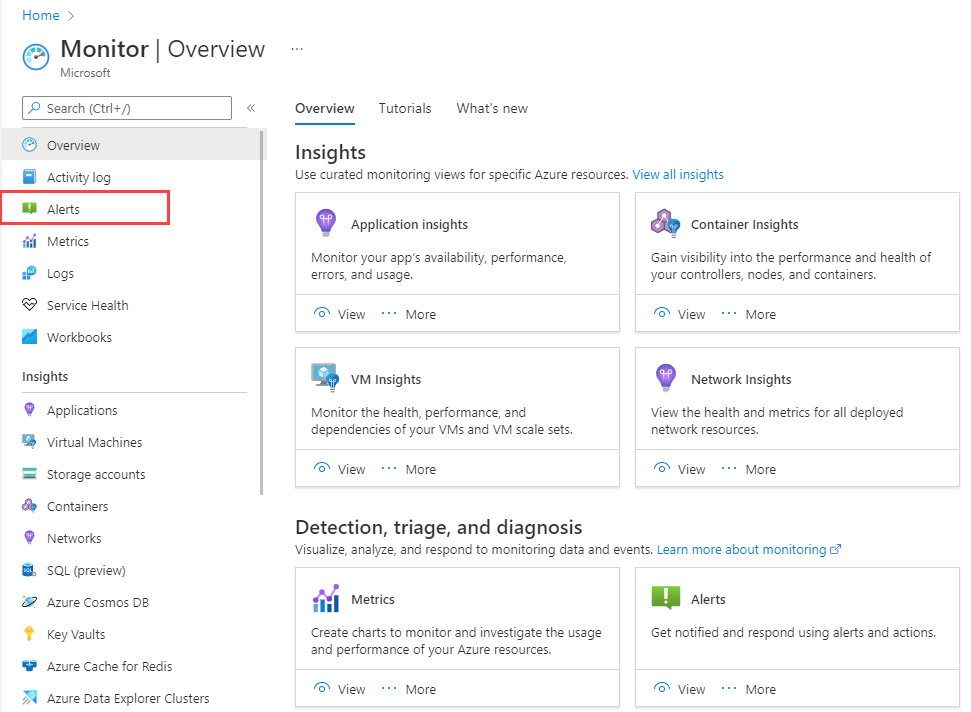
You can get to the Alerts page in a few ways:
From the home page in the Azure portal, select Monitor > Alerts.
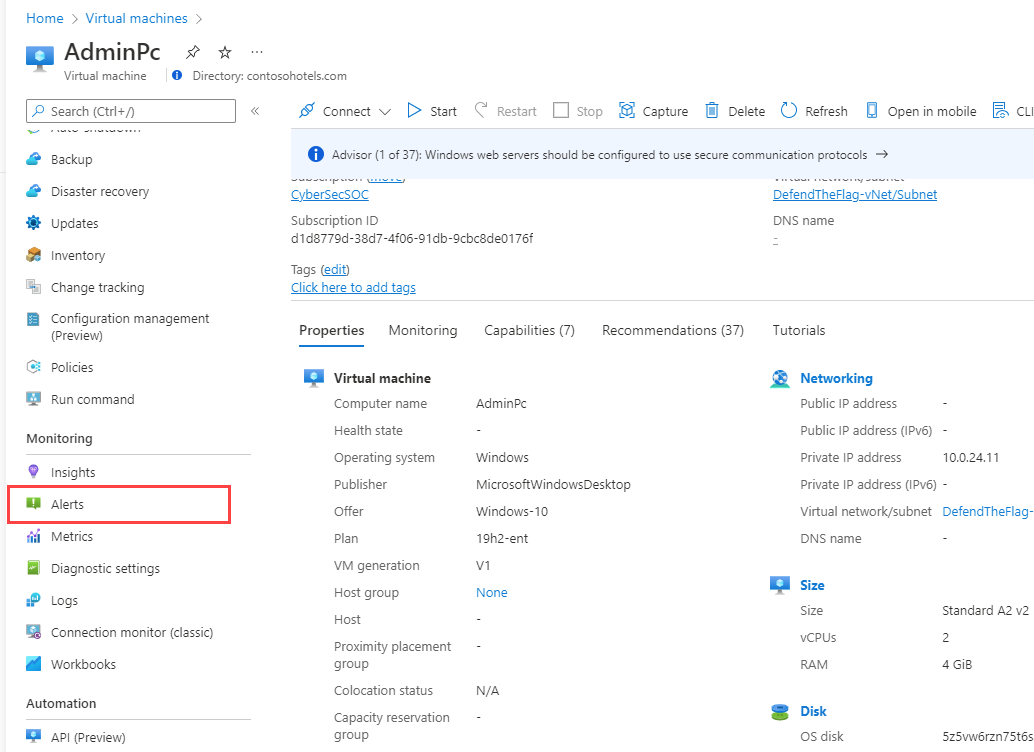
From a specific resource, go to the Monitoring section and select Alerts. The page that opens contains the alerts for the specific resource.
Alerts summary pane
The Alerts summary pane summarizes the alerts fired in the last 24 hours. You can filter the list of alert instances by Time range, Subscription, Alert condition, Severity, and more. If you selected a specific alert severity to open the Alerts page, the list is prefiltered for that severity.
To see more information about a specific alert instance, select the alert instance to open the Alert details page.

Note
You cannot delete alert instances manually due correlational integrity reasons even if the parent resource alert rule was previously deleted. There is no feature functionality available to delete an alert instance. Instead, you can update the alert state and then filter based on alert state to remove those alerts from your view until you naturally expunge from the system after 30 days.
View alerts as a timeline (preview)
You can see your alerts in a timeline view. In this view, you can see the number of alerts fired in a specific time range. The timeline shows you which resource the alerts were fired on to give you context of the alert in your Azure hierarchy. The alerts are grouped by the time they were fired. You can filter the alerts by severity, resource, and more. You can also select a specific time range to see the alerts fired in that time range.

To see the alerts in a timeline view, select View as timeline at the top of the Alerts summary page. You can choose to see the alerts timeline with the severity of the alerts indicated by color, or a simplified view with critical or noncritical alerts.

You can drill down into a specific time range. Select one of the cards in the timeline to see the alerts fired in that time range.

Customize the timeline view
You can customize the timeline view to suit your needs by changing the grouping of your alerts.
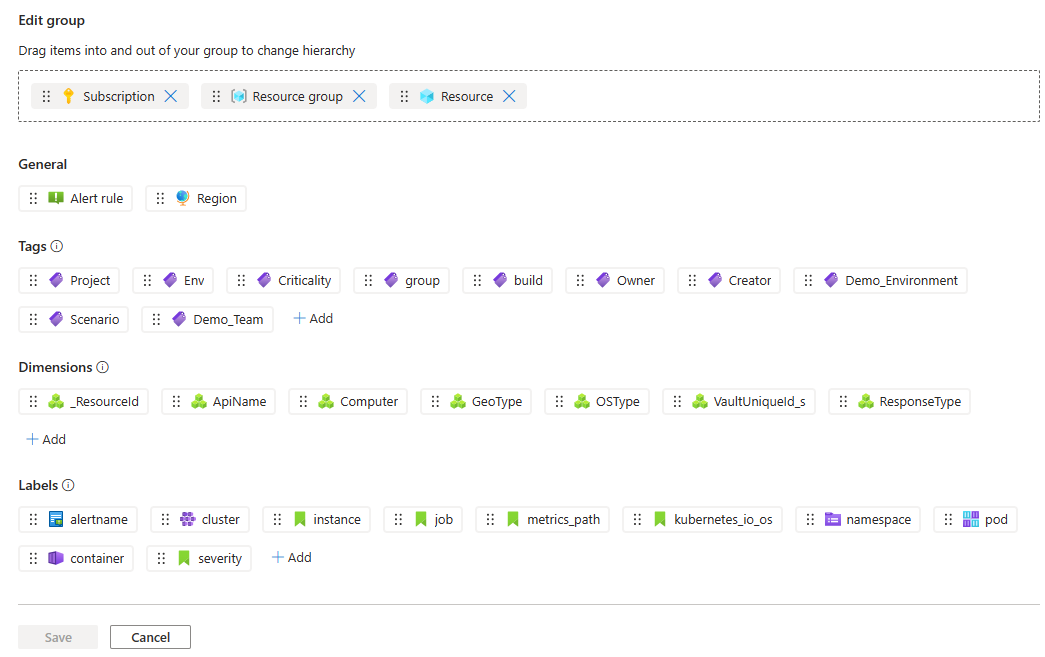
From the timeline view of the alerts page, select the Edit icon in the groups box at the top of the page.

In the Edit group pane, drag and drop the fields to group by. You can change the order of the groupings, and add new dimensions, tags, labels, and more. Validation is run on the grouping to make sure that the grouping is valid. If you are at the alerts page for a specific resource, the options for grouping are filtered by that resource, and you can only group by items related to the resource.
For AKS clusters, we provide suggested views based on popular groupings.
Select Save.
The timeline displays the alerts grouped by the fields you selected. Alerts that don't logically belong in the grouping you selected are listed in a group called Other.
When you have the grouping you want, select Save view to save the view.

Manage timeline views
You can save up to 10 views of the alerts timeline. The default view is the Azure default view.
- From the main Alerts page, select Manage views to see the list of views you saved.
- Select Save view as to save a new view.
- Mark a view as Favorite to see that view every time you come to the Alerts page.
- Select Browse all views to see all the views you saved, select a favorite view, or delete a view. You can only see all of the views from the main alerts page, not from the alerts of an individual resource.
Alert details page
The Alert details page provides more information about the selected alert:
- To change the user response to the alert, select the pencil near User response. The User response can be New, Acknowledged, or Closed.
- To see the details of the alert, expand the Additional details section.
- To see all closed alerts, select the History tab.

Manage your alerts programmatically
You can query your alerts instances to create custom views outside of the Azure portal or to analyze your alerts to identify patterns and trends.
We recommend that you use Azure Resource Graph with the AlertsManagementResources schema to manage alerts across multiple subscriptions. For a sample query, see Azure Resource Graph sample queries for Azure Monitor.
You can use Resource Graph:
- With Azure PowerShell.
- In the Azure portal.
You can also use the Alert Management REST API for lower-scale querying or to update fired alerts.