Note
Access to this page requires authorization. You can try signing in or changing directories.
Access to this page requires authorization. You can try changing directories.
This article describes known issues for Azure Site Recovery on Azure Stack Hub. Use the following sections for details about the current known issues and limitations in Azure Site Recovery on Azure Stack Hub.
Maximum disk size supported is 1,022 GB
When you protect a virtual machine (VM), Azure Site Recovery needs to add an additional 1 GB of data to an existing disk. Since Azure Stack Hub has a hard limitation for the maximum size of a disk at 1,023 GB, the maximum size of a disk protected by Site Recovery must be equal to or less than 1022.
When you try to protect a VM with a disk of 1023Gb, the following behavior occurs:
Enable protection succeeds as a seed disk of only 1 GB is created and ready for use. There's no error at this step.
Replication is blocked at xx% Synchronized and after a while, the replication health becomes Critical with the error AzStackToAzStackSourceAgentDiskSourceAgentSlowResyncProgressOnPremToAzure. The error occurs because during replication, Site Recovery tries to resize the seed disk to 1,024 GB and write to it. This operation fails, as Azure Stack Hub doesn't support 1,024 GB disks.
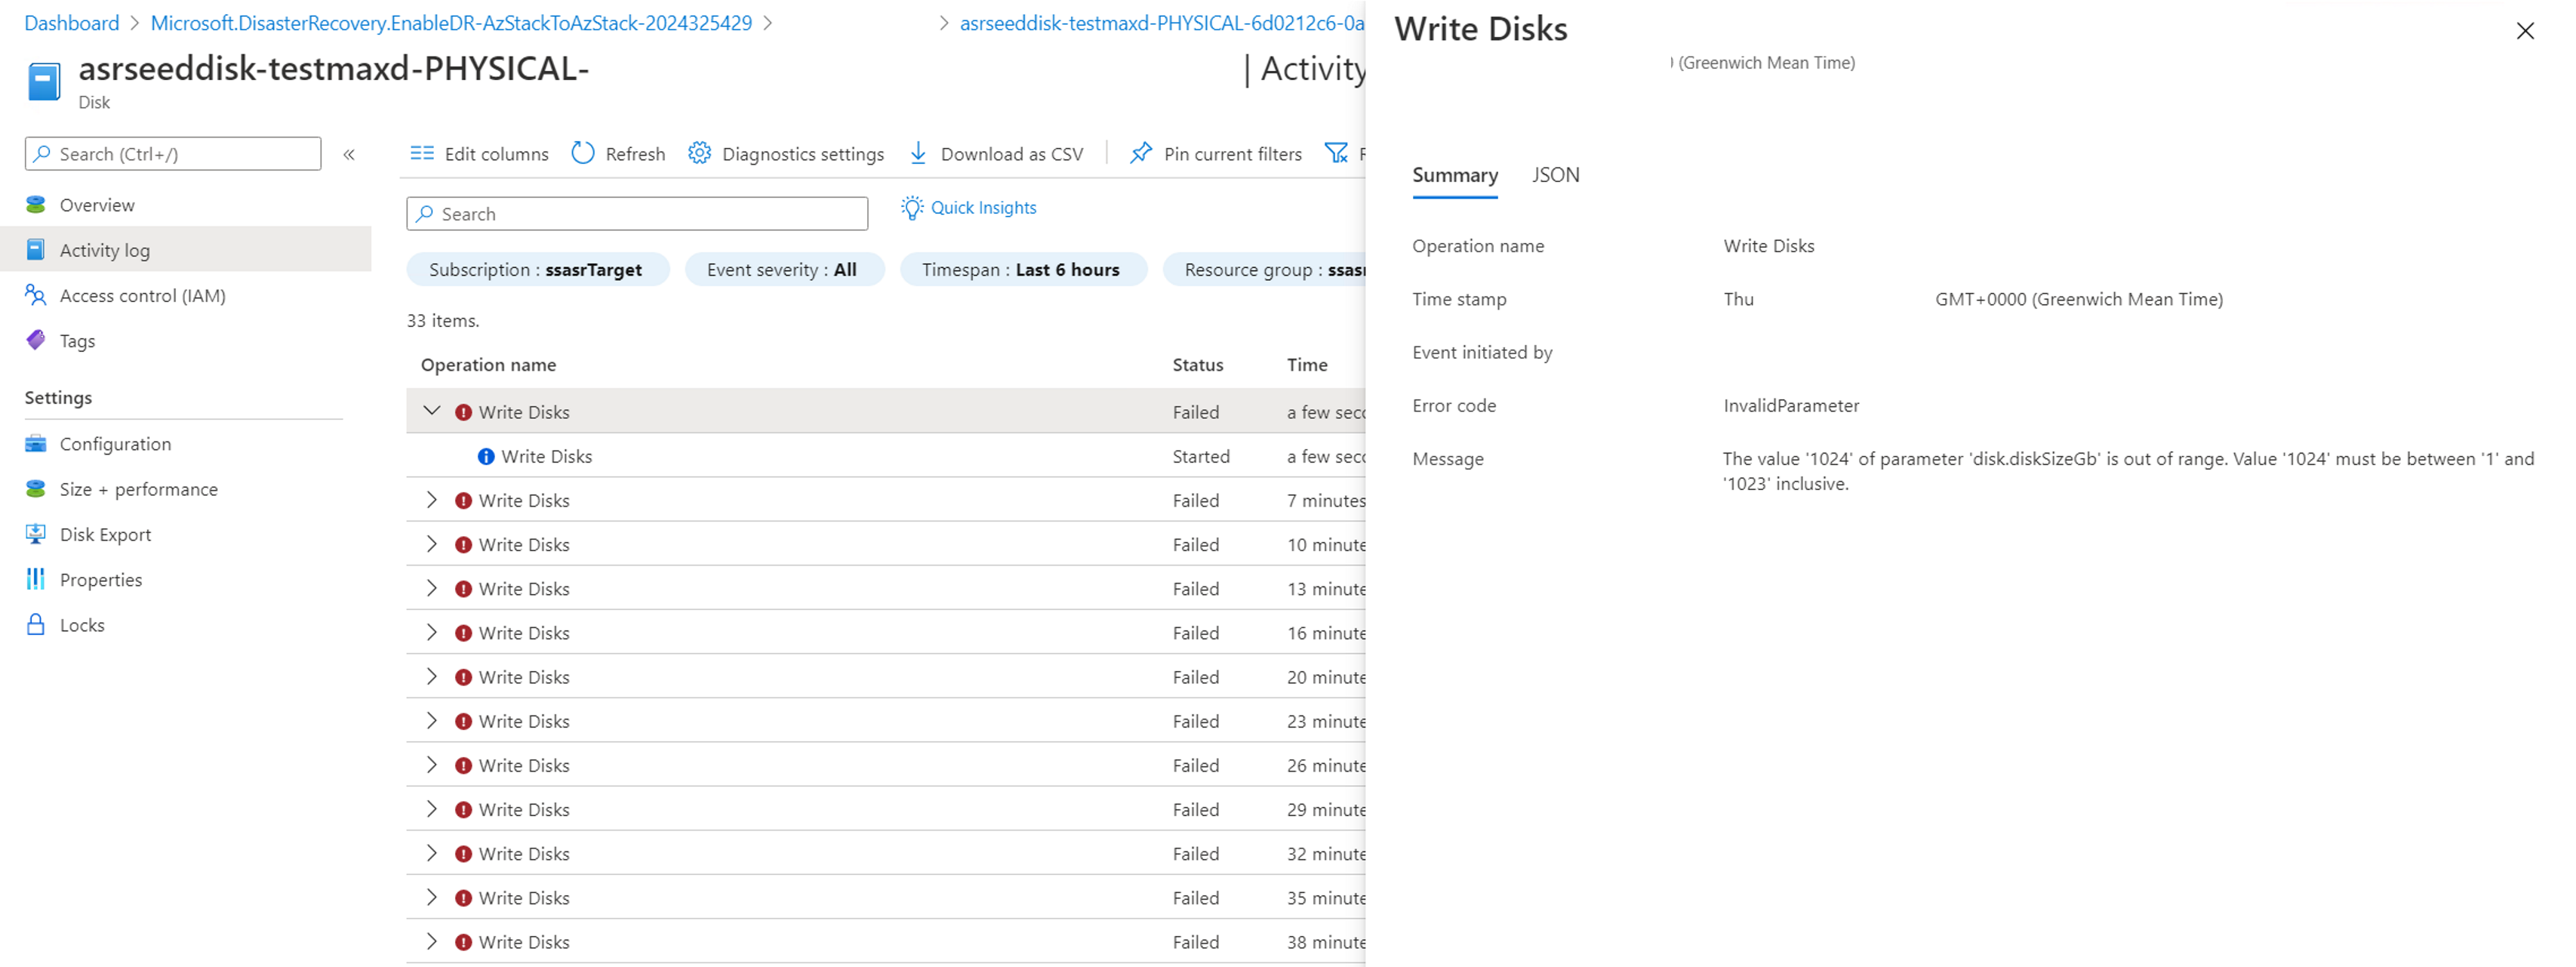
The seed disk created for this disk (in the target subscription) is still at 1 GB in size, and the Activity log shows a few Write Disk failures with the error message The value '1024' of parameter 'disk.diskSizeGb' is out of range. Value '1024' must be between '1' and '1023' inclusive.
The current workaround for this issue is to create a new disk (of 1,022 GB or less), attach it to your source VM, copy the data from the 1,023 GB disk to the new one, and then remove the 1,023 GB disk from the source VM. Once this procedure is done, and the VM has all disks smaller or equal to 1,022 GB, you can enable the protection using Azure Site Recovery.
Reprotection: available data disk slots on appliance
Ensure the appliance VM has enough data disk slots, as the replica disks for reprotection are attached to the appliance.
The initial allowed number of disks being reprotected at the same time is 31. The default size of the appliance created from the marketplace item is Standard_DS4_v2, which supports up to 32 data disks, and the appliance itself uses one data disk.
If the sum of the protected VMs is greater than 31, perform one of the following actions:
- Split the VMs that require reprotection into smaller groups to ensure that the number of disks reprotected at the same time doesn't exceed the maximum number of data disks the appliance supports.
- Increase the size of the Azure Site Recovery appliance VM.
Note
We don't test and validate large VM SKUs for the appliance VM.
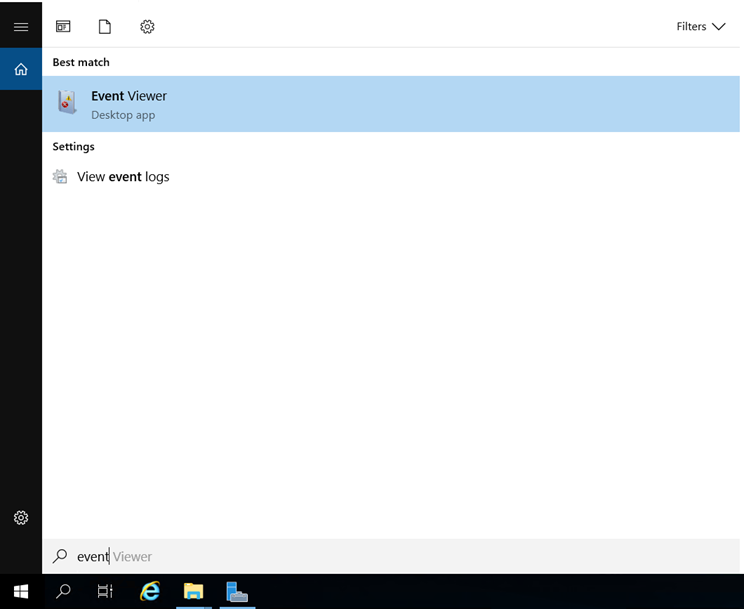
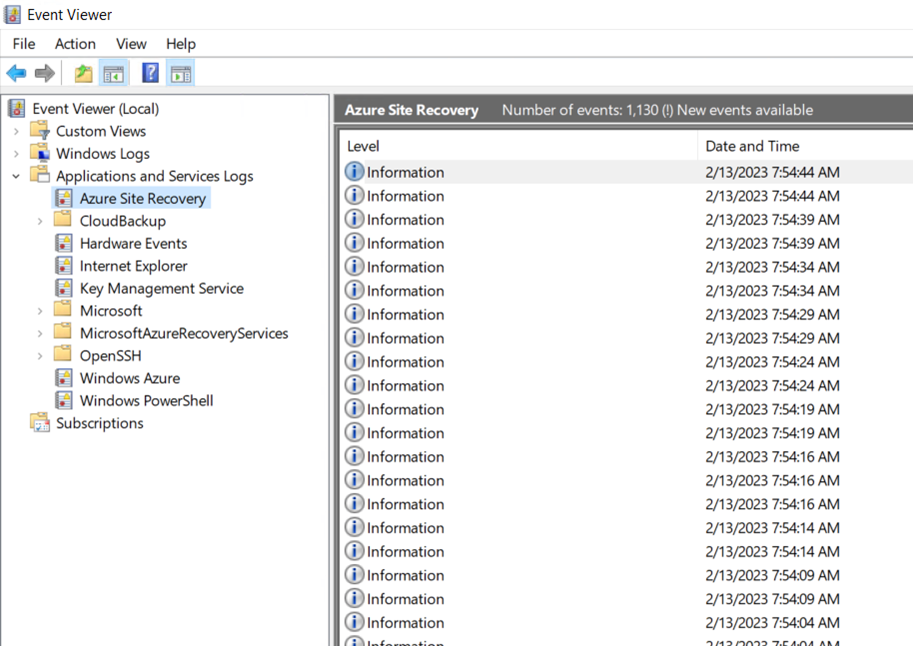
If you're trying to reprotect a VM, but there aren't enough slots on the appliance to hold the replication disks, the error message An internal error occurred displays. You can check the number of the data disks currently on the appliance, or sign in to the appliance, go to Event Viewer, and open logs for Azure Site Recovery under Applications and Services Logs:
Find the latest warning to identify the issue.
Linux VM kernel version not supported
Check your kernel version by running the command
uname -r.For more information about supported Linux kernel versions, see Azure to Azure support matrix.
With a supported kernel version, the failover, which causes the VM to perform a restart, can cause the failed-over VM to be updated to a newer kernel version that may not be supported. To avoid an update due to a failover VM restart, run the command
sudo apt-mark hold linux-image-azure linux-headers-azureso that the kernel version update can proceed.For an unsupported kernel version, check for an older kernel version to which you can roll back, by running the appropriate command for your VM:
- Debian/Ubuntu:
dpkg --list | grep linux-image
The following image shows an example in an Ubuntu VM on version 5.4.0-1103-azure, which is unsupported. After the command runs, you can see a supported version, 5.4.0-1077-azure, which is already installed on the VM. With this information, you can roll back to the supported version.
- Debian/Ubuntu:
Roll back to a supported kernel version using these steps:
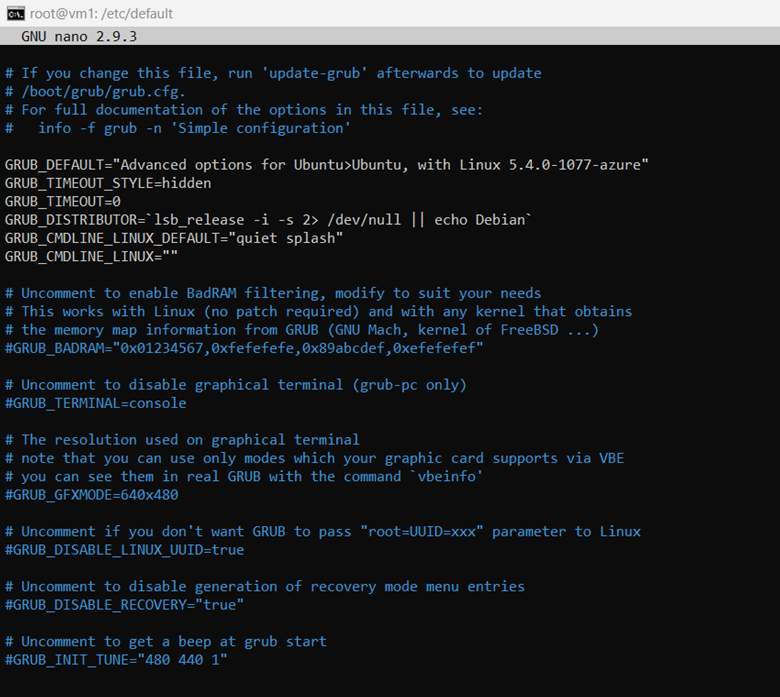
First, make a copy of /etc/default/grub in case there's an error; for example,
sudo cp /etc/default/grub /etc/default/grub.bak.Then, modify /etc/default/grub to set GRUB_DEFAULT to the previous version that you want to use. You might have something similar to GRUB_DEFAULT="Advanced options for Ubuntu>Ubuntu, with Linux 5.4.0-1077-azure".
Select Save to save the file, then select Exit.
Run
sudo update-grubto update the grub.Finally, reboot the VM and continue with the rollback to a supported kernel version.
If you don't have an old kernel version to which you can roll back, wait for the mobility agent update so that your kernel can be supported. The update is completed automatically, if it's ready, and you can check the version on the portal to confirm:
Reprotect manual resync isn't supported yet
After the reprotect job is complete, the replication is started in sequence. During replication, there may be cases that require a resync, which means a new initial replication is triggered to synchronize all the changes.
There are two types of resync:
Automatic resync. Requires no user action and is done automatically. Users can see some events shown on the portal:
Manual resync. Requires user action to trigger the resync manually and is needed in the following instances:
The storage account chosen for the reprotect is missing.
The replication disk on the appliance is missing.
The replication write exceeds the capacity of the replication disk on the appliance.
Tip
You can also find the manual resync reasons in the events blade to help you decide whether a manual resync is required.
Known issues in PowerShell automation
If you leave
$failbackPolicyNameand$failbackExtensionNameempty or null, the reprotect can fail. See the following examples:Always specify the
$failbackPolicyNameand$failbackExtensionName, as shown in the following example:$failbackPolicyName = "failback-default-replication-policy" $failbackExtensionName = "default-failback-extension" $parameters = @{ "properties" = @{ "customProperties" = @{ "instanceType" = "AzStackToAzStackFailback" "applianceId" = $applianceId "logStorageAccountId" = $LogStorageAccount.Id "policyName" = $failbackPolicyName "replicationExtensionName" = $failbackExtensionName } } } $result = Invoke-AzureRmResourceAction -Action "reprotect" ` -ResourceId $protectedItemId ` -Force -Parameters $parameters
Mobility service agent warning
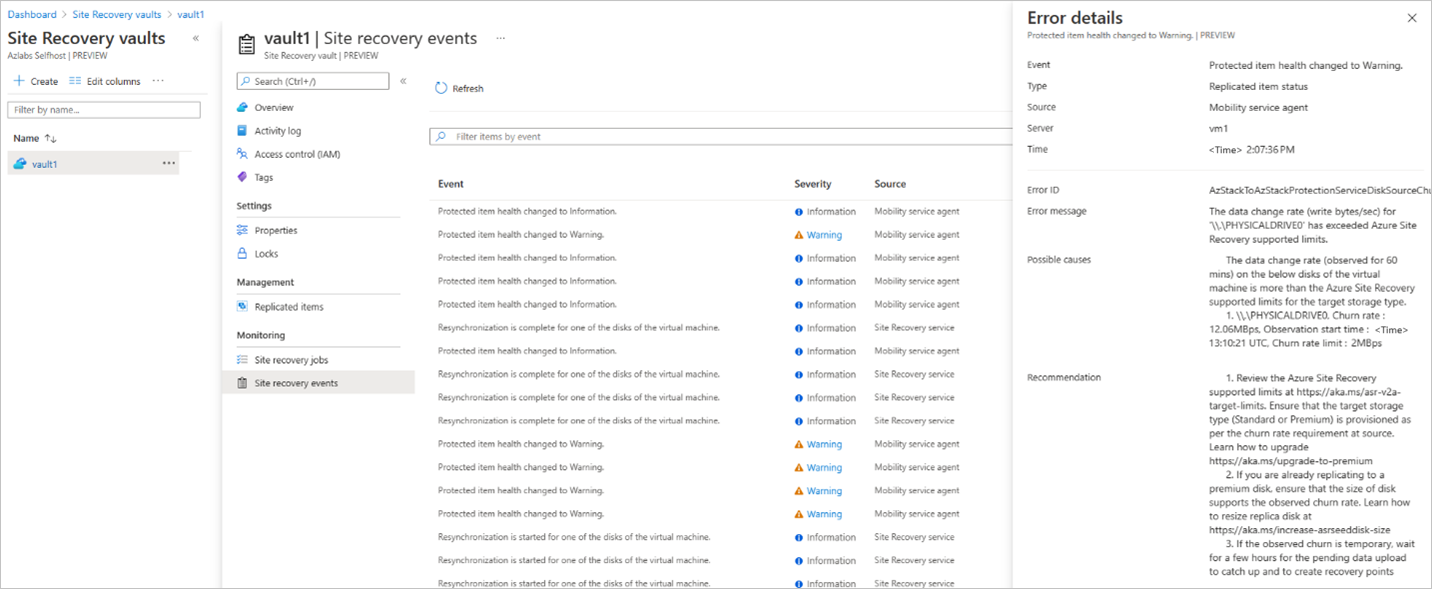
When replicating multiple VMs, you might see the Protected item health changed to Warning error in the Site Recovery jobs.
This error message should only be a warning and isn't a blocking issue for the actual replication or failover processes.
Tip
You can check the state of the respective VM to ensure it's healthy.
Deleting the appliance VM (source) blocks the deletion of the vault (target)
To delete the Azure Site Recovery vault on the target, you must first remove all the protected VMs. If you delete the appliance VM first, the Site Recovery vault blocks the deletion of the protected resources and trying to delete the vault itself also fails. Deleting the resource group also fails, and the only way to remove the vault is by deleting the Azure Stack Hub user subscription in which the vault is created.
To avoid this issue, make sure to first remove the protection from all items in the vault, before deleting the appliance VM. This allows the vault to complete the resource cleanup on the appliance (source side). Once the protected items are removed, you can delete the vault and remove the appliance VM.

