Note
Access to this page requires authorization. You can try signing in or changing directories.
Access to this page requires authorization. You can try changing directories.
You can create an Ubuntu Server 20.04 LTS virtual machine (VM) by using the Azure CLI. In this article, you create and use a virtual machine. This article also shows you how to:
- Connect to the virtual machine with a remote client.
- Install an NGINX web server and view the default home page.
- Clean up unused resources.
Prerequisites
Before you begin, make sure you have the following prerequisites:
A Linux image in the Azure Stack Hub Marketplace
The Azure Stack Hub Marketplace doesn't contain a Linux image by default. Have the Azure Stack Hub operator provide the Ubuntu Server 20.04 LTS image you need. The operator can use the instructions in Download Marketplace items from Azure to Azure Stack Hub.
Azure Stack Hub requires a specific version of the Azure CLI to create and manage its resources. If you don't have the Azure CLI configured for Azure Stack Hub, sign in to a Windows-based external client if you're connected through VPN, and follow the instructions for installing and configuring the Azure CLI.
A public Secure Shell (SSH) key with the name id_rsa.pub saved in the .ssh directory of your Windows user profile. For more information about creating SSH keys, see Use an SSH key pair with Azure Stack Hub.
Create a resource group
A resource group is a logical container where you can deploy and manage Azure Stack Hub resources. From your Azure Stack Hub integrated system, run the az group create command to create a resource group.
Note
We assigned values for all variables in the following code examples. However, you can assign your own values.
The following example creates a resource group named myResourceGroup with a random suffix in the local location:
export RANDOM_SUFFIX=$(openssl rand -hex 3)
export RESOURCE_GROUP="myResourceGroup$RANDOM_SUFFIX"
export LOCATION="chinaeast2"
az group create --name $RESOURCE_GROUP --location $LOCATION
Results:
{
  "id": "/subscriptions/xxxxx/resourceGroups/myResourceGroupxxx",
  "location": "local",
  "managedBy": null,
  "name": "myResourceGroupxxx",
  "properties": {
    "provisioningState": "Succeeded"
  },
  "tags": null,
  "type": "Microsoft.Resources/resourceGroups"
}
Create a virtual machine
Create a virtual machine by using the az vm create command. The following example creates a VM named myVM. The example uses Demouser as the admin username. Change these values to something that's appropriate for your environment.
export VM_NAME="myVM$RANDOM_SUFFIX"
az vm create \
  --resource-group $RESOURCE_GROUP \
  --name $VM_NAME \
  --image "Ubuntu2204" \
  --admin-username "azureuser" \
  --assign-identity \
  --generate-ssh-keys \
  --public-ip-sku Standard \
  --location $LOCATION
Results:
{
  "fqdns": "",
  "id": "/subscriptions/xxxxx/resourceGroups/myResourceGroupxxx/providers/Microsoft.Compute/virtualMachines/myVMxxx",
  "location": "local",
  "name": "myVMxxx",
  "osProfile": {
    "computerName": "myVMxxx",
    "adminUsername": "Demouser"
  },
  "publicIpAddress": "x.x.x.x",
  "powerState": "VM running",
  "provisioningState": "Succeeded"
}
The public IP address is returned in the PublicIpAddress parameter. Note the address for later use with the virtual machine.
Open port 80 for web traffic
Because this virtual machine runs the IIS web server, you must open port 80 to internet traffic. To open the port, use the az vm open-port command:
az vm open-port --port 80 --resource-group $RESOURCE_GROUP --name $VM_NAME
Results:
{
  "endPort": 80,
  "name": "openPort80",
  "port": 80,
  "protocol": "Tcp",
  "provisioningState": "Succeeded",
  "resourceGroup": "myResourceGroupxxx",
  "startPort": 80
}
Use SSH to connect to the virtual machine
From a client computer with SSH installed, connect to the virtual machine. If you work on a Windows client, use PuTTY to create the connection. To connect to the virtual machine, you can use the ssh command.
Install the NGINX web server
To update package resources and install the latest NGINX package, run the following script:
output=$(az vm run-command invoke --resource-group $RESOURCE_GROUP --name $VM_NAME --command-id RunShellScript --scripts 'apt-get -y install nginx')
value=$(echo "$output" | jq -r '.value[0].message')
extracted=$(echo "$value" | awk '/[stdout]/,/[stderr]/' | sed '/[stdout]/d' | sed '/[stderr]/d')
echo "$extracted"
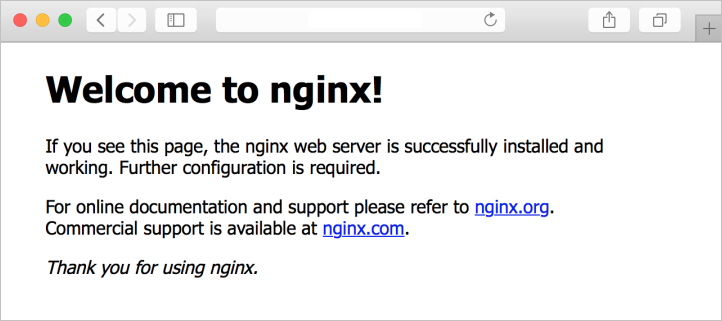
View the NGINX welcome page
With the NGINX web server installed, and port 80 open on your virtual machine, you can access the web server by using the virtual machine's public IP address. To do so, open a browser, and go to http://<public IP address>. Alternatively, you can use the curl command to view the NGINX welcome page:
export PUBLIC_IP=$(az vm show -d -g $RESOURCE_GROUP -n $VM_NAME --query publicIps -o tsv)

output=$(az vm run-command invoke --resource-group $RESOURCE_GROUP --name $VM_NAME --command-id RunShellScript --scripts 'curl -v http://localhost')
value=$(echo "$output" | jq -r '.value[0].message')
extracted=$(echo "$value" | awk '/[stdout]/,/[stderr]/' | sed '/[stdout]/d' | sed '/[stderr]/d')
echo "$extracted"
Results:
<!DOCTYPE html>
<html>
<head>
<title>Welcome to nginx!</title>
<style>
  body {
    width: 35em;
    margin: 0 auto;
    font-family: Tahoma, Verdana, Arial, sans-serif;
  }
</style>
</head>
<body>
<h1>Welcome to nginx!</h1>
<p>If you see this page, the nginx web server is successfully installed and
working. Further configuration is required.</p>

<p>For online documentation and support please refer to
<a href="http://nginx.org/">nginx.org</a>.<br/>
Commercial support is available at
<a href="http://nginx.com/">nginx.com</a>.</p>

<p><em>Thank you for using nginx.</em></p>
</body>
</html>
Next steps
In this quickstart, you deployed a basic Linux server virtual machine with a web server. To learn more about Azure Stack Hub virtual machines, see Considerations for virtual machines in Azure Stack Hub.