Note
Access to this page requires authorization. You can try signing in or changing directories.
Access to this page requires authorization. You can try changing directories.
This tutorial describes how to use the Microsoft Azure Recovery Services (MARS) agent to recover files from Azure to a Windows Server.
Azure Backup allows you restore individual items from Windows Server backups. You can recover accidentally deleted files seamlessly and instantly.
Before you start
Ensure that you have backed up a Windows Server to Azure and have at least one recovery point of your Windows Server files in Azure.
Initiate recovery of individual items
A helpful user interface wizard named Microsoft Azure Backup is installed with the Microsoft Azure Recovery Services (MARS) agent. The Microsoft Azure Backup wizard works with the Microsoft Azure Recovery Services (MARS) agent to retrieve backup data from recovery points stored in Azure. Use the Microsoft Azure Backup wizard to identify the files or folders you want to restore to Windows Server.
To start recovery of individual items, follow these steps:
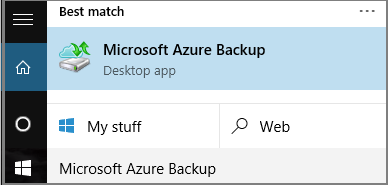
Open the Microsoft Azure Backup snap-in. You can find it by searching your machine for Microsoft Azure Backup.
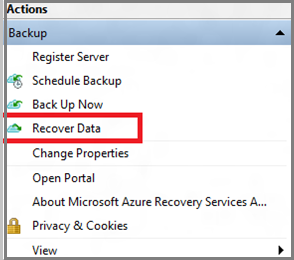
In the wizard, select Recover Data in the Actions Pane of the agent console to start the Recover Data wizard.
On the Getting Started page, select This server (server name) and select Next.
On the Select Recovery Mode page, select Individual files and folders and then select Next to begin the recovery point selection process.
On the Select Volume and Date page, select the volume that contains the files or folders you want to restore, and select Mount. Select a date, and select a time from the drop-down menu that corresponds to a recovery point. Dates in bold indicate the availability of at least one recovery point on that day.
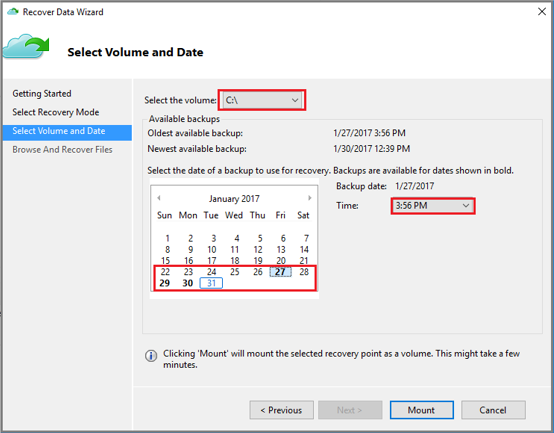
When you select Mount, Azure Backup makes the recovery point available as a disk. Browse and recover files from the disk.


Restore items from a recovery point
To restore items from a recovery point, follow these steps:
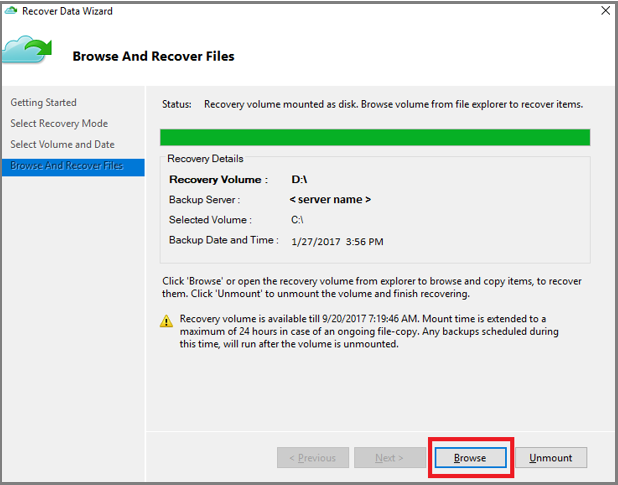
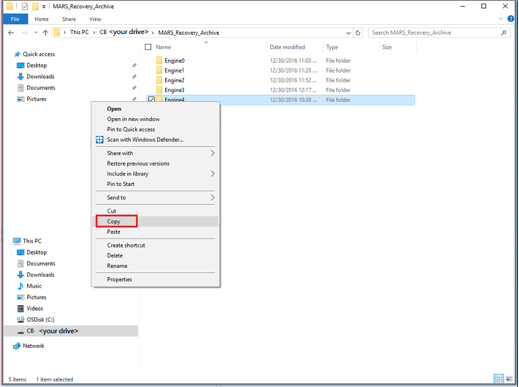
After you mount the recovery volume, select Browse to open Windows Explorer and find the files and folders you wish to recover.
You can open the files directly from the recovery volume and verify the files.
In Windows Explorer, copy the files and folders you want to restore and paste them to any desired location on the server.
When you're finished restoring the files and folders, on the Browse and Recovery Files page of the Recover Data wizard, select Unmount.
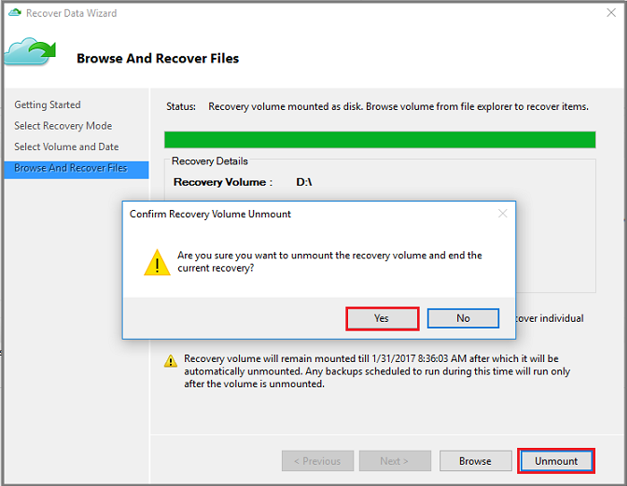
Select Yes to confirm that you want to unmount the volume.
Once the snapshot is unmounted, Job Completed appears in the Jobs pane in the agent console.


Next steps
This completes the tutorials on backing up and restoring Windows Server data to Azure. To learn more about Azure Backup, see the PowerShell sample for backing up encrypted virtual machines.