Note
Access to this page requires authorization. You can try signing in or changing directories.
Access to this page requires authorization. You can try changing directories.
Important
As of March 31, 2025, cloud Services (extended support) is deprecated and will be fully retired on March 31, 2027. Learn more about this deprecation and how to migrate.
This article shows you how to use the Azure portal to migrate from Cloud Services (classic) to Cloud Services (extended support).
Before you begin
Ensure you are an administrator for the subscription.
To perform this migration, you must be added as a coadministrator for the subscription in the Azure portal.
- Sign in to the Azure portal.
- On the Hub menu, select Subscription. If you don't see it, select All services.
- Find the appropriate subscription entry, and then look at the MY ROLE field. For a coadministrator, the value should be Account admin.
If you're not able to add a coadministrator, contact a service administrator or coadministrator for the subscription to get yourself added.
Sign up for Migration resource provider
- Register with the migration resource provider
Microsoft.ClassicInfrastructureMigrateand preview featureCloud Servicesunder Microsoft.Compute namespace using the Azure portal. - Wait five minutes for the registration to complete, then check the status of the approval.
Migrate your Cloud Service resources
Select the Cloud Service you want to migrate.
Select the Migrate to ARM blade.
Note
If migrating a Cloud Services (classic) located inside a virtual network (classic), a banner message will appear prompting you to move the virtual network (classic) blade. You will be brought to the virtual network (classic) blade to complete the migration of both the virtual network (classic) and the Cloud Services (classic) deployments within it.

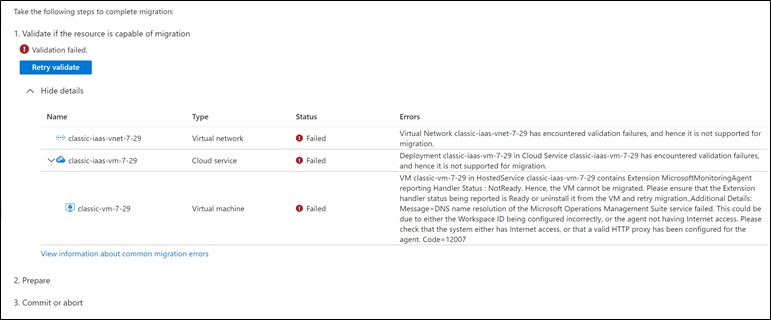
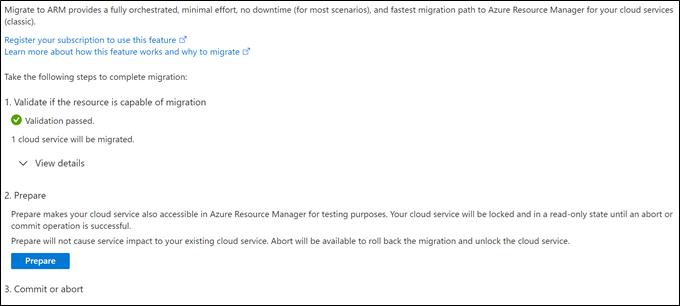
Validate the migration.
If validation is successful, then all deployments are supported and ready to be prepared.

If validation fails, a list of unsupported scenarios displays. They need to be fixed before migration can continue.
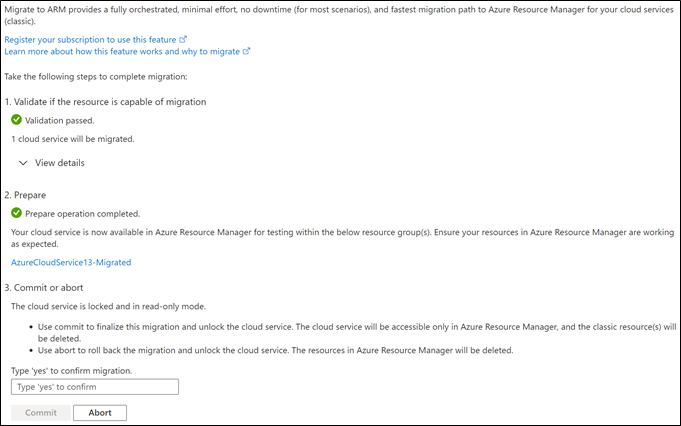
Prepare for the migration.
If the preparation is successful, the migration is ready for commit.
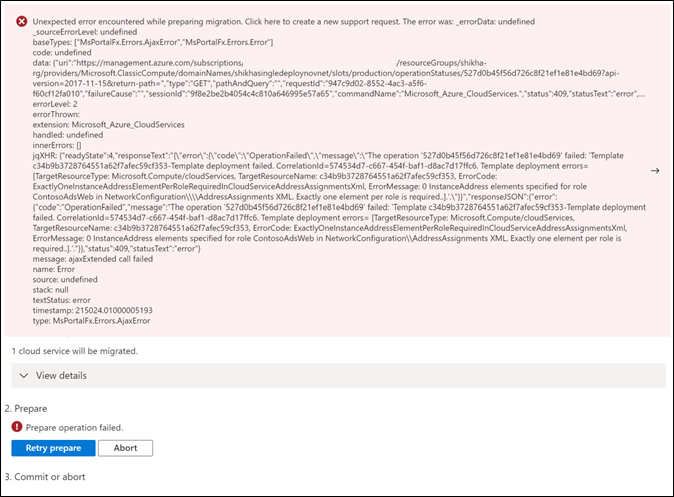
If the preparation fails, review the error, address any issues, and retry the preparation.
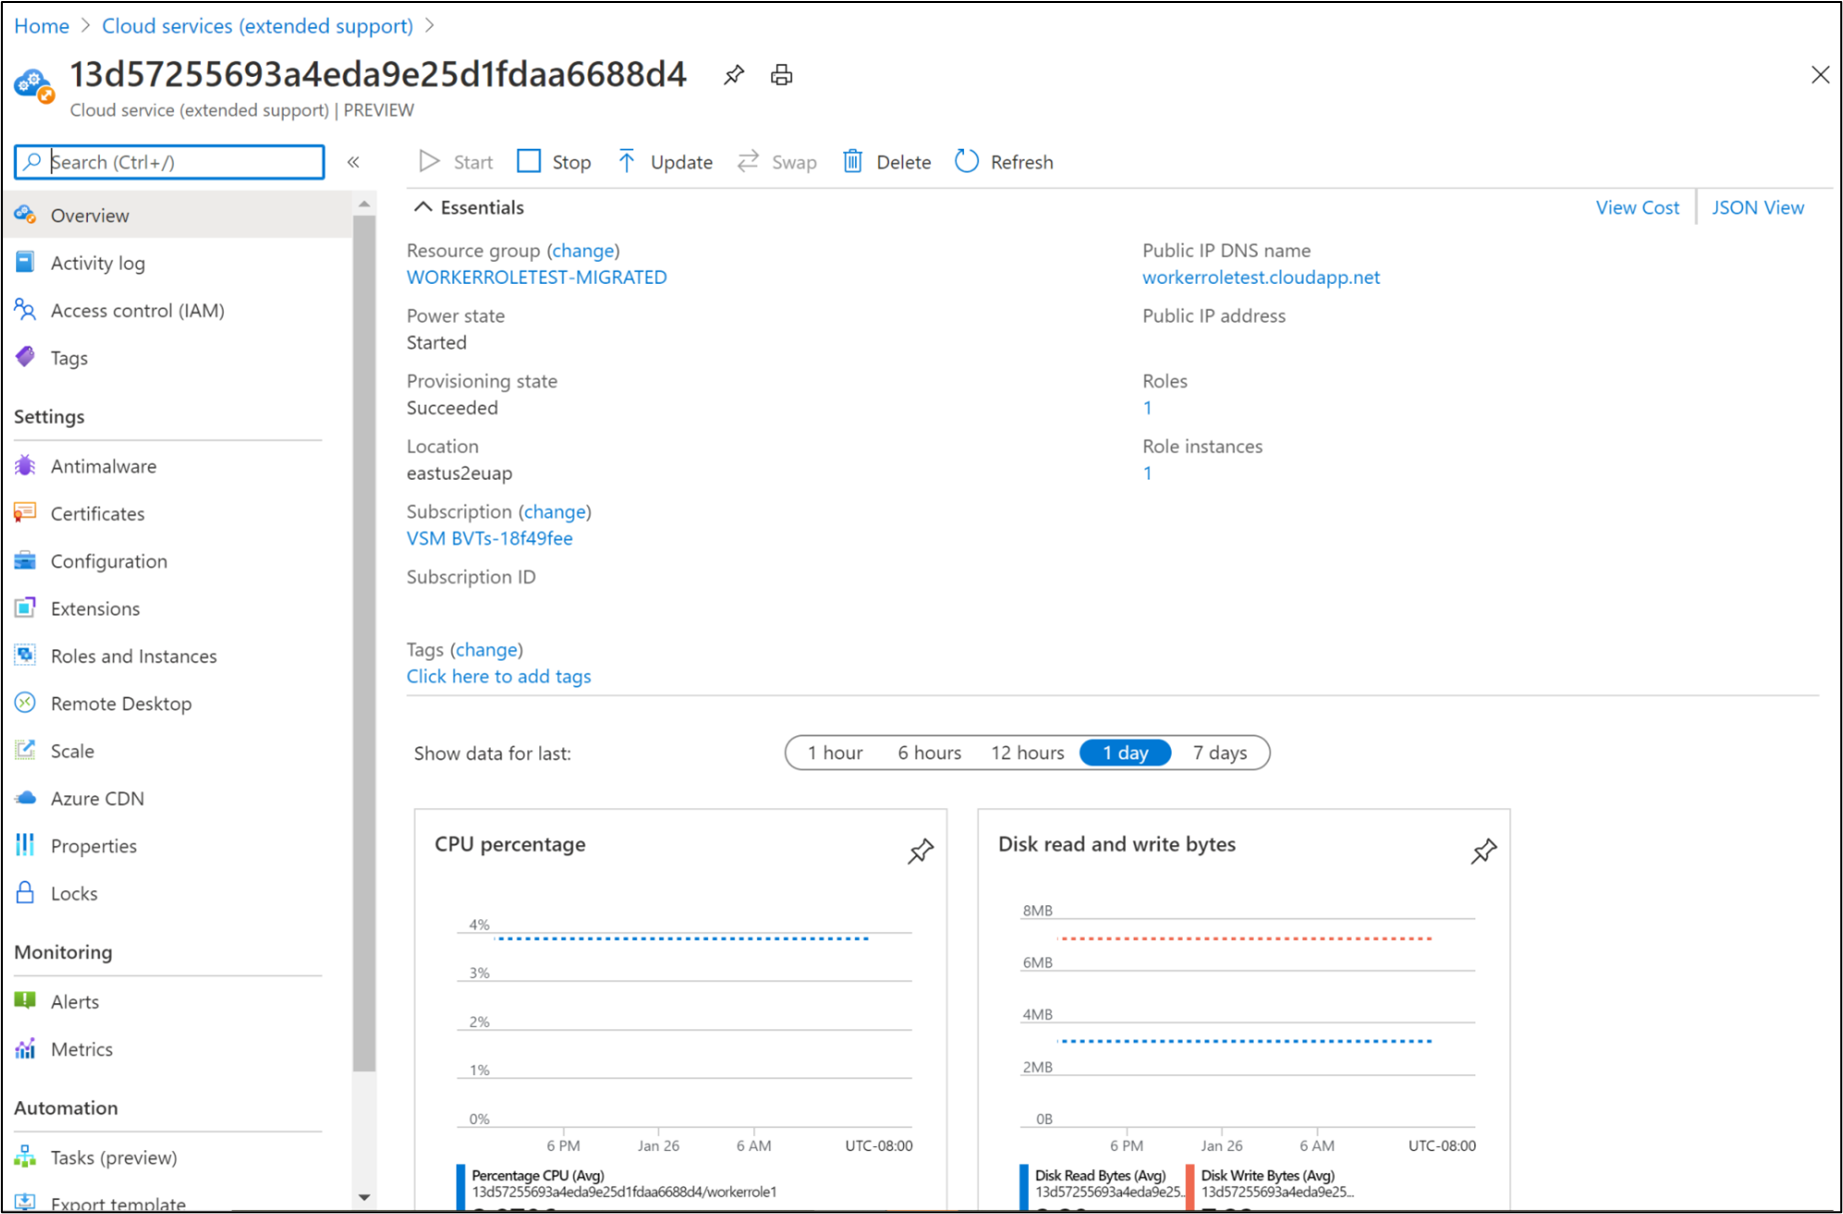
After Prepare, all Cloud Services in a virtual network are available for read operations using both Cloud Services (classic) and Cloud Services (extended support) Azure portal blade. The Cloud Service (extended support) deployment can now be tested to ensure proper functioning before finalizing the migration.
(Optional) Abort migration.
If you chose to discontinue the migration, use the Abort button to roll back the previous steps. The Cloud Services (classic) deploy is then unlocked for all CRUD operations.
If abort fails, select Retry abort. A retry should fix the issue. If not, contact support.
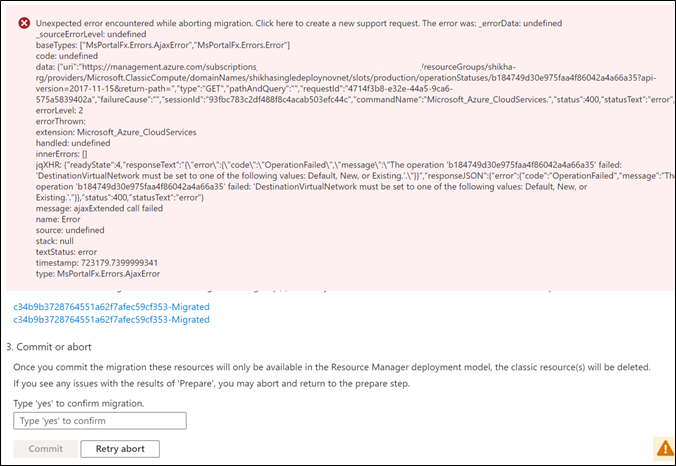
Commit migration.
Important
Once you commit to the migration, there is no option to roll back.
Type in "yes" to confirm and commit to the migration. The migration is now complete. The migrated Cloud Services (extended support) deployment is unlocked for all operations.
Next steps
Review the Post migration changes section to see changes in deployment files, automation, and other attributes of your new Cloud Services (extended support) deployment.