Note
Access to this page requires authorization. You can try signing in or changing directories.
Access to this page requires authorization. You can try changing directories.
Video Analysis includes video-related features like Spatial Analysis and Video Retrieval.
You can use Azure AI Vision Spatial Analysis to detect the presence and movements of people in video. Ingest video streams from cameras, extract insights, and generate events to be used by other systems. The service can do things like count the number of people entering a space or measure compliance with face mask and social distancing guidelines. By processing video streams from physical spaces, you can learn how people use them and maximize the space's value to your organization.
This operation counts the number of people in a specific zone over time using the PersonCount operation. It generates an independent count for each frame processed without attempting to track people across frames. This operation can be used to estimate the number of people in a space or generate an alert when a person appears.

This feature monitors how long people stay in an area or when they enter through a doorway. This monitoring can be done using the PersonCrossingPolygon or PersonCrossingLine operations. In retail scenarios, these operations can be used to measure wait times for a checkout line or engagement at a display. Also, these operations could measure foot traffic in a lobby or a specific floor in other commercial building scenarios.

This feature analyzes how well people follow social distancing requirements in a space. The system uses the PersonDistance operation to automatically calibrate itself as people walk around in the space. Then it identifies when people violate a specific distance threshold (6 ft. or 10 ft.).

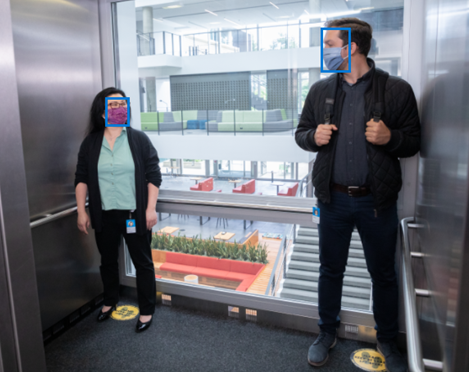
Spatial Analysis can also be configured to detect if a person is wearing a protective face covering such as a mask. A mask classifier can be enabled for the PersonCount, PersonCrossingLine, and PersonCrossingPolygon operations by configuring the ENABLE_FACE_MASK_CLASSIFIER parameter.