Note
Access to this page requires authorization. You can try signing in or changing directories.
Access to this page requires authorization. You can try changing directories.
Switch services using the Version drop-down list. Learn more about navigation.
Applies to: ✅ Azure Data Explorer
Kusto.Explorer is a desktop application that enables you to explore data using the Kusto Query Language (KQL) in an intuitive interface. This guide explains how to use search and query modes, share queries, and manage clusters, databases, and tables for streamlined data analysis.
Search++ mode
Search++ mode enables you to search for a term using search syntax across one or more tables.
On the Home tab, in the Query dropdown, select Search++.
Select Multiple tables.
Under Choose tables, specify the tables to search, and then select OK.
In the edit box, enter the search phrase, and select Go.
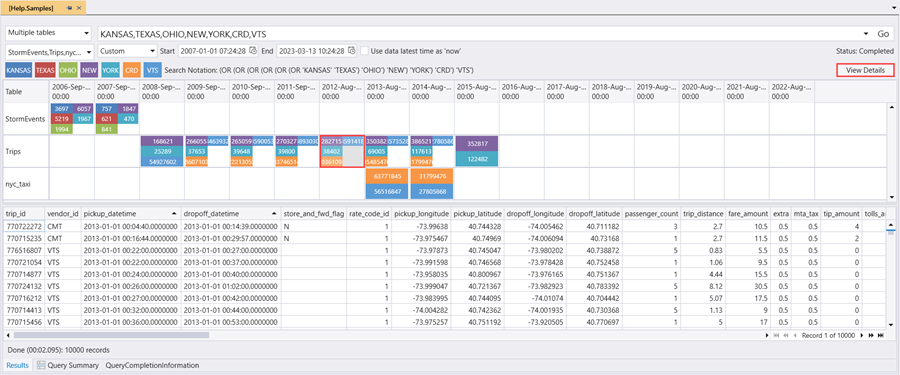
A heat map of the table and time-slot grid shows where the terms appear.
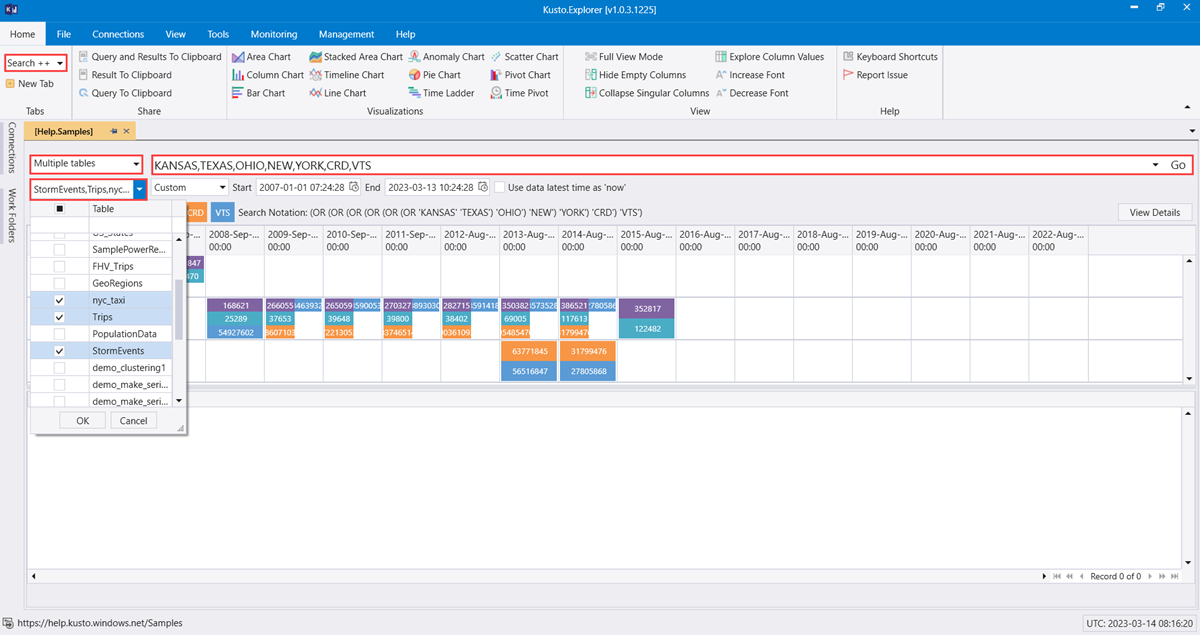
Select a cell in the grid, and then select View Details to show the relevant entries in the results pane.
Query mode
Kusto.Explorer includes a powerful query mode that lets you write, edit, and run inline queries. The query mode includes syntax highlighting and IntelliSense, so you quickly improve your knowledge of the Kusto Query Language.
This section explains how to run basic queries in Kusto.Explorer and add parameters to queries.
Basic queries
If you have table Logs, you can start exploring them:
StormEvents | count
When your cursor is on this line, it is gray. Select F5 to run the query.
Here are some more example queries:
// Take 10 lines from the table. This is useful to get familiar with the data.
StormEvents | take 10
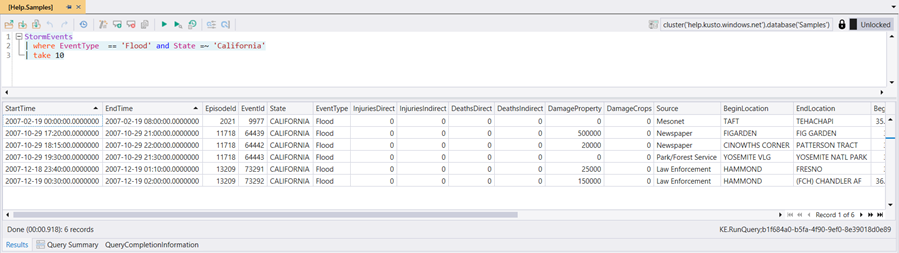
// Filter by EventType == 'Flood' and State == 'California' (where =~ means case insensitive).
// Take a sample of 10 lines.
StormEvents
| where EventType == 'Flood' and State =~ 'California'
| take 10
Learn more about Kusto Query Language in Kusto Query Language.
Note
Blank lines in the query can affect which part of the query runs.
If no text is selected, the query or command is separated by empty lines. If text is selected, only the selected text runs.
Client-side query parameterization
Note
There are two types of query parameterization techniques in Kusto:
Language-integrated query parameterization is implemented server-side and is meant to be used by applications that query the service programmatically. This method is not described in this document.
Client-side query parameterization is a feature of the Kusto.Explorer application only. It's equivalent to using string replace operations on the queries before sending them to the service. The syntax is not part of the query language itself and can't be used when sending queries to the service by means other than Kusto.Explorer.
If you use the same value in multiple queries or tabs, it's inconvenient to change that value in every place it's used. Kusto.Explorer lets you use query parameters for convenience. Query parameters are shared across tabs, so you can reuse them easily. Parameters are denoted by curly brackets ({}). For example, {parameter1}.
Define and edit query parameters:

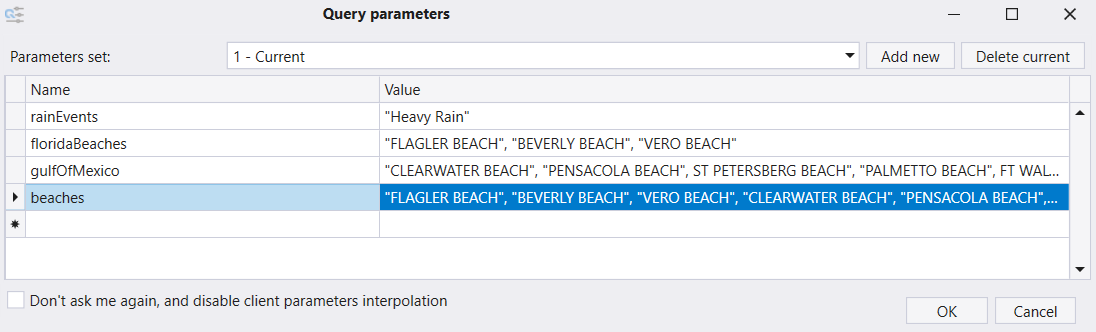
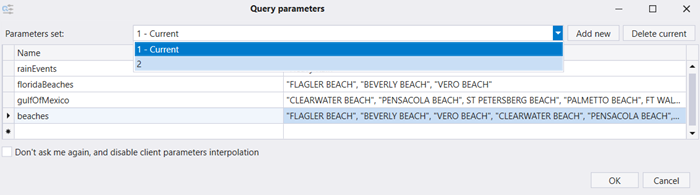
You can use multiple sets of parameters, listed in the Parameters Set combo box. Select Add new or Delete current to manage parameter sets.
Share queries and results
In Kusto.Explorer, share queries and results by email. Create deep links to open and run a query in the browser.
Share queries and results by email
Share queries and query results by email in Kusto.Explorer.
Run the query in Kusto.Explorer.
In the Home tab, in the Share section, select Query and Results to Clipboard (or press Ctrl+Shift+C).

Kusto.Explorer copies the following to the clipboard:
- Your query
- The query results (table or chart)
- The connection details for the Kusto cluster and database
- A link that reruns the query automatically
Paste the contents from the clipboard into a new email message.
Deep linking queries
You can create a URI that, when opened in a browser, opens Kusto.Explorer locally and runs a specific query on a specified Kusto database.
Note
For security reasons, deep-linking is disabled for management commands.
Creating a deep-link
The easiest way to create a deep link is to write the query in Kusto.Explorer and then use Query and results to Clipboard to copy the query, including the deep link and results, to the clipboard. You can then share it by email.
When copied to an email, a number of links to execute are displayed in small font. For example:
Execute: [Web] [Desktop] [Web (Lens)] [Desktop (SAW)] https://help.chinaeast2.kusto.chinacloudapi.cn/Samples
The Web link opens the query in Azure Data Explorer. The Desktop link is the deeplink. It opens the query in Kusto.Explorer and sets the context appropriately.
If you move the link to an email message and press CTRL+K, you can see the actual URL.
https://help.chinaeast2.kusto.chinacloudapi.cn/Samples?web=0&query=H4sIAAAAAAAEAAsuyS%2fKdS1LzSspVuDlqlEoLs3NTSzKrEpVSM4vzSvR0FRIqlRIyszTCC5JLCoJycxN1VEwT9EEKS1KzUtJLVIoAYolZwAlFQCB3oo%2bTAAAAA%3d%3d
Deep links and parameterized queries
You can use parametrized queries with deep-linking.
- Create a query to be formed as a parametrized query (for example,
KustoLogs | where Timestamp > ago({Period}) | count)
Provide a parameter for every query parameter in the URI. To copy your URI, in the Azure portal, go to your cluster's overview page, and then select the URI. The URI should be in the following format:
https://<your_cluster>.kusto.chinacloudapi.cn/MyDatabase? web=0&query=KustoLogs+%7c+where+Timestamp+>+ago({Period})+%7c+count&Period=1hReplace <your_cluster> with your Azure Data Explorer cluster name.
Paste the query link directly into your Kusto.Explorer query pane.
Limitations
The queries are limited to ~2,000 characters because of browser limitations, HTTP proxies, and tools that validate links, such as Microsoft Outlook. The limitation is approximate because it's dependent on the cluster and Database name length. For more information, see https://support.microsoft.com/kb/208427.
To reduce the chances of reaching the character limit, see Getting Shorter Links.
The format of the URI is:
https://<ClusterCname>.kusto.chinacloudapi.cn/<DatabaseName>web=0?query=<QueryToExecute>
For example: https://help.chinaeast2.kusto.chinacloudapi.cn/Samples?web=0query=StormEvents+%7c+limit+10
This URI opens Kusto.Explorer, connect to the Help Kusto cluster, and runs the specified query on the Samples database. If there's an instance of Kusto.Explorer already running, the running instance opens a new tab and runs the query in it.
Getting shorter links
Queries can become long. To reduce the chance of exceeding the maximum length, use the String Kusto.Data.Common.CslCommandGenerator.EncodeQueryAsBase64Url(string query) method in the Kusto Client Library. This method produces a more compact version of the query. The shorter format is also recognized by Kusto.Explorer.
Make the query more compact by applying the following transformation:
UrlEncode(Base64Encode(gzip(original query)))
Kusto.Explorer command-line arguments
Command-line arguments let the tool perform more functions on startup, like loading a script and connecting to a cluster. However, command-line arguments don't replace any Kusto.Explorer functionality.
Command-line arguments are part of the URL used to open the application, similar to query deep-linking.
Command-line argument syntax
Kusto.Explorer supports several command-line arguments using this syntax (order matters):
[LocalScriptFile] [QueryString]
Command-line arguments
| Command-line argument | Description |
|---|---|
| LocalScriptFile | The name of a script file on your local machine, which must have the extension .kql. If the file exists, Kusto.Explorer automatically loads the file when it starts up. |
| QueryString | A string that uses HTTP query string formatting. This method provides more properties, as described in the following table. |
Querystring arguments
| Argument | Description |
|---|---|
| Query to execute | |
query |
The query to execute (gzipped, then base64-encoded; see Getting shorter links). If not specified, uses querysrc. |
querysrc |
The URL of a file/blob holding the query to execute. |
| Connection to the Kusto cluster | |
uri |
The connection string of the Kusto cluster to connect to. |
name |
The display name of the connection to the Kusto cluster. |
| Connection group | |
path |
The URL of a connection group file to download (URL-encoded). |
group |
The name of the connection group. |
filename |
The local file holding the connection group. |
Example
To start Kusto.Explorer with a script file called c:\temp\script.kql and set up to communicate with the cluster help and database Samples, run this command:
Kusto.Explorer.exe c:\temp\script.kql "uri=https://help.chinaeast2.kusto.chinacloudapi.cn/Samples;Fed=true&name=Samples"
Manage databases, tables, or function-authorized principals
Important
Only admins can add or remove authorized principals in their own scope.
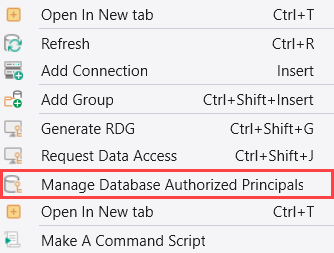
To view the list of authorized principals, open the Connections panel, right-click the target entity, and select Manage Database Authorized Principals. You can also select this option from the Management menu.
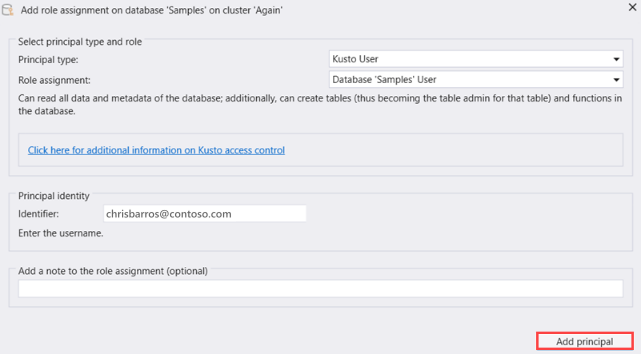
Select Add principal to add an authorized principal.
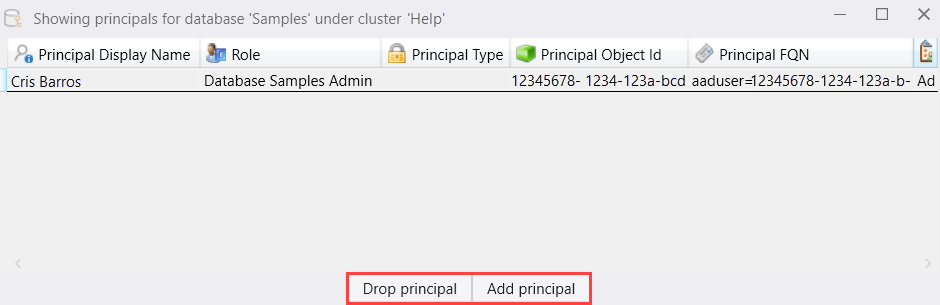
Enter the principal details, then select Add principal.
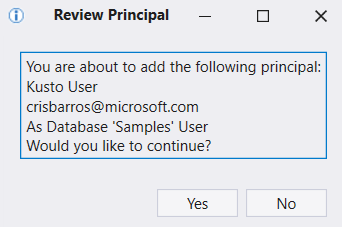
Confirm the addition of the authorized principal.
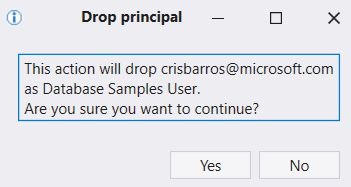
To remove an authorized principal, select Drop principal and confirm the action.