Note
Access to this page requires authorization. You can try signing in or changing directories.
Access to this page requires authorization. You can try changing directories.
This article shows you how to use the Azure portal to give a managed identity access to an Azure resource. In this article, we use the example of an Azure virtual machine (Azure VM) managed identity accessing an Azure storage account. Once you've configured an Azure resource with a managed identity, you can then give the managed identity access to another resource, similar to any security principal.
Prerequisites
- Be sure you've enabled managed identity on an Azure resource, such as an Azure virtual machine.
- If you don't already have an Azure account, sign up for a Trial before continuing.
Use Azure RBAC to assign a managed identity access to another resource using the Azure portal
The steps outlined below show how you grant access to a service using Azure RBAC. Check specific service documentation on how to grant access; for example, check Azure Data Explorer for instructions. Some Azure services are in the process of adopting Azure RBAC on the data plane.
Sign in to the Azure portal using an account associated with the Azure subscription for which you've configured the managed identity.
Navigate to the desired resource that you want to modify access control. In this example, you'll give an Azure virtual machine (VM) access to a storage account, then you can navigate to the storage account.
Select Access control (IAM).
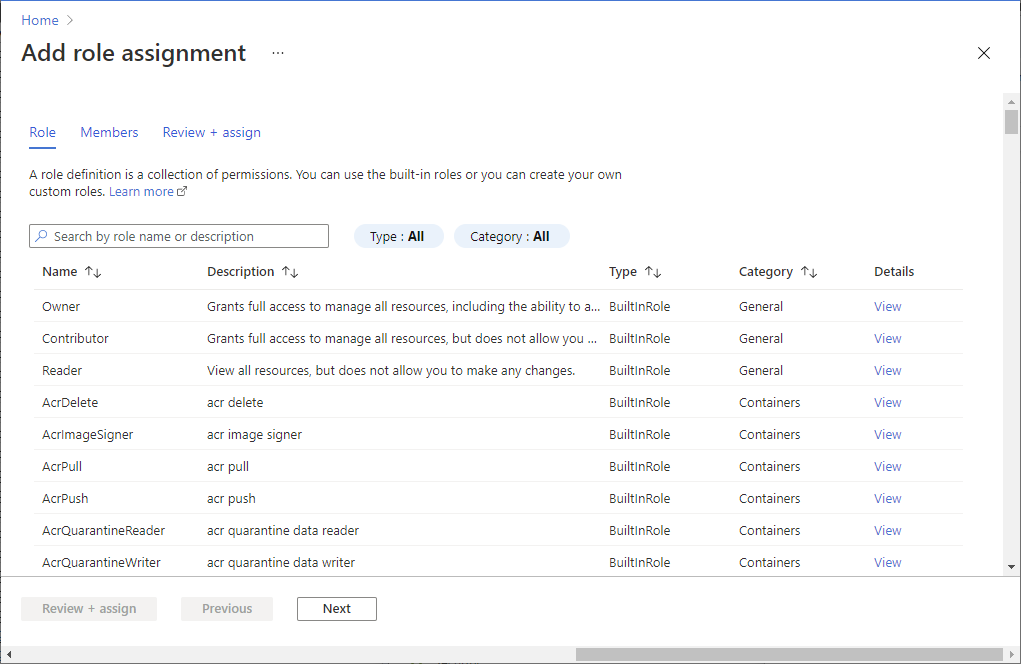
Select Add > Add role assignment to open the Add role assignment page.
Select the role and managed identity. For detailed steps, see Assign Azure roles using the Azure portal.