Note
Access to this page requires authorization. You can try signing in or changing directories.
Access to this page requires authorization. You can try changing directories.
This article describes how to enable replication for newly added data disks that you add to a VMware virtual machine. The virtual machine already has disaster recovery enabled to an Azure region by using Azure Site Recovery.
You can now enable replication for a disk you add to a virtual machine for VMware virtual machines.
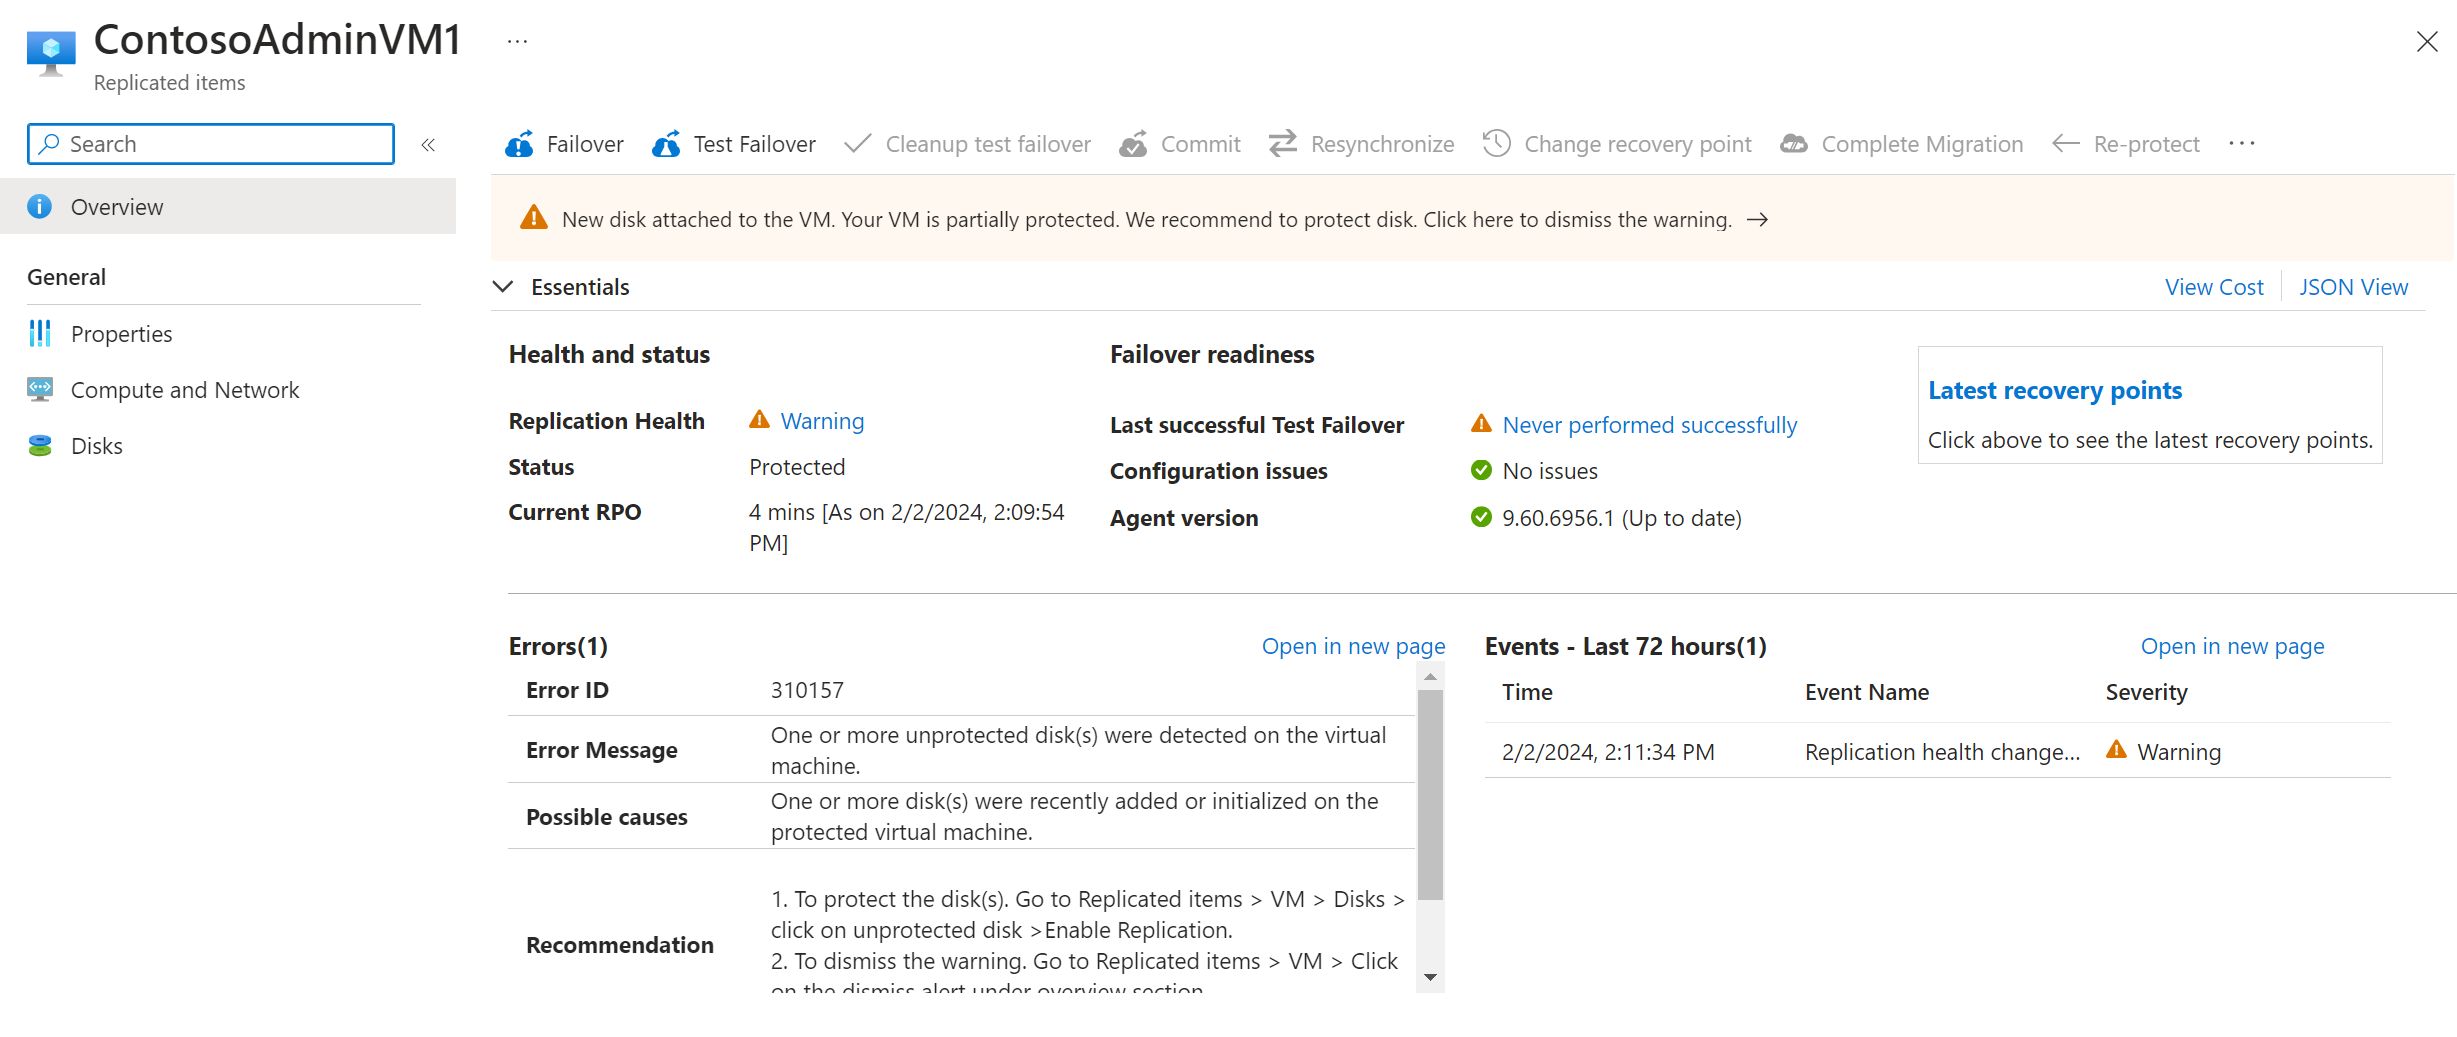
When you add a new disk to a VMware virtual machine that is replicating to an Azure region, the following occurs:
Replication health for the virtual machine shows a warning, and a note in the portal informs you that one or more disks are available for protection.
If you enable protection for the added disks, the warning disappears after initial replication of the disk.
If you choose not to enable replication for the disk, you can select to dismiss the warning.
Before you start
This article assumes that you already set up disaster recovery for the VMware virtual machine to which you're adding the disk. If you didn't, follow the VMware to Azure disaster recovery tutorial.
Enable replication for an added disk
To enable replication for an added disk, complete the following:
In the vault, go to Replicated Items and select the virtual machine to which you added the disk.
Select Disks > Data disks section of the protected item, and then select the data disk for which you want to enable replication (these disks have a Not protected status).
Note
If the enable replication operation for this disk fails, you can resolve the issues and retry the operation.
In Disk Details, select Enable replication.

Confirm Enable Replication

After the enable replication job runs and the initial replication finishes, the replication health warning for the disk issue is removed.
Next steps
Learn more about running a test failover.