Note
Access to this page requires authorization. You can try signing in or changing directories.
Access to this page requires authorization. You can try changing directories.
This tutorial describes how to use Azure Traffic Manager to route user traffic to specific endpoints by using the priority routing method. In this routing method, you'll define the order of each endpoint that goes into Traffic Manager profile configuration. Traffic from users will be routed to the endpoint in the order they're listed. This method of routing is useful when you want to configure for service failover. The primary endpoint gets a priority number of '1' and will service all incoming requests. While endpoints of lower priority will act as backups.
In this tutorial, you learn how to:
- Create a Traffic Manager profile with priority routing.
- Add endpoints.
- Configure priority of endpoints.
- Use the Traffic Manager profile.
- Delete Traffic Manager profile.
Prerequisites
If you don't have an Azure subscription, create a trial subscription before you begin.
For the Add an endpoint section we will connect to an app service. To learn more, see Create an App Service app
To configure the priority traffic routing method
From a browser, sign in to the Azure portal.
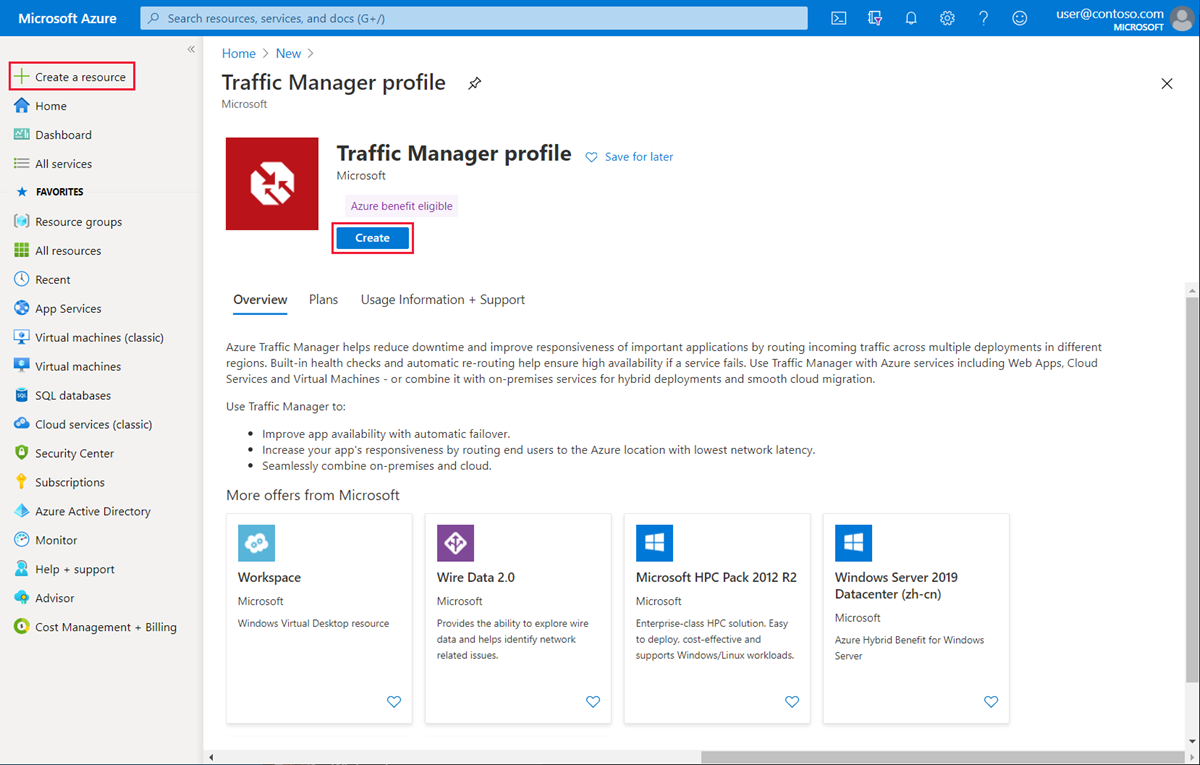
Select + Create a resource on the left side. Search for Traffic Manager profile and select Create.
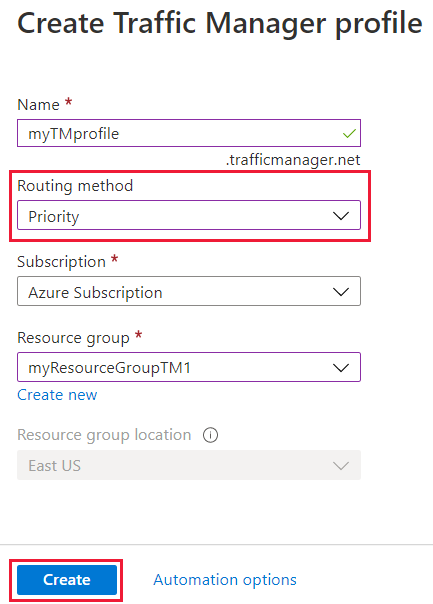
In the Create Traffic Manager profile page, define the following settings:
Setting Value Name Provide a name for your profile. This name needs to be unique within the trafficmanager.cn zone. To access your Traffic Manager profile, you use the DNS name <profilename>.trafficmanager.cn.Routing method Select Priority. Subscription Select your subscription. Resource group Use an existing resource group or create a new resource group to place this profile under. If you choose to create a new resource group, use the Resource Group location dropdown to specify the location of the resource group. This setting refers to the location of the resource group, and has no impact on the Traffic Manager profile that's deployed globally. Select Create to deploy your Traffic Manager profile.
Add endpoints
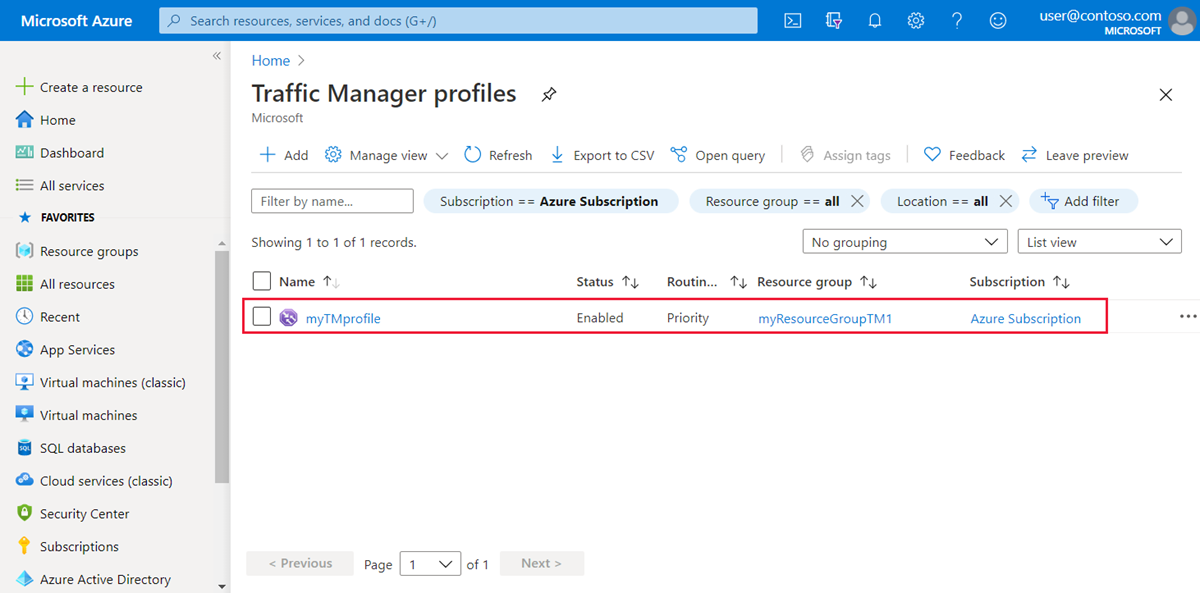
Select the Traffic Manager profile from the list.
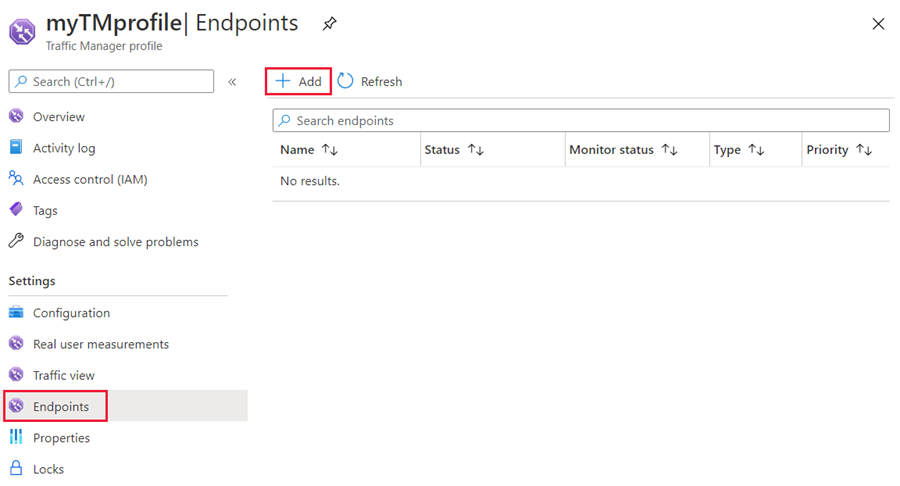
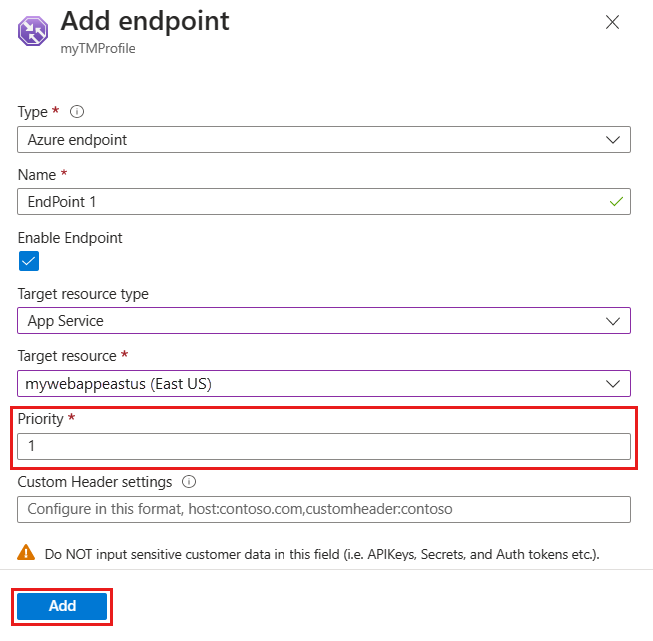
Select Endpoints under Settings and select + Add to add a new endpoint.
Select or enter the following settings:
Setting Value Type Select the endpoint type. Name Give a name to identify this endpoint. Target resource type Select the resource type for the target. Target resource Select the resource from the list. Priority Give a priority number for this endpoint. 1 is the highest priority. Select Add to add the endpoint. Repeat step 2 and 3 to add additional endpoints. Remember to set the appropriate priority number.
On the Endpoints page, review the priority order for your endpoints. When you select the Priority traffic routing method, the order of the selected endpoints matters. Verify the priority order of endpoints. The primary endpoint is on top. Double-check on the order it's displayed. All requests will be routed to the first endpoint and if Traffic Manager detects it 's unhealthy, the traffic automatically fails over to the next endpoint.
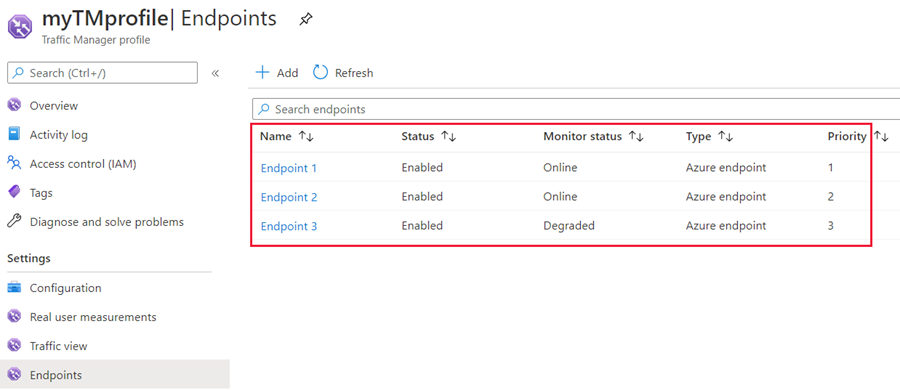
To change the endpoint priority order, select the endpoint, change the priority value, and select Save to save the endpoint settings.
Use the Traffic Manager profile
In the portal's search bar, search for the Traffic Manager profile name that you created in the preceding section and select on the traffic manager profile in the results that the displayed.

The Traffic Manager profile overview page displays the DNS name of your newly created Traffic Manager profile. This can be used by any clients (for example, by navigating to it using a web browser) to get routed to the right endpoint as determined by the routing type. In this case, all requests get routed to the first endpoint and if Traffic Manager detects it's unhealthy, the traffic automatically fails over to the next endpoint.
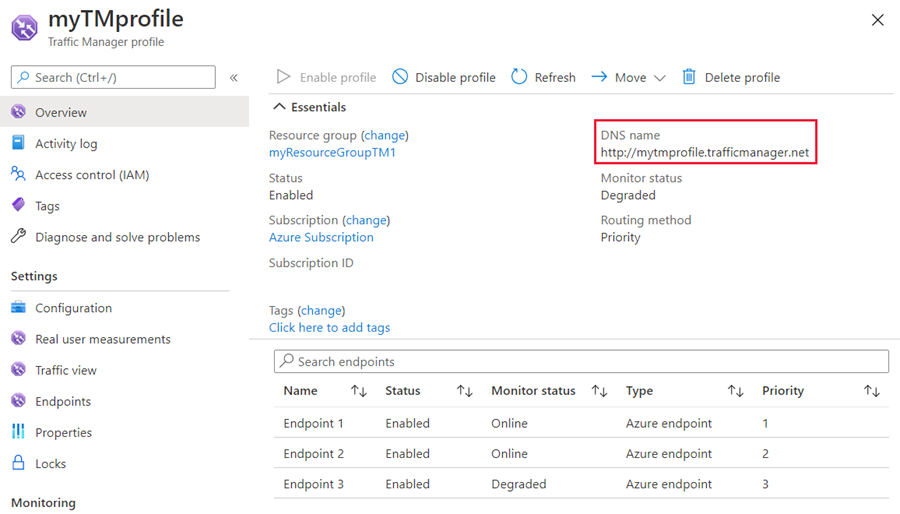
Once your Traffic Manager profile is working, edit the DNS record on your authoritative DNS server to point your company domain name to the Traffic Manager domain name.
Clean up resources
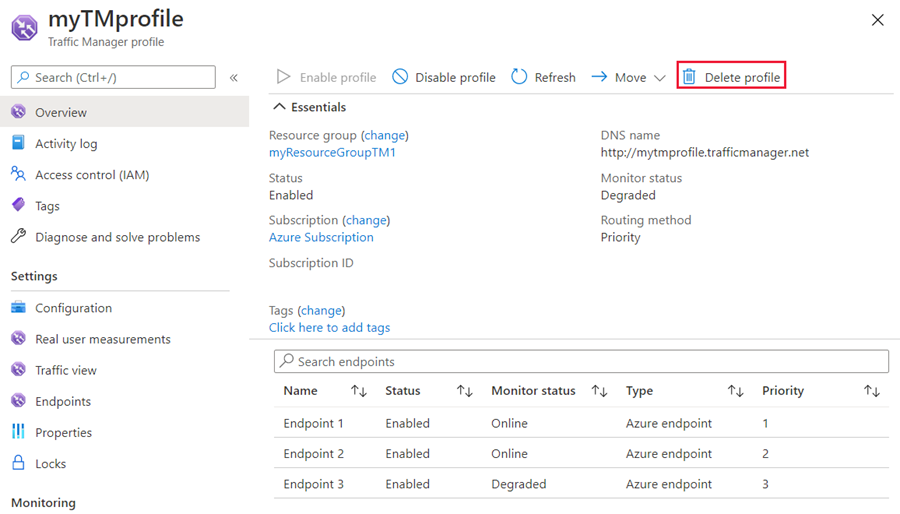
If you not longer need the Traffic Manager profile, locate the profile and select Delete profile.
Next steps
To learn more about priority routing method, see: