Note
Access to this page requires authorization. You can try signing in or changing directories.
Access to this page requires authorization. You can try changing directories.
A common traffic routing method pattern is to provide a set of identical endpoints, which include cloud services and websites, and send traffic to each equally. The following steps outline how to configure this type of traffic routing method.
Note
Azure Web App already provides round-robin load balancing functionality for websites within an Azure Region (which may comprise multiple datacenters). Traffic Manager allows you to distribute traffic across websites in different datacenters.
In this tutorial, you learn how to:
- Create a Traffic Manager profile with weighted routing.
- Use the Traffic Manager profile.
- Delete Traffic Manager profile.
Prerequisites
- An Azure account with an active subscription. Create a trial subscription.
- A Traffic Manager profile. To learn more see, Create a Traffic Manager profile.
Configure the weighted traffic routing method
From a browser, sign in to the Azure portal.
In the portal's search bar, search for the Traffic Manager profile name that you created in the preceding section and select on the traffic manager profile in the results that the displayed.

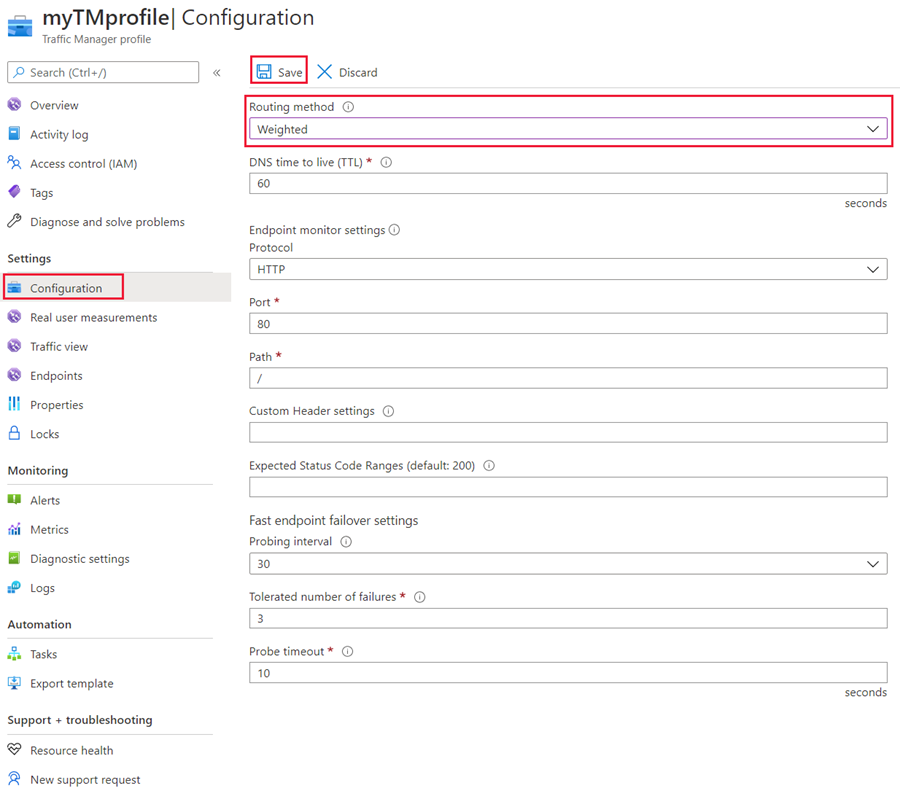
Select Configuration and select or enter the following settings:
Setting Value Routing method Select Weighted. DNS time to live (TTL) This value controls how often the client's local caching name server will query the Traffic Manager system for updated DNS entries. Any change that occurs with Traffic Manager, such as traffic routing method changes or changes in the availability of added endpoints, will take this period of time to be refreshed throughout the global system of DNS servers. Protocol Select a protocol for endpoint monitoring. Options: HTTP, HTTPS, and TCP Port Specify the port number. Path To monitor endpoints, you must specify a path and filename. A forward slash "/" is a valid entry for the relative path and implies that the file is in the root directory (default). Custom Header settings Configure the Custom Headers in format host:contoso.com,newheader:newvalue. Maximum supported pair is 8. Applicable for HTTP and HTTPS protocol. Applicable for all endpoints in the profile Expected Status Code Ranges (default: 200) Configure the Status Code Ranges in format 200-299,301-301. Maximum supported range is 8. Applicable for HTTP and HTTPS protocol. Applicable for all endpoints in the profile Probing interval Configure the time interval between endpoint health probes. You can choose 10 or 30 seconds. Tolerate number of failures Configure the number of health probe failures tolerated before an endpoint failure is triggered. You can enter a number between 0 and 9. Probe timeout Configure the time required before an endpoint health probe times out. This value must be at least 5 and smaller than the probing interval value. Select Save to complete the configuration.

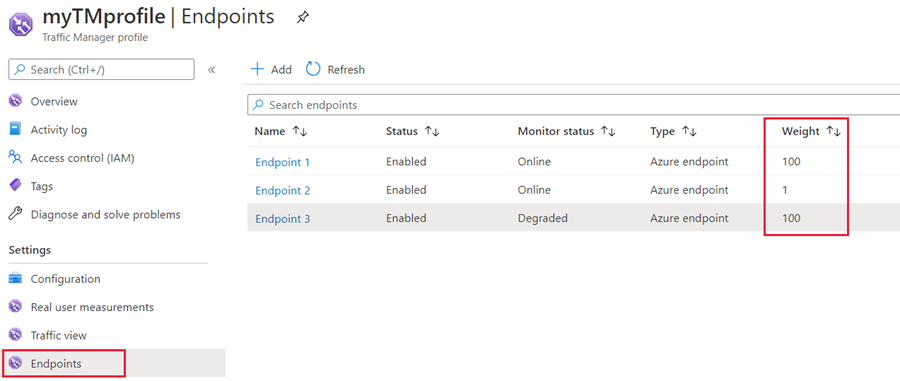
Select Endpoints and configure the weight of each endpoint. Weight can be between 1-1000. The higher the weight, the higher the priority.

Use the Traffic Manager profile
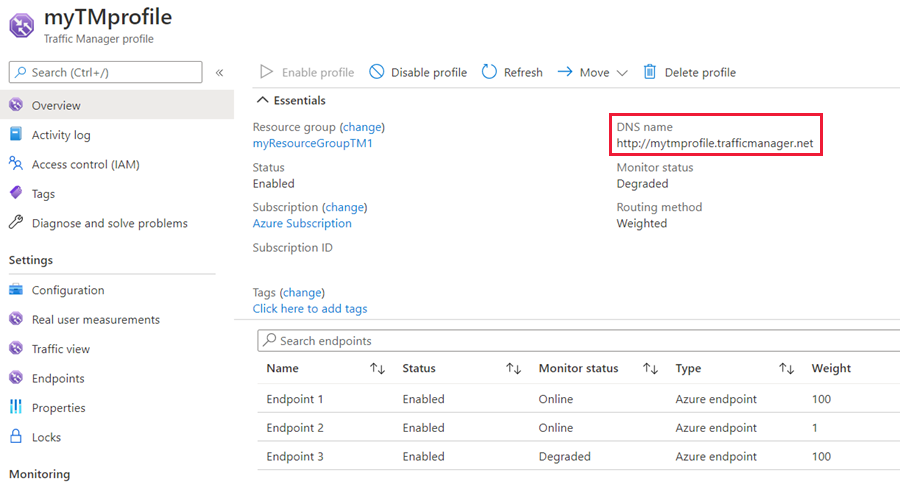
The Traffic Manager profile displays the DNS name of your newly created Traffic Manager profile. The name can be used by any clients (for example, by navigating to it using a web browser) to get routed to the right endpoint as determined by the routing type. In this case, all requests are routed each endpoint in a round-robin fashion.

Clean up resources
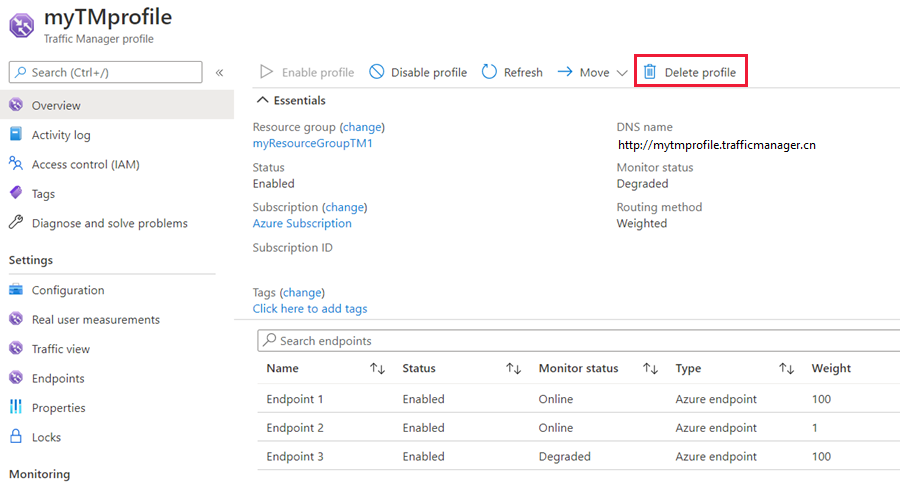
If you not longer need the Traffic Manager profile, locate the profile and select Delete profile.

Next steps
To learn more about weighted routing method, see: