Note
Access to this page requires authorization. You can try signing in or changing directories.
Access to this page requires authorization. You can try changing directories.
By using Azure Update Manager, you can update automatically at scale with the help of built-in policies and schedule updates on a recurring basis. You can also take control by checking and installing updates manually.
This quickstart explains how to perform manual assessment and apply updates on selected Azure virtual machines (VMs) or an Azure Arc-enabled server on-premises or in cloud environments.
Prerequisites
- An Azure account with an active subscription. If you don't have one yet, sign up for a Trial.
- Your role must be either an Owner or Contributor for an Azure VM and resource administrator for Azure Arc-enabled servers.
- Ensure that the target machines meet the specific operating system requirements of the Windows Server and Linux. For more information, see Overview.
Check updates
Sign in to the Azure portal and go to Azure Update Manager.
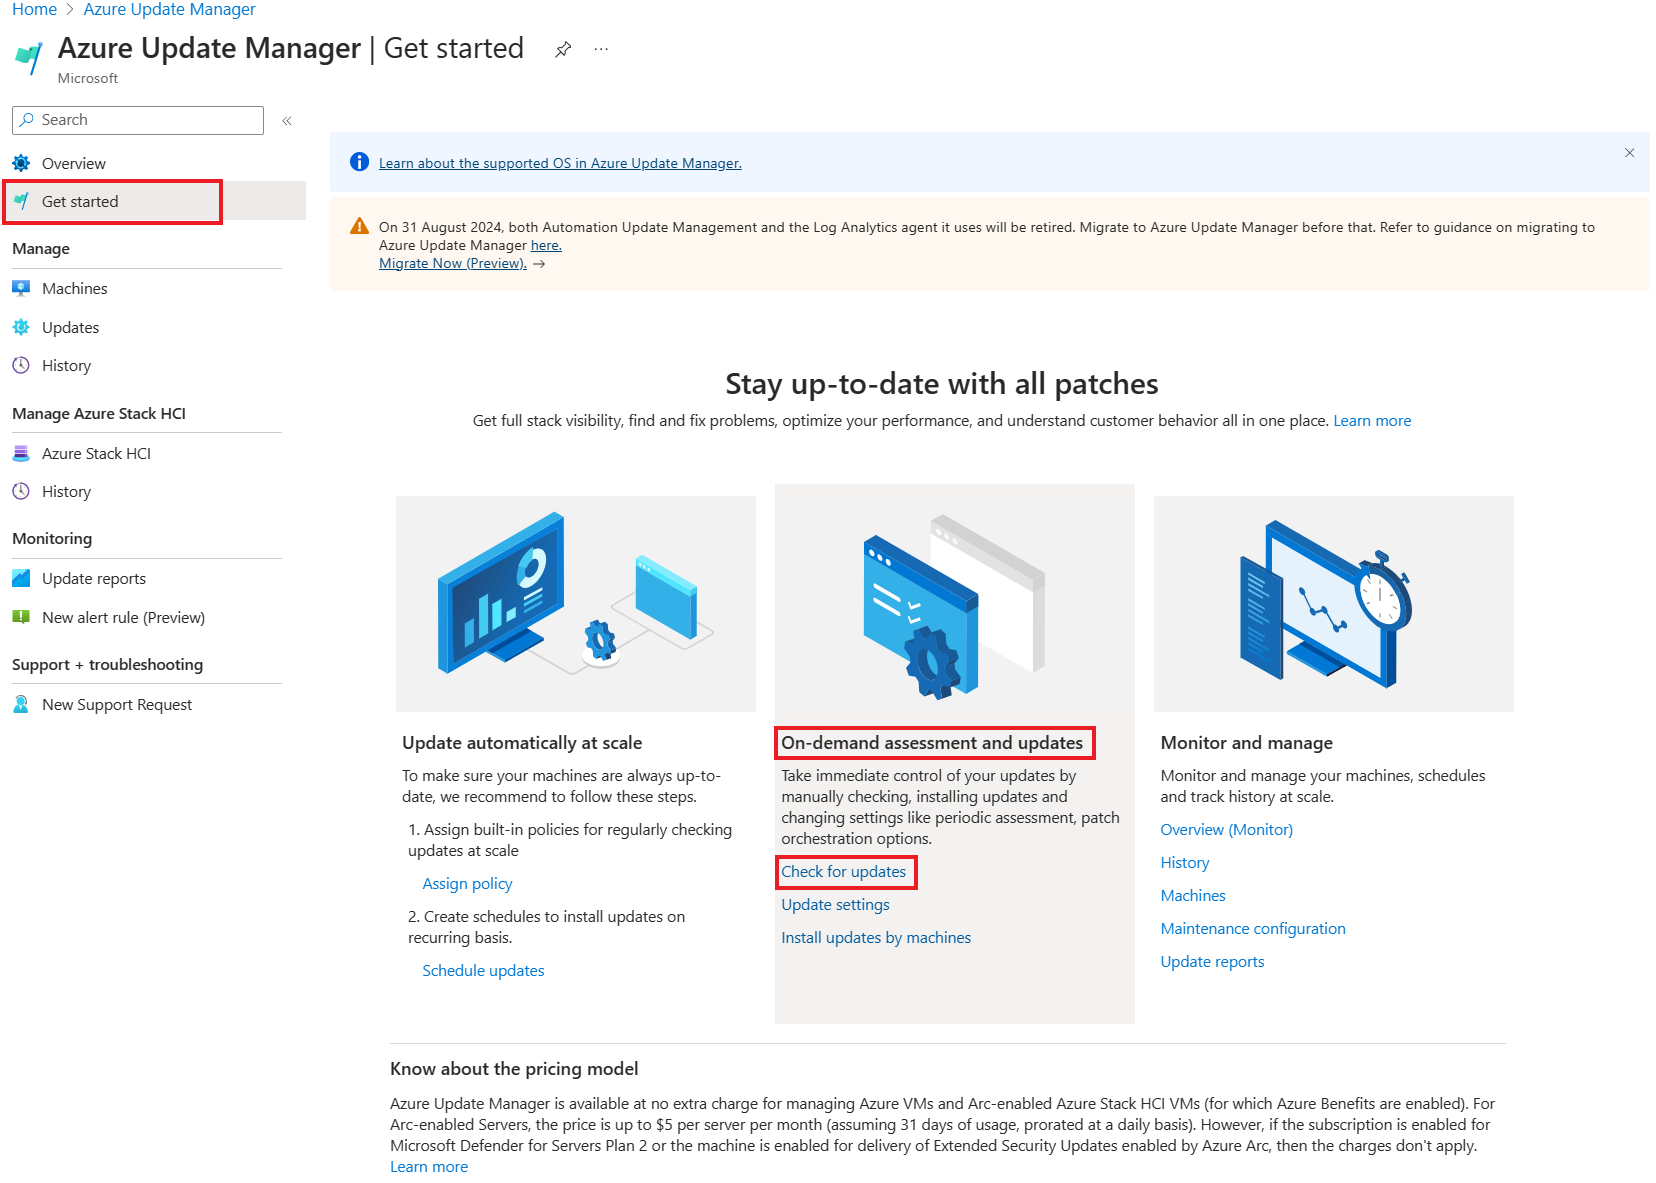
Select Get started > On-demand assessment and updates > Check for updates.

On the Select resources and check for updates pane, a table lists all the machines in the specific Azure subscription.
Select one or more machines from the list and select Check for updates to initiate a compliance scan.
After the assessment is finished, a confirmation message appears in the upper-right corner of the page.
Configure settings
For the assessed machines that are reporting updates, you can configure periodic assessment, hotpatching, and patch orchestration either immediately or schedule the updates by defining the maintenance window.
To configure the settings on your machines:
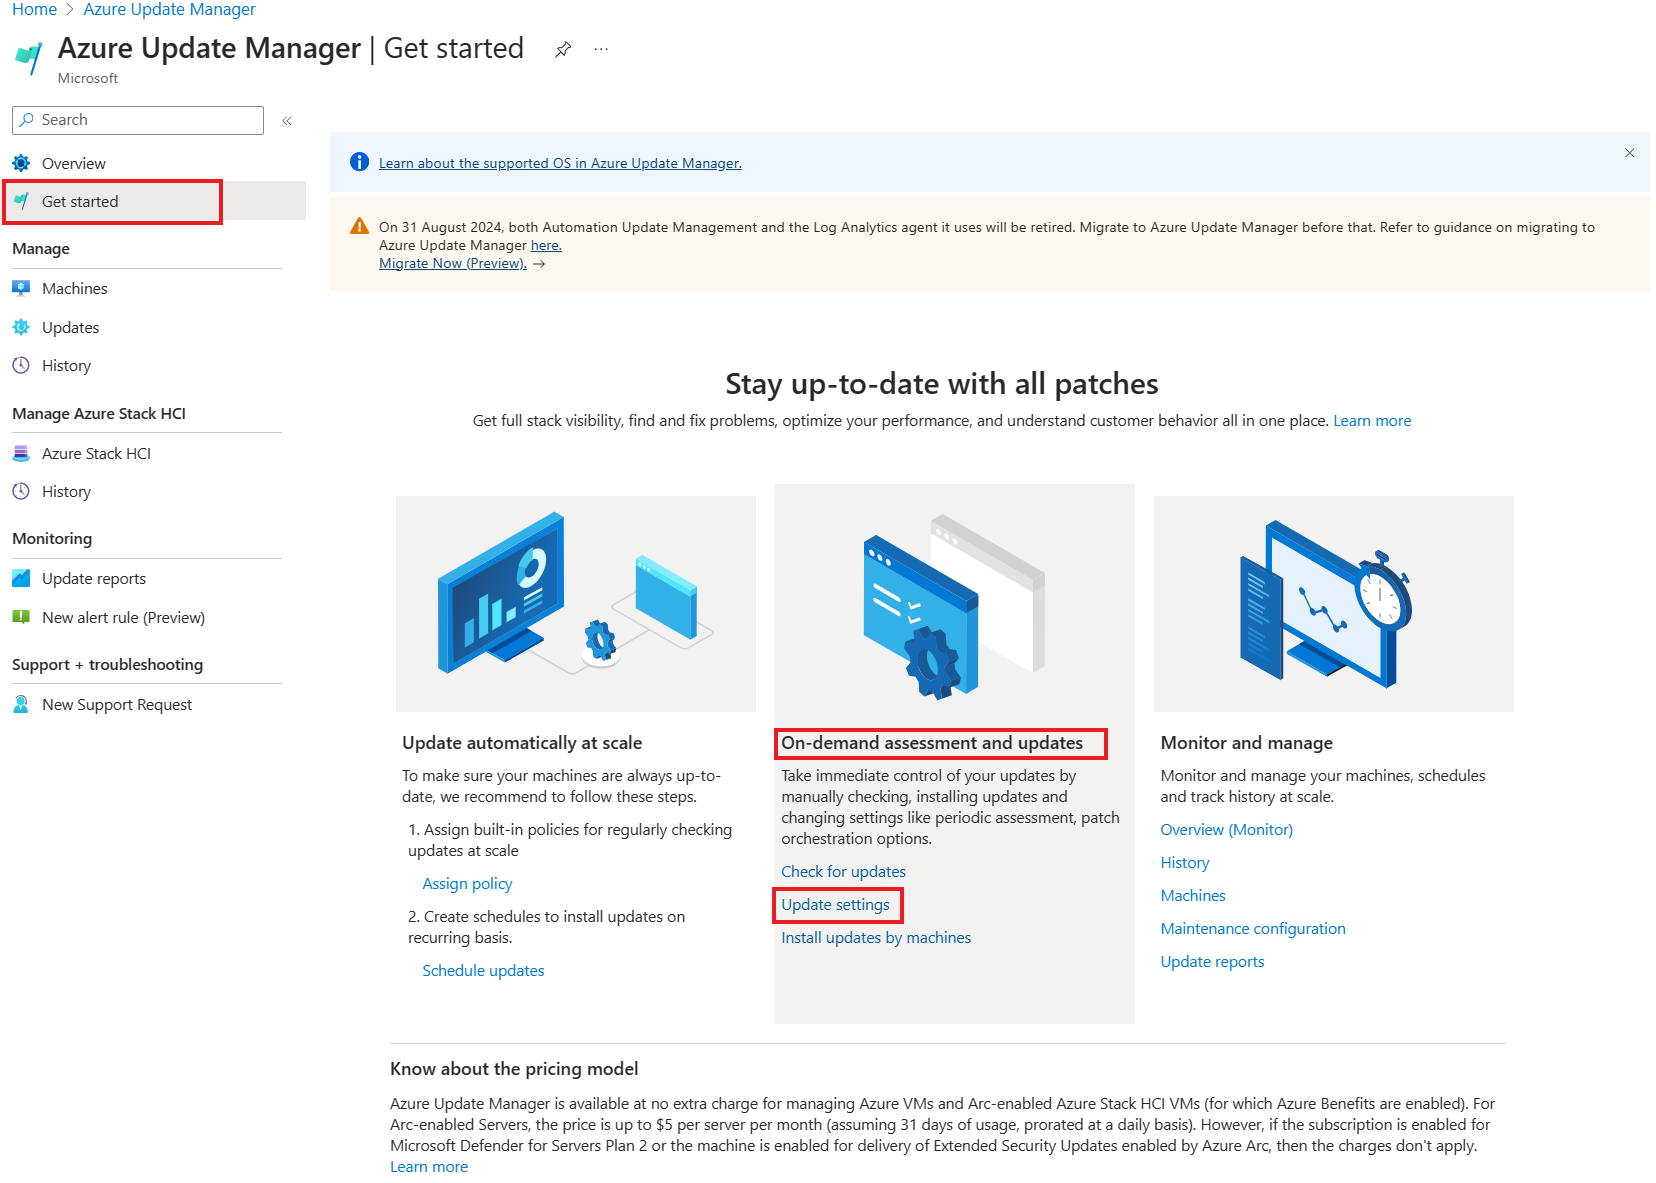
On the Azure Update Manager | Get started page, in On-demand assessment and updates, select Update settings.

On the Update settings to change page, select Periodic assessment, Hotpatch, or Patch orchestration to configure. Select Next. For more information, see Configure settings on virtual machines.
On the Review and change tab, verify the resource selection and update settings and select Review and change.
A notification confirms that the update settings were successfully applied.
Install updates
Based on the last assessment performed on the selected machines, you can now select resources and machines to install the updates.
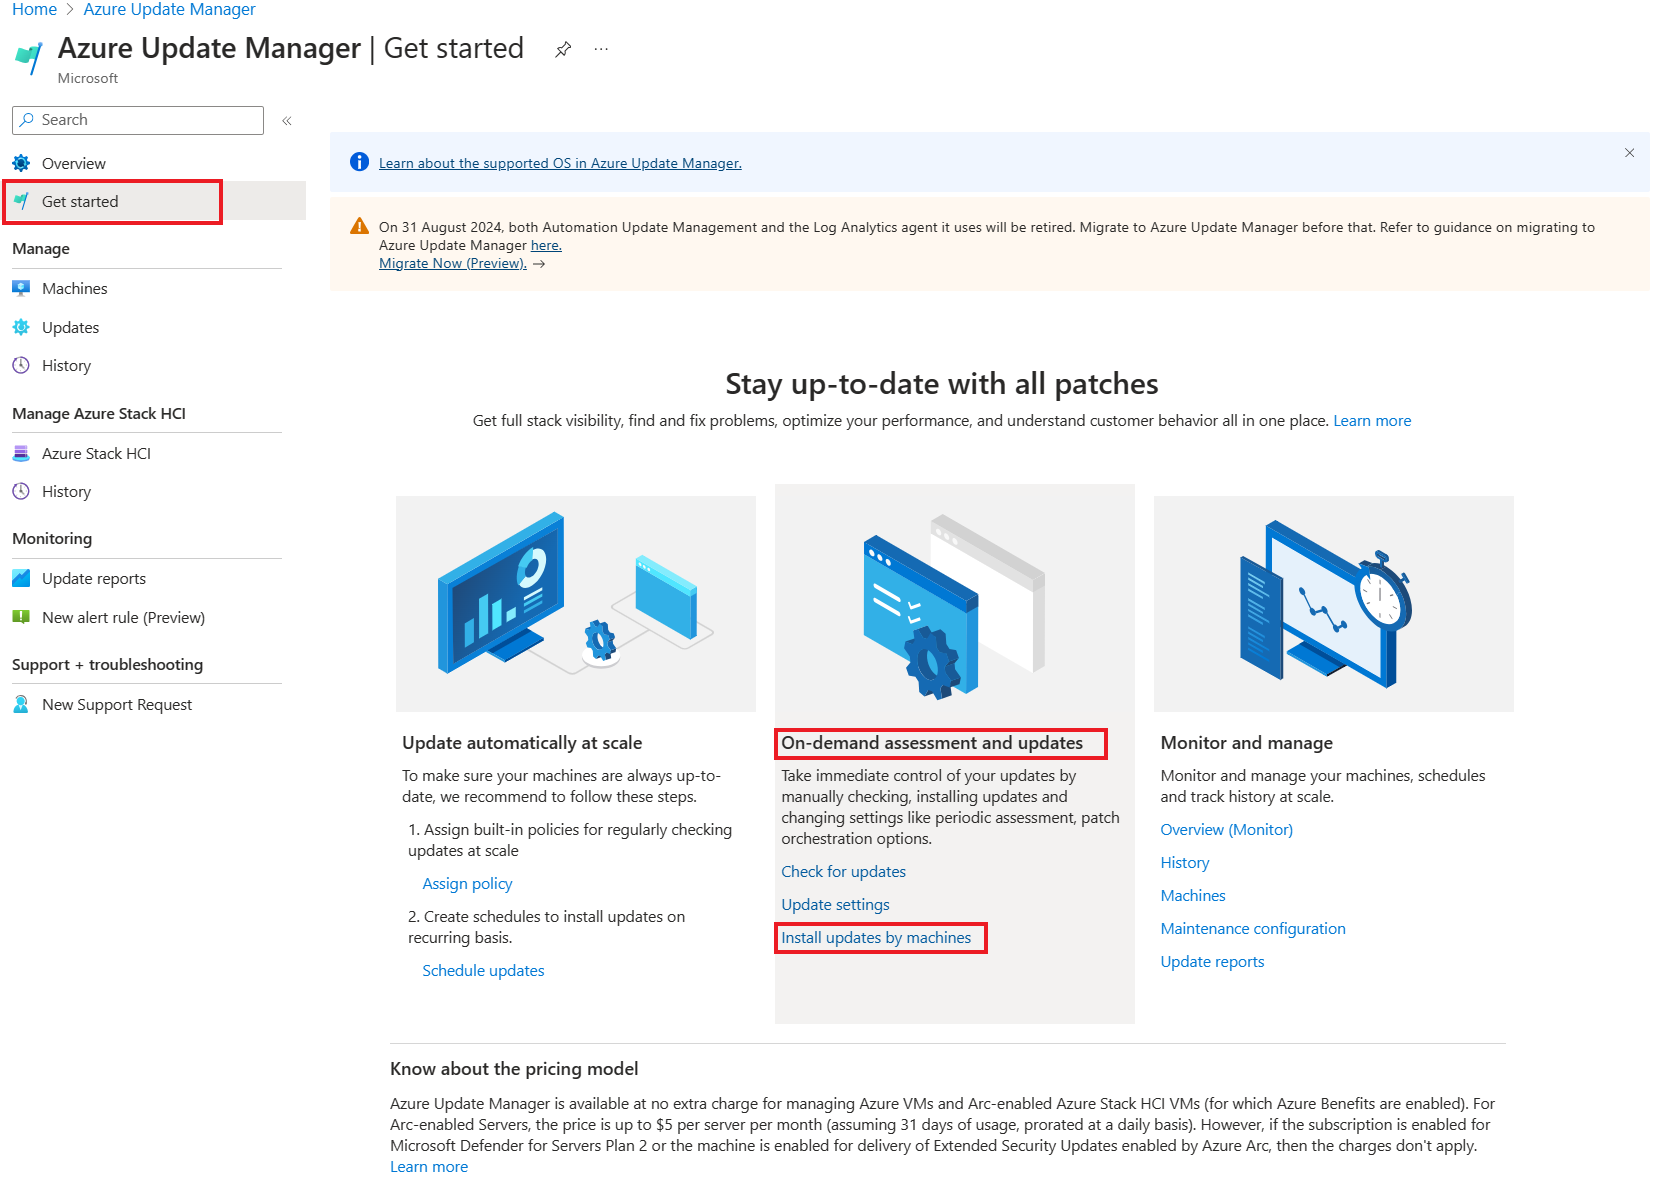
On the Azure Update Manager | Get started page, in On-demand assessment and updates, select Install updates by machines.

On the Install one-time updates pane, select one or more machines from the list on the Machines tab. Select Next.
On the Updates tab, specify the updates to include in the deployment and select Next:
- Include update classification.
- Include the Knowledge Base (KB) ID/package, by specific KB IDs or package. For Windows, see the Microsoft Security Response Center (MSRC) for the latest information.
- Exclude the KB ID/package that you don't want to install as part of the process. Updates not shown in the list can be installed based on the time between last assessment and release of new updates.
- Include by maximum patch publish date includes the updates published on or before a specific date.
On the Properties tab, select Reboot and Maintenance window (in minutes). Select Next.
On the Review + install tab, verify the update deployment options and select Install.
A notification confirms that the installation of updates is in progress. After the update is finished, you can view the results on the Update Manager | History page.
Next steps
Learn about managing multiple machines.