本文介绍如何使用 Azure 门户标记资源。 有关标记建议和限制,请参阅 使用标记来组织 Azure 资源和管理层次结构。
添加标记
如果用户没有添加标记所需的访问权限,请向该用户分配“标记参与者”角色。 有关详细信息,请参阅 教程:使用 RBAC 和 Azure 门户向用户授予对 Azure 资源的访问权限。
若要查看资源或资源组的标记,请在概述中查找现有标记。 如果以前未应用标记,则该列表为空。
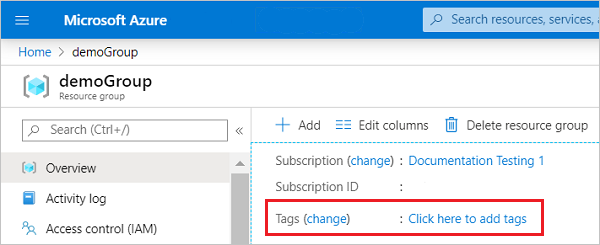
若要添加标记,请选择“添加标记”。
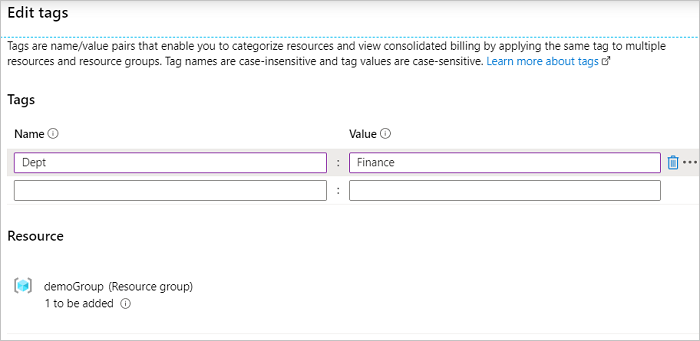
提供名称和值。
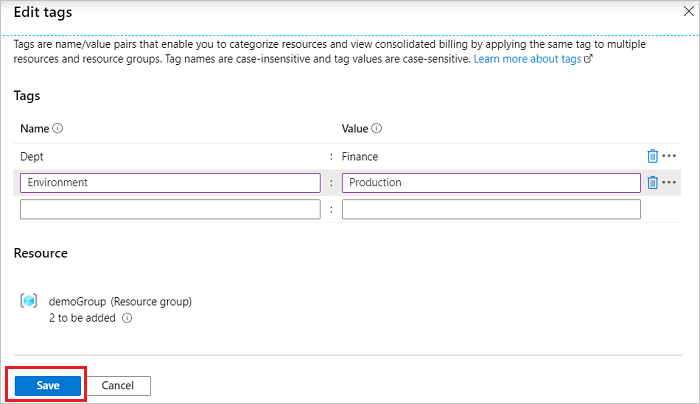
根据需要继续添加标记。 完成后,选择“保存”。
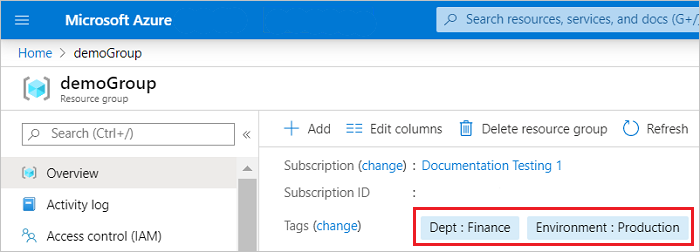
标记现已显示在概述中。
编辑标记
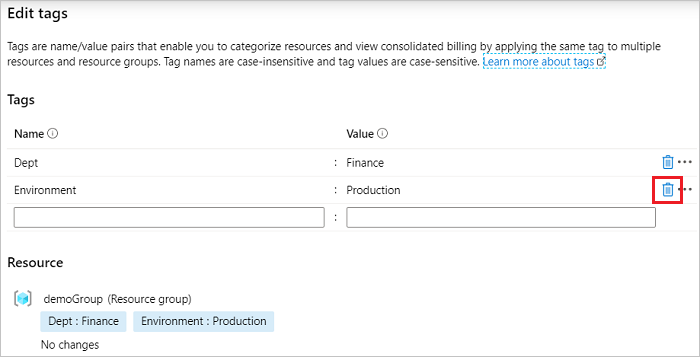
若要添加或删除标记,请选择“更改”。
若要删除标记,请选择回收站图标。 然后选择“保存”。
向多个资源添加标记
将标记批量分配到多个资源:
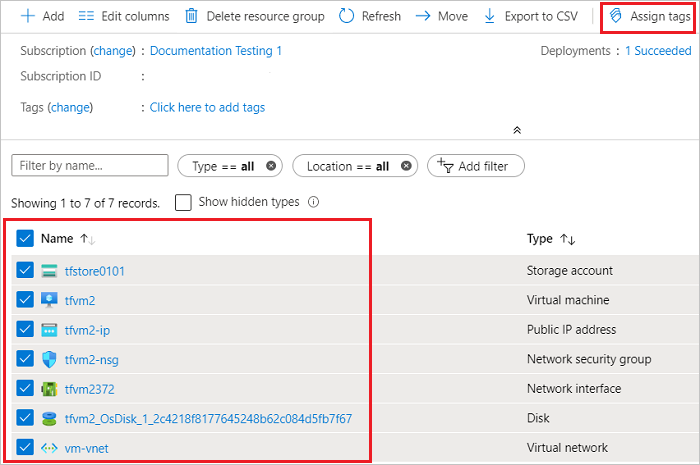
从任意资源列表中,选中想要分配标记的资源的复选框。 然后,选择“分配标签”。
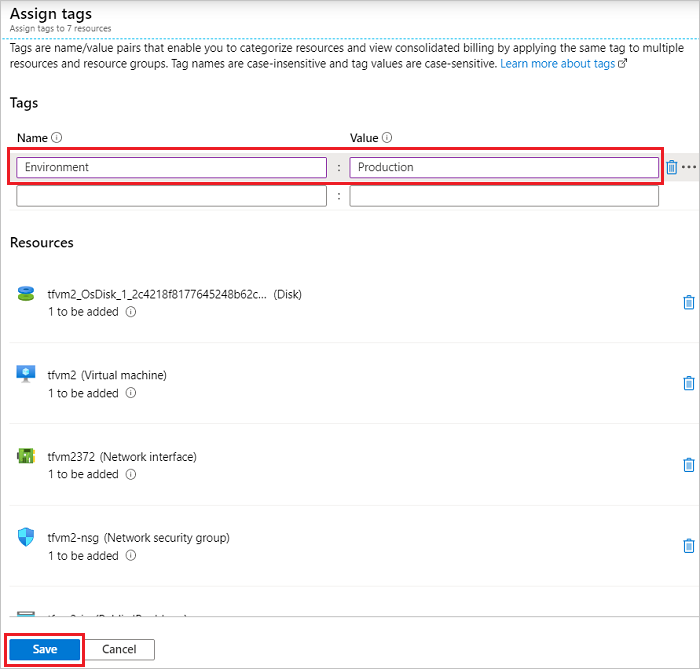
添加名称和值。 完成后,选择“保存”。
按标记查看资源
查看所有具有标记的资源:
在 Azure 门户菜单上,搜索“tags”。 从可用选项中选择它。
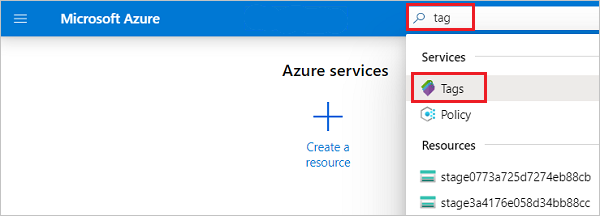
选择标记以查看资源。
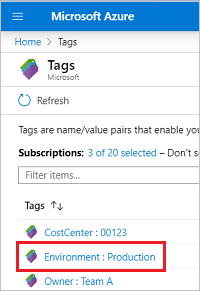
门户会显示所有具有该标记的资源。

后续步骤
- 并非所有资源类型都支持标记。 若要确定是否可以将标记应用于资源类型,请参阅 Azure 资源的标记支持。
- 有关标记建议和限制,请参阅 使用标记来组织 Azure 资源和管理层次结构。