本指南使用目标筛选器向 Python 应用程序的目标受众推出功能。 有关此目标筛选器的详细信息,请参阅 向目标受众推出功能。
先决条件
- 拥有有效订阅的 Azure 帐户。 创建试用版订阅。
- 应用配置存储区,如 创建存储区的教程所示。
- 具有目标筛选器的 Beta 功能标志。 创建功能标志。
- Python 3.8 或更高版本。
使用功能标志创建 Web 应用程序
在本部分中,你将创建一个 Web 应用程序,该应用程序使用 Beta 功能标志 来控制对网页 beta 版本的访问。
设置 Python Flask 项目
创建一
targeting-filter-tutorial个名为的文件夹并导航到该文件夹。mkdir targeting-filter-tutorial cd targeting-filter-tutorial创建虚拟环境并激活它。
# For Windows
python -m venv venv
venv\Scripts\activate

# For macOS/Linux
python -m venv venv
source venv/bin/activate
安装以下包。
pip install azure-appconfiguration-provider
pip install azure-identity
pip install featuremanagement
pip install flask
创建名为 app.py 的新文件,并添加以下代码。
from flask import Flask

app = Flask(__name__)

if __name__ == "__main__":
    app.run(debug=True)
连接到 Azure 应用配置
更新 app.py 并添加以下代码。
from flask import Flask
import os
from azure.identity import DefaultAzureCredential
from azure.appconfiguration.provider import load
from featuremanagement import FeatureManager

app = Flask(__name__)

# Get the App Configuration endpoint from environment variables
app_config_endpoint = os.environ.get("AZURE_APPCONFIG_ENDPOINT")

# Declare App Configuration and feature manager variables
azure_app_config = None
feature_manager = None

def initialize_config():
    global azure_app_config, feature_manager
    # Load feature flags from App Configuration
    azure_app_config = load(
        endpoint=app_config_endpoint,
        credential=DefaultAzureCredential(),
        feature_flag_enabled=True,
        feature_flag_refresh_enabled=True
    )

    # Create a feature manager with the loaded configuration
    feature_manager = FeatureManager(azure_app_config)

# Flask route before the request to refresh configuration
@app.before_request
def refresh_config():
    if azure_app_config:
        azure_app_config.refresh()

if __name__ == "__main__":
    # Initialize configuration before starting the app
    initialize_config()

    app.run(debug=True)
连接到 Azure 应用配置以加载功能标志、启用自动刷新,并创建一个
FeatureManager对象,以便稍后访问功能标志。app.before_request修饰器可确保在每个请求之前刷新配置。
使用功能标志
将以下代码添加到 app.py 文件中,并放在主函数之前,以便为 Flask 应用程序创建路由处理程序。 应用程序根据 Beta 功能标志是否启用提供不同的内容。
@app.route("/")
def home():
    is_beta_enabled = feature_manager.is_enabled("Beta")

    title = "Home Page"
    message = "Welcome."

    if is_beta_enabled:
        title = "Beta Page"
        message = "This is a beta page."

    return f"""
    <!DOCTYPE html>
    <html>
        <head><title>{title}</title></head>
        <body style="display: flex; justify-content: center; align-items: center; min-height: 100vh; margin: 0;">
            <h1 style="text-align: center; font-size: 5rem;">{message}</h1>
        </body>
    </html>
    """
为 Web 应用程序启用目标
在评估启用定位的功能时,需要定位上下文。 在 Python 中,需要创建一个 TargetingContext 对象并将其传递给 is_enabled 功能管理器的方法。
更新 app.py 文件以导入 TargetingContext 类并在主路由中使用:
from flask import Flask, request
from featuremanagement import FeatureManager, TargetingContext

...

@app.route("/")
def home():
    # Get targeting context from query parameters
    user_id = request.args.get("userId", "")
    groups_param = request.args.get("groups", "")
    groups = groups_param.split(",") if groups_param else []

    targeting_context = TargetingContext(user_id=user_id, groups=groups)
    is_beta_enabled = feature_manager.is_enabled("Beta", targeting_context)

    title = "Home Page"
    message = "Welcome."

    if is_beta_enabled:
        title = "Beta Page"
        message = "This is a beta page."

    return f"""
    <!DOCTYPE html>
    <html>
        <head><title>{title}</title></head>
        <body style="display: flex; justify-content: center; align-items: center; min-height: 100vh; margin: 0;">
            <h1 style="text-align: center; font-size: 5rem;">{message}</h1>
        </body>
    </html>
    """

if __name__ == "__main__":
    # Initialize configuration before starting the app
    initialize_config()

    app.run(debug=True)
实际操作中的目标筛选器
将名为 AZURE_APPCONFIG_ENDPOINT 的环境变量设置为 Azure 门户中应用商店的“概述”下找到的应用程序配置存储区的终结点。
如果使用 Windows 命令提示符,则请运行以下命令并重启命令提示符,这样更改才会生效:
setx AZURE_APPCONFIG_ENDPOINT "<AppConfigurationEndpoint>"如果使用 PowerShell,请运行以下命令:
$Env:AZURE_APPCONFIG_ENDPOINT = "<AppConfigurationEndpoint>"如果使用 macOS 或 Linux,则请运行以下命令:
export AZURE_APPCONFIG_ENDPOINT='<AppConfigurationEndpoint>'运行该应用程序。
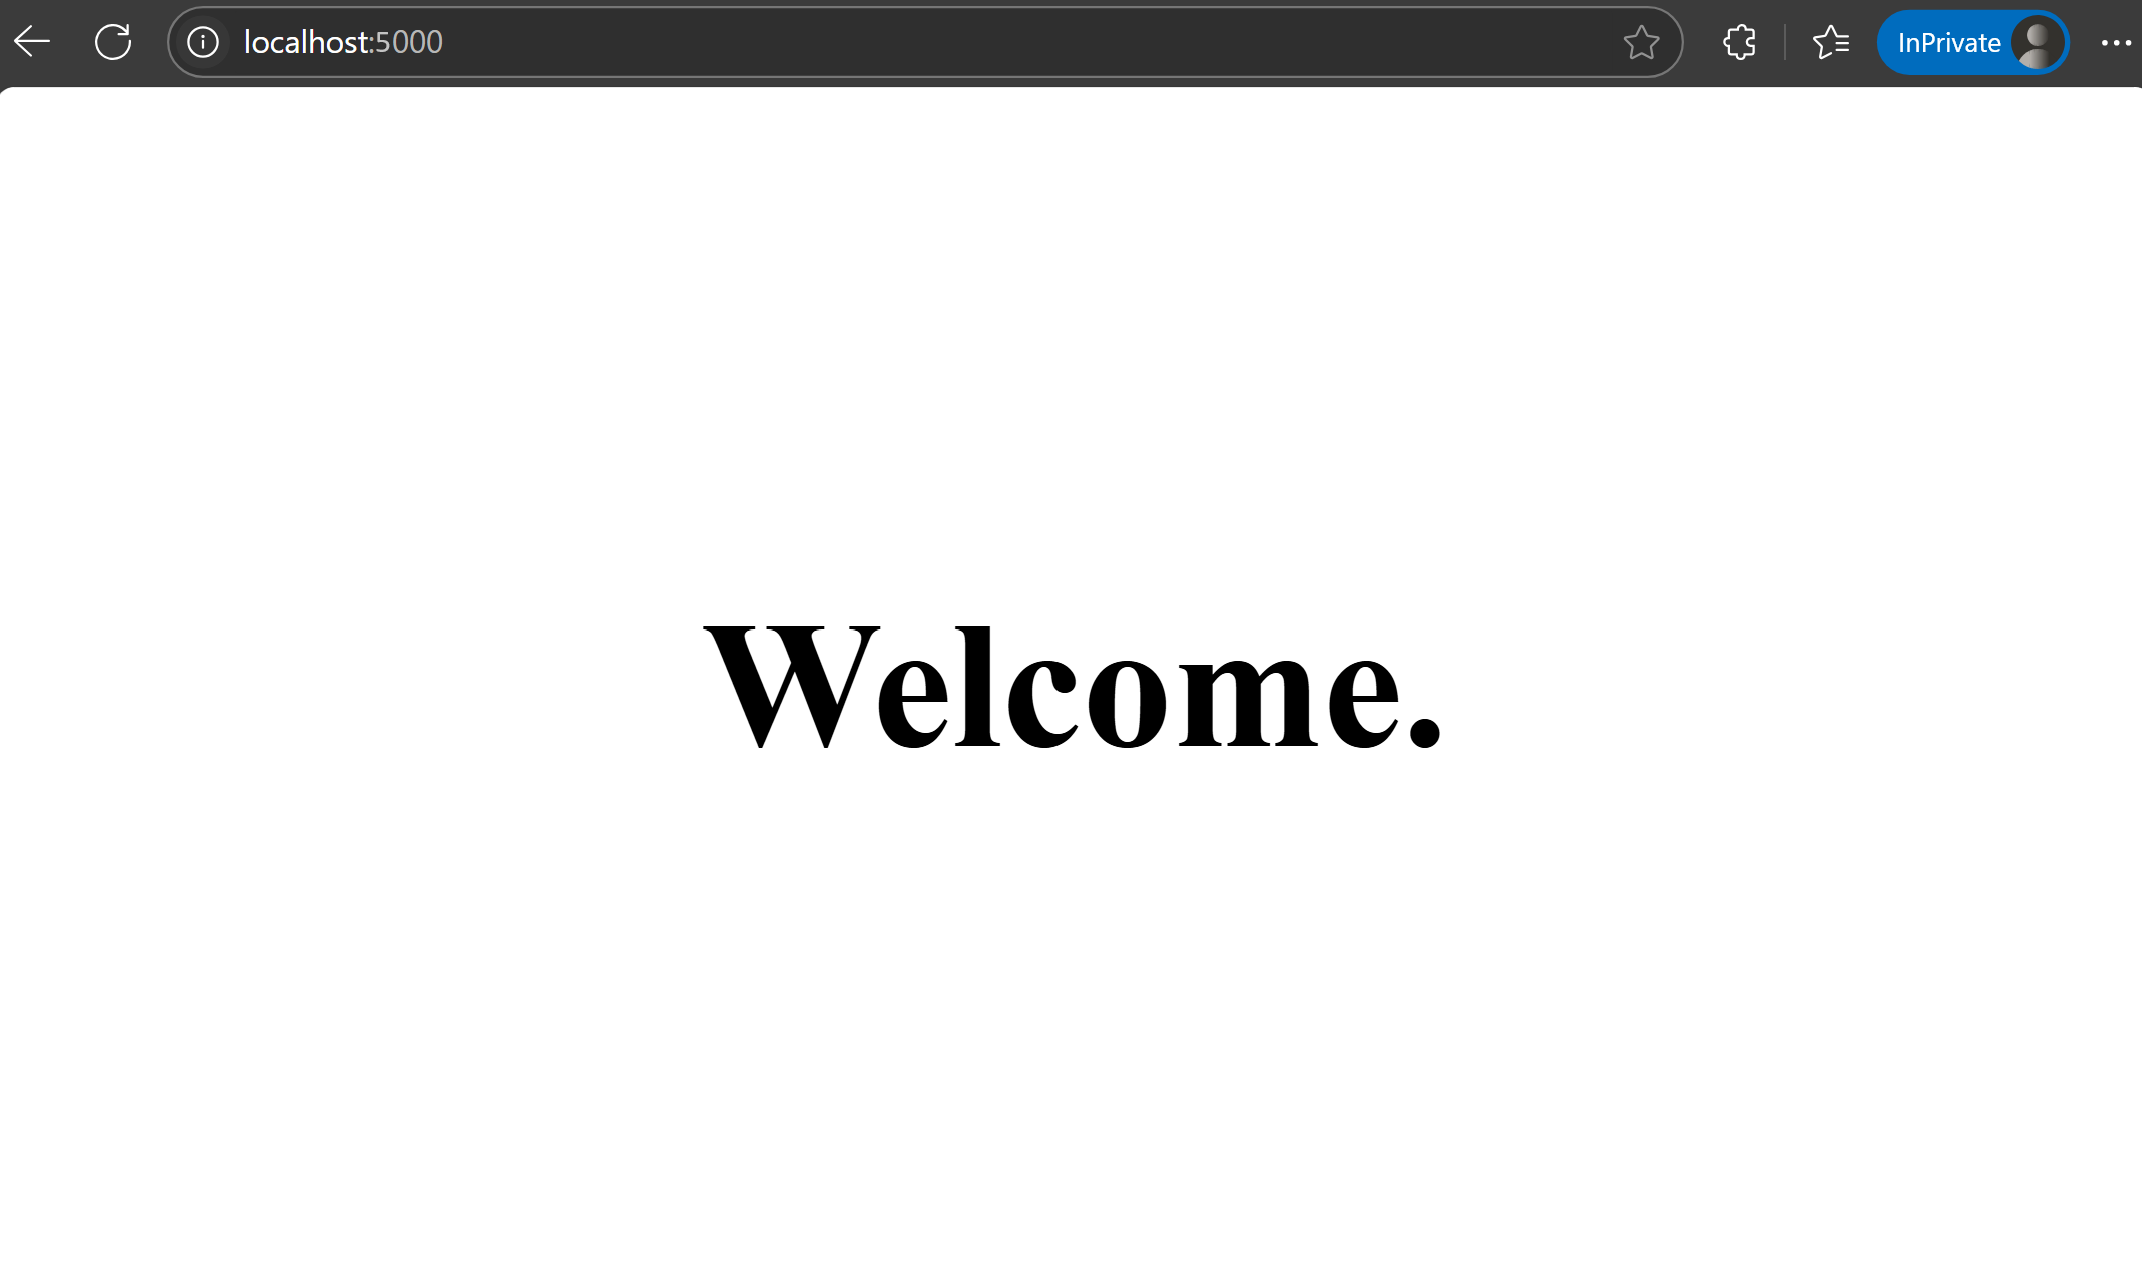
python app.py打开浏览器并导航到终端中显示的地址(默认情况下)。 http://127.0.0.1:5000 应会看到应用的默认视图。
在
userIdURL 中添加为查询参数以指定用户 ID。 访问localhost:5000/?userId=test@contoso.com。 你会看到 beta 页,因为test@contoso.com指定为目标用户。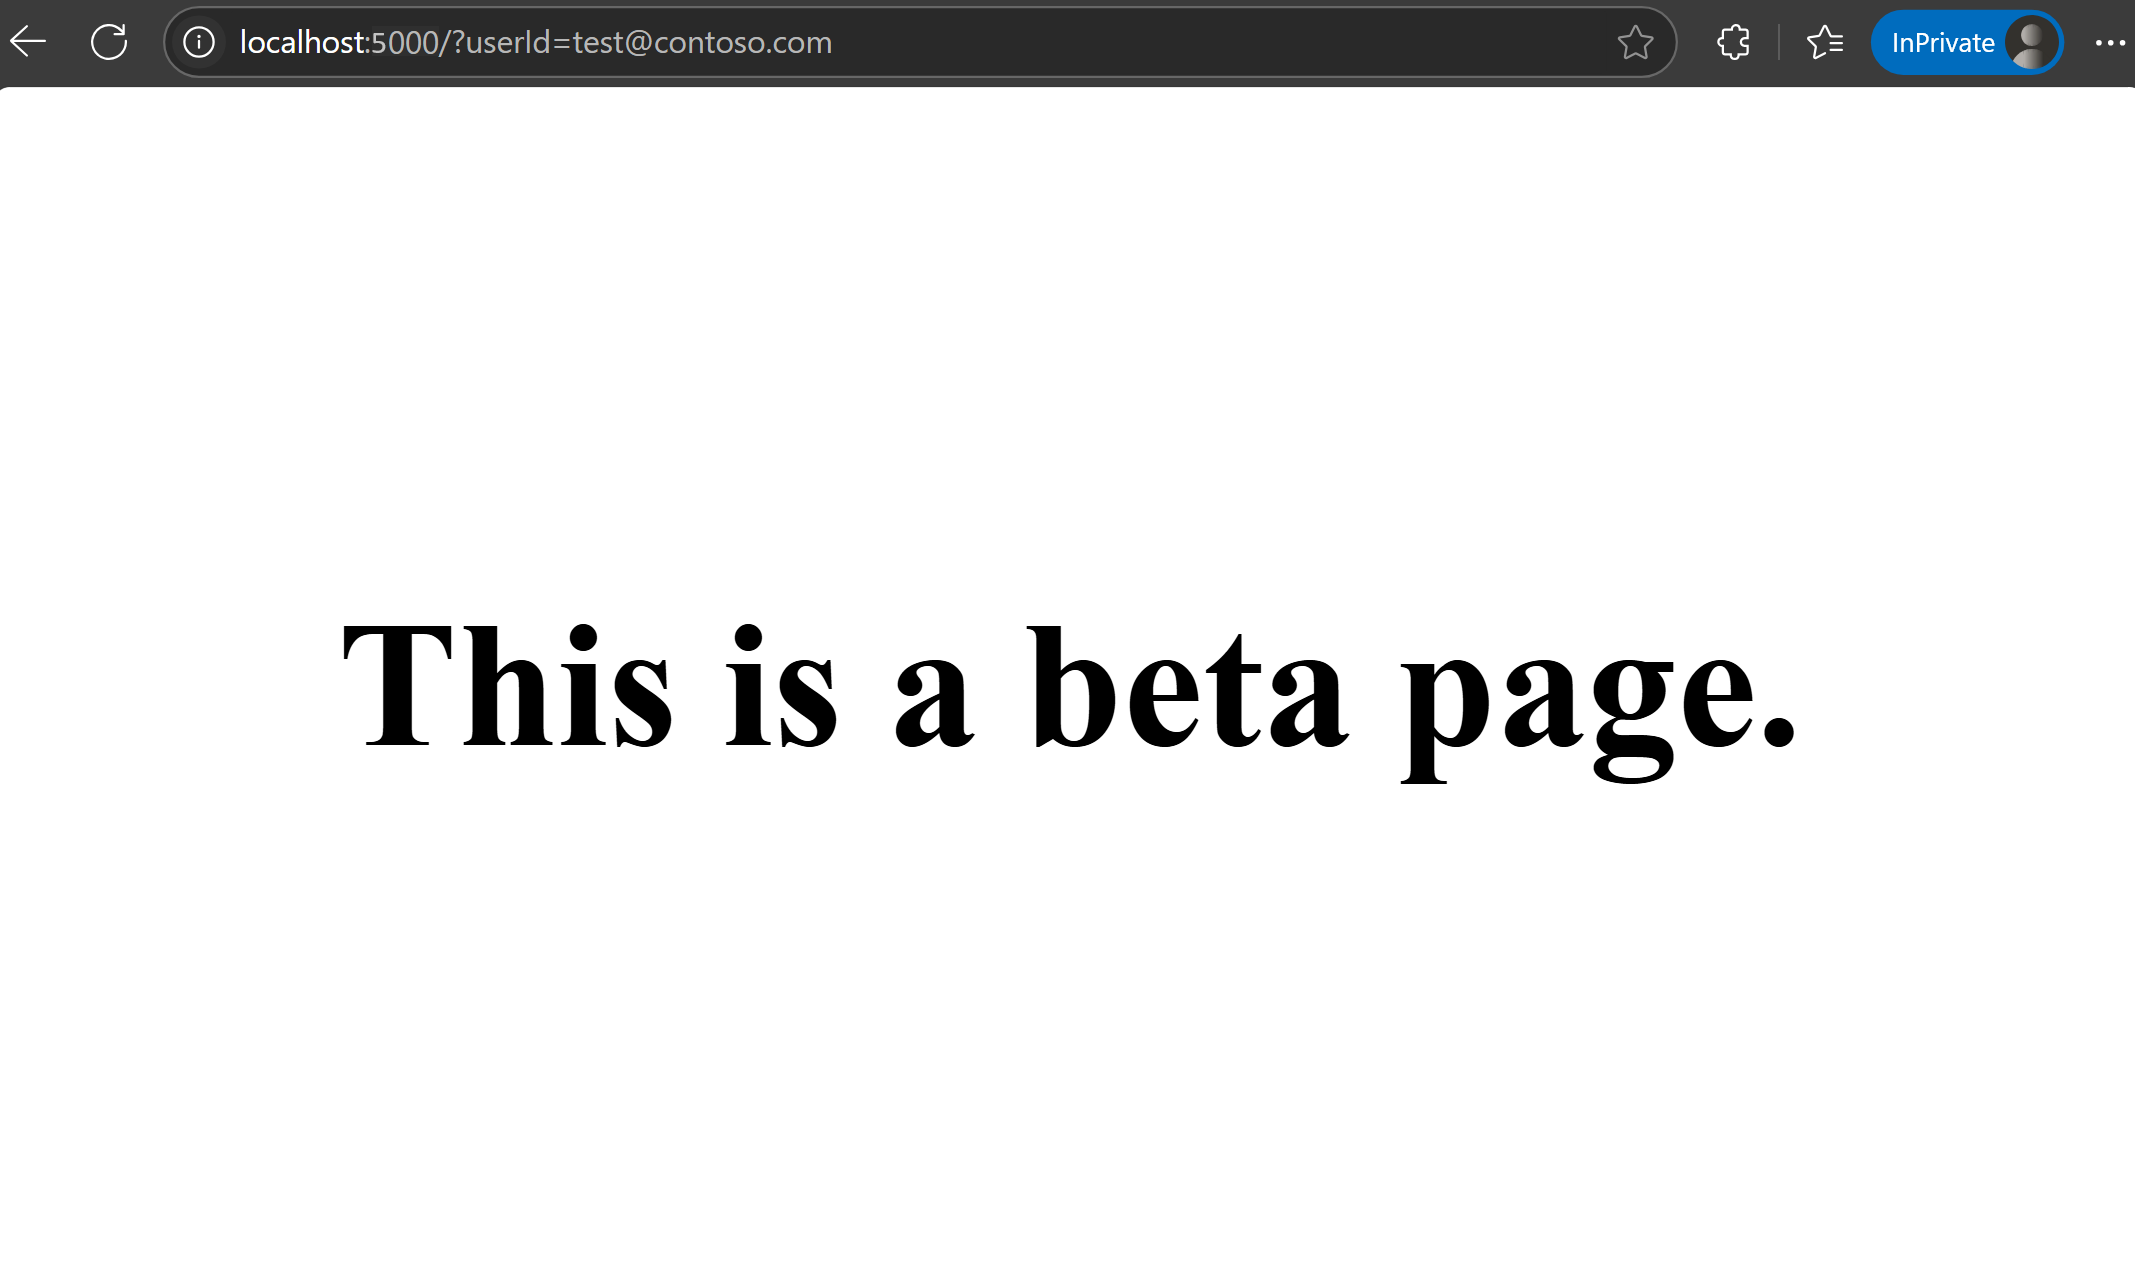
访问
localhost:5000/?userId=testuser@contoso.com。 无法看到 beta 页面,因为testuser@contoso.com已指定为已排除的用户。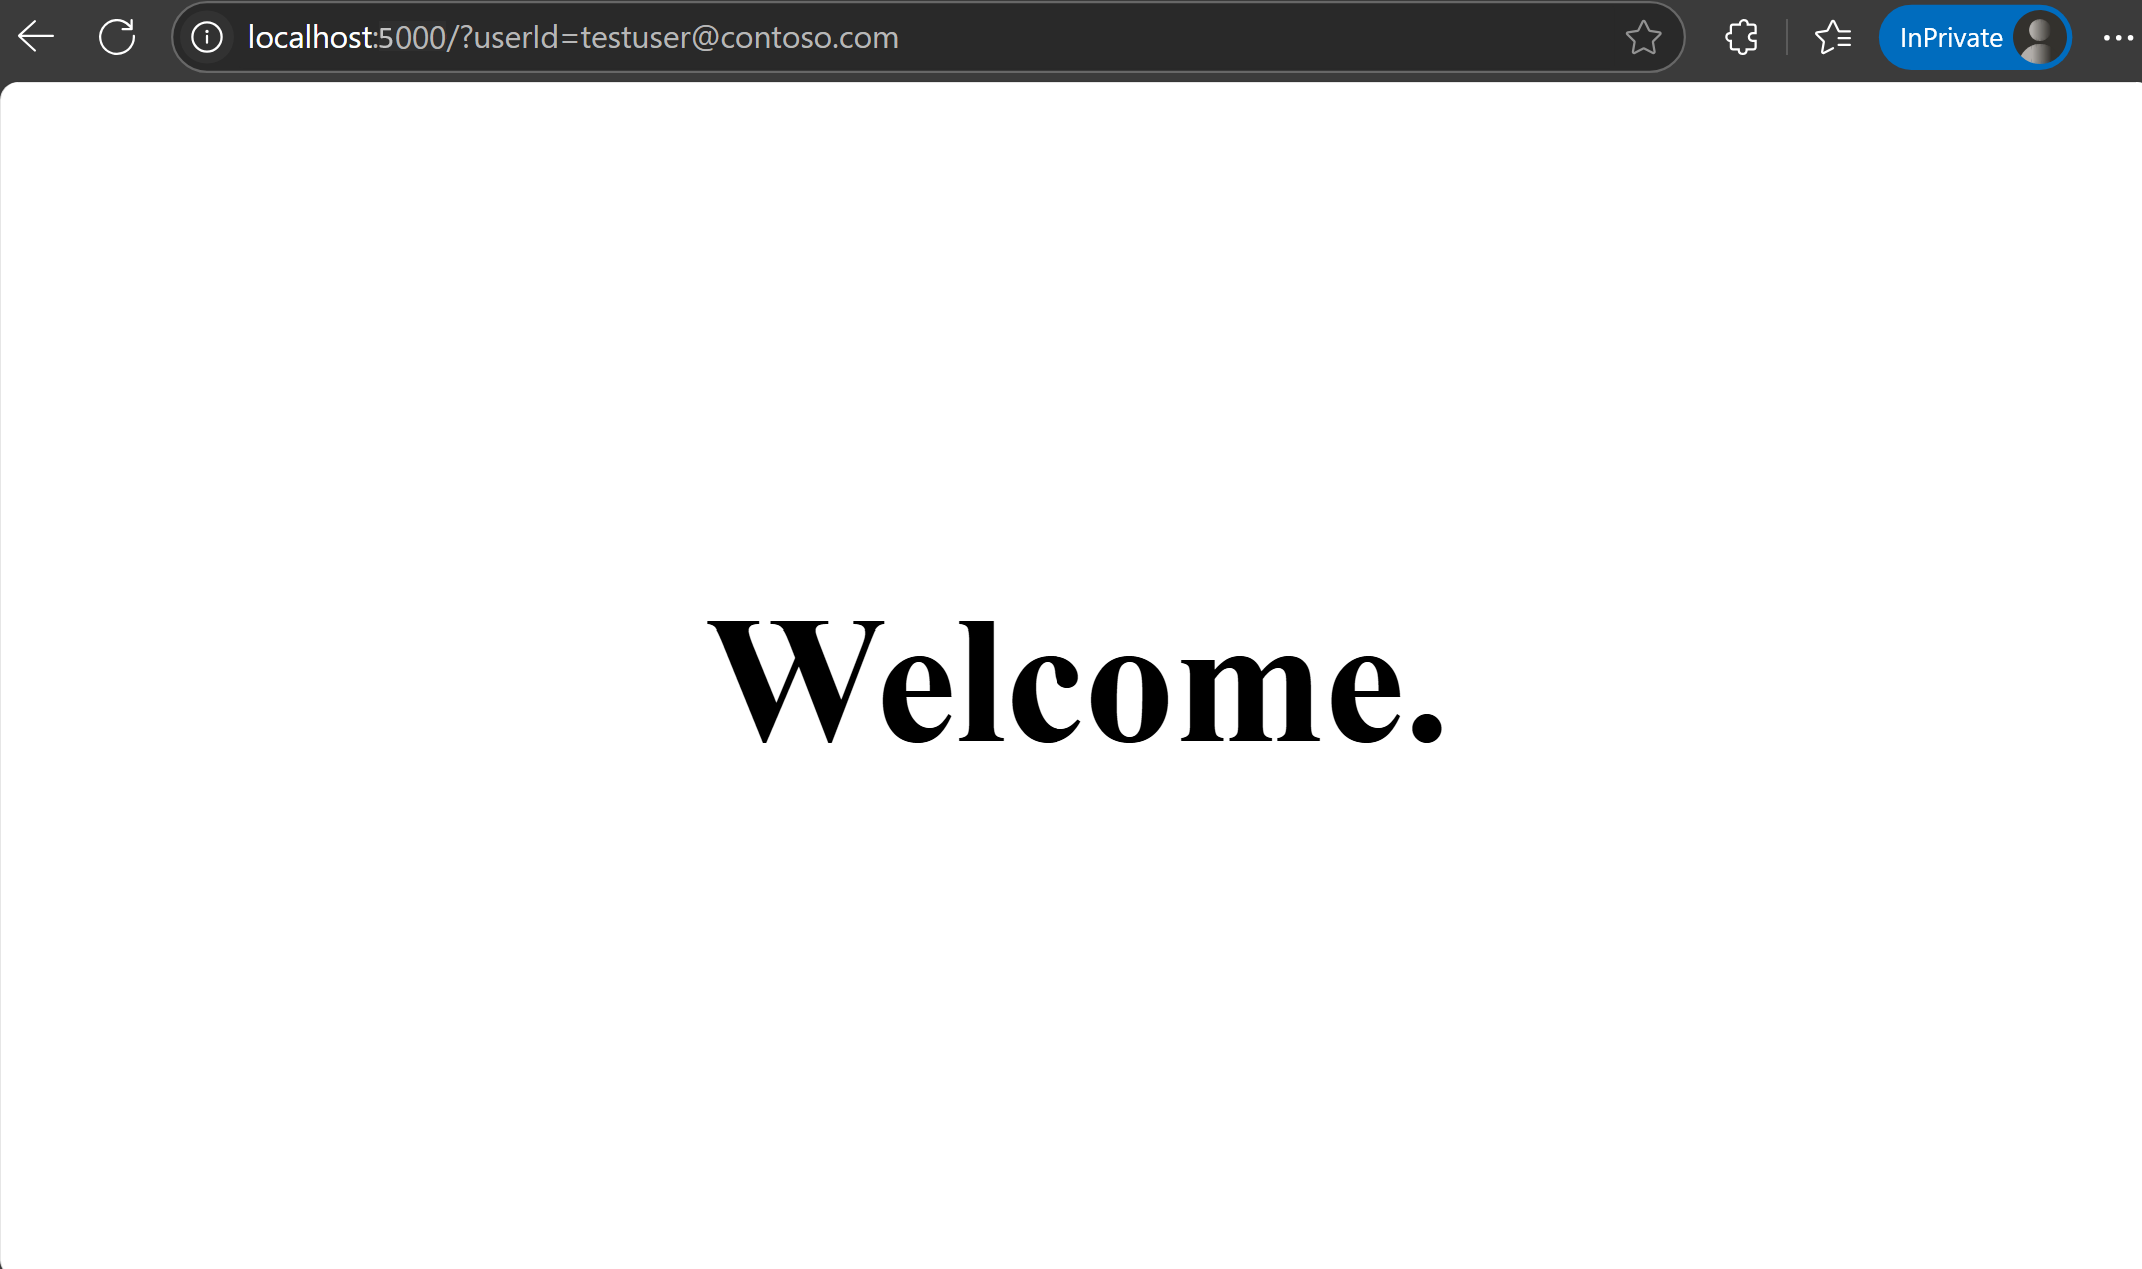
后续步骤
若要了解有关功能筛选器的详细信息,请继续阅读以下文档。
有关 Python 功能管理库的详细信息,请继续阅读以下文档。