适用于:✔️ Linux 虚拟机 ✔️ Windows 虚拟机 ✔️ 灵活规模集 ✔️ 统一规模集
Azure Storage Explorer包含一组丰富的功能,可让你:
- 上传、下载和复制托管磁盘。
- 从操作系统或数据磁盘虚拟硬盘创建快照。
- 将数据从本地迁移到Azure。
- 跨Azure区域迁移数据。
先决条件
若要完成本文,需要做好以下准备:
- 一个Azure订阅。
- 至少有一个Azure托管磁盘。
- 最新版本的 Azure Storage Explorer。
如果没有 Azure 订阅,请在开始前创建 试用订阅。
连接到 Azure 订阅
如果Storage Explorer未连接到Azure,则无法使用它来管理资源。 按照本部分中的步骤将Storage Explorer连接到Azure帐户。 之后便可以使用它来管理磁盘。
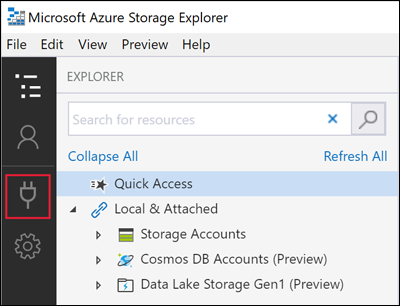
打开Azure Storage Explorer,然后选择工具栏中的 Connect 图标。
在 Connect 到 Azure Storage 对话框中,选择 Subscription。
Azure Storage Explorer的截图中,突出显示了订阅选项的位置。 选择适当的环境,然后选择“下一步”。 还可以选择“管理自定义环境”来配置和添加自定义环境。
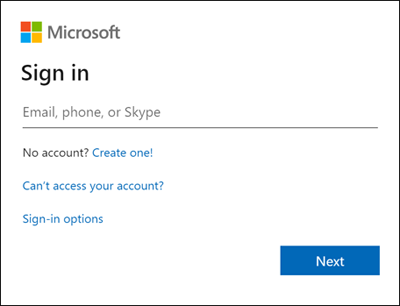
Azure Storage Explorer的截图突出显示了Azure环境选项的位置。 在 Sign in 对话框中,输入Azure凭据。
从列表中选择订阅,然后选择“打开资源管理器”。
Azure Storage Explorer的截图,突出显示“打开资源管理器”按钮的位置。
上传本地 VHD
可以将本地虚拟硬盘(VHD)文件上传到Azure,并使用它来创建映像。 按照此部分中的步骤上传源文件。
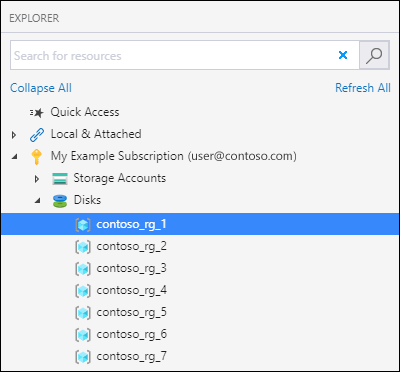
在“资源管理器”窗格中,展开“磁盘”,然后选择要上传磁盘的资源组。
在资源组详细信息窗格中,选择“上传”。
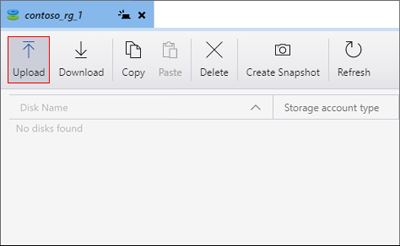
在“上传 VHD”对话框中,指定你的 VHD 源文件、磁盘名称、操作系统类型、要将磁盘上传到的区域和帐户类型。 如果区域支持可用性区域,则可以自行选择某个区域。 选择“创建”开始上传磁盘。

现在,上传状态会显示在“活动”中。
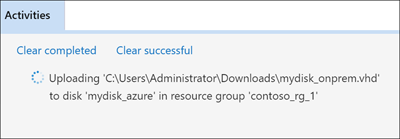


如果上传已完成,但在“活动”窗格中看不到磁盘,请选择“刷新”。
下载托管磁盘
按照本部分中的步骤,将托管磁盘下载到本地 VHD。 磁盘的状态必须是“未附加”才能被下载。
在“资源管理器”窗格中,展开“磁盘”并选择您要从中下载磁盘的资源组。
在“资源组详细信息”窗格中,选择要下载的磁盘。
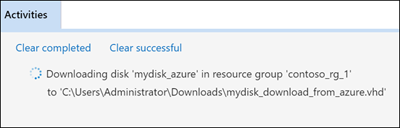
选择“下载”,然后选择磁盘的保存位置。
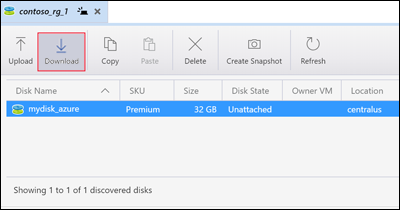
选择“保存”开始下载。 下载状态会显示在“活动”中。


复制托管磁盘
使用Storage Explorer,可以在区域内或跨区域复制托管磁盘。 若要复制磁盘:
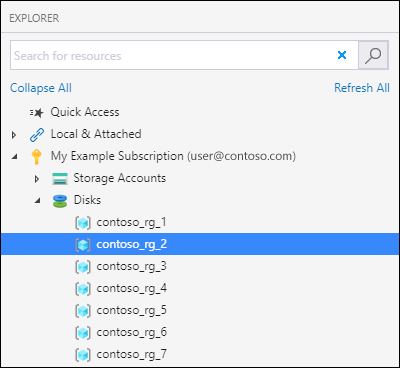
在“资源管理器”窗格中,展开“磁盘”下拉列表,然后选择包含要复制的磁盘的资源组。
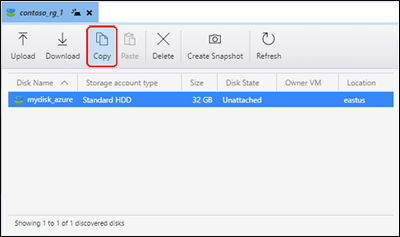
在“资源组详细信息”窗格中,选择要复制的磁盘,然后选择“复制”。
在“资源管理器”窗格中,展开“磁盘”并选择要粘贴磁盘的资源组。
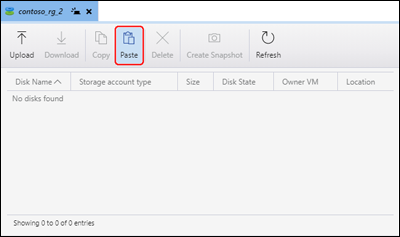
在资源组详细信息窗格中选择“粘贴”。
在“粘贴磁盘”对话框中,填写值。 还可以指定受支持地区中的可用性区域。
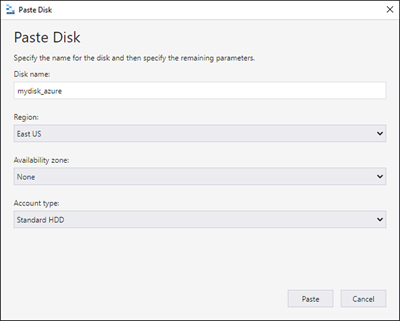
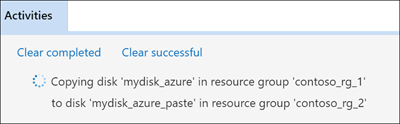
选择“粘贴”以开始磁盘复制。 状态显示在“活动”中。


创建快照
在“资源管理器”窗格中,展开“磁盘”,然后选择包含要生成快照的磁盘的资源组。
在“资源组详细信息”窗格中,选择要生成快照的磁盘,然后选择“创建快照”。

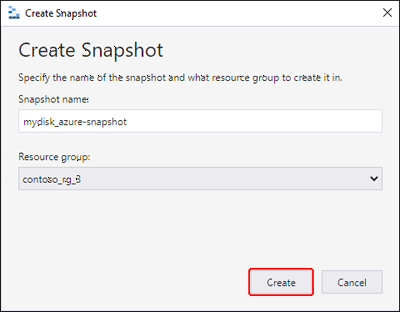
在“创建快照”中,指定快照的名称以及您将在其中创建它的资源组。 选择 创建。
创建快照后,可以在
Activities Open in Portal>以查看Azure门户中的快照。Azure Storage Explorer 的界面截图,突出显示链接在“活动”窗格中的位置,其中包含快照状态消息。

