How to capture a classic Linux virtual machine as an image
Important
Classic VMs will be retired on March 1, 2023.
If you use IaaS resources from ASM, please complete your migration by March 1, 2023. We encourage you to make the switch sooner to take advantage of the many feature enhancements in Azure Resource Manager.
For more information, see Migrate your IaaS resources to Azure Resource Manager by March 1, 2023.
Note
Azure has two different deployment models for creating and working with resources: Resource Manager and Classic. This article covers using the Classic deployment model. Microsoft recommends that most new deployments use the Resource Manager model. Learn how to perform these steps using the Resource Manager model.
Starting November 15, 2017, virtual machines will be available only in the Azure portal.
This article shows you how to capture a classic Azure virtual machine (VM) running Linux as an image to create other virtual machines. This image includes the OS disk and data disks attached to the VM. It doesn't include networking configuration, so you need to configure that when you create the other VM from the image.
Azure stores the image under Images, along with any images you've uploaded. For more information about images, see About Virtual Machine Images in Azure.
Before you begin
These steps assume that you've already created an Azure VM using the Classic deployment model and configured the operating system, including attaching any data disks. If you need to create a VM, read How to Create a Linux Virtual Machine.
Capture the virtual machine
Connect to the VM using an SSH client of your choice.
In the SSH window, type the following command. The output from
waagentmay vary slightly depending on the version of this utility:sudo waagent -deprovision+userThe preceding command attempts to clean the system and make it suitable for reprovisioning. This operation performs the following tasks:
Removes SSH host keys (if Provisioning.RegenerateSshHostKeyPair is 'y' in the configuration file)
Clears nameserver configuration in /etc/resolv.conf
Removes the
rootuser password from /etc/shadow (if Provisioning.DeleteRootPassword is 'y' in the configuration file)Removes cached DHCP client leases
Resets host name to localhost.localdomain
Deletes the last provisioned user account (obtained from /var/lib/waagent) and associated data.
Note
Deprovisioning deletes files and data to "generalize" the image. Only run this command on a VM that you intend to capture as a new image template. It does not guarantee that the image is cleared of all sensitive information or is suitable for redistribution to third parties.
Type y to continue. You can add the
-forceparameter to avoid this confirmation step.Type Exit to close the SSH client.
Note
The remaining steps assume you have already installed the Azure CLI on your client computer. All the following steps can also be done in the Azure portal.
From your client computer, open Azure CLI and login to your Azure subscription. For details, read Connect to an Azure subscription from the Azure CLI.
Note
In the Azure portal, log in to the portal.
Make sure you are in Service Management mode:
azure config mode asmShut down the VM that is already deprovisioned. The following example shuts down the VM named
myVM:azure vm shutdown myVMIf needed, you can view a list all the VMs created in your subscription by using
azure vm listNote
If you're using the Azure portal, select the VM and click Stop to shut down the VM.
When the VM is stopped, capture the image. The following example captures the VM named
myVMand creates a generalized image namedmyNewVM:azure vm capture -t myVM myNewVMThe
-tsubcommand deletes the original virtual machine.Note
In the Azure portal, you can capture an image by selecting Image from the hub menu. You need to supply the following information for the image: name, resource group, location, operating system type, and storage blob path.
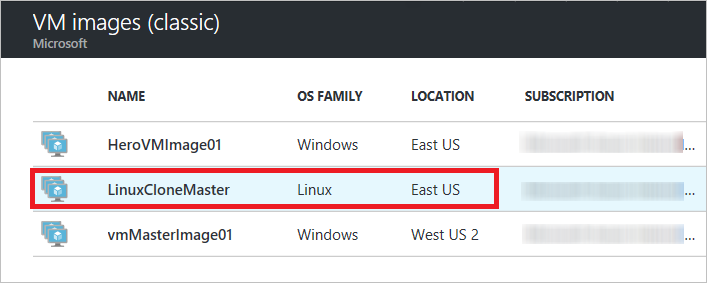
The new image is now available in the list of images that can be used to configure any new VM. You can view it with the command:
azure vm image listOn the Azure portal, the new image appears in the VM images (classic) that belongs to the Compute services. You can access VM images (classic) by clicking All services at the top of the Azure service list, and then looking in the Compute services.
Next steps
The image is ready to be used to create VMs. You can use the Azure CLI command azure vm create and supply the image name you created. For more information, see Using the Azure CLI with Classic deployment model.
Alternatively, use the Azure portal to create a custom VM by using the Image method and selecting the image you created. For more information, see How to Create a Custom VM.
See also: Azure Linux Agent User Guide