Note
Access to this page requires authorization. You can try signing in or changing directories.
Access to this page requires authorization. You can try changing directories.
Azure App Service on Linux provides a highly scalable, self-patching web hosting service using the Linux operating system.
Note
The Ruby development stack only supports Ruby on Rails at this time. If you want to use a different platform, such as Sinatra, or if you want to use an unsupported Ruby version, you need to run it in a custom container.

If you don't have an Azure subscription, create a trial account before you begin.
If you are running the sample code locally, you will need:
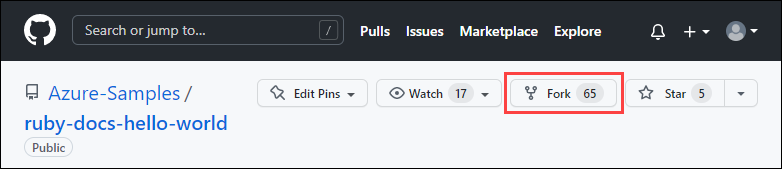
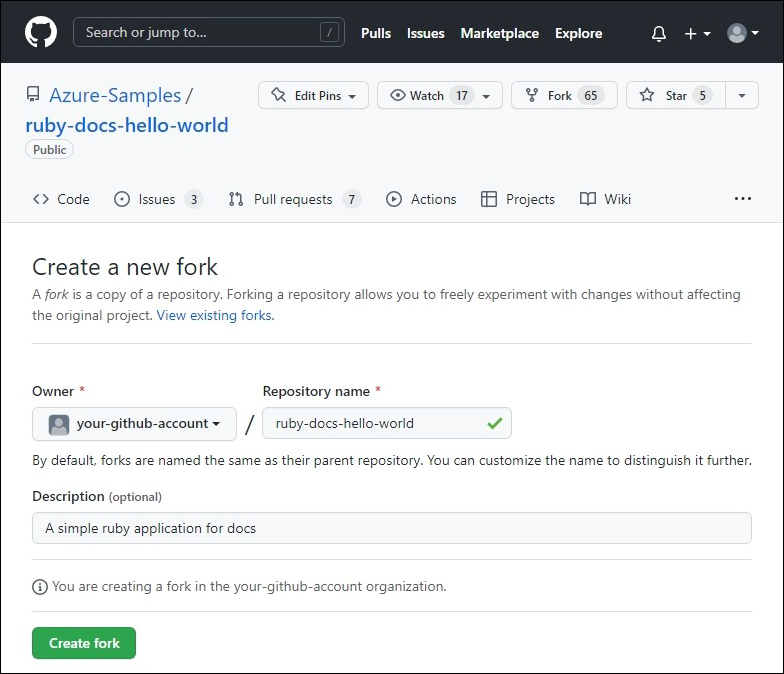
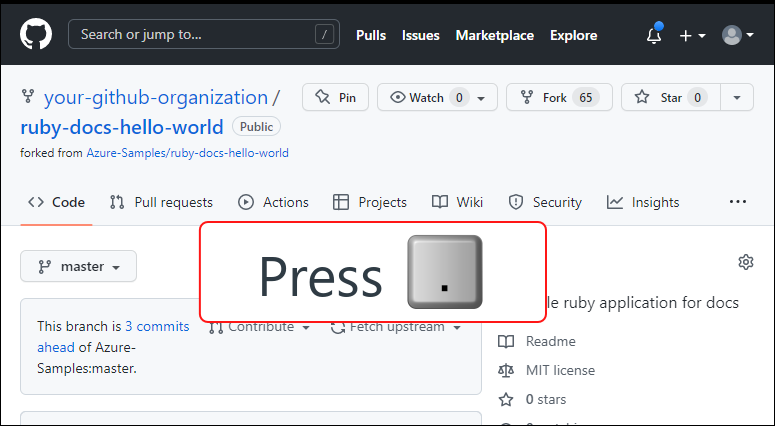
1 - Get the sample repository
This quickstart tutorial shows how to deploy a Ruby on Rails app to App Service on Linux using the Azure CLI.
In a terminal window, clone the sample application to your local machine, and navigate to the directory containing the sample code.
git clone https://github.com/Azure-Samples/ruby-docs-hello-world
cd ruby-docs-hello-world
Make sure the default branch is
main.git branch -m mainTip
The branch name change isn't required by App Service. However, since many repositories are changing their default branch to
main, this tutorial also shows you how to deploy a repository frommain. For more information, see Change deployment branch.
Run the application locally
If you want to run the application locally to see how it works, clone the repository locally and follow these steps.
Install the required gems. There's a
Gemfileincluded in the sample, so just run the following command:bundle installOnce the gems are installed, start the app:
bundle exec rails serverUsing your web browser, navigate to
http://localhost:3000to test the app locally.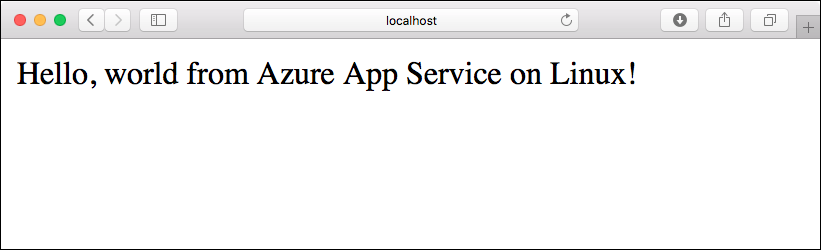
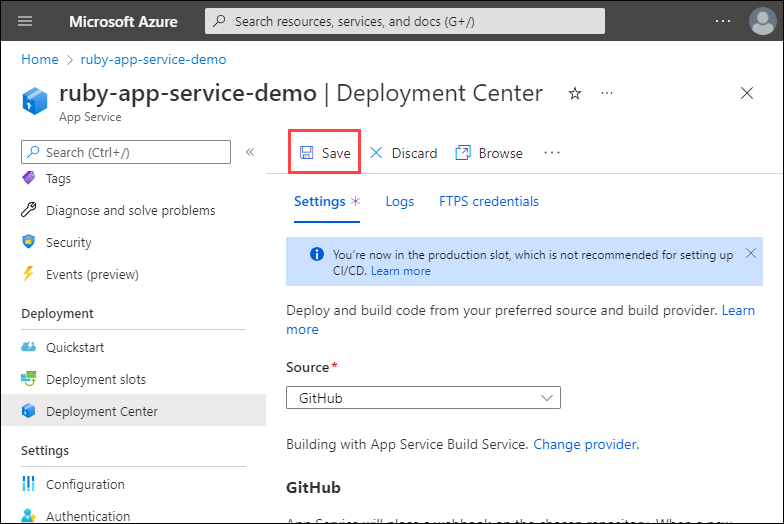
2 - Deploy your application code to Azure
Configure a deployment user
FTP and local Git can deploy to an Azure web app by using a deployment user. Once you configure your deployment user, you can use it for all your Azure deployments. Your account-level deployment username and password are different from your Azure subscription credentials.
To configure the deployment user, run the az webapp deployment user set command in Azure CLI. Replace <username> and <password> with a deployment user username and password.
- The username must be unique within Azure, and for local Git pushes, must not contain the ‘@’ symbol.
- The password must be at least eight characters long, with two of the following three elements: letters, numbers, and symbols.
az webapp deployment user set --user-name <username> --password <password>
The JSON output shows the password as null. If you get a 'Conflict'. Details: 409 error, change the username. If you get a 'Bad Request'. Details: 400 error, use a stronger password.
Record your username and password to use to deploy your web apps.
Create a resource group
A resource group is a logical container into which Azure resources, such as web apps, databases, and storage accounts, are deployed and managed. For example, you can choose to delete the entire resource group in one simple step later.
In the Azure CLI, create a resource group with the az group create command. The following example creates a resource group named myResourceGroup in the China East 2 location. To see all supported locations for App Service on Linux in Basic tier, run the az appservice list-locations --sku B1 --linux-workers-enabled command.
az group create --name myResourceGroup --location "China North"
You generally create your resource group and the resources in a region near you.
When the command finishes, a JSON output shows you the resource group properties.
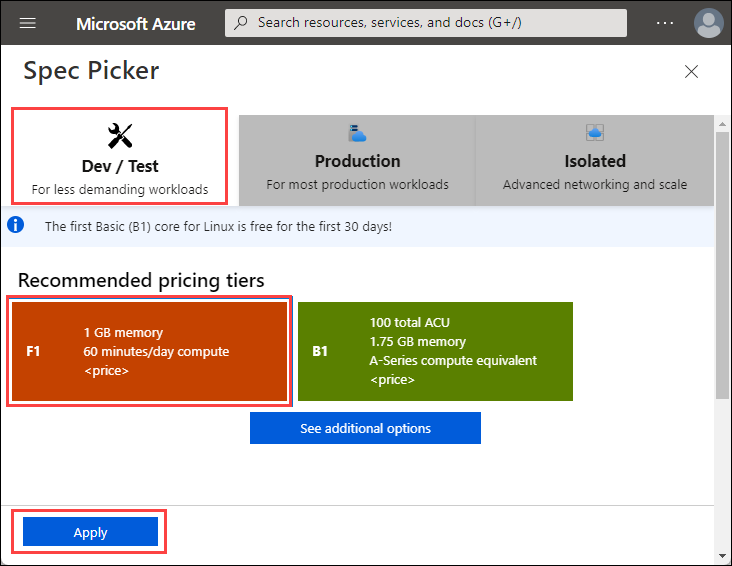
Create an Azure App Service plan
In the Azure CLI, create an App Service plan with the az appservice plan create command.
The following example creates an App Service plan named myAppServicePlan in the Free pricing tier:
az appservice plan create --name myAppServicePlan --resource-group myResourceGroup --sku FREE --is-linux
When the App Service plan has been created, the Azure CLI shows information similar to the following example:
{
  "freeOfferExpirationTime": null,
  "geoRegion": "China North",
  "hostingEnvironmentProfile": null,
  "id": "/subscriptions/0000-0000/resourceGroups/myResourceGroup/providers/Microsoft.Web/serverfarms/myAppServicePlan",
  "kind": "linux",
  "location": "China North",
  "maximumNumberOfWorkers": 1,
  "name": "myAppServicePlan",
  < JSON data removed for brevity. >
  "targetWorkerSizeId": 0,
  "type": "Microsoft.Web/serverfarms",
  "workerTierName": null
}
Create a web app in the
myAppServicePlanApp Service plan.In the local Shell, you can use the
az webapp createcommand. In the following example, replace<app-name>with a globally unique app name (valid characters area-z,0-9, and-). The runtime is set toRUBY|2.7. To see all supported runtimes, runaz webapp list-runtimes --os linux.az webapp create --resource-group myResourceGroup --plan myAppServicePlan --name <app-name> --runtime 'RUBY|2.7' --deployment-local-gitWhen the web app has been created, the Azure CLI shows output similar to the following example:
 Local git is configured with url of 'https://<username>@<app-name>.scm.chinacloudsites.cn/<app-name>.git'
 {
   "availabilityState": "Normal",
   "clientAffinityEnabled": true,
   "clientCertEnabled": false,
   "cloningInfo": null,
   "containerSize": 0,
   "dailyMemoryTimeQuota": 0,
   "defaultHostName": "<app-name>.chinacloudsites.cn",
   "deploymentLocalGitUrl": "https://<username>@<app-name>.scm.chinacloudsites.cn/<app-name>.git",
   "enabled": true,
   < JSON data removed for brevity. >
 }
You've created an empty new web app, with Git deployment enabled.
Note
The URL of the Git remote is shown in the
deploymentLocalGitUrlproperty, with the formathttps://<username>@<app-name>.scm.chinacloudsites.cn/<app-name>.git. Save this URL as you need it later.Since you're deploying the
mainbranch, you need to set the default deployment branch for your App Service app tomain(see Change deployment branch). In the Azure CLI, set theDEPLOYMENT_BRANCHapp setting with theaz webapp config appsettings setcommand.az webapp config appsettings set --name <app-name> --resource-group myResourceGroup --settings DEPLOYMENT_BRANCH='main'Back in the local terminal window, add an Azure remote to your local Git repository. Replace <deploymentLocalGitUrl-from-create-step> with the
deploymentLocalGitUrlvalue from app creation.git remote add azure <deploymentLocalGitUrl-from-create-step>Push to the Azure remote to deploy your app with the following command. When Git Credential Manager prompts you for credentials, make sure you enter the credentials you created in Configure a deployment user, not the credentials you use to sign in to the Azure portal.
git push azure mainThis command may take a few minutes to run. While running, it displays information similar to the following example:
remote: Using turbolinks 5.2.0
remote: Using uglifier 4.1.20
remote: Using web-console 3.7.0
remote: Bundle complete! 18 Gemfile dependencies, 78 gems now installed.
remote: Bundled gems are installed into `/tmp/bundle`
remote: Zipping up bundle contents
remote: .......
remote: ~/site/repository
remote: Finished successfully.
remote: Running post deployment command(s)...
remote: Deployment successful.
remote: App container will begin restart within 10 seconds.
To https://<app-name>.scm.chinacloudsites.cn/<app-name>.git
   a6e73a2..ae34be9  main -> main
Once the deployment has completed, wait about 10 seconds for the web app to restart, and then navigate to the web app and verify the results.
http://<app-name>.chinacloudsites.cn
Note
While the app is restarting, you may observe the HTTP status code Error 503 Server unavailable in the browser, or the Hey, Ruby developers! default page. It may take a few minutes for the app to fully restart.

The Ruby sample code is running in an Azure App Service Linux web app.
Congratulations! You've deployed your first Ruby app to App Service using the Azure portal.
3 - Update and redeploy the app
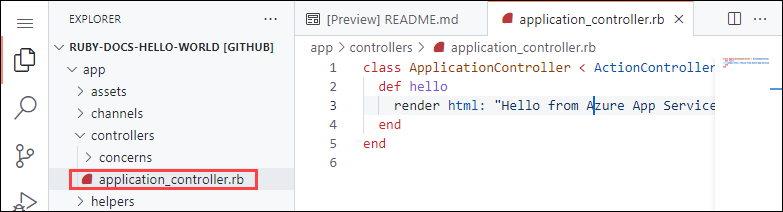
From Azure CLI, launch a text editor and edit the file
app/controllers/application_controller.rb. Edit the ApplicationController class so that it shows "Hello world from Azure App Service on Linux!" instead of "Hello from Azure App Service on Linux!".class ApplicationController < ActionController::Base def hello render html: "Hello world from Azure App Service on Linux!" end endSave and close the file.
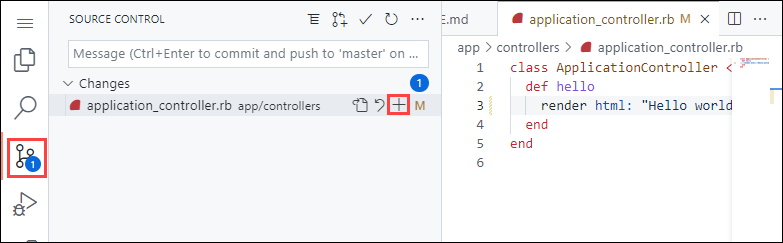
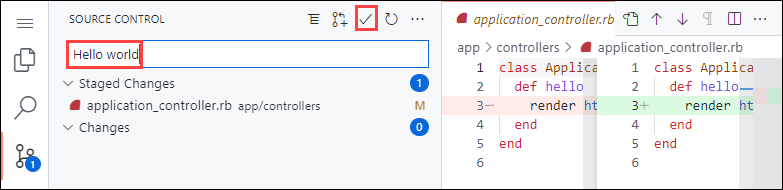
Commit the change to Git with the following commands:
git add .
git commit -m "Hello world"
git push azure main
Note
- Make sure your
git pushstatement includesazure mainso that you are pushing directly to the Azure Git deployment URL. - You may also need to set your
user.nameanduser.emailGit config values when you commit the changes. You can do that withgit config user.name "YOUR NAME"andgit config user.email "YOUR EMAIL".

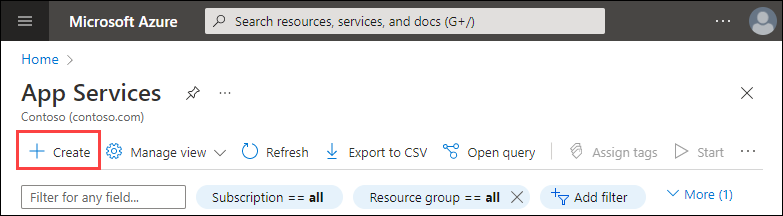
4 - Manage your new Azure app
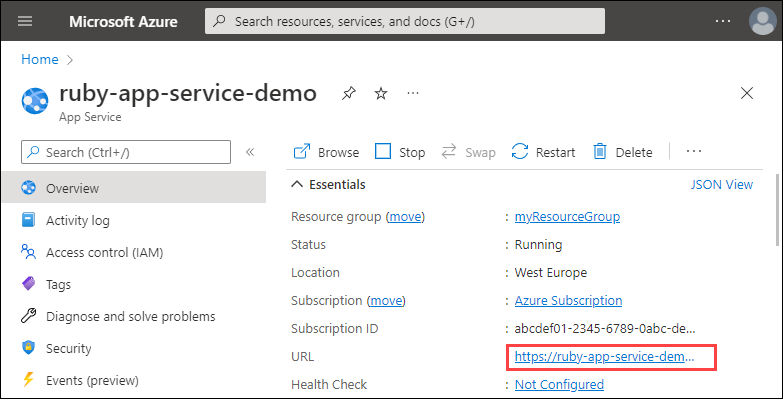
Go to the Azure portal to manage the web app you created. Search for and select App Services.
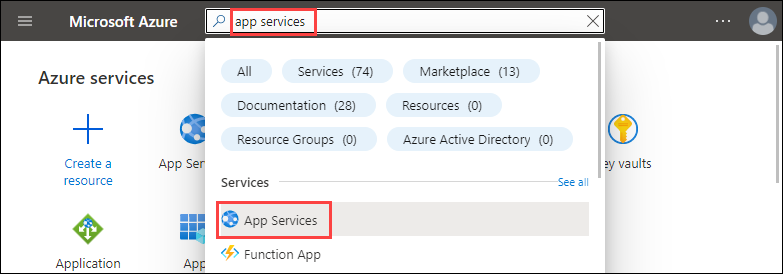
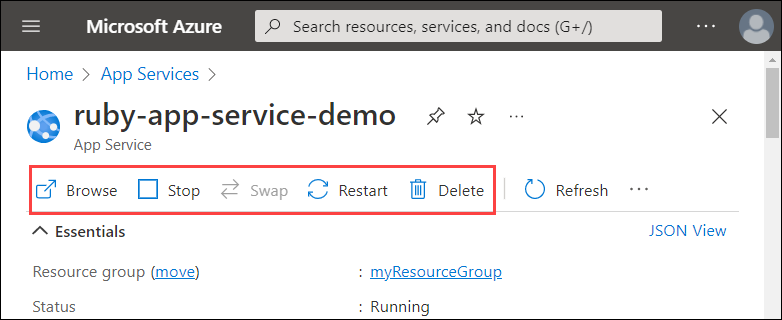
Select the name of your Azure app.
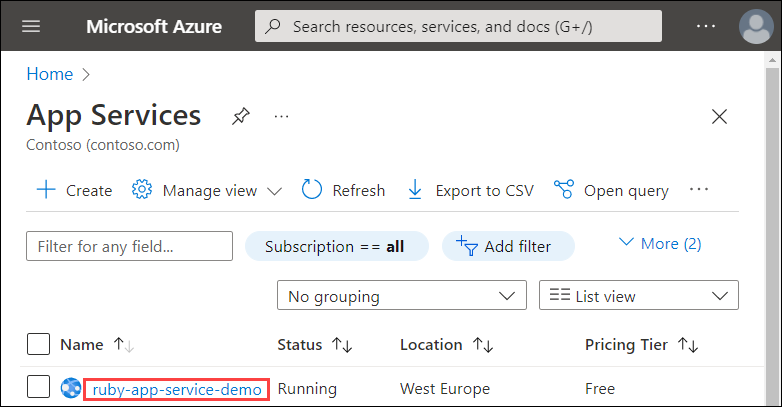
Your web app's Overview page will be displayed. Here, you can perform basic management tasks like Browse, Stop, Restart, and Delete.
5 - Clean up resources
Clean up deployment
After the sample script has been run, the following command can be used to remove the resource group and all resources associated with it.
az group delete --name myResourceGroup