Note
Access to this page requires authorization. You can try signing in or changing directories.
Access to this page requires authorization. You can try changing directories.
In this guide, you use a targeting filter to roll out a feature to targeted audiences for your Python application. For more information about this targeting filter, see Roll out features to targeted audiences.
Prerequisites
- An Azure account with an active subscription. Create a trial subscription.
- An App Configuration store, as shown in the tutorial for creating a store.
- A Beta feature flag with targeting filter. Create the feature flag.
- Python 3.8 or later.
Create a web application with a feature flag
In this section, you create a web application that uses the Beta feature flag to control the access to the beta version of a web page.
Set up a Python Flask project
Create a folder called
targeting-filter-tutorialand navigate to it.mkdir targeting-filter-tutorial cd targeting-filter-tutorialCreate a virtual environment and activate it.
# For Windows
python -m venv venv
venv\Scripts\activate

# For macOS/Linux
python -m venv venv
source venv/bin/activate
Install the following packages.
pip install azure-appconfiguration-provider
pip install azure-identity
pip install featuremanagement
pip install flask
Create a new file named app.py and add the following code.
from flask import Flask

app = Flask(__name__)

if __name__ == "__main__":
    app.run(debug=True)
Connect to Azure App Configuration
Update app.py and add the following code.
from flask import Flask
import os
from azure.identity import DefaultAzureCredential
from azure.appconfiguration.provider import load
from featuremanagement import FeatureManager

app = Flask(__name__)

# Get the App Configuration endpoint from environment variables
app_config_endpoint = os.environ.get("AZURE_APPCONFIG_ENDPOINT")

# Declare App Configuration and feature manager variables
azure_app_config = None
feature_manager = None

def initialize_config():
    global azure_app_config, feature_manager
    # Load feature flags from App Configuration
    azure_app_config = load(
        endpoint=app_config_endpoint,
        credential=DefaultAzureCredential(),
        feature_flag_enabled=True,
        feature_flag_refresh_enabled=True
    )

    # Create a feature manager with the loaded configuration
    feature_manager = FeatureManager(azure_app_config)

# Flask route before the request to refresh configuration
@app.before_request
def refresh_config():
    if azure_app_config:
        azure_app_config.refresh()

if __name__ == "__main__":
    # Initialize configuration before starting the app
    initialize_config()

    app.run(debug=True)
You connect to Azure App Configuration to load feature flags, enable automatic refresh, and create a
FeatureManagerobject for accessing feature flags later. Theapp.before_requestdecorator ensures that configuration is refreshed before each request.
Use the feature flag
Add the following code to the app.py file before the main function to create a route handler for the Flask application. The application serves different content based on whether the Beta feature flag is enabled.
@app.route("/")
def home():
    is_beta_enabled = feature_manager.is_enabled("Beta")

    title = "Home Page"
    message = "Welcome."

    if is_beta_enabled:
        title = "Beta Page"
        message = "This is a beta page."

    return f"""
    <!DOCTYPE html>
    <html>
        <head><title>{title}</title></head>
        <body style="display: flex; justify-content: center; align-items: center; min-height: 100vh; margin: 0;">
            <h1 style="text-align: center; font-size: 5rem;">{message}</h1>
        </body>
    </html>
    """
Enable targeting for the web application
A targeting context is required when evaluating features with targeting enabled. In Python, you need to create a TargetingContext object and pass it to the is_enabled method of the feature manager.
Update the app.py file to import the TargetingContext class and use it in the home route:
from flask import Flask, request
from featuremanagement import FeatureManager, TargetingContext

...

@app.route("/")
def home():
    # Get targeting context from query parameters
    user_id = request.args.get("userId", "")
    groups_param = request.args.get("groups", "")
    groups = groups_param.split(",") if groups_param else []

    targeting_context = TargetingContext(user_id=user_id, groups=groups)
    is_beta_enabled = feature_manager.is_enabled("Beta", targeting_context)

    title = "Home Page"
    message = "Welcome."

    if is_beta_enabled:
        title = "Beta Page"
        message = "This is a beta page."

    return f"""
    <!DOCTYPE html>
    <html>
        <head><title>{title}</title></head>
        <body style="display: flex; justify-content: center; align-items: center; min-height: 100vh; margin: 0;">
            <h1 style="text-align: center; font-size: 5rem;">{message}</h1>
        </body>
    </html>
    """

if __name__ == "__main__":
    # Initialize configuration before starting the app
    initialize_config()

    app.run(debug=True)
Targeting filter in action
Set the environment variable named AZURE_APPCONFIG_ENDPOINT to the endpoint of your App Configuration store found under the Overview of your store in the Azure portal.
If you use the Windows command prompt, run the following command and restart the command prompt to allow the change to take effect:
setx AZURE_APPCONFIG_ENDPOINT "<AppConfigurationEndpoint>"If you use PowerShell, run the following command:
$Env:AZURE_APPCONFIG_ENDPOINT = "<AppConfigurationEndpoint>"If you use macOS or Linux, run the following command:
export AZURE_APPCONFIG_ENDPOINT='<AppConfigurationEndpoint>'Run the application.
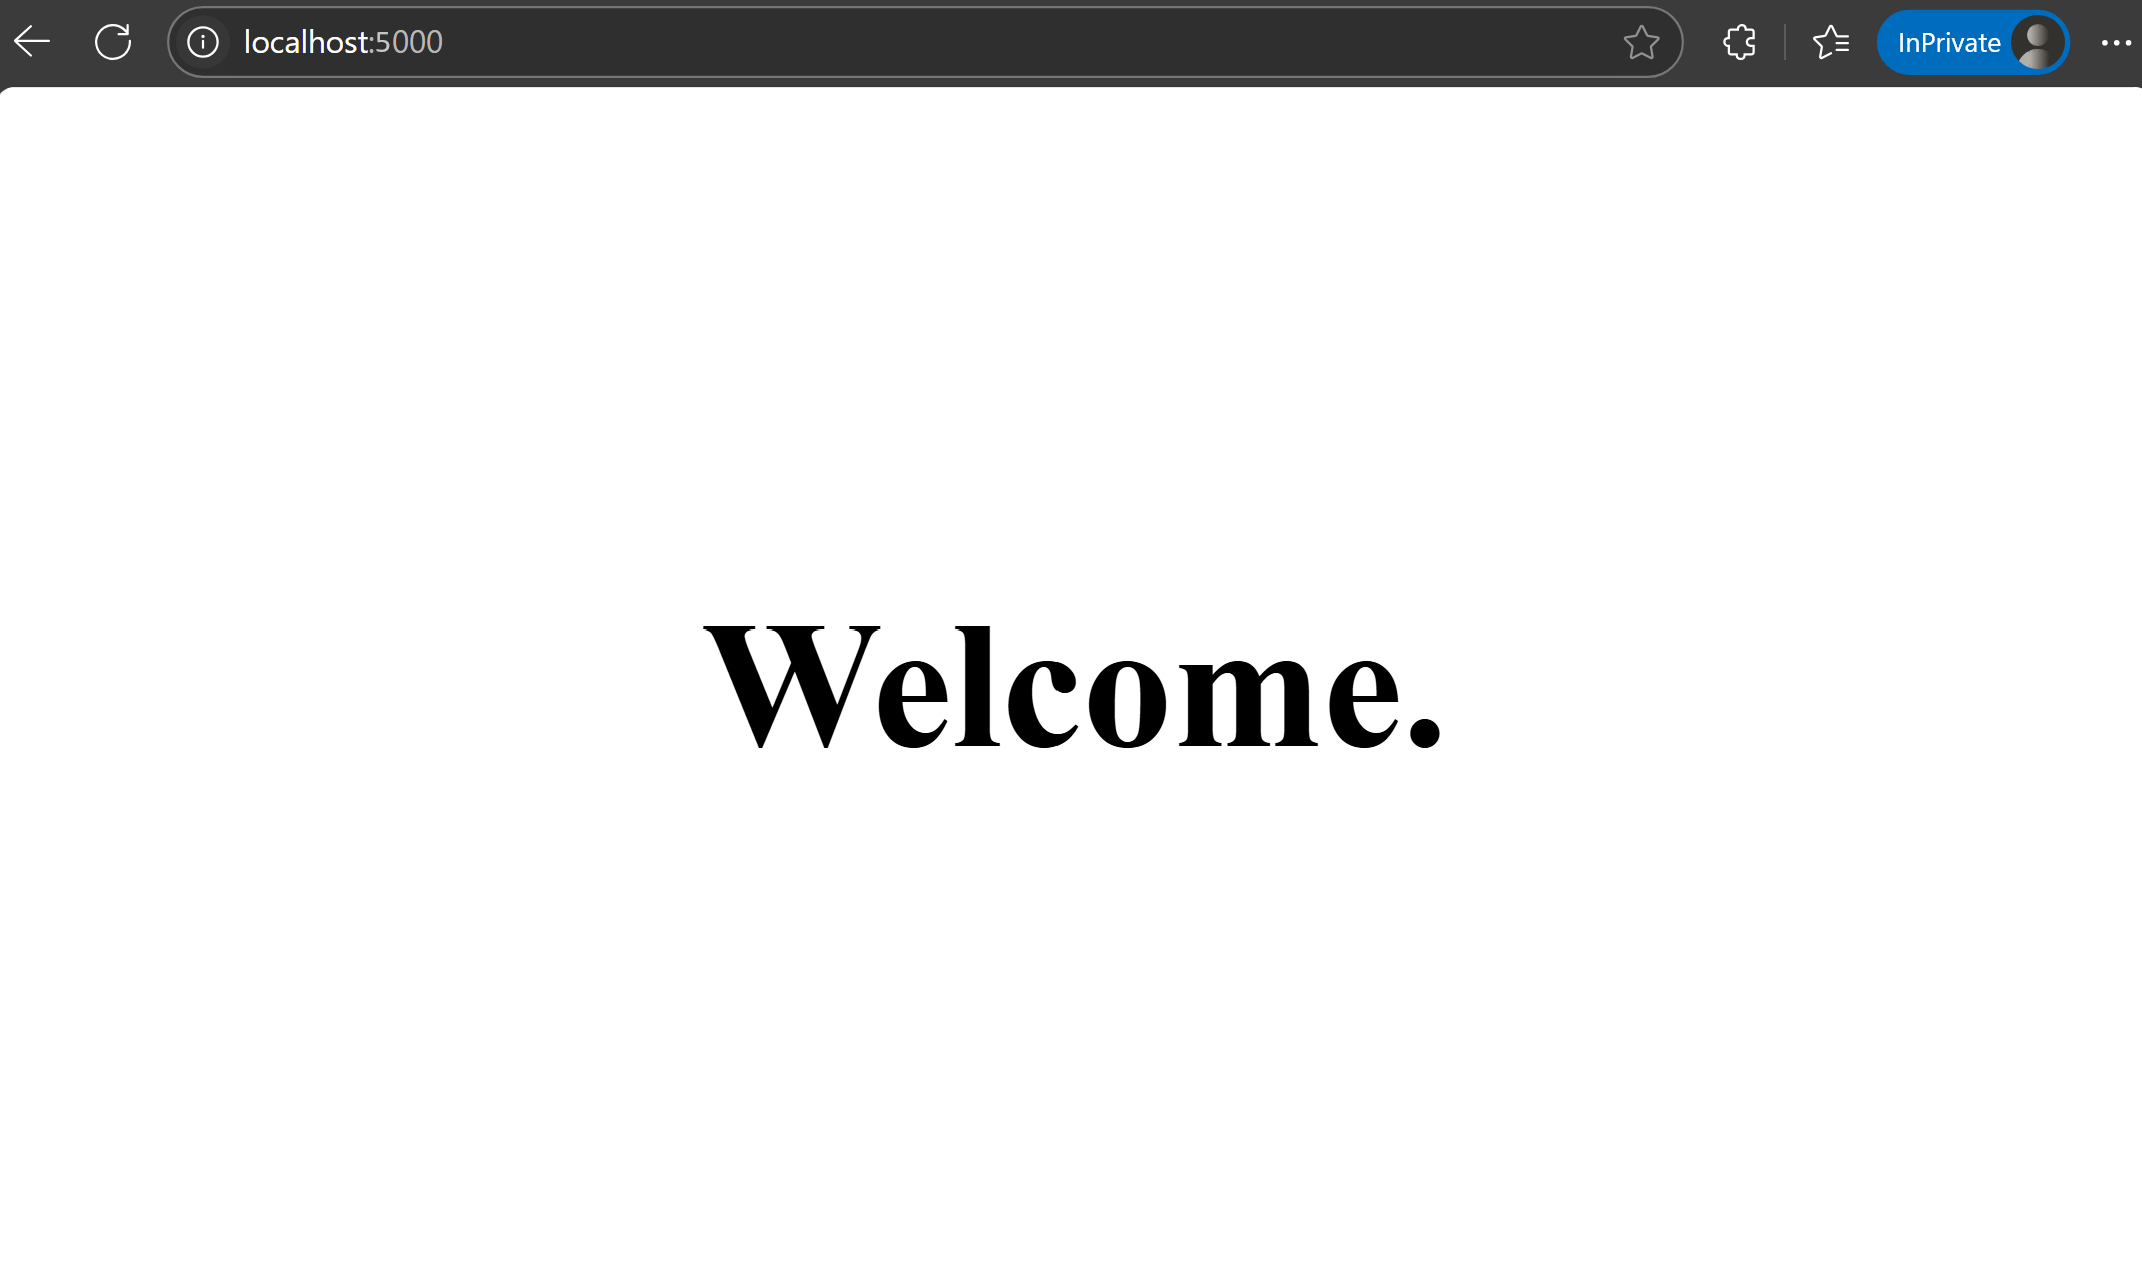
python app.pyOpen your browser and navigate to the address displayed in your terminal (by default, http://127.0.0.1:5000). You should see the default view of the app.
Add
userIdas a query parameter in the URL to specify the user ID. Visitlocalhost:5000/?userId=test@contoso.com. You see the beta page, becausetest@contoso.comis specified as a targeted user.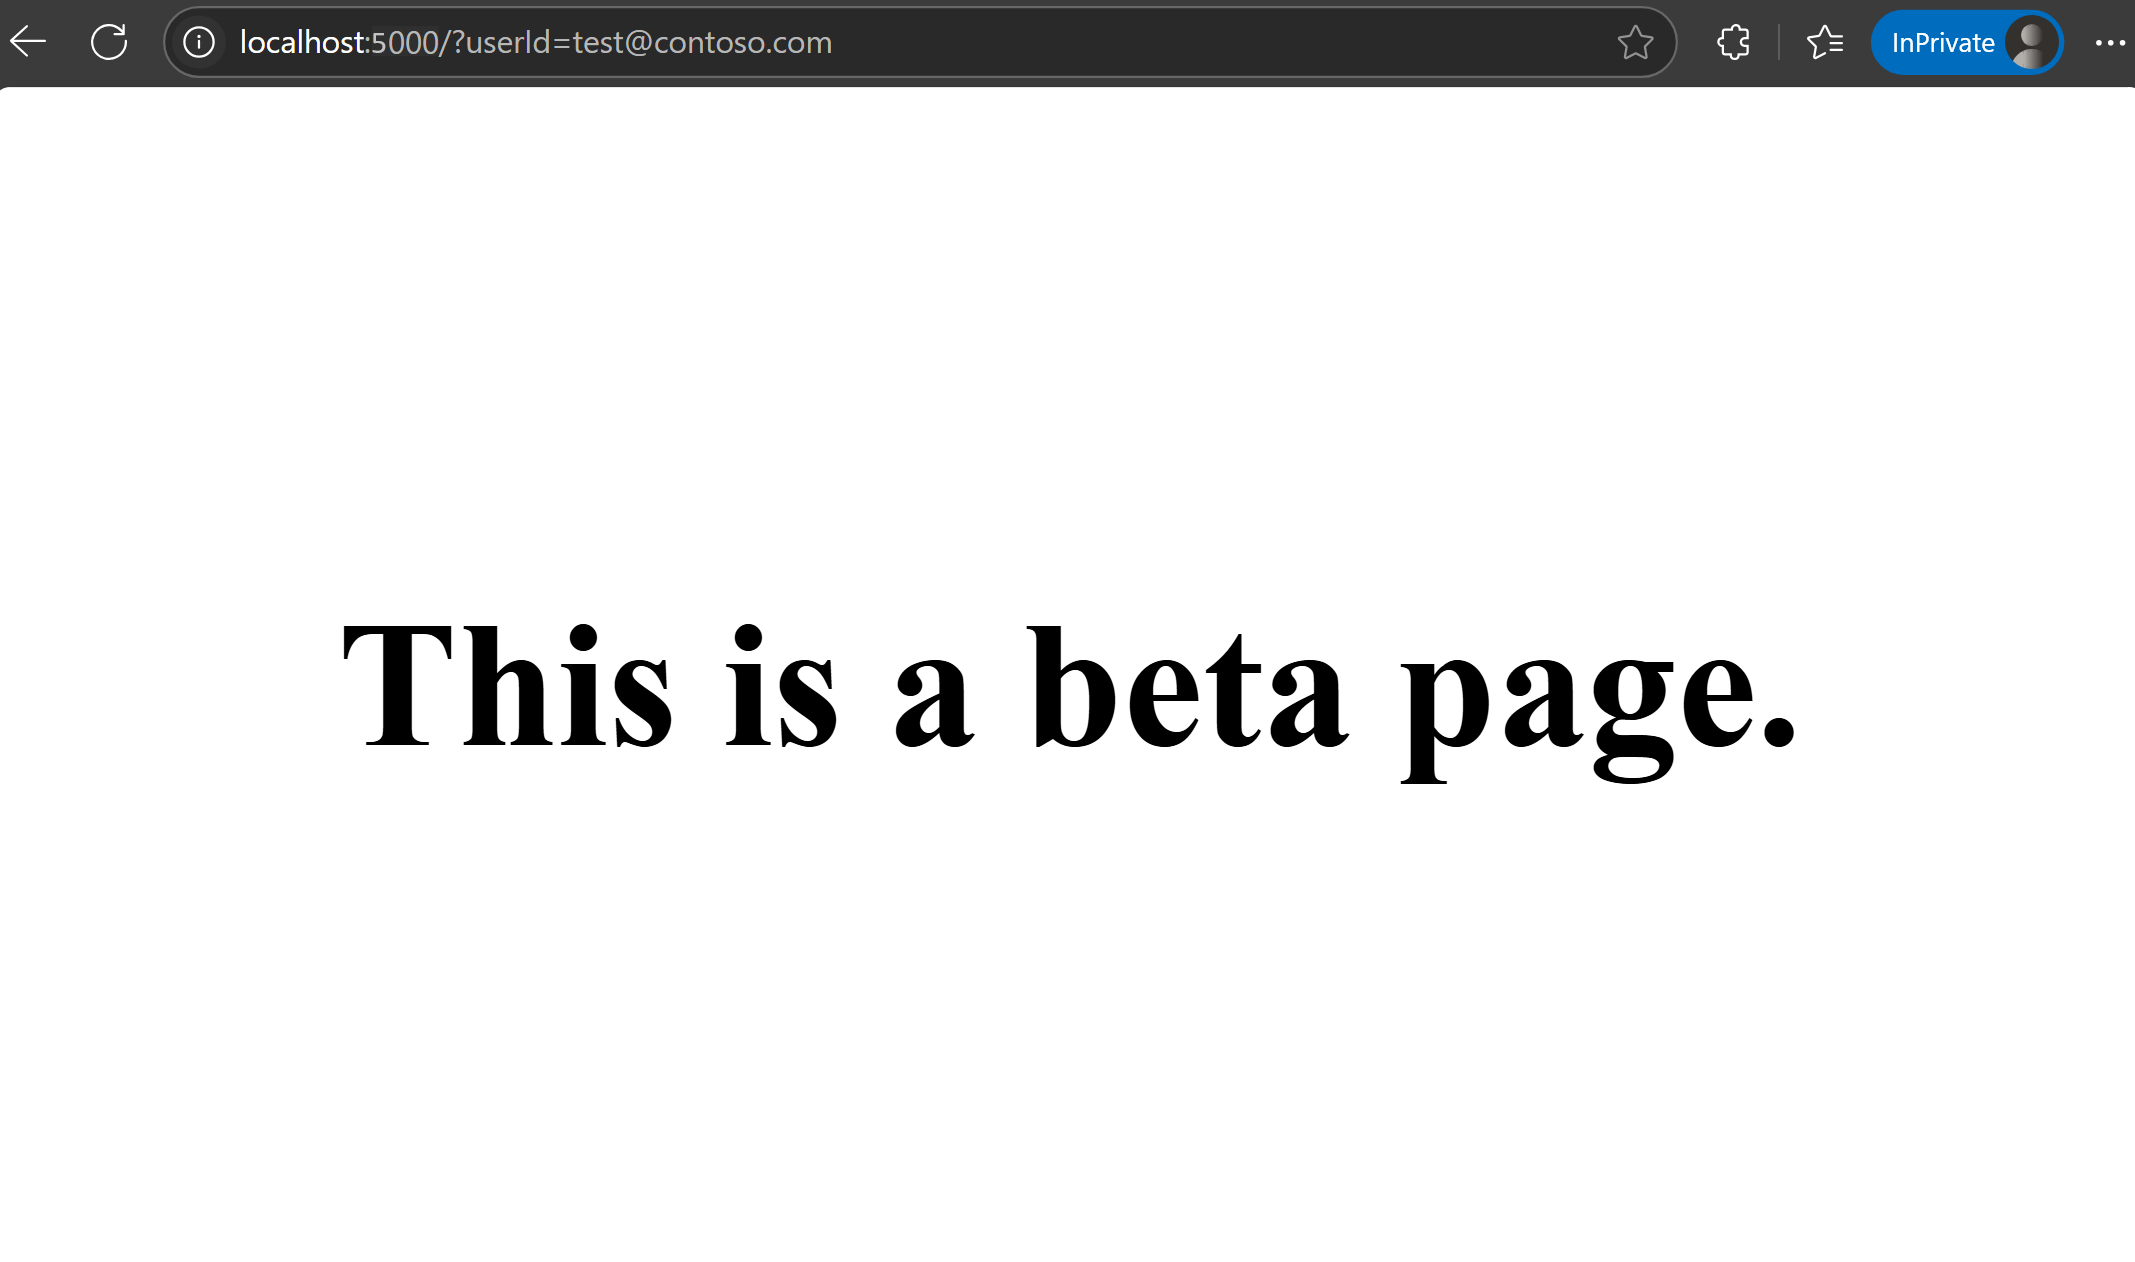
Visit
localhost:5000/?userId=testuser@contoso.com. You cannot see the beta page, becausetestuser@contoso.comis specified as an excluded user.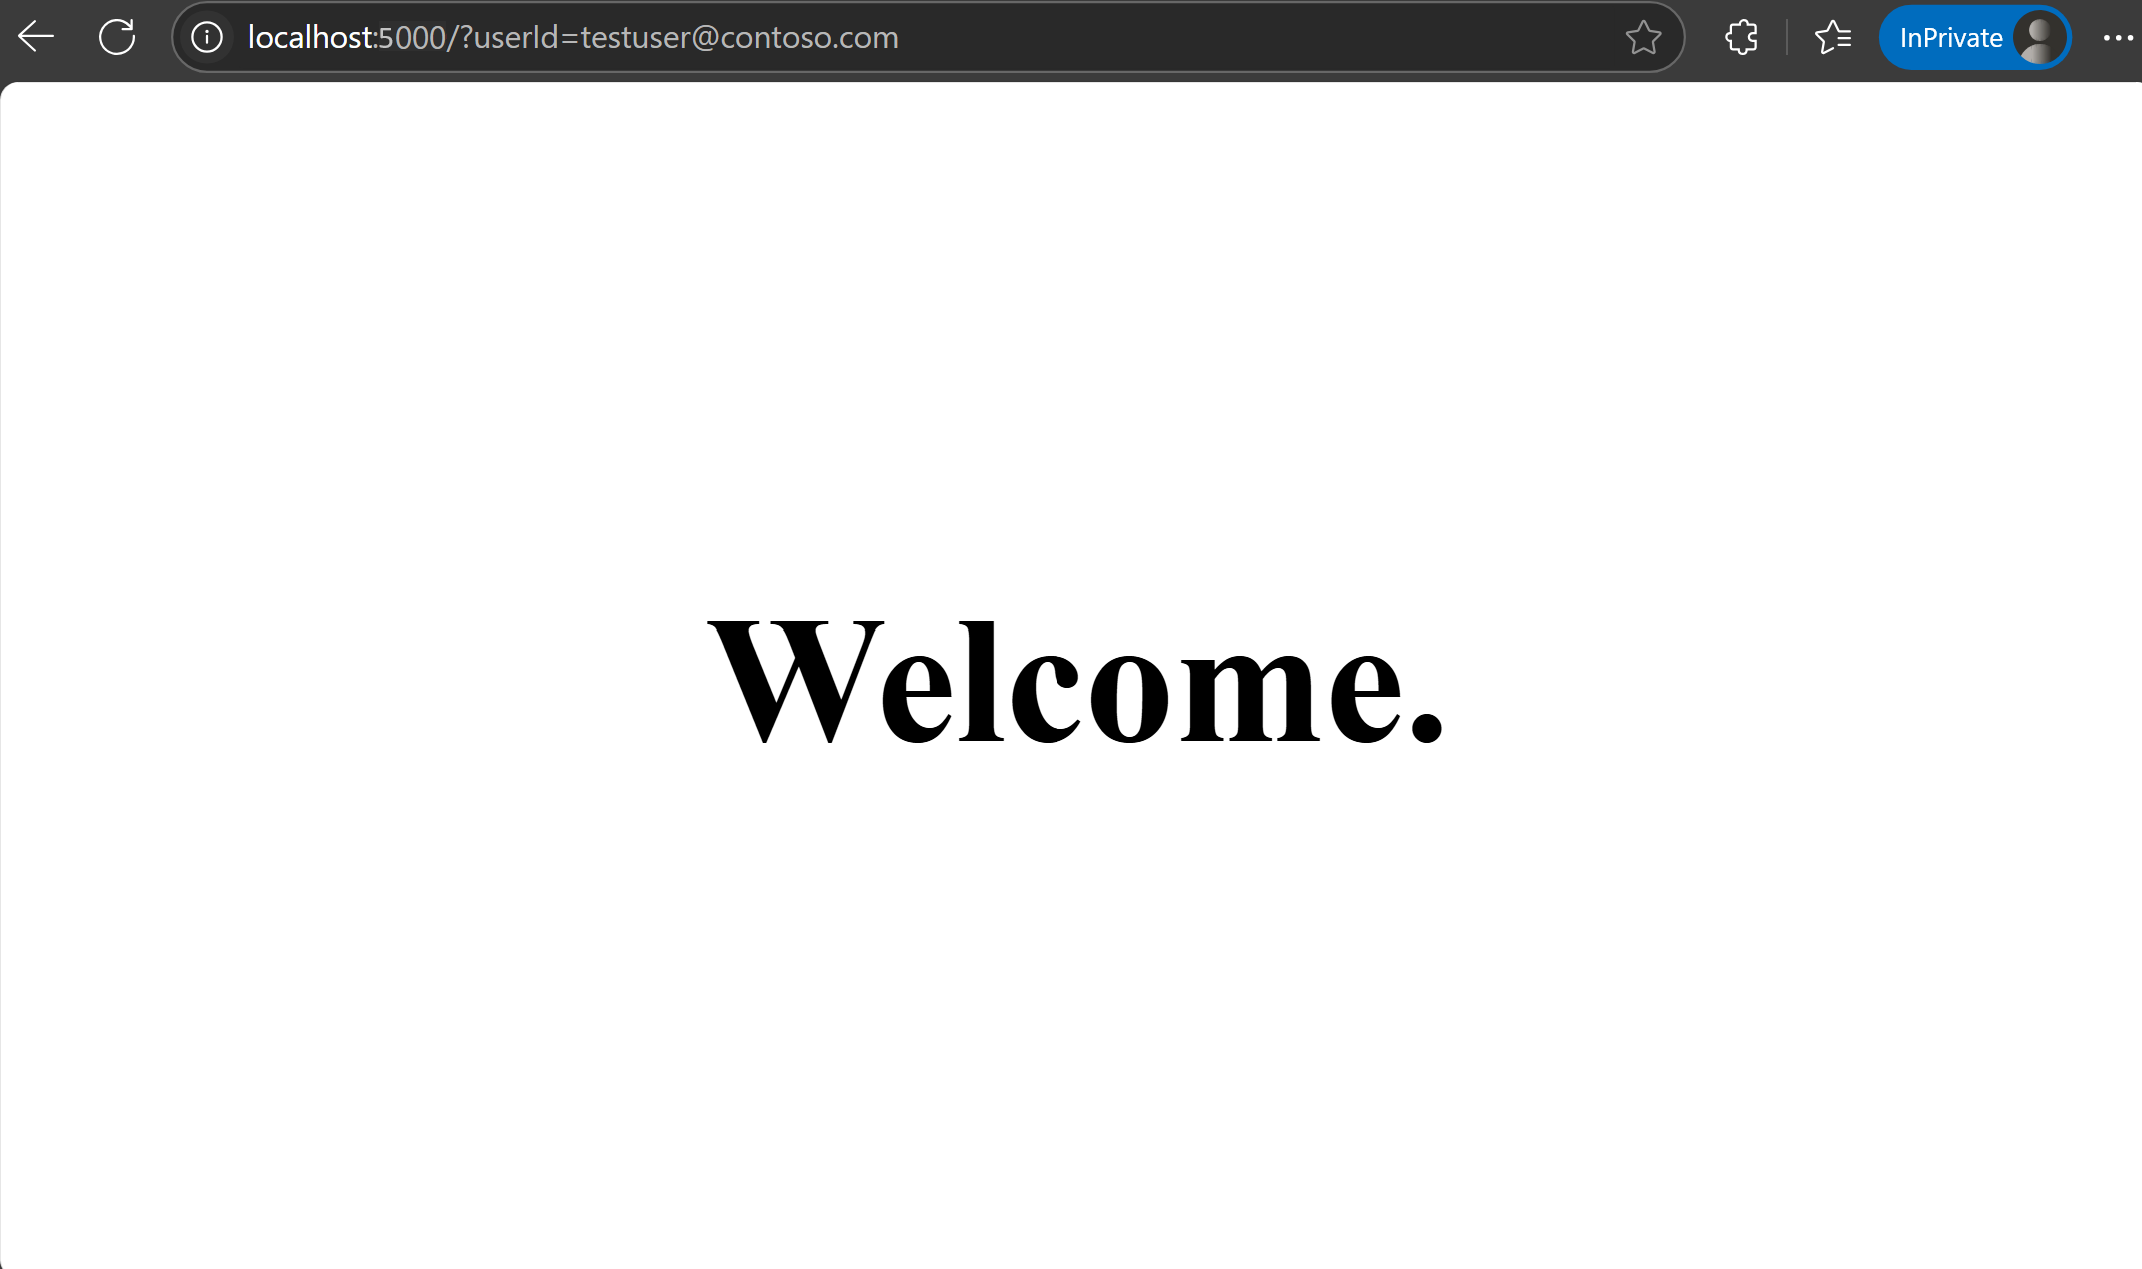
Next steps
To learn more about feature filters, continue to the following documents.
For more information about the Python Feature Management library, continue to the following document.