Note
Access to this page requires authorization. You can try signing in or changing directories.
Access to this page requires authorization. You can try changing directories.
A dashboard in the Azure portal is a focused and organized view of your cloud resources. This quickstart shows how to use Azure CLI to create a dashboard. The example dashboard shows the performance of a virtual machine (VM), along with some static information and links.
In addition to the prerequisites listed here, you need an Azure account with an active subscription. Create a trial subscription.
Prerequisites
If you prefer to run CLI reference commands locally, install the Azure CLI. If you're running on Windows or macOS, consider running Azure CLI in a Docker container. For more information, see How to run the Azure CLI in a Docker container.
If you're using a local installation, sign in to the Azure CLI by using the az login command. To finish the authentication process, follow the steps displayed in your terminal. For other sign-in options, see Sign in with the Azure CLI.
When you're prompted, install the Azure CLI extension on first use. For more information about extensions, see Use extensions with the Azure CLI.
Run az version to find the version and dependent libraries that are installed. To upgrade to the latest version, run az upgrade.
If you have multiple Azure subscriptions, choose the appropriate subscription in which to bill the resources. Select a subscription by using the az account set command:
az account set --subscription 00000000-0000-0000-0000-000000000000Create an Azure resource group by using the az group create command (or use an existing resource group):
az group create --name myResourceGroup --Location chinaeast2
Create a virtual machine
Important
The steps outlined in this quickstart are solely for education purposes and aren't intended for deployments to a production environment. For information about best practices for production virtual machines, see the security best practices for VMs and operating systems.
The example dashboard requires a virtual machine. If you have a VM already, you can update your template to use that VM. Otherwise, you can create an example VM to use in this dashboard by using the az vm create command:
az vm create --resource-group myResourceGroup --name myVM1 --image win2016datacenter \
   --admin-username azureuser --admin-password 1StrongPassword$
Note
This is a new username and password (not the account you use to sign in to Azure). The password must be complex. For more information, see username requirements and password requirements.
The deployment starts and typically takes a few minutes to complete.
Download the dashboard template
Since Azure dashboards are resources, they can be represented as JSON. For more information, see The structure of Azure dashboards.
Download the file portal-dashboard-template-testvm.json.
Then, customize the downloaded template file by changing the following to your values:
<subscriptionID>: Your subscription<rgName>: Resource group, for examplemyResourceGroup<vmName>: Virtual machine name, for examplemyVM1<dashboardTitle>: Dashboard title, for exampleSimple VM Dashboard<location>: Your Azure region, for examplechinaeast2
For more information, see Microsoft portal dashboards template reference.
Deploy the dashboard template
You can now deploy the template from within Azure CLI.
Run the az portal dashboard create command to deploy the template:
az portal dashboard create --resource-group myResourceGroup --name 'Simple VM Dashboard' \
   --input-path portal-dashboard-template-testvm.json --Location chinaeast2
Check that the dashboard was created successfully by running the az portal dashboard show command:
az portal dashboard show --resource-group myResourceGroup --name 'Simple VM Dashboard'
To see all the dashboards for the current subscription, use az portal dashboard list:
az portal dashboard list
You can also see all the dashboards for a specific resource group:
az portal dashboard list --resource-group myResourceGroup
To update a dashboard, use the az portal dashboard update command:
az portal dashboard update --resource-group myResourceGroup --name 'Simple VM Dashboard' \
   --input-path portal-dashboard-template-testvm.json --Location chinaeast2
Review deployed resources
Verify that you can see data about your virtual machine in the Azure portal dashboard.
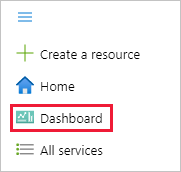
In the Azure portal menu, select Dashboard.
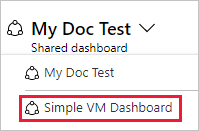
On the dashboard page, select Simple VM Dashboard.
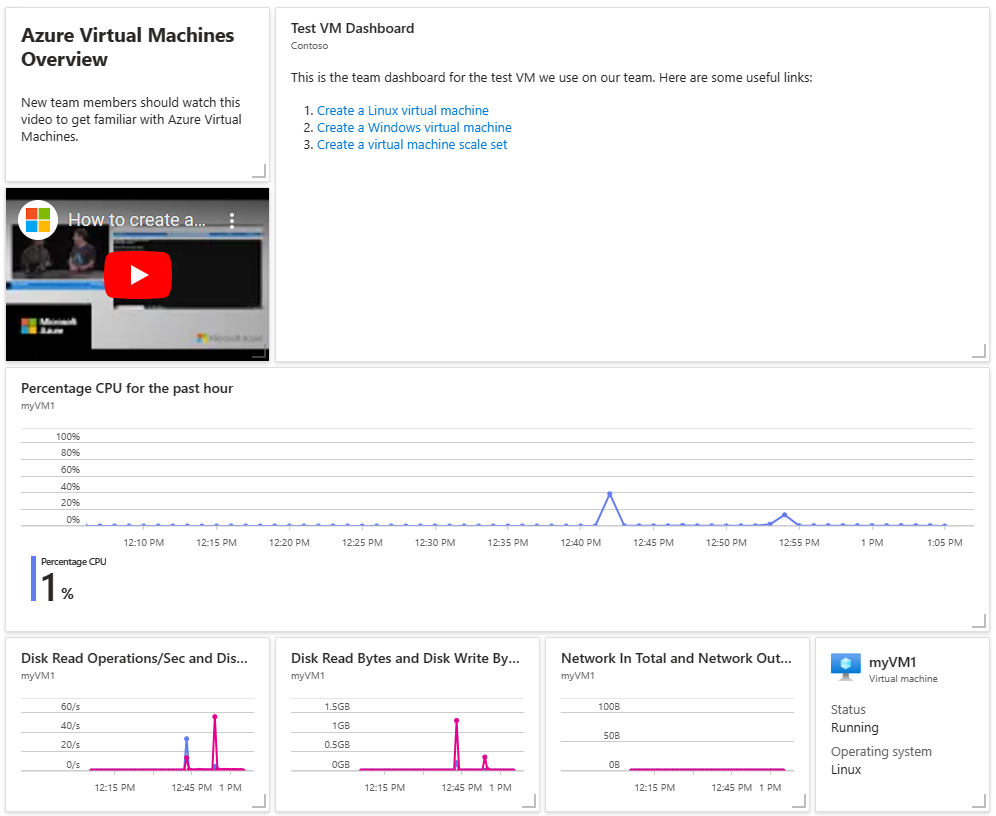
Review the dashboard, which should look similar to the one shown here. While some of the content is static, there are also charts that show the performance of the VM you created at the beginning.
Clean up resources
To remove the virtual machine and associated dashboard that you created, delete the resource group that contains them.
Caution
Deleting the resource group will delete all of the resources contained within it. If the resource group contains additional resources aside from your virtual machine and dashboard, those resources will also be deleted.
az group delete --name myResourceGroup
Next steps
For more information about Azure CLI commands for dashboards, see: