Note
Access to this page requires authorization. You can try signing in or changing directories.
Access to this page requires authorization. You can try changing directories.
This article describes how to connect a VNET in one Azure Stack Hub to a VNET in another Azure Stack Hub using Fortinet FortiGate NVA, a network virtual appliance.
This article addresses the current Azure Stack Hub limitation, which lets tenants set up only one VPN connection across two environments. The article describes how to set up a custom gateway on a Linux virtual machine that allows multiple VPN connections across different Azure Stack Hub. The procedure in this article deploys two VNETs with a FortiGate NVA in each VNET: one deployment per Azure Stack Hub environment. It also details the changes required to set up an IPSec VPN between the two VNETs. The steps in this article should be repeated for each VNET in each Azure Stack Hub.
Prerequisites
Access to an Azure Stack Hub integrated system with available capacity to deploy the required compute, network, and resource requirements needed for this solution.
A network virtual appliance (NVA) solution downloaded and published to the Azure Stack Hub Marketplace. An NVA controls the flow of network traffic from a perimeter network to other networks or subnets. This procedure uses the Fortinet FortiGate Next-Generation Firewall Single VM Solution.
At least two available FortiGate license files to activate the FortiGate NVA. For information about how to get these licenses, see the Fortinet Document Library article Registering and downloading your license.
This procedure uses the Single FortiGate-VM deployment. The procedure describes the steps to connect the FortiGate NVA to the Azure Stack Hub VNET in your on-premises network.
For more information about how to deploy the FortiGate solution in an active-passive (HA) set up, see HA for FortiGate-VM on Azure in the Fortinet document library.
Deployment parameters
The following table summarizes the parameters that are used in these deployments for reference:
Deployment one: Forti1
| FortiGate Instance Name | Forti1 |
|---|---|
| BYOL License/Version | 6.0.3 |
| FortiGate administrative username | fortiadmin |
| Resource Group name | forti1-rg1 |
| Virtual network name | forti1vnet1 |
| VNET Address Space | 172.16.0.0/16* |
| Public VNET subnet name | forti1-PublicFacingSubnet |
| Public VNET address prefix | 172.16.0.0/24* |
| Inside VNET subnet name | forti1-InsideSubnet |
| Inside VNET subnet prefix | 172.16.1.0/24* |
| VM Size of FortiGate NVA | Standard F2s_v2 |
| Public IP address name | forti1-publicip1 |
| Public IP address type | Static |
Deployment two: Forti2
| FortiGate Instance Name | Forti2 |
|---|---|
| BYOL License/Version | 6.0.3 |
| FortiGate administrative username | fortiadmin |
| Resource Group name | forti2-rg1 |
| Virtual network name | forti2vnet1 |
| VNET Address Space | 172.17.0.0/16* |
| Public VNET subnet name | forti2-PublicFacingSubnet |
| Public VNET address prefix | 172.17.0.0/24* |
| Inside VNET subnet name | Forti2-InsideSubnet |
| Inside VNET subnet prefix | 172.17.1.0/24* |
| VM Size of FortiGate NVA | Standard F2s_v2 |
| Public IP address name | Forti2-publicip1 |
| Public IP address type | Static |
Note
If the previous names overlap in any way with the on-premises network environment, including the VIP pool of Azure Stack Hub, choose a different set of address spaces and subnet prefixes. Also ensure that the address ranges don't overlap with each other.
Deploy the FortiGate NGFW Marketplace Items
Repeat these steps for both Azure Stack Hub environments.
Open the Azure Stack Hub user portal. Be sure to use credentials that have at least Contributor rights to a subscription.
Select Create a resource and search for
FortiGate.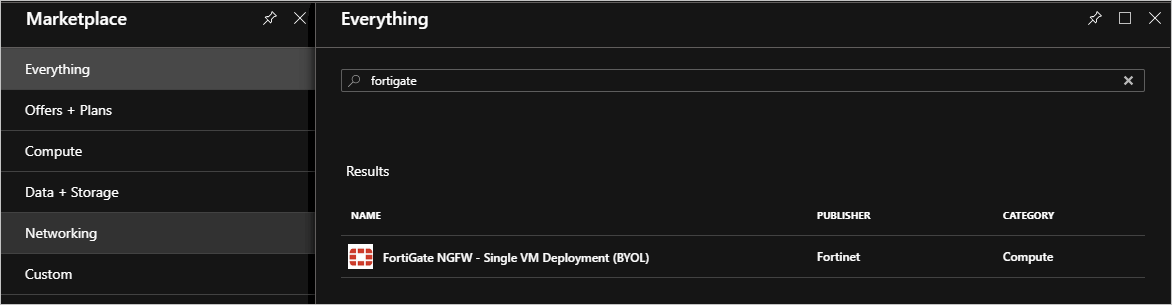
Select the FortiGate NGFW and select the Create.
Complete Basics using the parameters from the Deployment parameters table.
Your form should contain the following information:
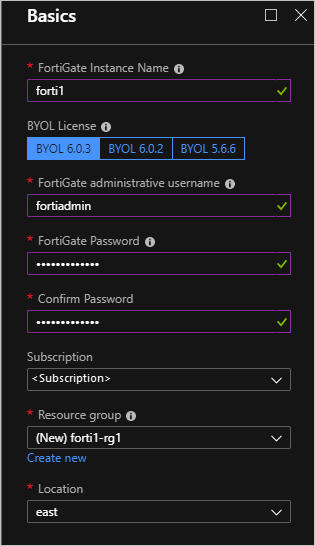
Select OK.
Provide the virtual network, subnets, and VM size details from the Deployment parameters.
If you want to use different names and ranges, take care not to use parameters that conflict with the other VNET and FortiGate resources in the other Azure Stack Hub environment. This limitation is especially true when setting the VNET IP range and subnet ranges within the VNET. Check that they don't overlap with the IP ranges for the other VNET you create.
Select OK.
Configure the public IP to be used for the FortiGate NVA:
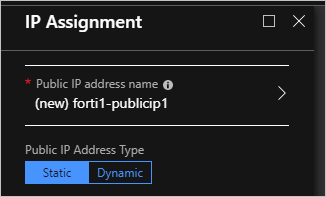
Select OK and then Select OK.
Select Create.
The deployment takes about 10 minutes. You can now repeat the steps to create the other FortiGate NVA and VNET deployment in the other Azure Stack Hub environment.
Configure routes (UDRs) for each VNET
Perform these steps for both deployments, forti1-rg1 and forti2-rg1.
Go to the forti1-rg1 resource group in the Azure Stack Hub portal.
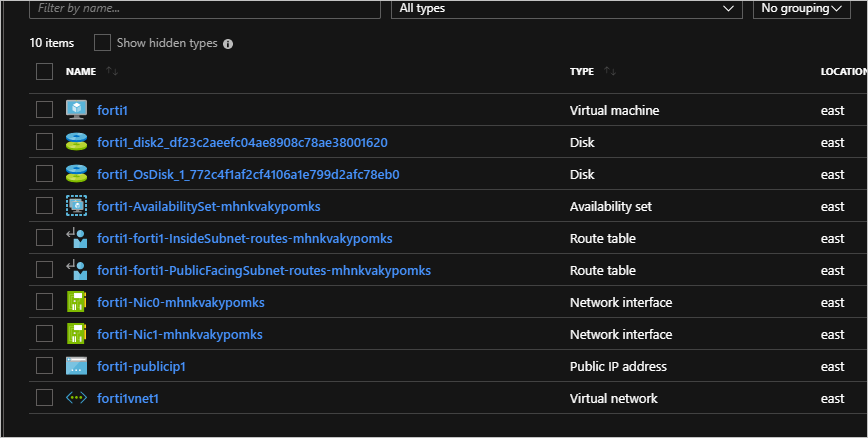
Select the
forti1-forti1-InsideSubnet-routes-xxxxresource.Select Routes under Settings.
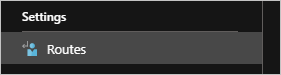
Delete the to-Internet route.

Select Yes.
Select Add.
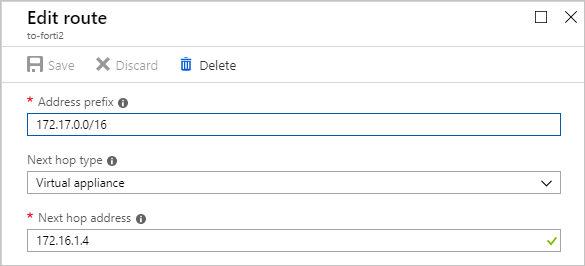
Name the Route
to-forti1orto-forti2. Use your IP range if you're using a different IP range.Enter:
- forti1:
172.17.0.0/16 - forti2:
172.16.0.0/16
If you use a different IP range, enter your IP range.
- forti1:
Select Virtual appliance for the Next hop type.
- forti1:
172.16.1.4 - forti2:
172.17.0.4
If you use a different IP range, enter your IP range.
- forti1:
Select Save.
Repeat these steps for each InsideSubnet route in each resource group.
Activate the FortiGate NVAs and configure an IPSec VPN connection on each NVA
You need a valid license file from Fortinet to activate each FortiGate NVA. The NVAs can't function until you activate each NVA. For more information about how to get a license file and the steps to activate the NVA, see the Fortinet Document Library article Registering and downloading your license.
You must acquire two license files: one for each NVA.
Create an IPSec VPN between the two NVAs
After you activate the NVAs, create an IPSec VPN between the two NVAs. Follow the steps for both the forti1 NVA and forti2 NVA:
Go to the fortiX VM Overview page to get the assigned public IP address:
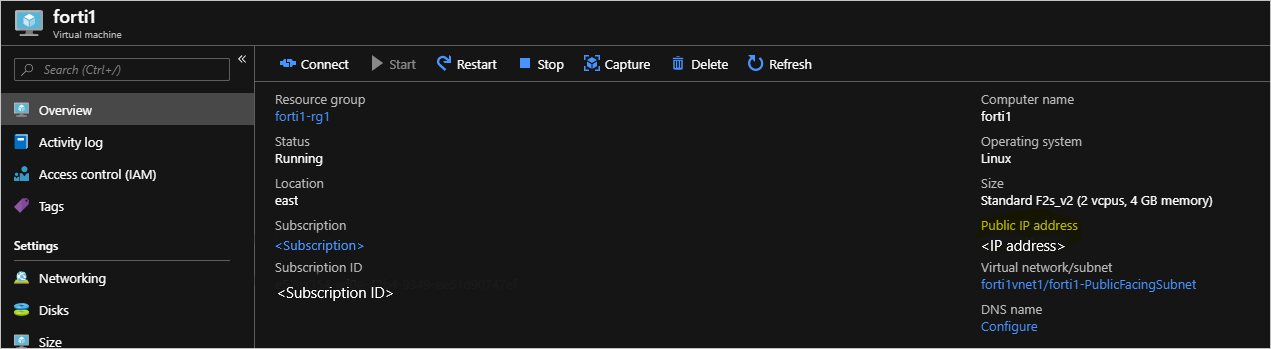
Copy the assigned IP address, open a browser, and paste the address into the address bar. Your browser might warn you that the security certificate isn't trusted. Continue anyway.
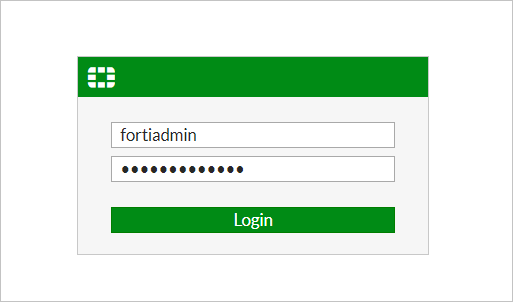
Enter the FortiGate administrative user name and password you provided during the deployment.
Select System > Firmware.
Select the box showing the latest firmware, such as
FortiOS v6.2.0 build0866.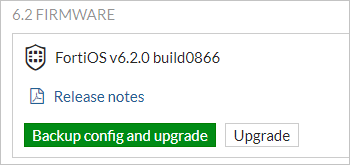
Select Backup config and upgrade and Continue when prompted.
The NVA updates its firmware to the latest build, then reboots. The process takes about five minutes. Log back into the FortiGate web console.
Select VPN > IPSec Wizard.
Enter a name for the VPN, such as
conn1in the VPN Creation Wizard.Select This site is behind NAT.
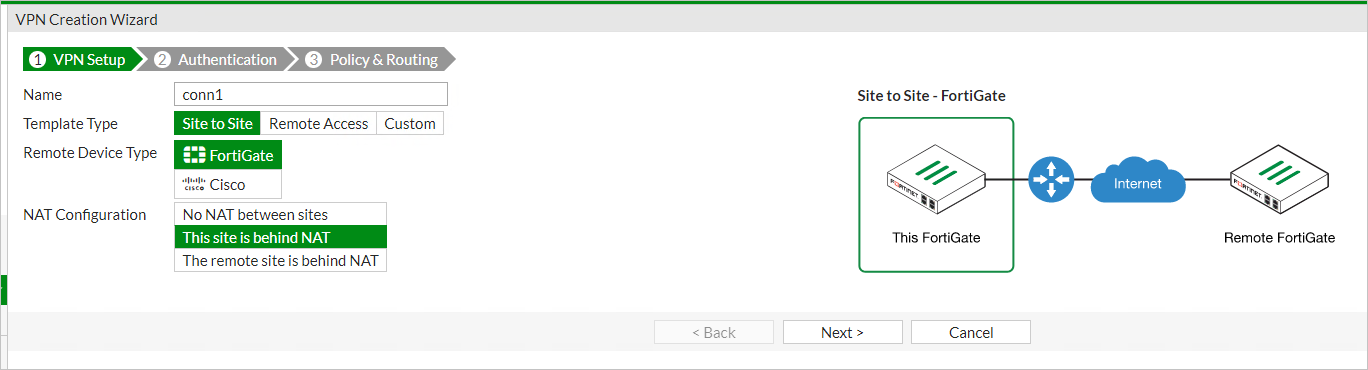
Select Next.
Enter the remote IP address of the on-premises VPN device to which you're going to connect.
Select port1 as the Outgoing Interface.
Select Pre-shared Key and enter (and record) a pre-shared key.
Note
You need this key to set up the connection on the on-premises VPN device. The key must match exactly.
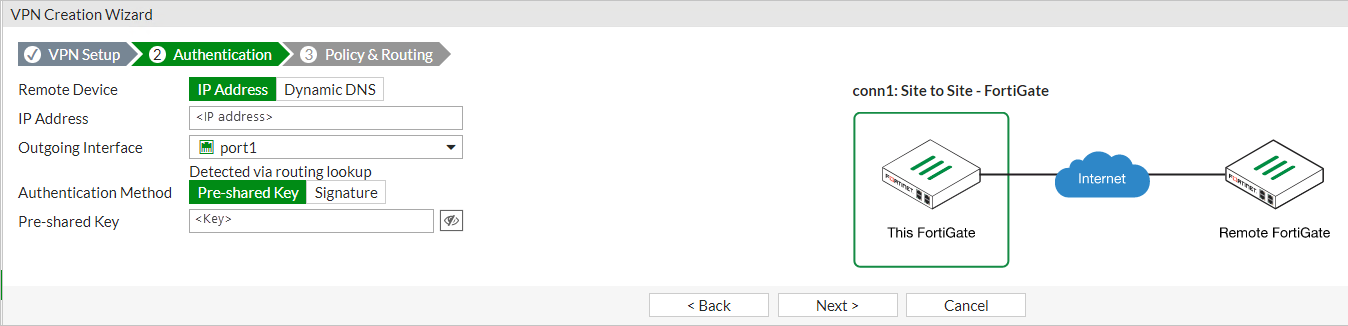
Select Next.
Select port2 for the Local Interface.
Enter the local subnet range:
- forti1: 172.16.0.0/16
- forti2: 172.17.0.0/16
If you use a different IP range, enter your IP range.
Enter the appropriate remote subnets that represent the on-premises network to which you connect through the on-premises VPN device:
- forti1: 172.16.0.0/16
- forti2: 172.17.0.0/16
If you use a different IP range, enter your IP range.
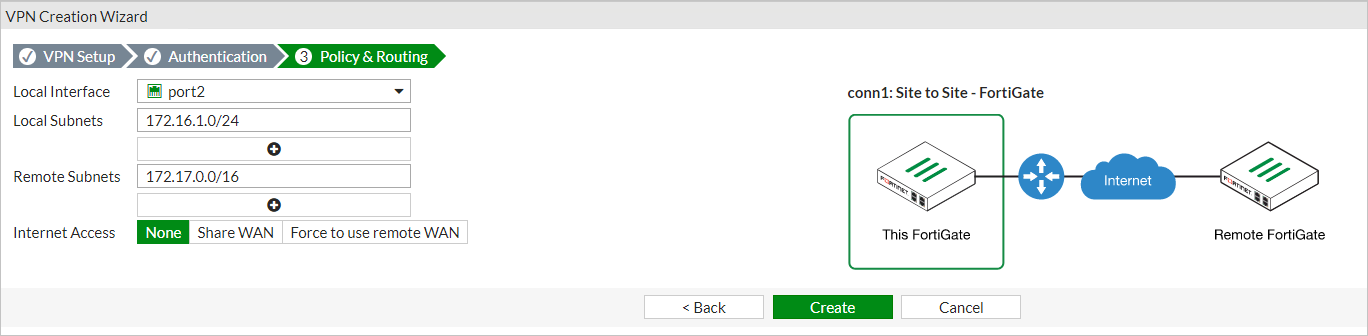
Select Create
Select Network > Interfaces.
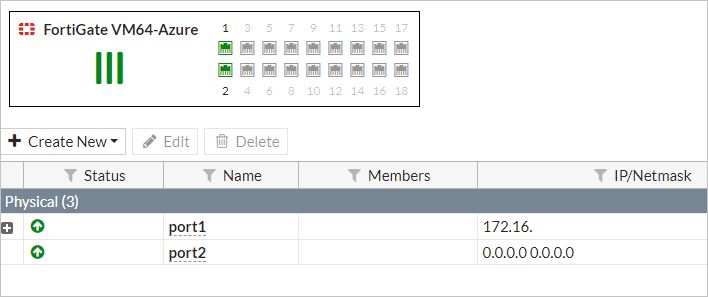
Double-click port2.
Choose LAN in the Role list and DHCP for the Addressing mode.
Select OK.
Repeat the steps for the other NVA.
Bring up all phase 2 selectors
When you complete this procedure for both NVAs:
On the forti2 FortiGate web console, select Monitor > IPsec Monitor.

Highlight
conn1and select Bring Up > All Phase 2 Selectors.
Test and validate connectivity
You can now route between each VNET through the FortiGate NVAs. To validate the connection, create an Azure Stack Hub VM in each VNET's InsideSubnet. You can create an Azure Stack Hub VM through the portal, Azure CLI, or PowerShell. When creating the VMs:
- Place the Azure Stack Hub VMs on the InsideSubnet of each VNET.
- Don't apply any NSGs to the VM upon creation. Remove the NSG that gets added by default if you create the VM from the portal.
- Ensure that the VM firewall rules allow the communication you're going to use to test connectivity. For testing purposes, disable the firewall completely within the OS, if possible.
Next steps
Differences and considerations for Azure Stack Hub networking
Offer a network solution in Azure Stack Hub with Fortinet FortiGate