Note
Access to this page requires authorization. You can try signing in or changing directories.
Access to this page requires authorization. You can try changing directories.
Important
Synapse Link for Cosmos DB is no longer supported for new projects. Don't use this feature.
Please use Azure Cosmos DB Mirroring for Microsoft Fabric which is now GA. Mirroring provides the same zero-ETL benefits and is fully integrated with Microsoft Fabric.
Use Change data capture (CDC) in Azure Cosmos DB analytical store as a source to Azure Data Factory or Azure Synapse Analytics to capture specific changes to your data.
Prerequisites
- An existing Azure Cosmos DB account.
- If you have an Azure subscription, create a new account.
- If you don't have an Azure subscription, create a trial subscription before you begin.
Enable analytical store
First, enable Azure Synapse Link at the account level and then enable analytical store for the containers that's appropriate for your workload.
Enable Azure Synapse Link: Enable Azure Synapse Link for an Azure Cosmos DB account
Enable analytical store for your containers. For more information and specific instructions, see enable Azure Synapse Link for your new containers.
Create a target Azure resource using data flows
The change data capture feature of the analytical store is available through the data flow feature of Azure Data Factory or Azure Synapse Analytics. For this guide, use Azure Data Factory.
Important
You can alternatively use Azure Synapse Analytics. First, create an Azure Synapse workspace, if you don't already have one. Within the newly created workspace, select the Develop tab, select Add new resource, and then select Data flow.
Create an Azure Data Factory, if you don't already have one.
Tip
If possible, create the data factory in the same region where your Azure Cosmos DB account resides.
Launch the newly created data factory.
In the data factory, select the Data flows tab, and then select New data flow.
Give the newly created data flow a unique name. In this example, the data flow is named
cosmoscdc.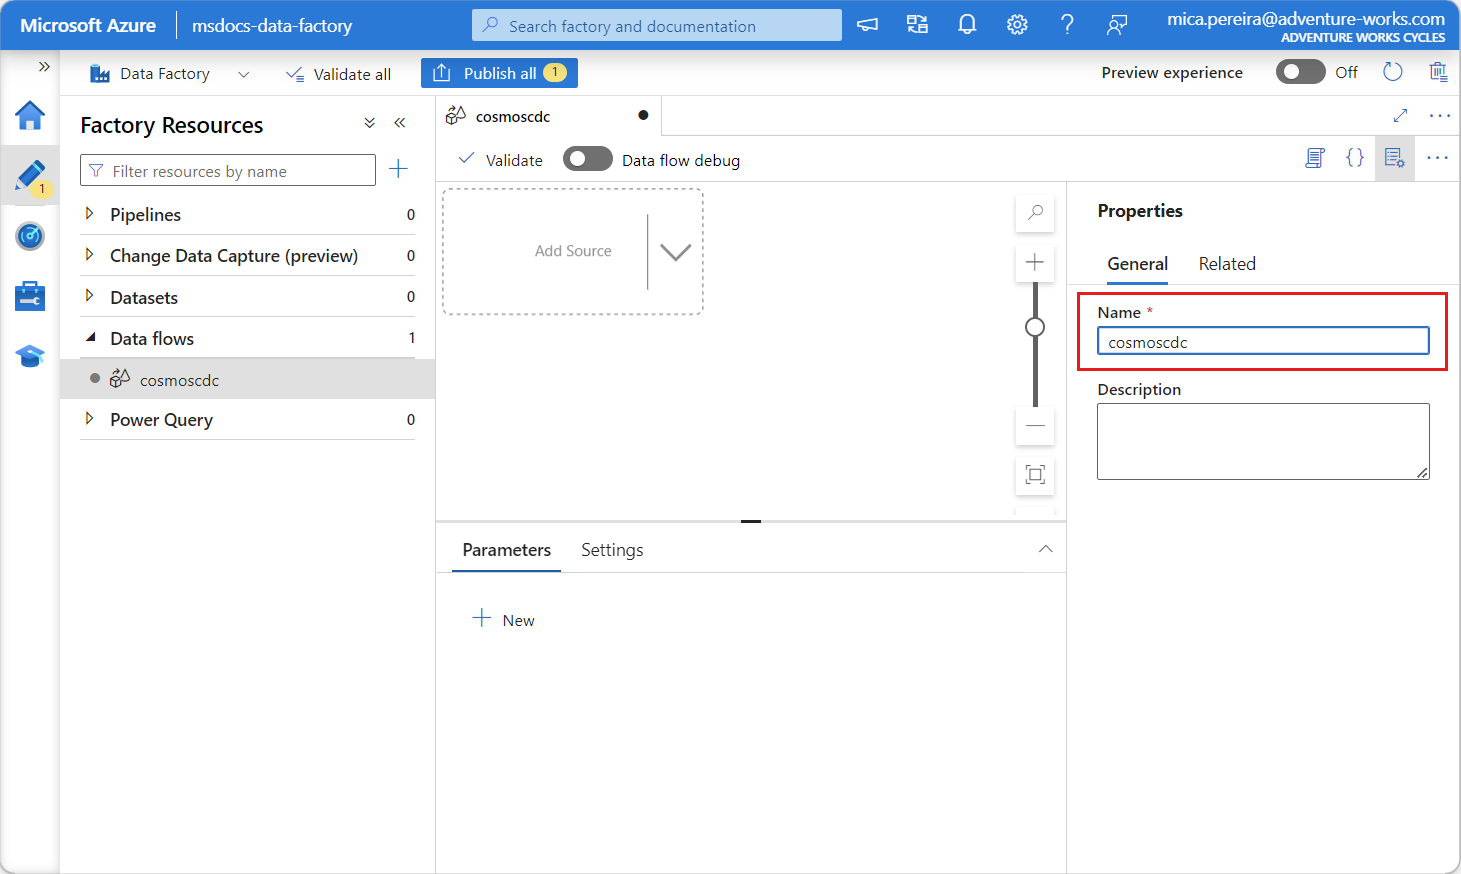

Configure source settings for the analytical store container
Now create and configure a source to flow data from the Azure Cosmos DB account's analytical store.
Note
Azure Cosmos DB's Synapse Link Spark connector doesn't support Managed Identity.
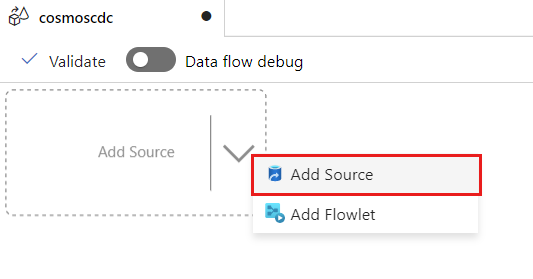
Select Add Source.
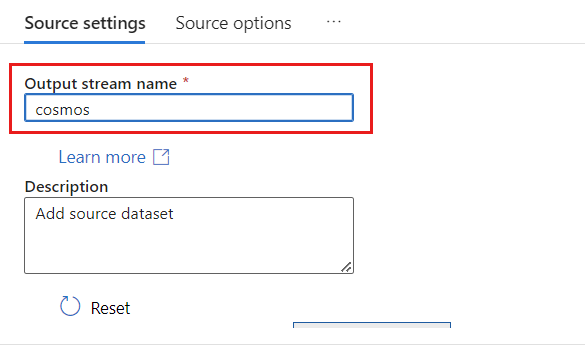
In the Output stream name field, enter cosmos.
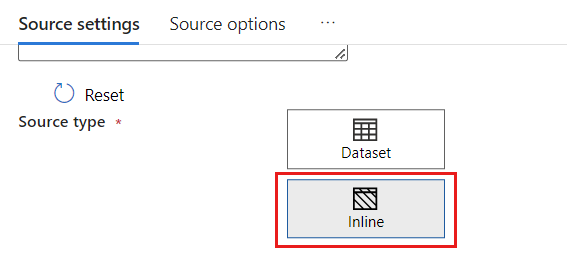
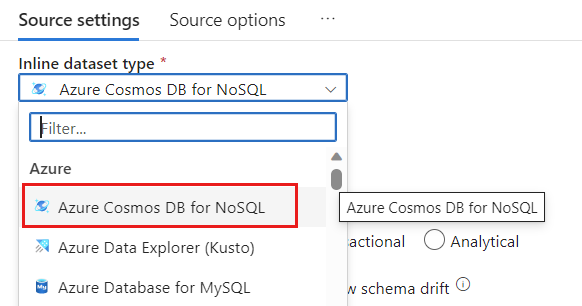
In the Source type section, select Inline.
In the Dataset field, select Azure - Azure Cosmos DB for NoSQL.
Create a new linked service for your account named cosmoslinkedservice. Select your existing Azure Cosmos DB for NoSQL account in the New linked service popup dialog and then select Ok. In this example, we select a preexisting Azure Cosmos DB for NoSQL account named
msdocs-cosmos-sourceand a database namedcosmicworks.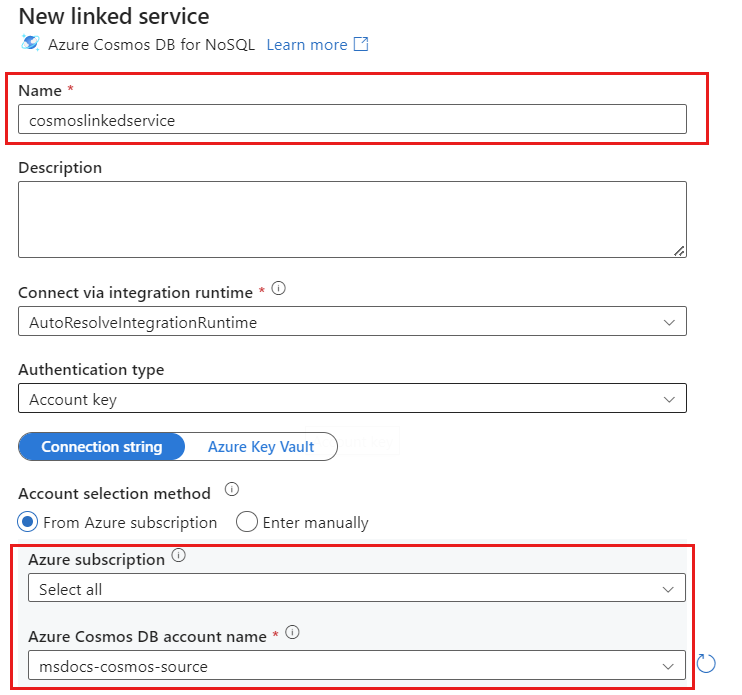
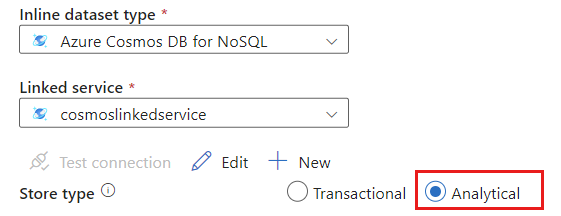
Select Analytical for the store type.
Select the Source options tab.
Within Source options, select your target container and enable Data flow debug. In this example, the container is named
products.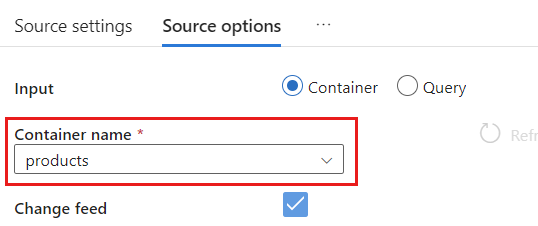
Select Data flow debug. In the Turn on data flow debug popup dialog, retain the default options and then select Ok.

The Source options tab also contains other options you may wish to enable. This table describes those options:
| Option | Description |
|---|---|
| Capture intermediate updates | Enable this option if you would like to capture the history of changes to items including the intermediate changes between change data capture reads. |
| Capture Deletes | Enable this option to capture user-deleted records and apply them on the Sink. Deletes can't be applied on Azure Data Explorer and Azure Cosmos DB Sinks. |
| Capture Transactional store TTLs | Enable this option to capture Azure Cosmos DB transactional store (time-to-live) TTL deleted records and apply on the Sink. TTL-deletes can't be applied on Azure Data Explorer and Azure Cosmos DB sinks. |
| Batchsize in bytes | This setting is in fact gigabytes. Specify the size in gigabytes if you would like to batch the change data capture feeds |
| Extra Configs | Extra Azure Cosmos DB analytical store configs and their values. (ex: spark.cosmos.allowWhiteSpaceInFieldNames -> true) |
Working with source options
When you check any of the Capture intermediate updates, Capture Deletes, and Capture Transactional store TTLs options, your CDC process will create and populate the __usr_opType field in sink with the following values:
| Value | Description | Option |
|---|---|---|
| 1 | UPDATE | Capture Intermediate updates |
| 2 | INSERT | There isn't an option for inserts, it's on by default |
| 3 | USER_DELETE | Capture Deletes |
| 4 | TTL_DELETE | Capture Transactional store TTLs |
If you have to differentiate the TTL deleted records from documents deleted by users or applications, you can check both Capture intermediate updates and Capture Transactional store TTLs options. Then you have to adapt your CDC processes or applications or queries to use __usr_opType according to what is necessary for your business needs.
Tip
If there's a need for the downstream consumers to restore the order of updates with the “capture intermediate updates” option checked, the system timestamp _ts field can be used as the ordering field.
Create and configure sink settings for update and delete operations
First, create a straightforward Azure Blob Storage sink and then configure the sink to filter data to only specific operations.
Create an Azure Blob Storage account and container, if you don't already have one. For the next examples, we'll use an account named
msdocsblobstorageand a container namedoutput.Tip
If possible, create the storage account in the same region where your Azure Cosmos DB account resides.
Back in Azure Data Factory, create a new sink for the change data captured from your
cosmossource.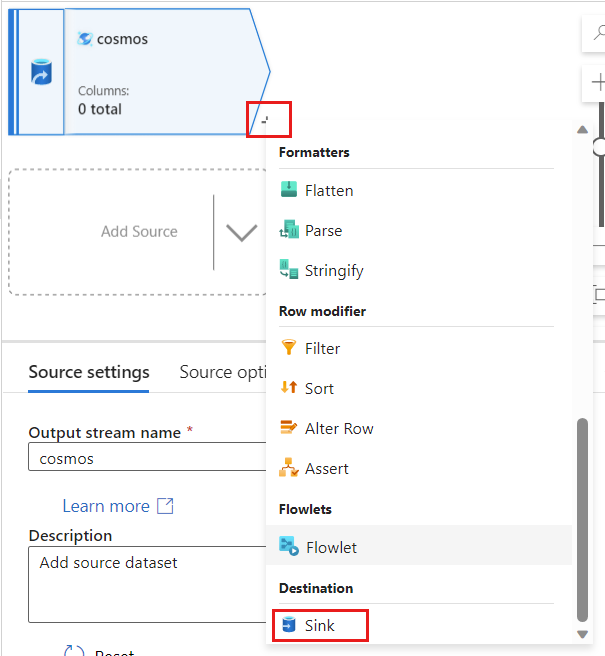
Give the sink a unique name. In this example, the sink is named
storage.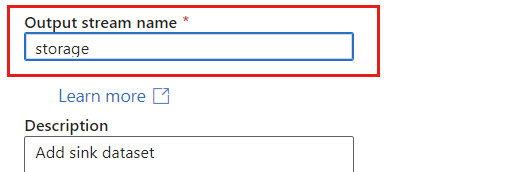
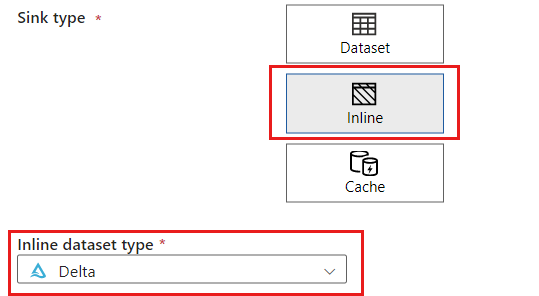
In the Sink type section, select Inline. In the Dataset field, select Delta.
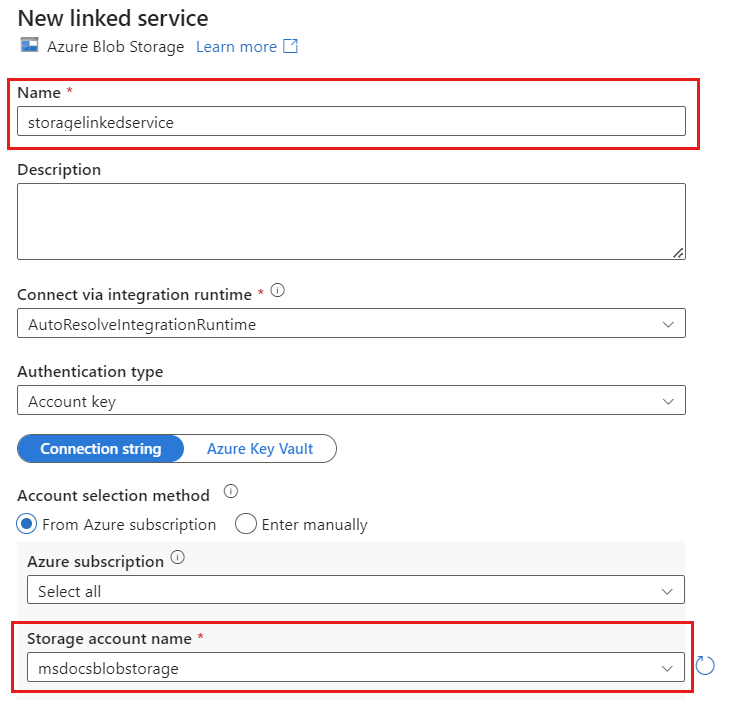
Create a new linked service for your account using Azure Blob Storage named storagelinkedservice. Select your existing Azure Blob Storage account in the New linked service popup dialog and then select Ok. In this example, we select a preexisting Azure Blob Storage account named
msdocsblobstorage.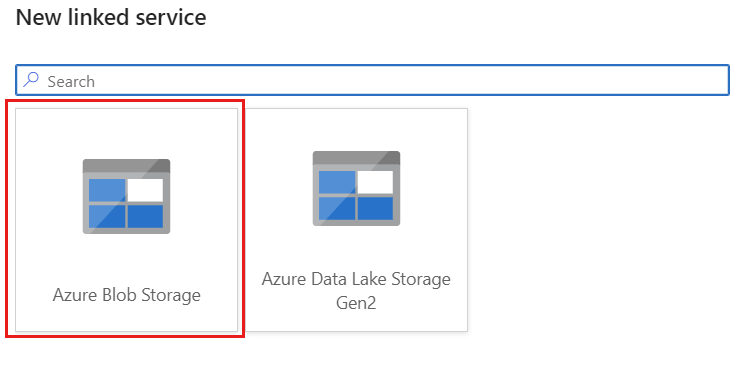
Select the Settings tab.
Within Settings, set the Folder path to the name of the blob container. In this example, the container's name is
output.
Locate the Update method section and change the selections to only allow delete and update operations. Also, specify the Key columns as a List of columns using the field
{_rid}as the unique identifier.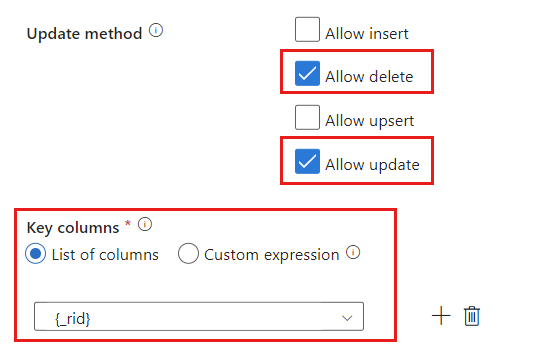
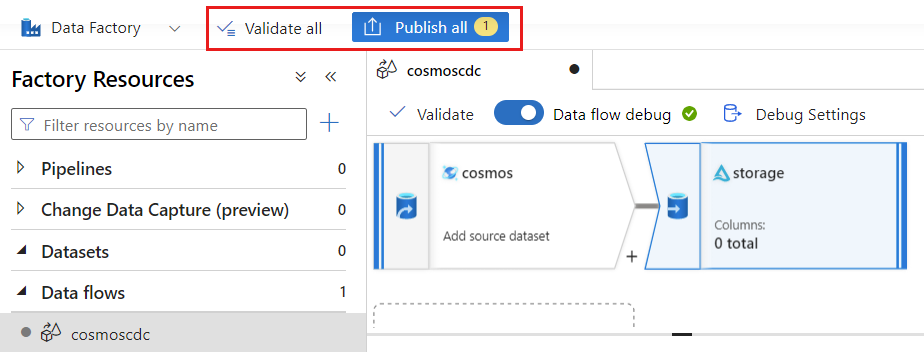
Select Validate to ensure you haven't made any errors or omissions. Then, select Publish to publish the data flow.
Schedule change data capture execution
After a data flow has been published, you can add a new pipeline to move and transform your data.
Create a new pipeline. Give the pipeline a unique name. In this example, the pipeline is named
cosmoscdcpipeline.
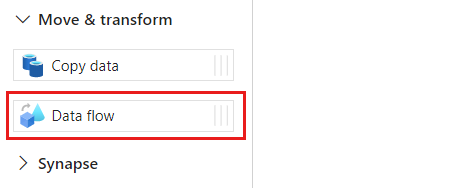
In the Activities section, expand the Move & transform option and then select Data flow.
Give the data flow activity a unique name. In this example, the activity is named
cosmoscdcactivity.In the Settings tab, select the data flow named
cosmoscdcyou created earlier in this guide. Then, select a compute size based on the data volume and required latency for your workload.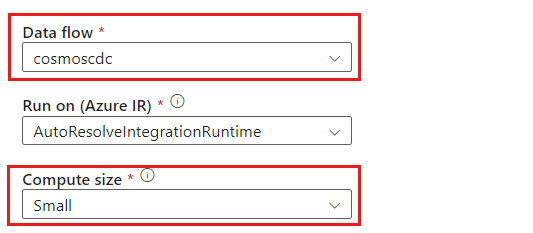
Tip
For incremental data sizes greater than 100 GB, we recommend the Custom size with a core count of 32 (+16 driver cores).
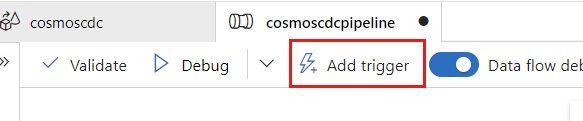
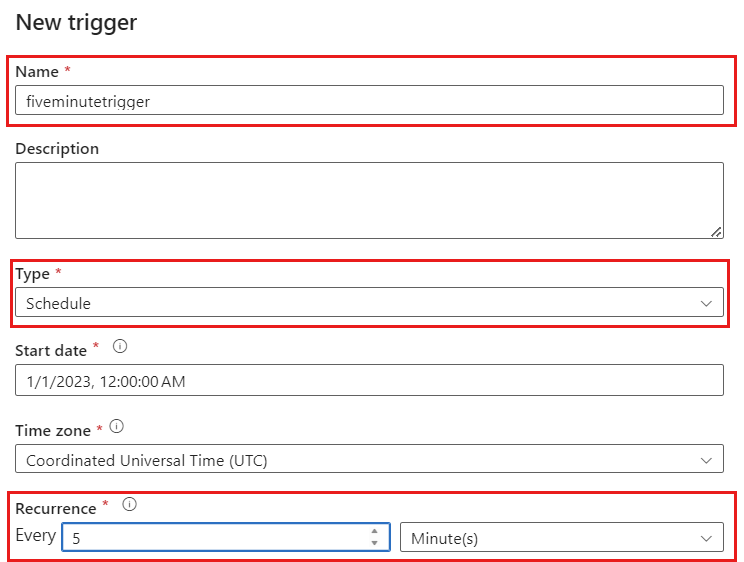
Select Add trigger. Schedule this pipeline to execute at a cadence that makes sense for your workload. In this example, the pipeline is configured to execute every five minutes.
Note
The minimum recurrence window for change data capture executions is one minute.
Select Validate to ensure you haven't made any errors or omissions. Then, select Publish to publish the pipeline.
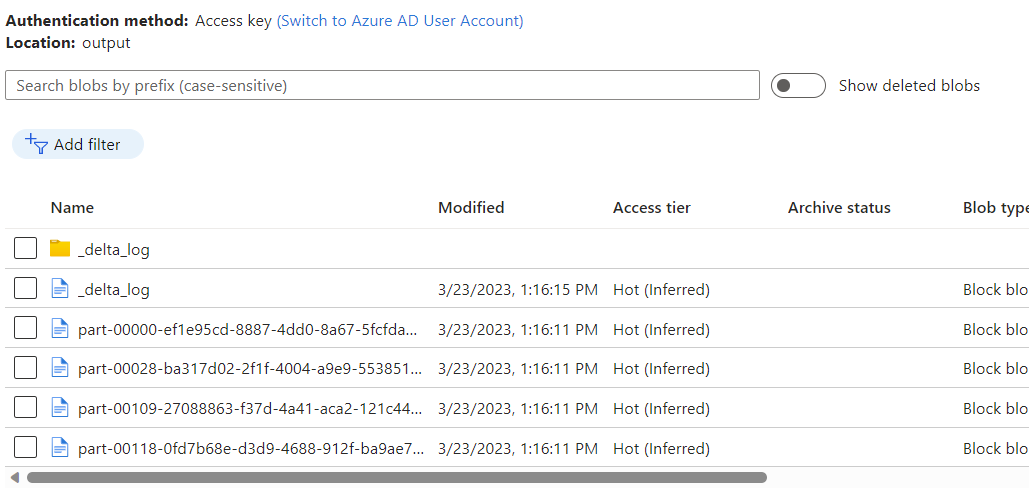
Observe the data placed into the Azure Blob Storage container as an output of the data flow using Azure Cosmos DB analytical store change data capture.
Note
The initial cluster startup time may take up to three minutes. To avoid cluster startup time in the subsequent change data capture executions, configure the Dataflow cluster Time to live value. For more information about the integration runtime and TTL, see integration runtime in Azure Data Factory.
Concurrent jobs
The batch size in the source options, or situations when the sink is slow to ingest the stream of changes, may cause the execution of multiple jobs at the same time. To avoid this situation, set the Concurrency option to 1 in the Pipeline settings, to make sure that new executions aren't triggered until the current execution completes.
Next steps
- Review the overview of Azure Cosmos DB analytical store