Note
Access to this page requires authorization. You can try signing in or changing directories.
Access to this page requires authorization. You can try changing directories.
An external table is a schema entity that references data stored outside the Azure Data Explorer database. Azure Data Explorer web UI can create external tables by taking sample files from a storage container and creating schema based on these samples. You can then analyze and query data in external tables without ingestion into Azure Data Explorer. For a brief overview, see external tables. For information about different ways to create external tables, see create and alter Azure Storage external tables. This article shows you how to create an external table using the creation wizard experience.
Prerequisites
- An Azure subscription. Create a Azure account.
- An Azure Data Explorer cluster and database. Create a cluster and database.
- Sign in to the Azure Data Explorer web UI and add a connection to your cluster.
Create an external table
In the left menu, select Query.
Right-click on the database where you want to create the external table. Select Create external table.
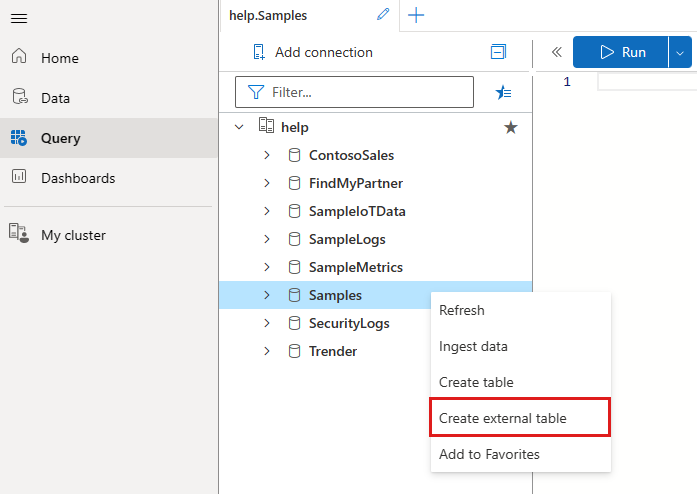

The Create external table window opens with the Destination tab selected.
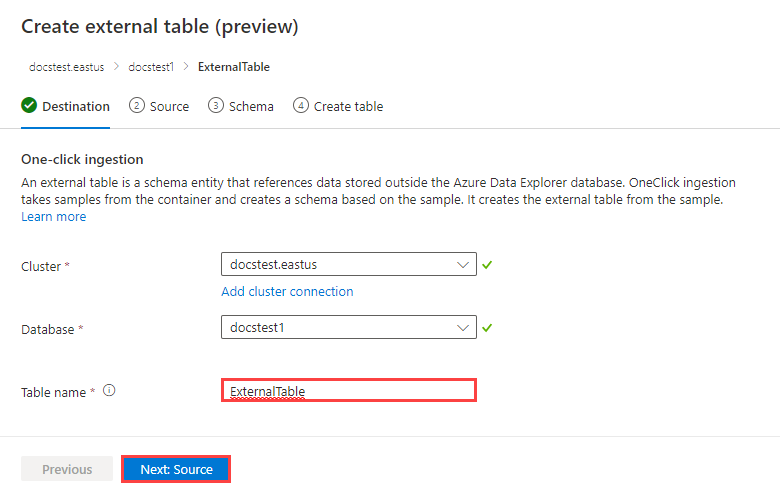
Destination tab
- The Cluster and Database fields are prepopulated. You can select a different destination from the dropdown menu.
- In Table name, enter a name for your table.
Tip
Table names can be up to 1,024 characters including alphanumeric, hyphens, and underscores. Special characters aren't supported.
- Select Next: Source.
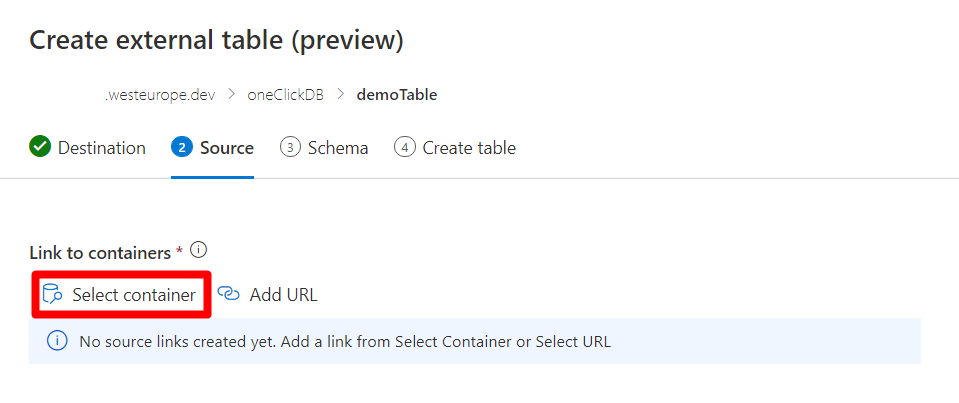
Source tab
In Link to containers, you can add a container in two ways: Add a container with the Select container button and Add a container with the Add URL or Add container button.
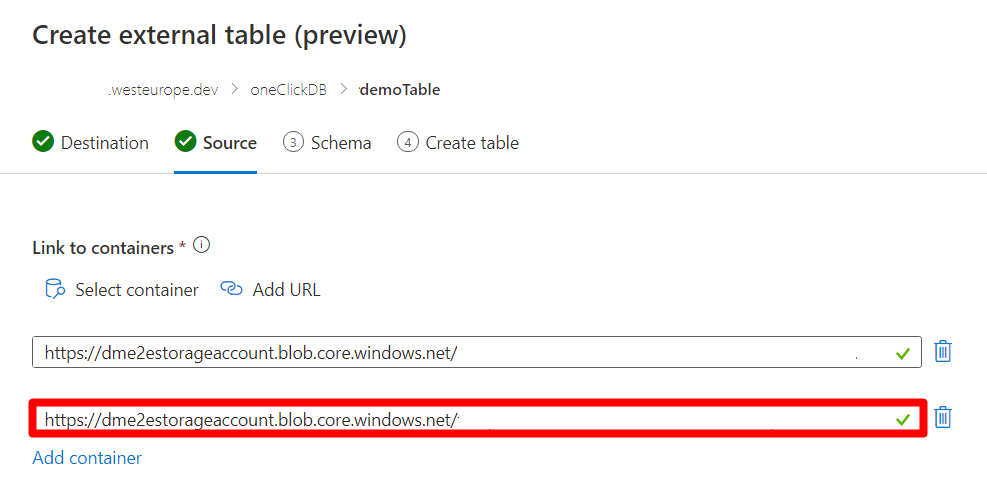
You can add up to 10 source containers.
Add a container with the Select container button
Select Select container.
Choose the subscription and storage account that your container uses.
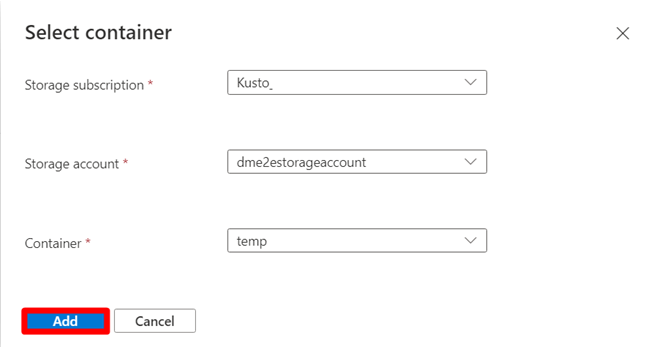
Select Add. When verification finishes, a green check appears to the right of the container link.

Add a container with the Add URL or Add container button
Select the Add URL or Add container button.
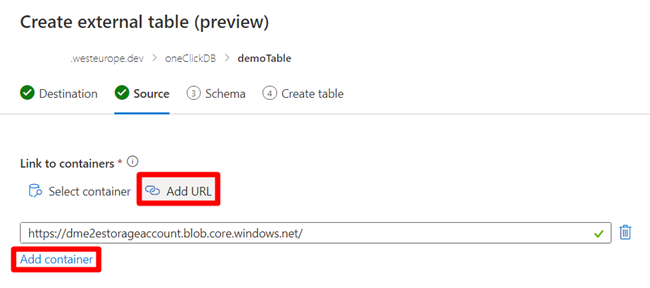
Enter a storage connection strings to your source container with read and list permissions. When verification finishes, a green check appears to the right of the container link.
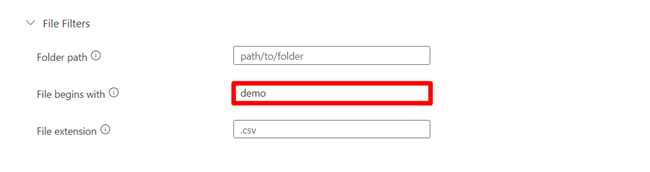
File filters
Use File filters to filter the files that the table should include. You can filter files by folder path, file begins with, or file extension.
Schema-defining file
The first source container displays files below File filters.
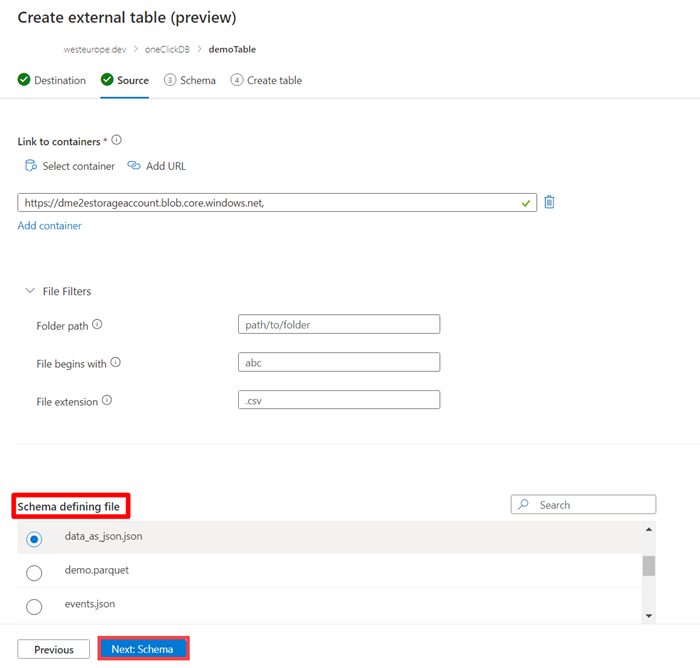
- Choose the schema-defining file by selecting the circle to the left of the file. This file is used to generate the table schema.
- Select Next: schema. The Schema tab opens.
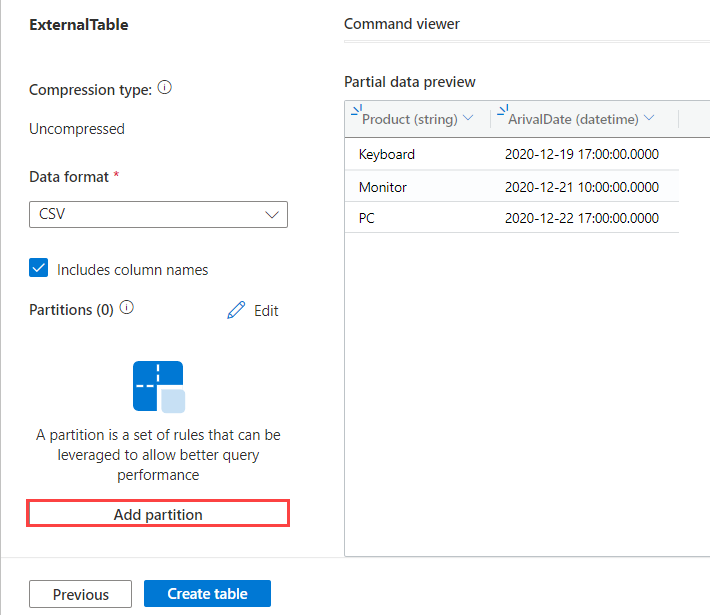
Schema tab
On the right side of the tab, you can preview your data. On the left side, you can add partitions to your table definitions to access the source data more quickly and achieve better performance.
Note
Mappings aren't part of the definition of an external table, and the wizard doesn't support them. You can configure mappings later if necessary. Some functionalities, such as deleting the last column in CSV files or changing column names in JSON files, require mappings in order to work correctly.
Select Add partition.
The partition window opens. A partition is defined over a subpath of the file, which you can change by using the Path prefix field. For each partition you want to apply, fill out the fields as follows:
Field Description Required/Optional Partition name Used for identification of the partition. The name can be arbitrary. Required Type The data type of the data partitioning column. Required Data column The column used for partitioning. Virtual columns partition according to URL path. Required Function The function applied to the data column used for partitioning. Optional Function argument Argument to be used in the partition function. Required if function is used. Path prefix The subpath of the file on which the partitioning is defined. This prefix changes the URL of the external table, as seen in the Uri preview box, and should match the schema-defining file URI. Optional Datetime pattern Format of date that you use to construct the table URI path. Optional 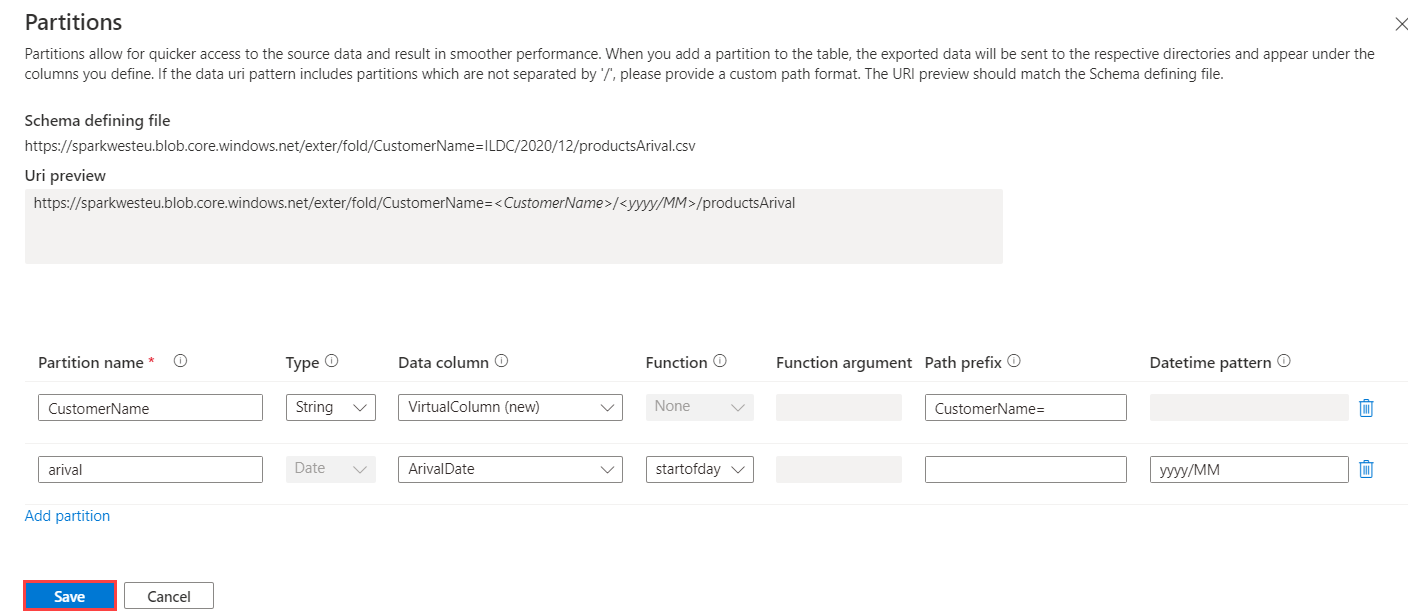
For example, the partition name CustomerName suggests that the value to partition by is in the customer name part of the URL. The preceding example declares two partitions: one partition over the customer name and one partition over the date embedded in the URL.
Note
Virtual columns appear as part of the schema as the columns data extracted from the file path, and you can use this data later in queries.
Select Add partition to add another partition.
Select Save. The partitions you added now appear in the list of Partitions in the left pane. You can't change partitioned columns in preview.
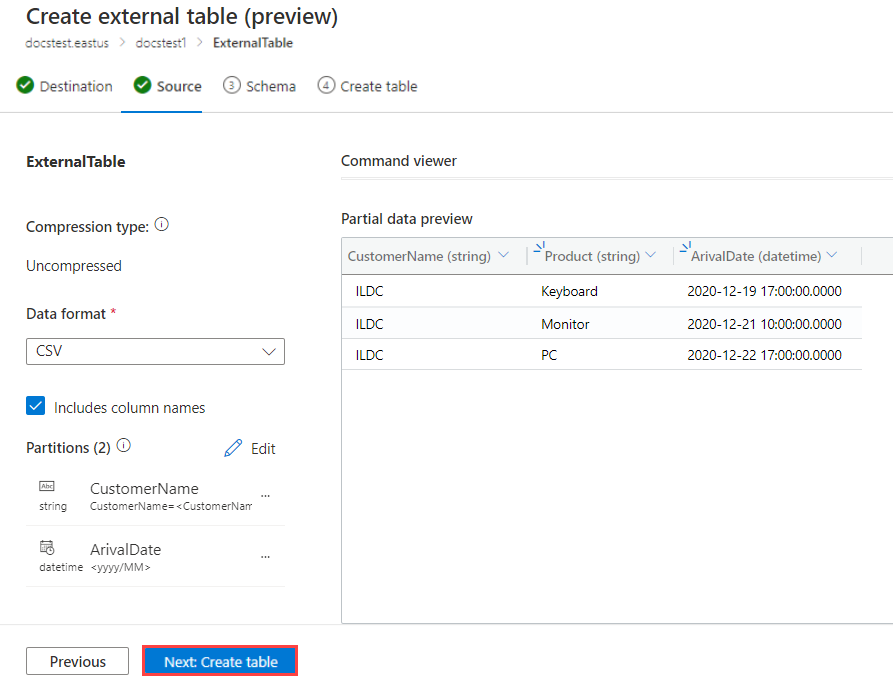
Select Next: Create table. When you create the table, an External table successfully created window opens.
To view the command used to create the table, select View command.
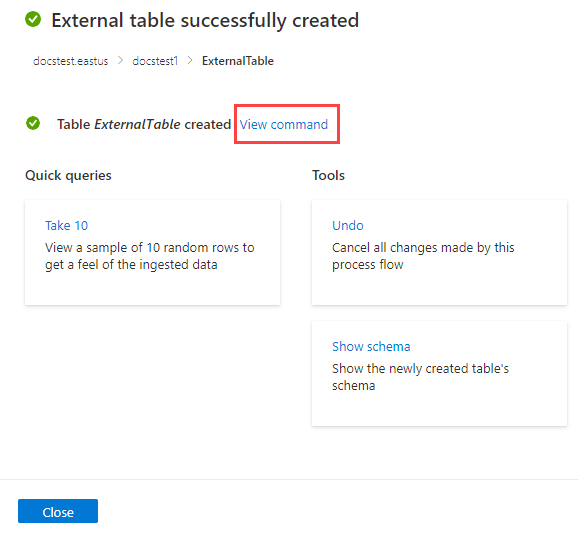
To undo the creation of the external table, select Tools > Undo.

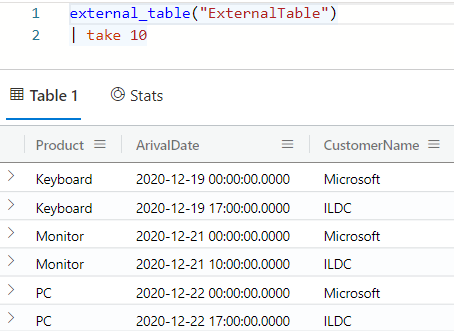
Query the external table
The resulting table includes data from all the files that fit the criteria you defined. You can query this table by using the external_table() function. For more information on how to query external tables, see Querying an external table.