Note
Access to this page requires authorization. You can try signing in or changing directories.
Access to this page requires authorization. You can try changing directories.
Important
This connector can be used in Real-Time Intelligence in Microsoft Fabric. Use the instructions in this article with the following exceptions:
- If required, create databases using the instructions in Create a KQL database.
- If required, create tables using the instructions in Create an empty table.
- Get query or ingestion URIs using the instructions in Copy URI.
- Run queries in a KQL queryset.
Splunk Enterprise is a software platform that allows you to ingest data from many sources simultaneously. The Splunk indexer processes the data and stores it by default in the main index or a specified custom index. Searching in Splunk uses the indexed data for creating metrics, dashboards, and alerts. Azure Data Explorer is a fast and highly scalable data exploration service for log and telemetry data.
In this article, you'll learn how to use the Azure Data Explorer Splunk add-on to send data from Splunk to a table in your cluster. You create a table and data mapping, direct Splunk to send data into the table, and then validate the results.
The following scenarios are most suitable for ingesting data into Azure Data Explorer:
- High-volume data: Azure Data Explorer is built to efficiently handle vast amounts of data. If your organization generates a significant volume of data that needs real-time analysis, Azure Data Explorer is a suitable choice.
- Time-series data: Azure Data Explorer excels at handling time-series data, such as logs, telemetry data, and sensor readings. It organizes data in time-based partitions, making it easy to perform time-based analysis and aggregations.
- Real-time analytics: If your organization requires real-time insights from the data flowing in, Azure Data Explorer's near real-time capabilities can be beneficial.
Prerequisites
- A Microsoft account or a Microsoft Entra user identity. An Azure subscription isn't required.
- An Azure Data Explorer cluster and database. Create a cluster and database.
- Splunk Enterprise 9 or newer.
- A Microsoft Entra service principal. Create a Microsoft Entra service principal.
Create a table and a mapping object
After you have a cluster and a database, create a table with a schema that matches your Splunk data. You also create a mapping object that transforms the incoming data into the target table schema.
In the following example, you create a table named WeatherAlert with four columns: Timestamp, Temperature, Humidity, and Weather. You also create a mapping named WeatherAlert_Json_Mapping that extracts properties from the incoming JSON as noted by the path and outputs them to the specified column.
In the web UI query editor, run the following commands to create the table and mapping:
Create a table:
.create table WeatherAlert (Timestamp: datetime, Temperature: string, Humidity: string, Weather: string)Verify that the
WeatherAlerttable was created and is empty:WeatherAlert | countCreate a mapping object:
.create table WeatherAlert ingestion json mapping "WeatherAlert_Json_Mapping" ```[{ "column" : "Timestamp", "datatype" : "datetime", "Properties":{"Path":"$.timestamp"}}, { "column" : "Temperature", "datatype" : "string", "Properties":{"Path":"$.temperature"}}, { "column" : "Humidity", "datatype" : "string", "Properties":{"Path":"$.humidity"}}, { "column" : "Weather", "datatype" : "string", "Properties":{"Path":"$.weather_condition"}} ]```Use the service principal from the Prerequisites to grant permission to work with the database.
.add database YOUR_DATABASE_NAME admins ('aadapp=YOUR_APP_ID;YOUR_TENANT_ID') 'Entra App'
Install the Splunk Azure Data Explorer add-on
The Splunk add-on communicates with Azure Data Explorer and sends the data to the specified table.
Download the Azure Data Explorer add-on.
Sign in to your Splunk instance as an administrator.
Go to Apps > Manage Apps.
Select Install app from file, and then select the Azure Data Explorer add-on file you downloaded.
Follow the prompts to complete the installation.
Select Restart Now.
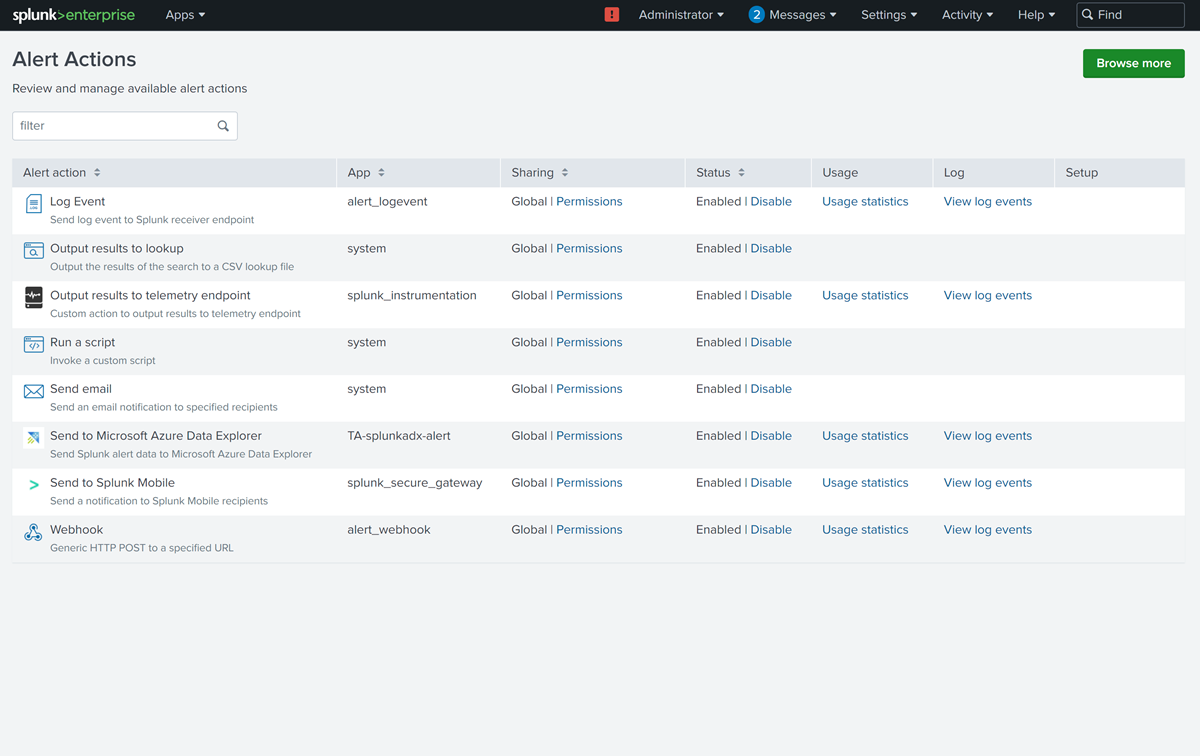
Verify that the add-on is installed by going to Dashboard > Alert Actions and looking for the Azure Data Explorer add-on.

Create a new index in Splunk
Create an index in Splunk that specifies the criteria for the data you want to send to Azure Data Explorer.
- Sign in to your Splunk instance as an administrator.
- Go to Settings > Indexes.
- Specify a name for the index, and configure the criteria for the data you want to send to Azure Data Explorer.
- Configure the remaining properties as required, and then save the index.
Configure the Splunk add-on to send data to Azure Data Explorer
Sign in to your Splunk instance as an administrator.
Go to the dashboard and search using the index you created earlier. For example, if you created an index named
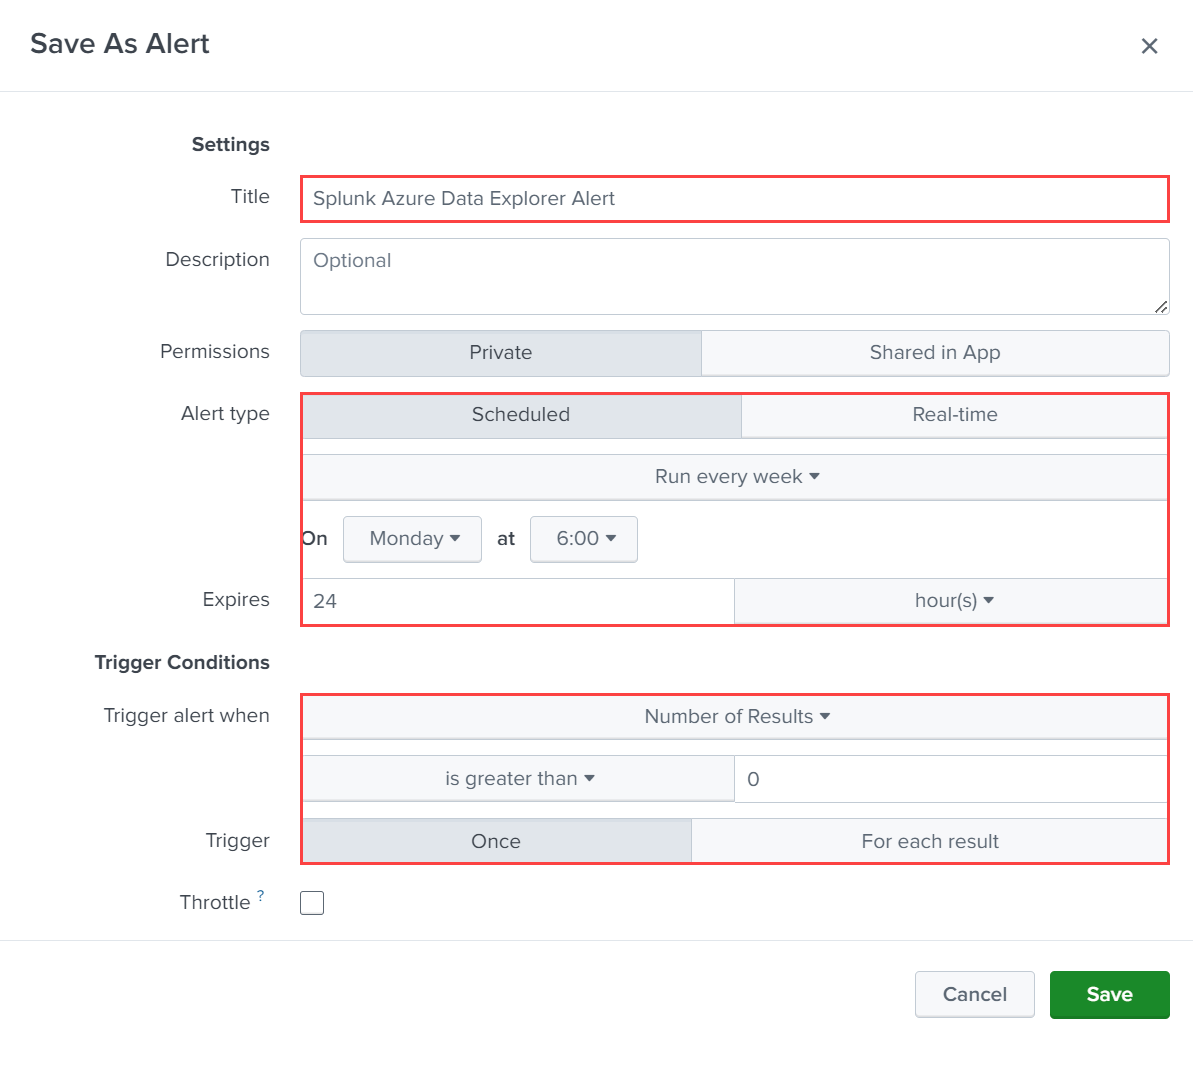
WeatherAlerts, search forindex="WeatherAlerts".Select Save As > Alert.
Specify the name, interval, and conditions as required for the alert.
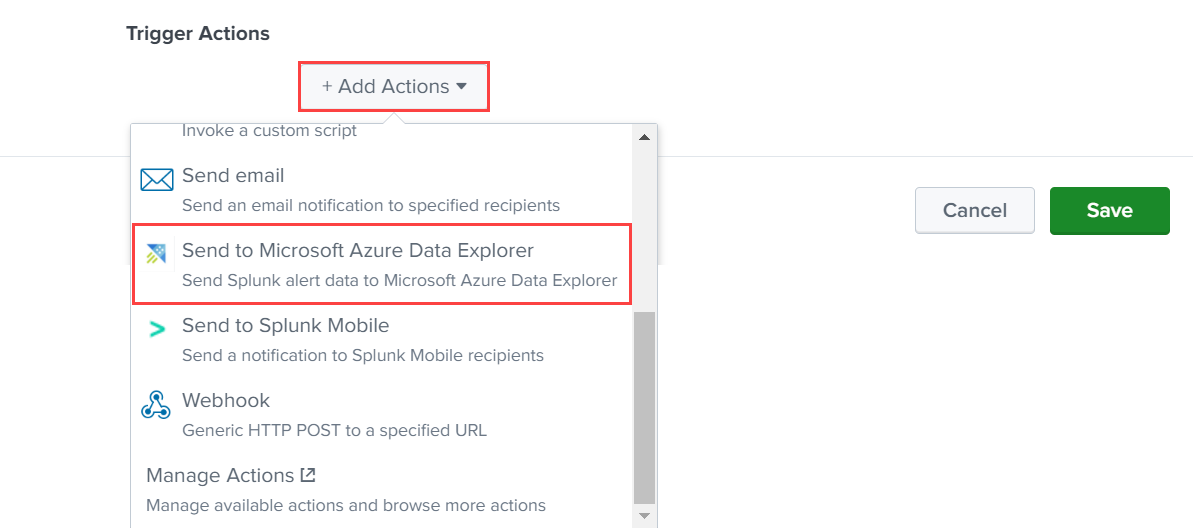
Under Trigger Actions, select Add Actions > Send to Azure Data Explorer.
Configure the connections details, as follows:
Setting Description Cluster Ingestion URL Specify the ingestion URL of your Azure Data Explorer cluster. For example, https://ingest-<mycluster>.<myregion>.kusto.chinacloudapi.cn.Client ID Specify the client ID of the Microsoft Entra application you created earlier. Client Secret Specify the client secret of the Microsoft Entra application you created earlier. Tenant ID Specify the tenant ID of the Microsoft Entra application you created earlier. Database Specify the name of the database you want to send the data to. Table Specify the name of the table you want to send the data to. Mapping Specify the name of the mapping object you created earlier. Remove Extra Fields Select this option to remove any empty fields from the data sent to your cluster. Durable Mode Select this option to enable durability mode during ingestion. When set to true, ingestion throughput is affected. 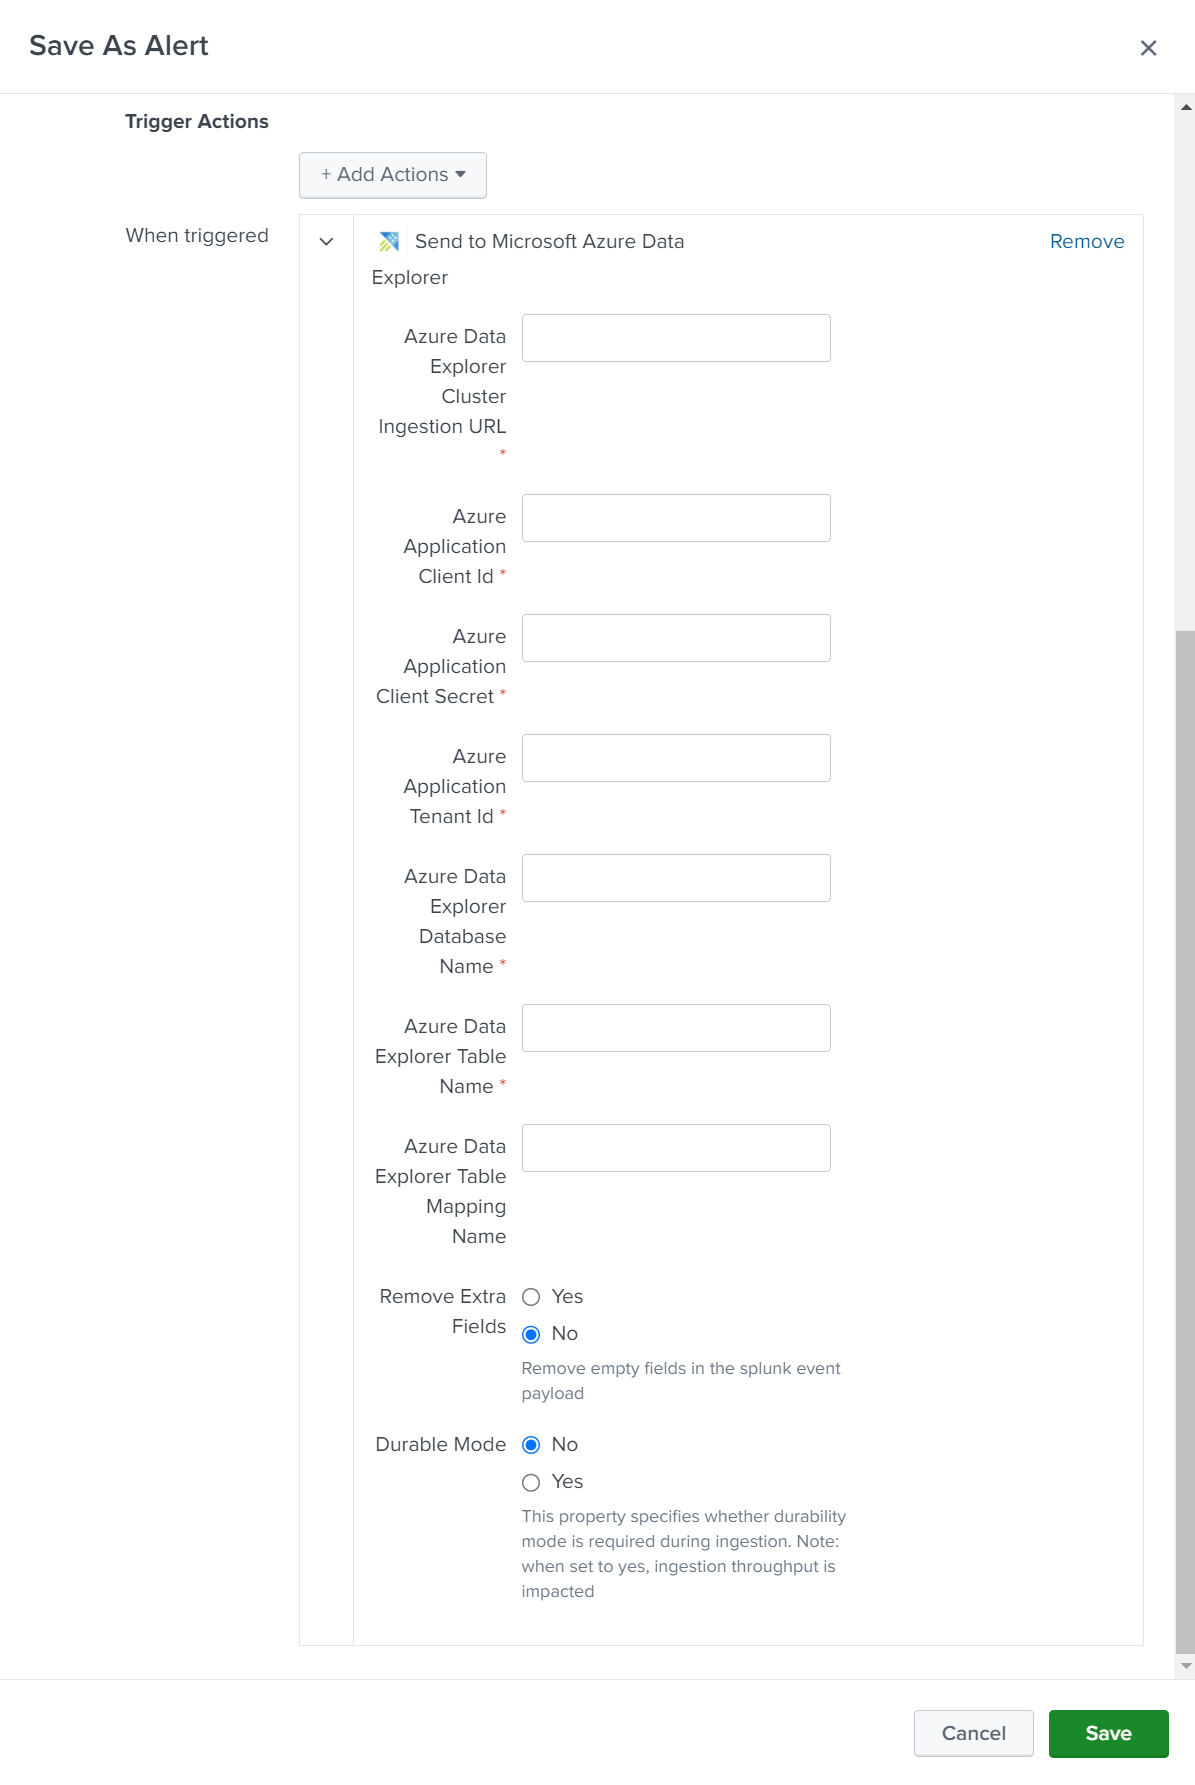
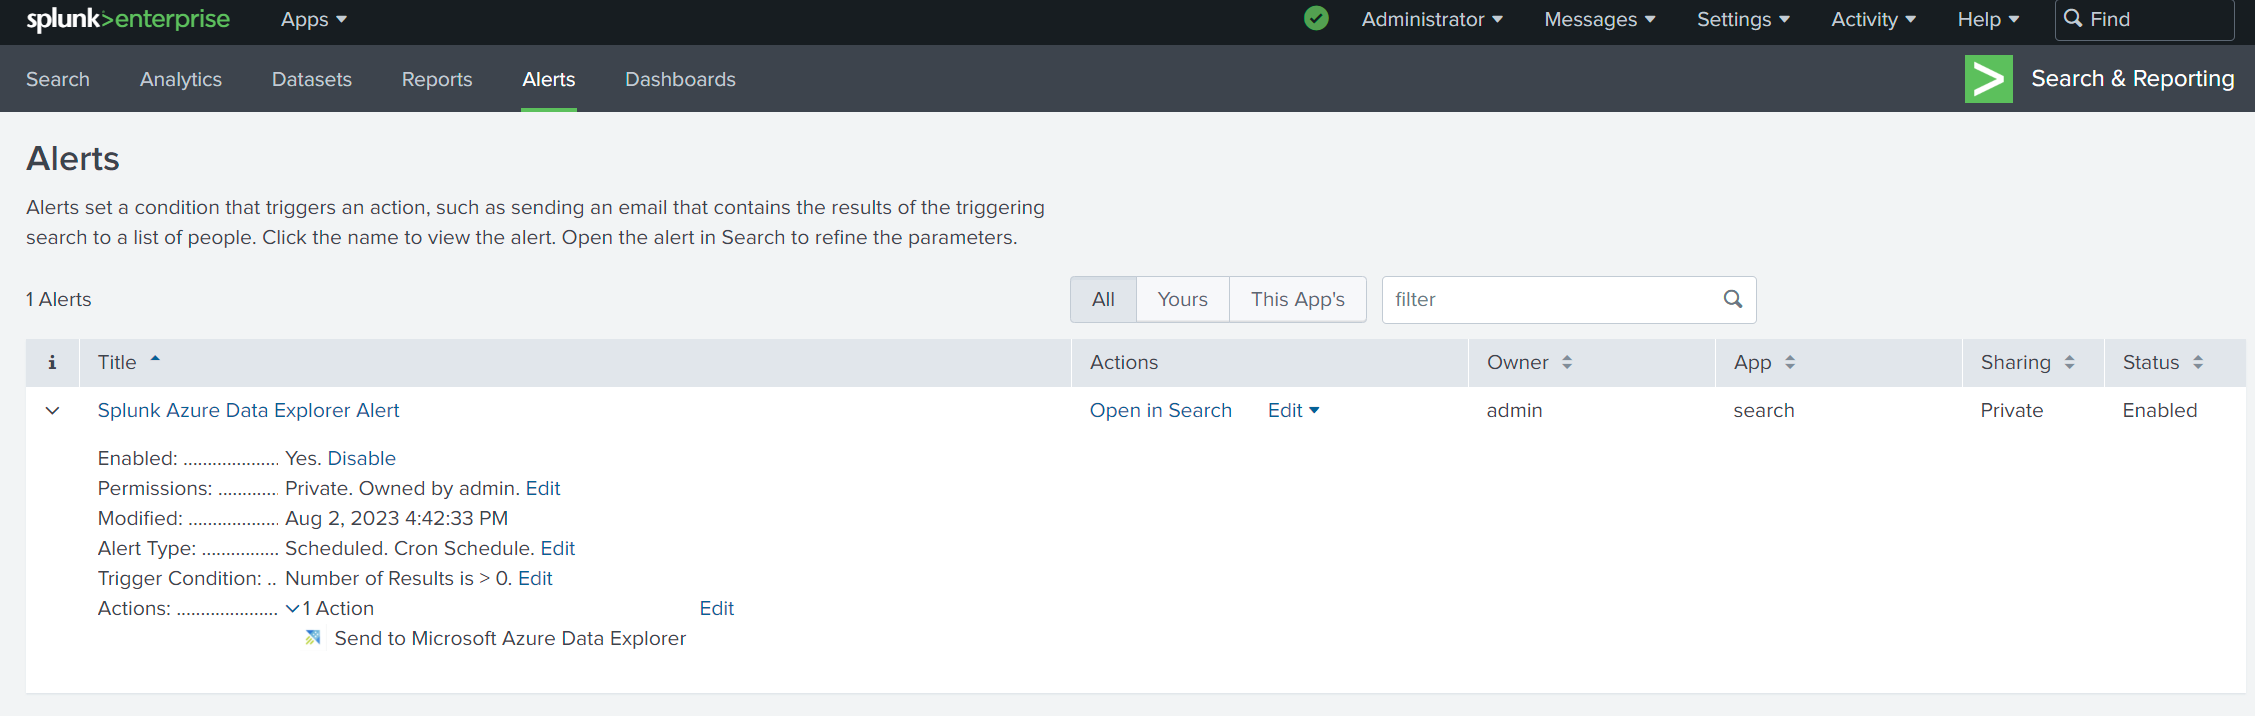
Select Save to save the alert.
Go to the Alerts page and verify that your alert appears in the list of alerts.


Verify that data is ingested into Azure Data Explorer
After the alert is triggered, data is sent to your Azure Data Explorer table. You can verify that the data is ingested by running a query in the web UI query editor.
Run the following query to verify that data is ingested into the table:
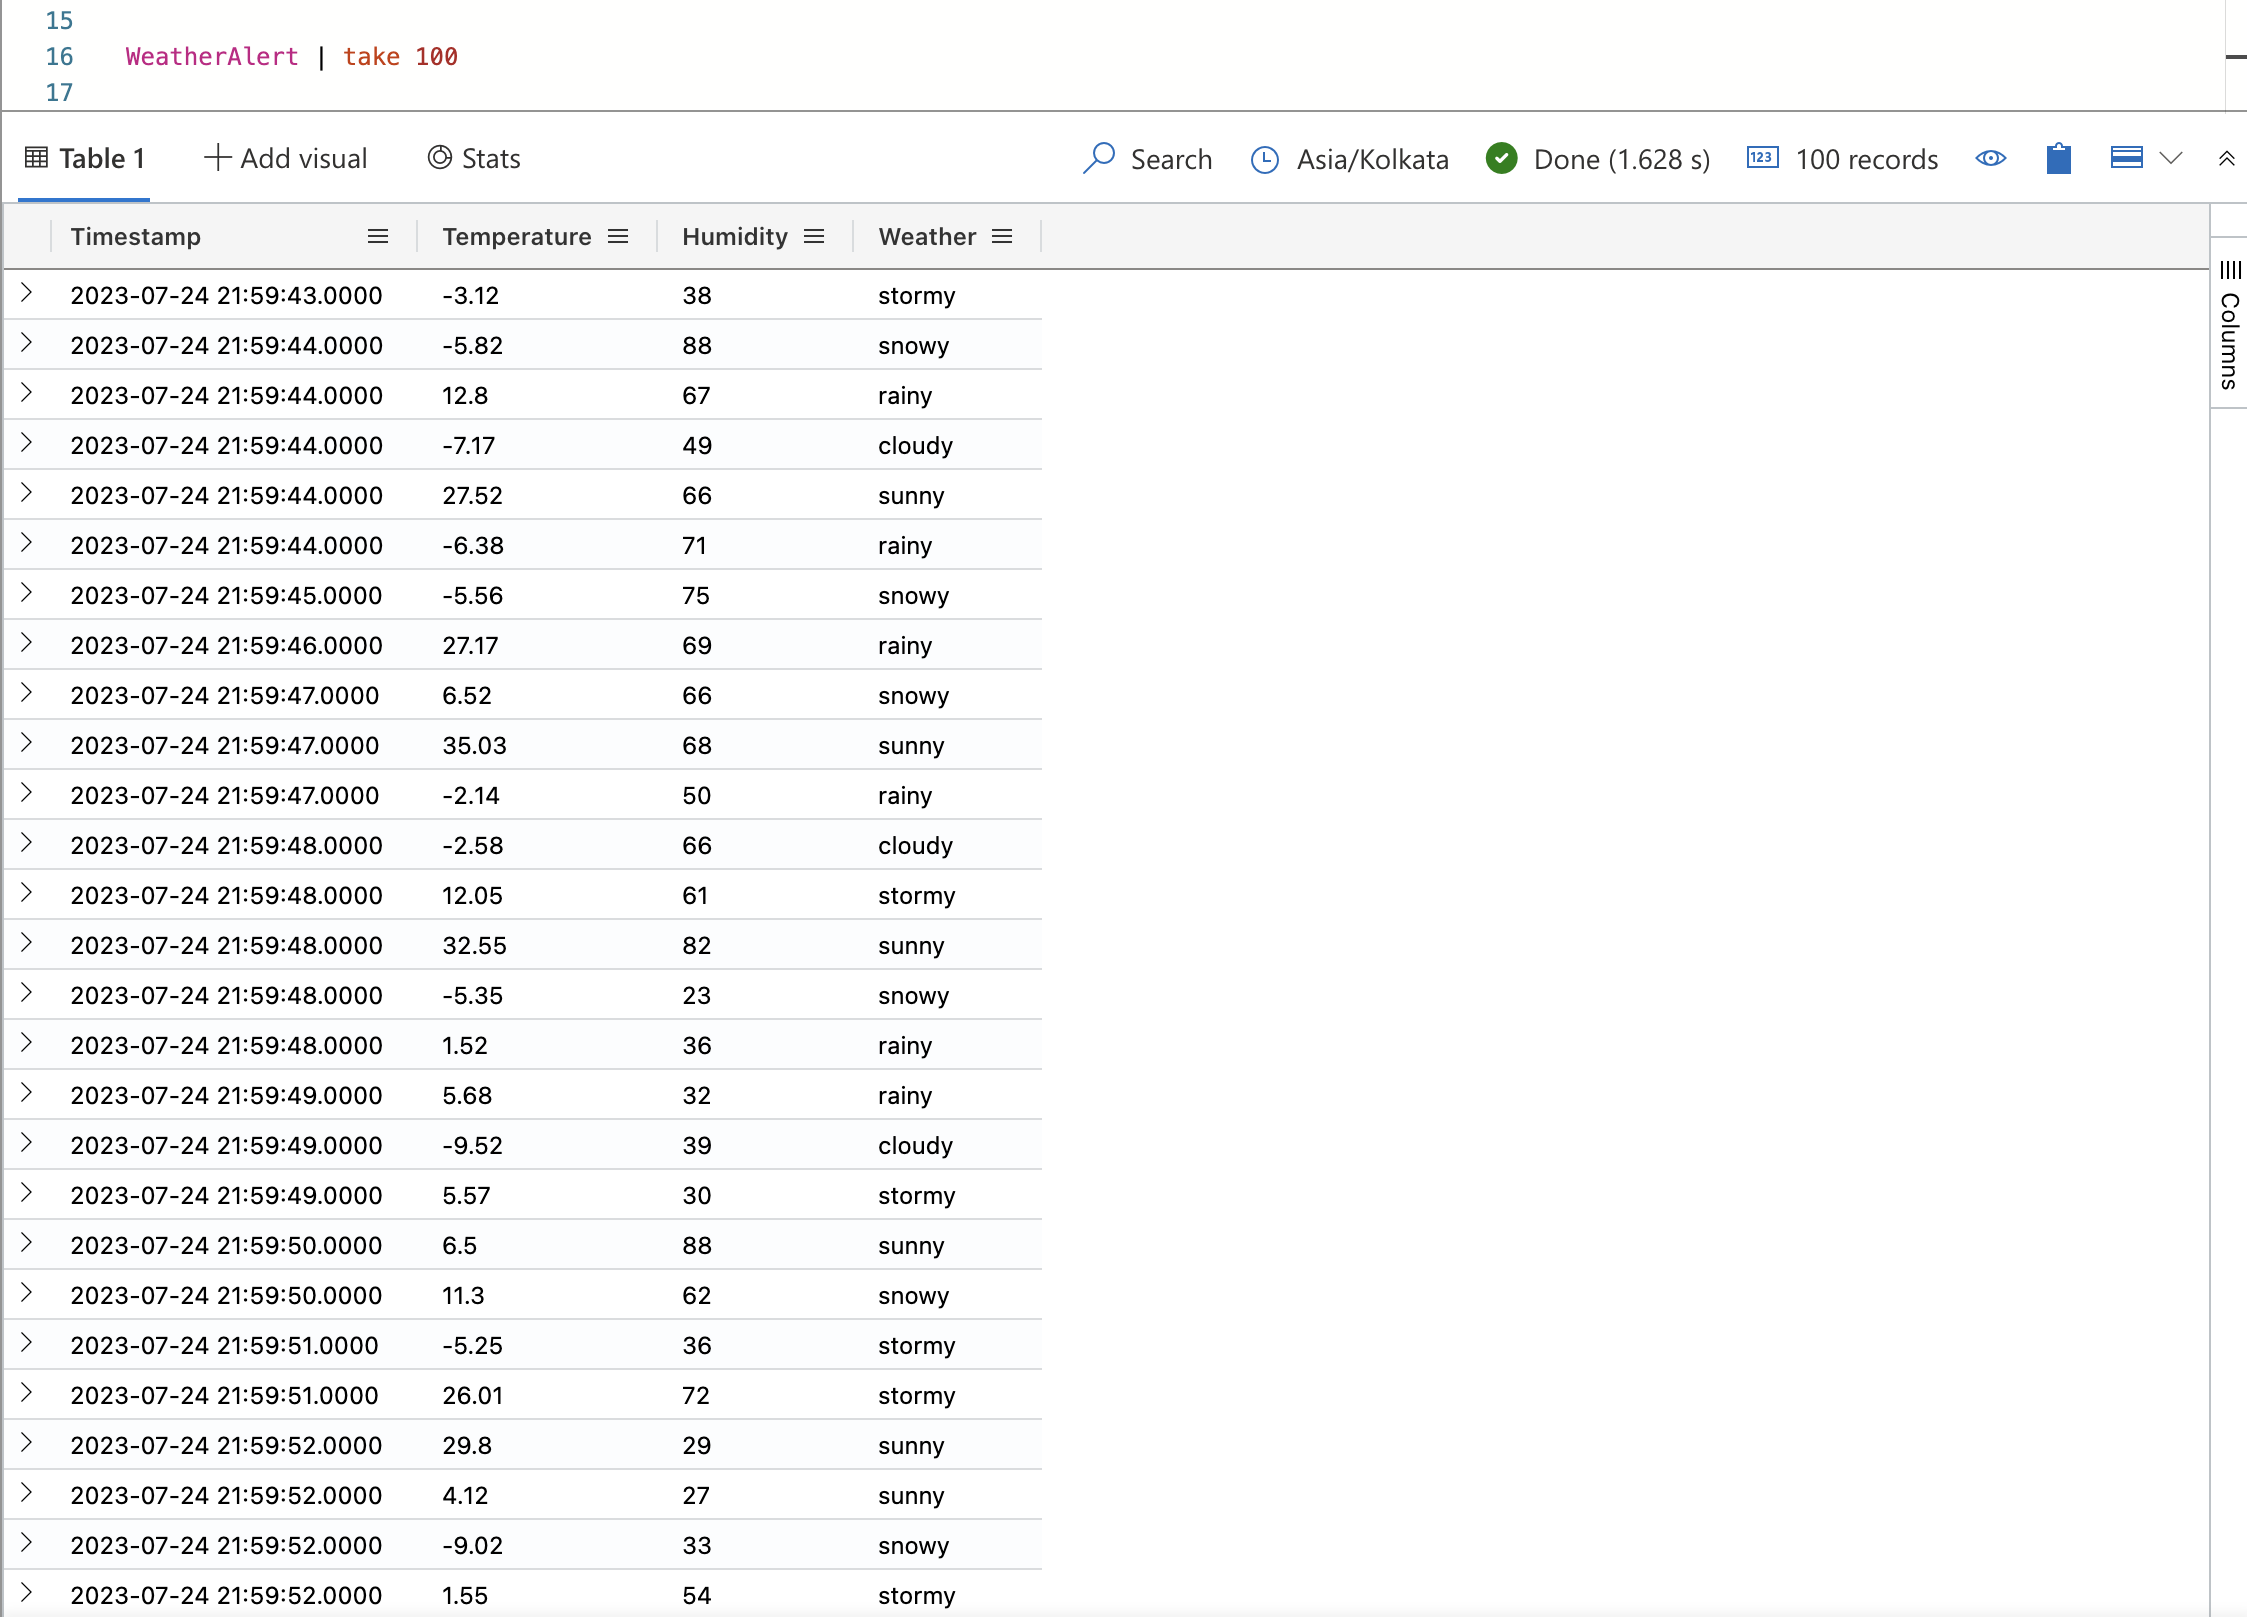
WeatherAlert | countRun the following query to view the data:
WeatherAlert
| take 100