Note
Access to this page requires authorization. You can try signing in or changing directories.
Access to this page requires authorization. You can try changing directories.
APPLIES TO:  Azure Data Factory
  Azure Synapse Analytics
This quickstart describes how to use either Azure Data Factory Studio or the Azure portal UI to create a data factory.
If you're new to Azure Data Factory, see the introduction to the service before you try this quickstart.
Prerequisites
- If you don't have an Azure subscription, create a trial account before you begin.
- Make sure that you have the required Azure roles to create a data factory. For more information, see Roles and permissions for Azure Data Factory.
Create a data factory in Azure Data Factory Studio
Using Azure Data Factory Studio, you can create a data factory in seconds:
Open the Microsoft Edge or Google Chrome web browser. Currently, the Data Factory UI is supported only in these browsers.
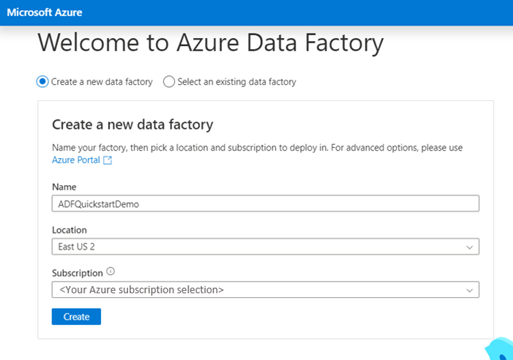
Go to Azure Data Factory Studio and select the Create a new data factory option.
You can use the default values for the new data factory. Or you can choose a unique name, a preferred location, and a specific subscription. When you finish with these details, select Create.
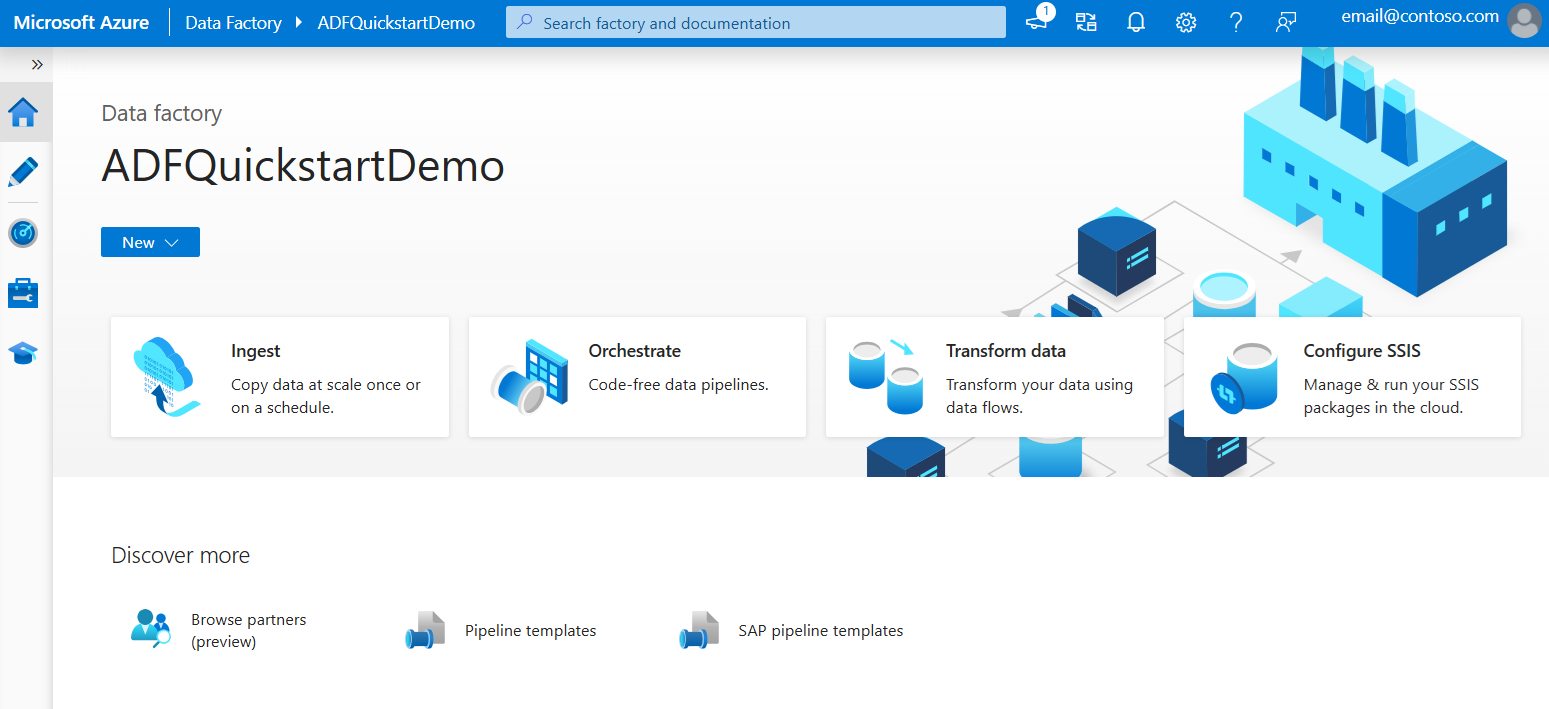
After you create your data factory, you're taken to the home page of Azure Data Factory Studio where you can get started using your data factory.
Create a data factory in the Azure portal
When you use the Azure portal to create a data factory, the creation options are more advanced:
Open the Microsoft Edge or Google Chrome web browser. Currently, the Data Factory UI is supported only in these browsers.
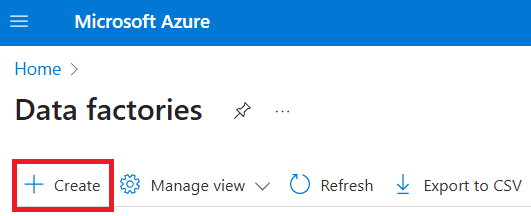
Go to the page for data factories in the Azure portal.
Select Create.
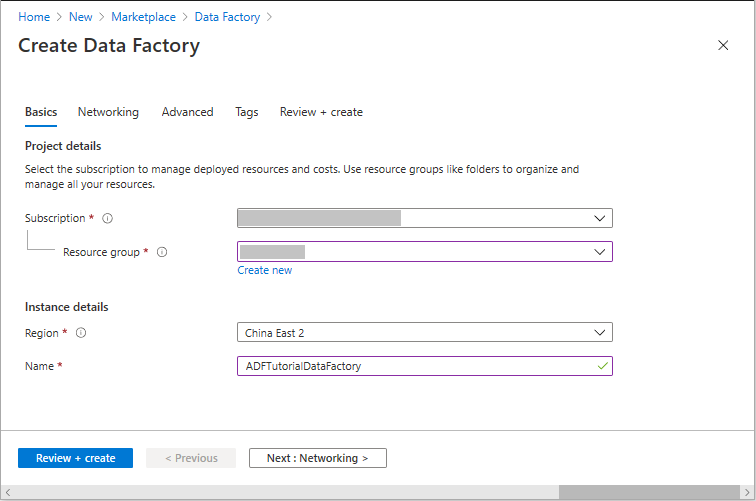
For Resource group, take one of the following steps:
- Select an existing resource group from the dropdown list.
- Select Create new, and then enter the name of a new resource group.
To learn about resource groups, see What is a resource group?
For Region, select a location for the data factory.
The list shows only locations that Data Factory supports. This region is where your Data Factory metadata is stored. The associated data stores (like Azure Storage and Azure SQL Database) and computes (like Azure HDInsight) that Data Factory uses can run in other regions.
For Name, the name of the data factory must be globally unique. If you see an error that your name is already taken, change the name of the data factory (for example, to <yourname>ADFTutorialDataFactory) and try creating it again. To learn more about naming rules for Data Factory artifacts, see Data Factory naming rules.
Select Review + create. After your configuration passes validation, select Create.
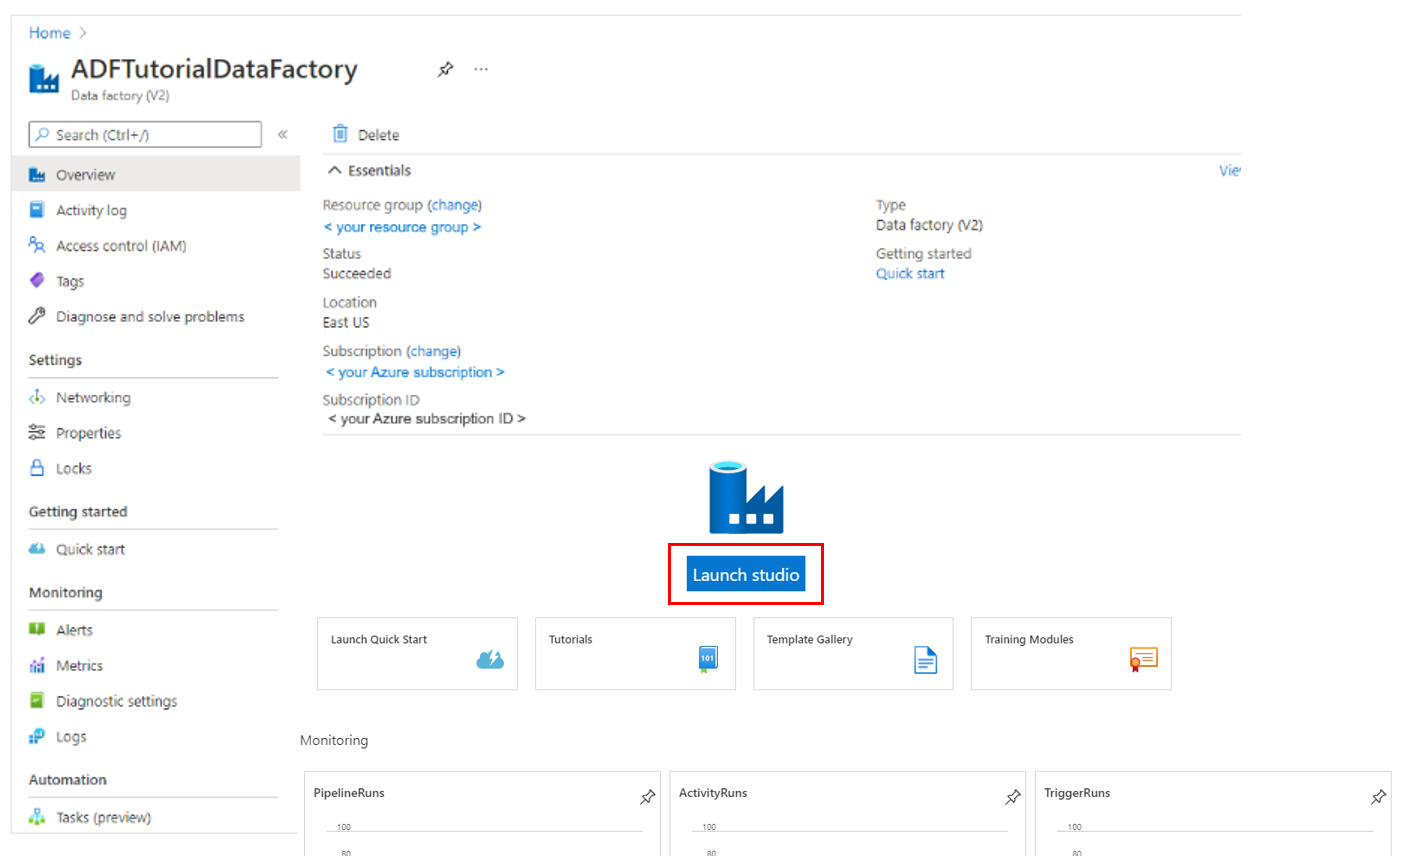
After the creation is complete, select Go to resource.
On the page for your data factory, select Launch Studio to open Azure Data Factory Studio. From here, you can get started using your data factory.
Note
If the web browser is stuck at Authorizing, clear the Block third-party cookies and site data checkbox. Or keep it selected, create an exception for login.partner.microsoftonline.cn, and then try to open the app again.
Related content
- Learn how to use Azure Data Factory to copy data from one location to another.
- Learn how to create a data flow by using Azure Data Factory.
- Check our list of top tutorials to get started with other Azure Data Factory topics.