Note
Access to this page requires authorization. You can try signing in or changing directories.
Access to this page requires authorization. You can try changing directories.
APPLIES TO:  Azure Data Factory
  Azure Synapse Analytics
Welcome to Azure Data Factory! This article helps you create your first data factory and pipeline within five minutes.
The Azure Resource Manager template (ARM template) in this article creates and configures everything you need. Then you can go to your demo data factory and trigger the pipeline, which moves some sample data from one Azure Blob Storage folder to another.
Prerequisites
If you don't have an Azure subscription, create a trial account before you begin.
Step 1: Use the demo to create resources
In this demo scenario, you use the copy activity in a data factory to copy a blob named moviesDB2.csv from an input folder in Azure Blob Storage to an output folder. In a real-world scenario, this copy operation could be between any of the many supported data sources and sinks available in the service. It could also involve transformations in the data.
Select the following button.

Selecting the button creates the following Azure resources:
- An Azure Data Factory account
- A data factory that contains a pipeline with one copy activity
- An Azure Blob Storage account with moviesDB2.csv uploaded into an input folder as a source
- A linked service to connect the data factory to Blob Storage
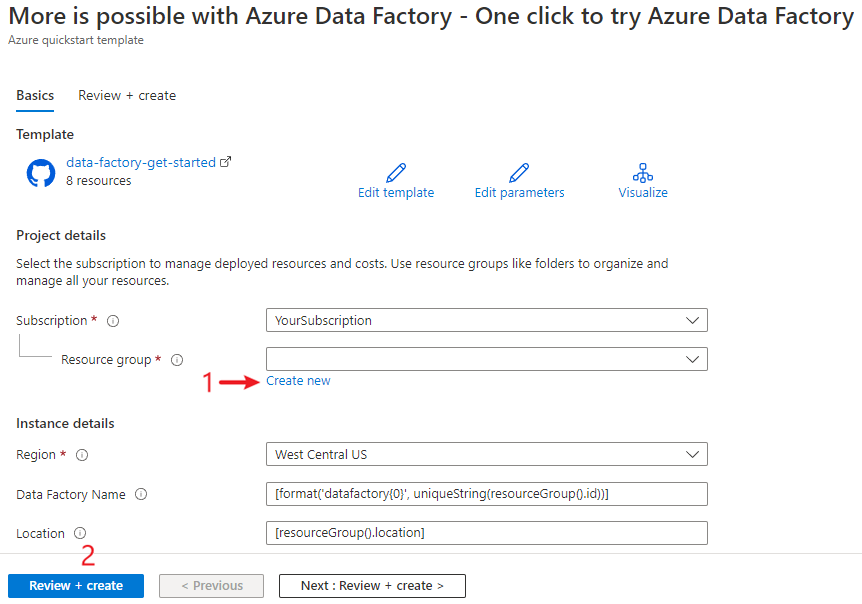
You're directed to the configuration page to deploy the template. On this page:
For Resource group, select Create new to create a resource group. You can leave all the other values with their defaults.
Select Review + create, and then select Create to deploy the resources.
Note
The user who deploys the template needs to assign a role to a managed identity. This step requires permissions that can be granted through the Owner, User Access Administrator, or Managed Identity Operator role.
All the resources in this demo are created in the new resource group, so you can easily clean them up later.
Step 2: Review deployed resources
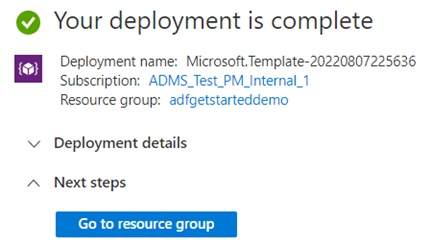
In the message that shows successful completion of your deployment, select Go to resource group.
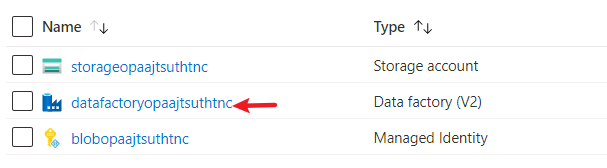
The resource group includes the new data factory, Blob Storage account, and managed identity that the deployment created. Select the data factory in the resource group to view it.
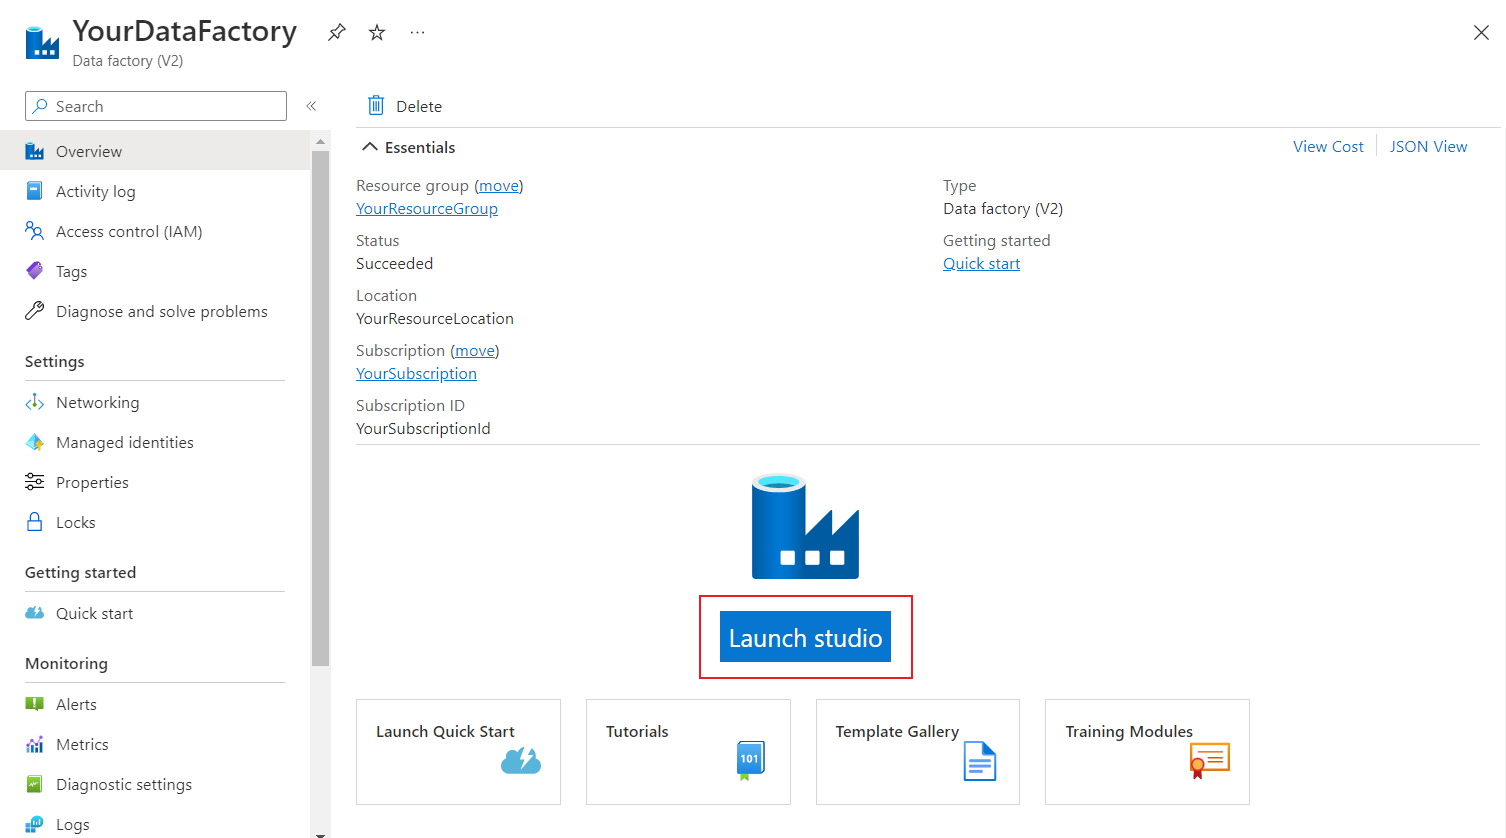
Select the Launch studio button.
In Azure Data Factory Studio:
- Select the Author tab
 .
. - Select the pipeline that the template created.
- Check the source data by selecting Open.
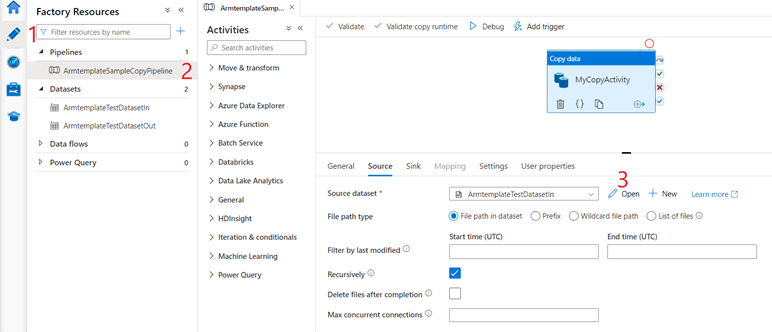
- Select the Author tab
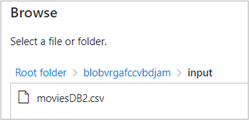
In the source dataset, select Browse to view the input file created for the demo.
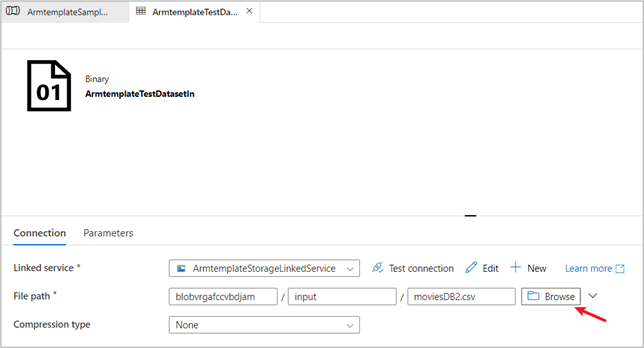
Note the moviesDB2.csv file, which was already uploaded into the input folder.
Step 3: Trigger the demo pipeline to run
Select Add trigger, and then select Trigger now.

On the right pane, under Pipeline run, select OK.
Monitor the pipeline
Select the Monitor tab
 . This tab provides an overview of your pipeline runs, including the start time and status.
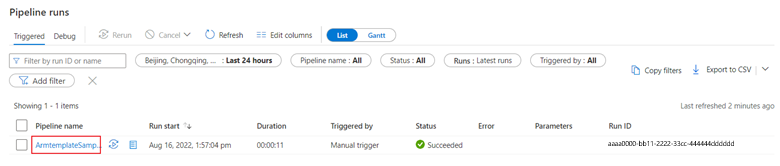
In this quickstart, the pipeline has only one activity type: Copy data. Select the pipeline name to view the details of the copy activity's run results.
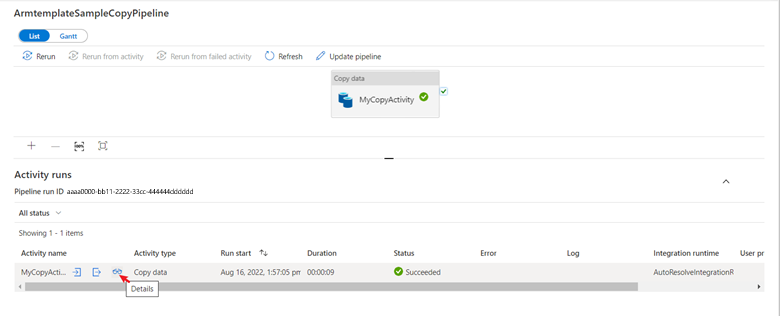
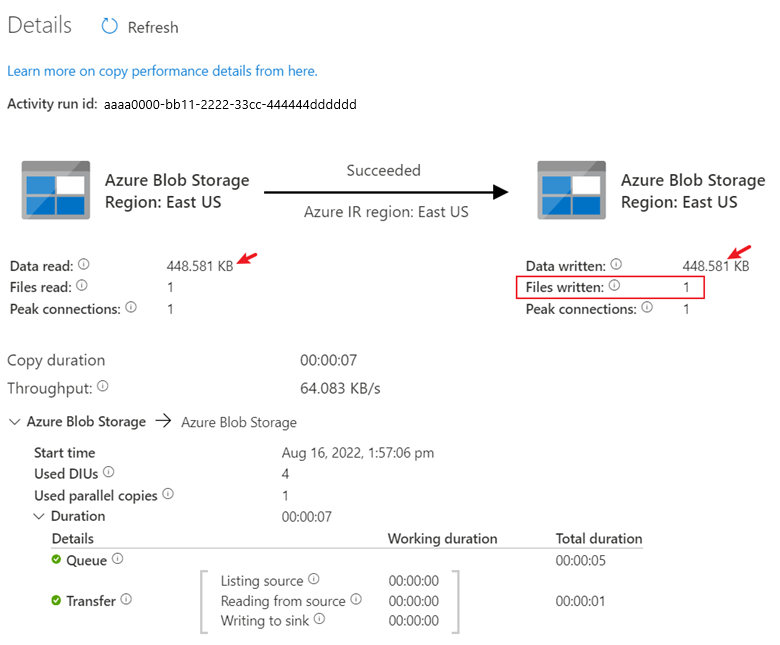
Select the Details icon to display the detailed copy process. In the results, the Data read and Data written sizes are the same, and one file was read and written. This information proves that all the data was successfully copied to the destination.
Clean up resources
You can clean up all the resources that you created in this article in either of two ways:
You can delete the entire Azure resource group, which includes all the resources created in it.
If you want to keep some resources intact, go to the resource group and delete only the specific resources that you want to remove.
For example, if you're using this template to create a data factory for use in another tutorial, you can delete the other resources but keep only the data factory.
Related content
In this article, you created a data factory that contained a pipeline with a copy activity. To learn more about Azure Data Factory, continue on to the following article: