Note
Access to this page requires authorization. You can try signing in or changing directories.
Access to this page requires authorization. You can try changing directories.
Event Hubs Data Explorer is a portal-based tool for sending test events to and viewing events from an Azure event hub. Developers and operators can use it to test end-to-end flows or inspect events at specific offsets for debugging - without writing custom client applications.
This article shows you how to use Data Explorer to send events (custom payloads or precanned datasets) and view events from your event hub.
You can perform two kinds of operations on an Azure Event Hubs namespace:
- Management operations: Create, update, and delete Event Hubs namespaces and event hubs.
- Data operations: Send and view events from an event hub.
Important
- If your Event Hubs namespace is accessible only through a private endpoint, access Event Hubs Data Explorer from a virtual machine in the same virtual network as the private endpoint. This configuration ensures that the web browser has required access to the private endpoint.
- Event Hubs Data Explorer doesn't support management operations. You must create the event hub before you can use the data explorer to send or view events.
- The data explorer shows event payloads (known as values in Kafka) sent by using the Kafka protocol, but it doesn't show the key for the specific event.
- Don't use Event Hubs Data Explorer for larger messages, because it can result in timeouts depending on the message size and network latency between client and Event Hubs service. Instead, use your own client to work with larger messages so you can specify your own timeout values.
- The role-based access control (RBAC) role assigned to a user determines the operations that the user can perform by using Event Hubs Data Explorer.
Prerequisites
To use Event Hubs Data Explorer, create an Azure Event Hubs namespace and an event hub.
Launch Event Hubs Data Explorer
Launch Event Hubs Data Explorer from the Azure portal using one of the following methods:
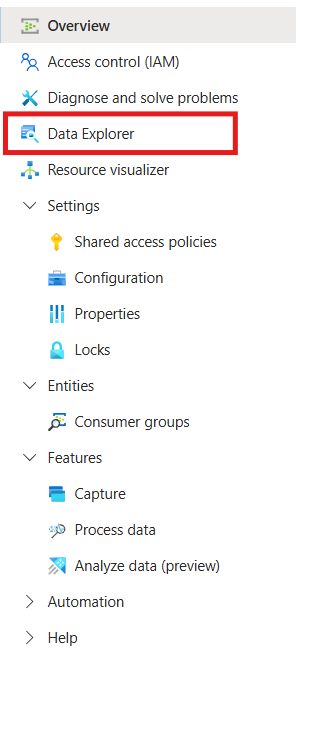
On the Azure portal, go to your Event Hubs namespace, select Data Explorer from the left menu, and then select the event hub.
Alternatively, go to your Event Hubs namespace, and follow these steps:
Select Event Hubs under Entities, and then select the event hub you want to explore.
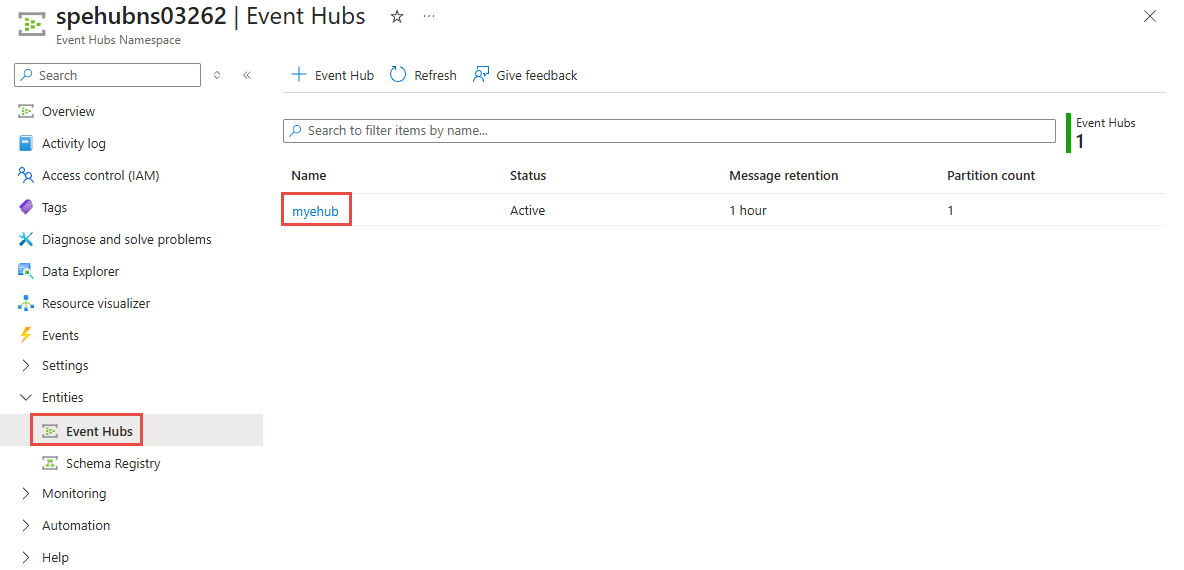
On the Event Hubs instance page, select Data Explorer from the left menu.
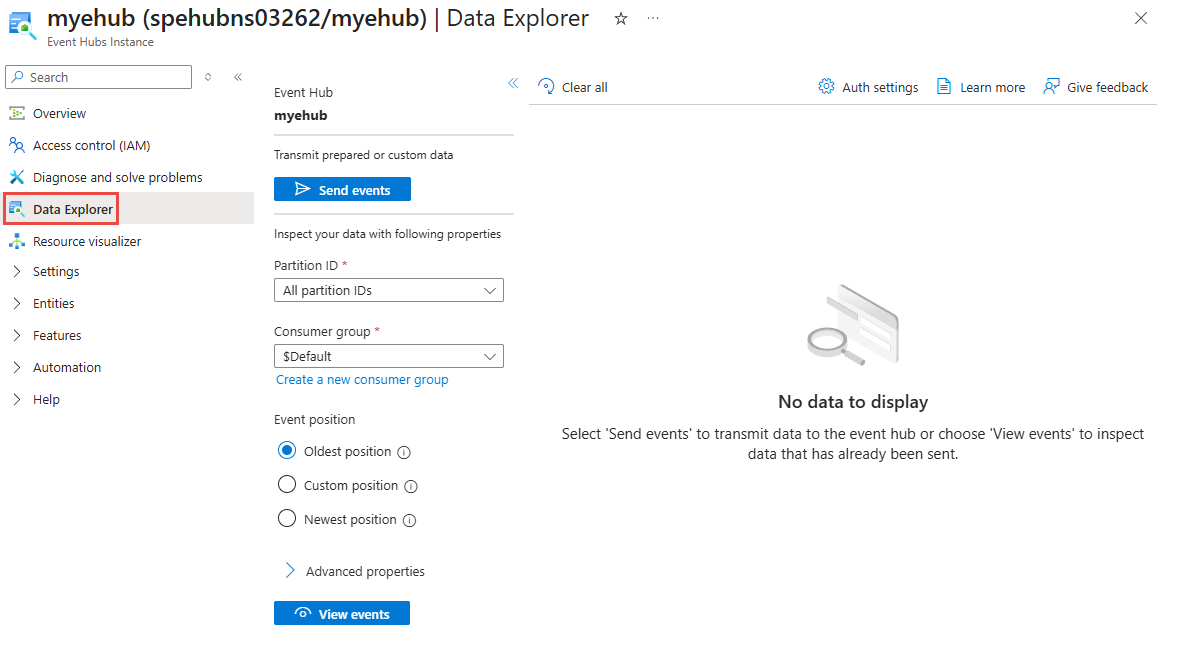


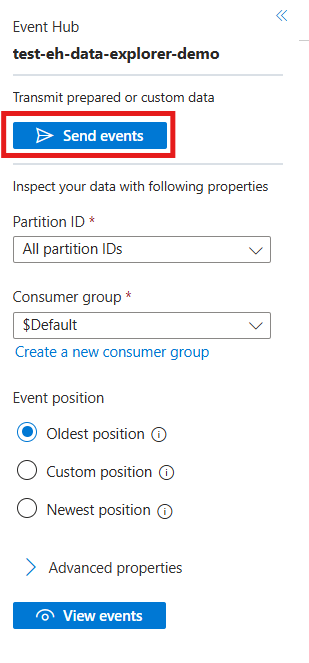
Send events
You can send either custom payloads or precanned datasets to the selected event hub by using the Send events experience.
To do so, select Send events, which opens the right pane.
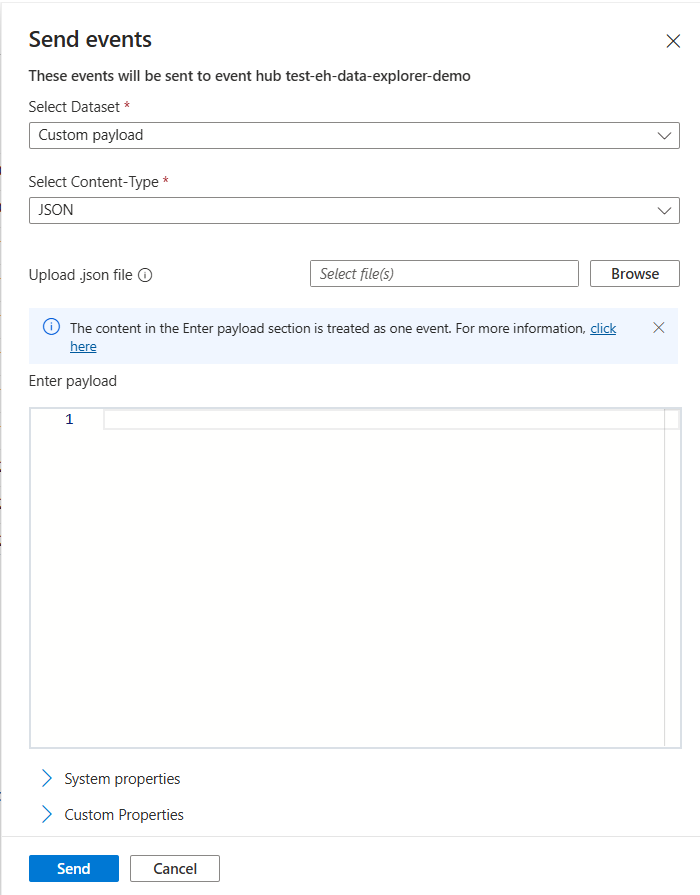
Send a custom payload
To send a custom payload:
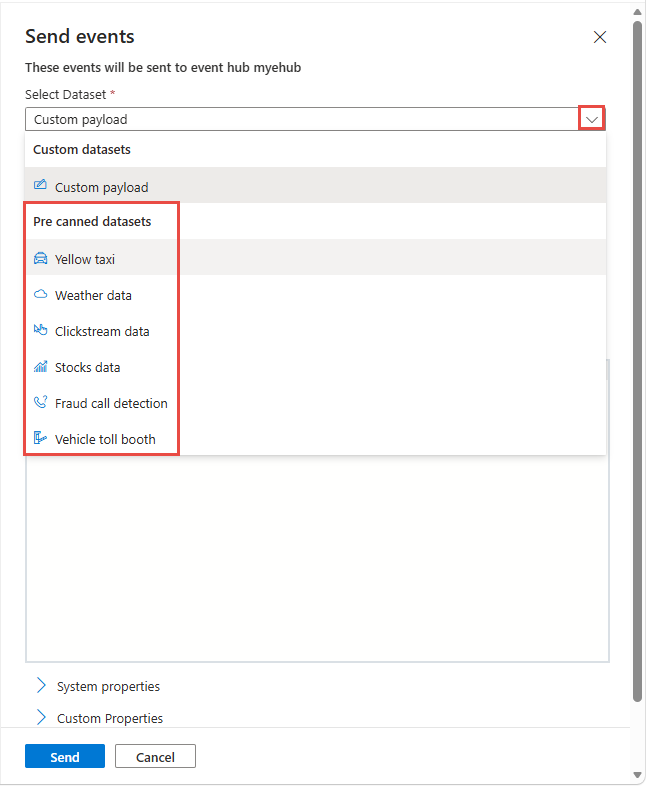
- For Select Dataset, select Custom payload. You can also select precanned datasets such as Yellow Taxi data or Weather data, as shown in the next section.
- For Content-Type, select Text/Plain, XML, JSON, AVRO, or Raw.
- Either upload a file or enter the payload in the Enter payload box.
- (Optional) Specify system properties.
- (Optional) Specify custom properties, which are available as key-value pairs.
- (Optional) If you want to send multiple payloads, select the Repeat send checkbox and specify the Repeat send count (the number of payloads to send) and Interval between repeat send in ms.
After you define the payload details, select Send to send the event payload.
Send a precanned dataset
To send event payloads from a precanned dataset:
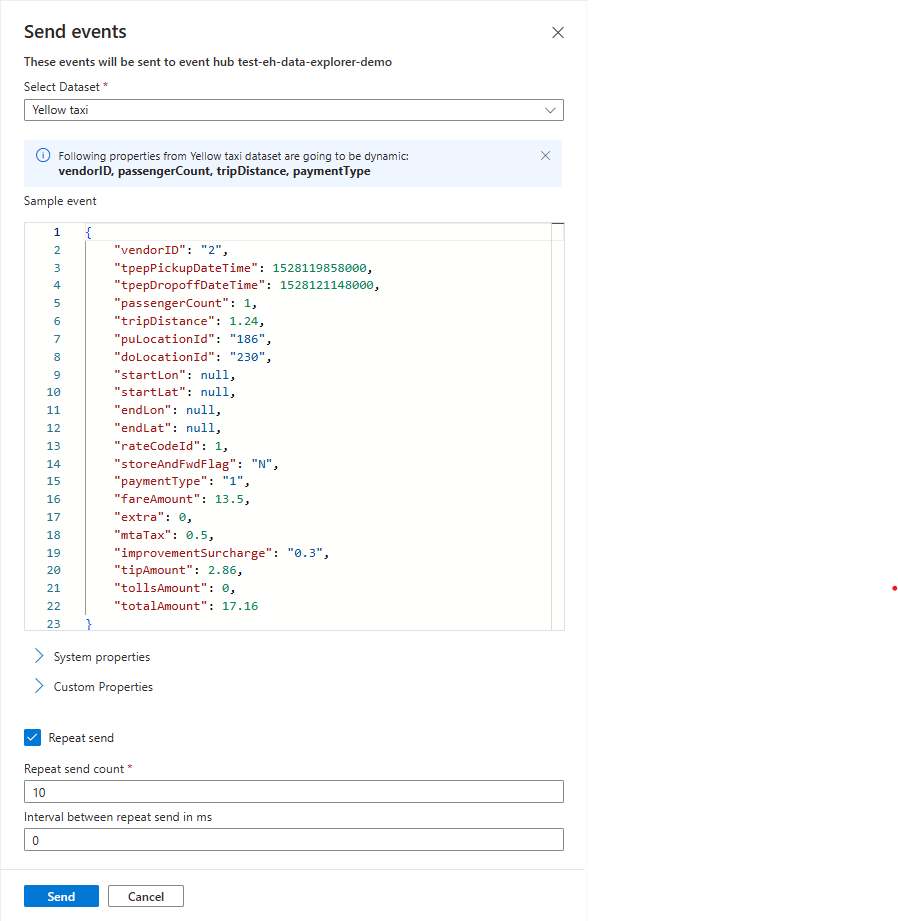
For Select Dataset, select an option from the Precanned datasets, such as Yellow taxi or Weather data.
(Optional) Specify system properties.
(Optional) Specify custom properties, which are available as key-value pairs.
(Optional) If you want to send multiple payloads, select the Repeat send checkbox and specify the Repeat send count (the number of payloads to send) and Interval between repeat send in ms.
After you define the payload details, select Send to send the event payload.
View events
Event Hubs Data Explorer enables you to view events so you can inspect data that matches your criteria.
To view events, define the following properties or rely on the default settings:
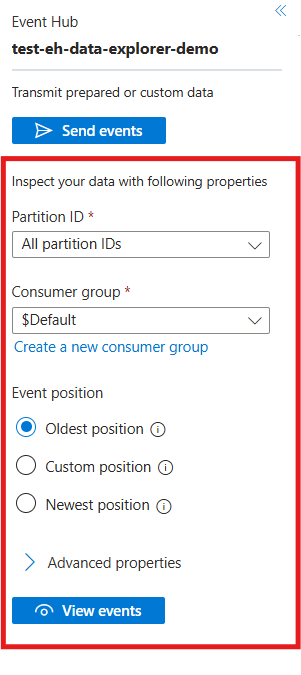
- PartitionID: Select either a specific partition or All partition IDs.
- Consumer Group: Select $Default or another consumer group, or create one.
- Event position: Select Oldest position (the start of the event hub), Newest position (the latest event), or Custom position (for a specific offset, sequence number, or timestamp).
- Oldest position: Begin receiving events from the first event in the partition that isn't expired due to the retention policy.
- Custom position: Add a filter to specify the position in the partition to begin receiving events from.
- Newest position: Begin receiving events from the event that's enqueued right after the view call. Only events sent after the last viewing of events are received.
- Advanced properties: Specify the Maximum batch size and Maximum wait time in seconds.
After you set the options, select View events to pull the events and display them in the data explorer.

After the events load, you can select View next events to pull events by using the same query again, or select Clear all to refresh the grid.
Download event payload
When you view events on a given event hub, you can download the event payload for further review.
To download the event payload, select the specific event, and then select the Download button that appears above the event payload body.
