Note
Access to this page requires authorization. You can try signing in or changing directories.
Access to this page requires authorization. You can try changing directories.
This article provides the steps to register a new IoT Edge device in IoT Hub and configure the device to authenticate with symmetric keys.
The steps in this article walk through a process called manual provisioning, where you connect each device to its IoT hub manually. The alternative is automatic provisioning using the IoT Hub Device Provisioning Service, which is helpful when you have many devices to provision.
For manual provisioning, you have two options for authenticating IoT Edge devices:
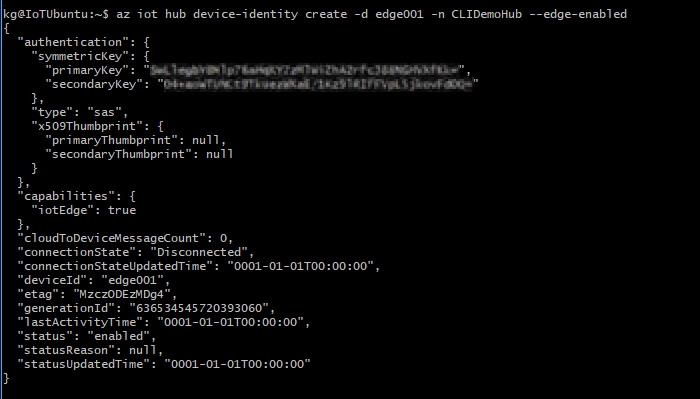
Symmetric key: When you create a new device identity in IoT Hub, the service creates two keys. You place one of the keys on the device, and it presents the key to IoT Hub when authenticating.
This authentication method is faster to get started, but not as secure.
X.509 self-signed: You create two X.509 identity certificates and place them on the device. When you create a new device identity in IoT Hub, you provide thumbprints from both certificates. When the device authenticates to IoT Hub, it presents its certificates and IoT Hub can verify that they match the thumbprints.
This authentication method is more secure, and recommended for production scenarios.
This article walks through the registration and provisioning process with symmetric key authentication. If you want to learn how to set up a device with X.509 certificates, see Set up an Azure IoT Edge device with X.509 certificate authentication.
Prerequisites
Before you follow the steps in this article, you should have a device with the IoT Edge runtime installed on it.
Register a new device
Every device that connects to an IoT Hub has a device ID that's used to track cloud-to-device or device-to-cloud communications. You configure a device with its connection information, which includes the IoT hub hostname, the device ID, and the information the device uses to authenticate to IoT Hub.
For symmetric key authentication, this information is gathered in a connection string that you can retrieve from IoT Hub and then place on your IoT Edge device.
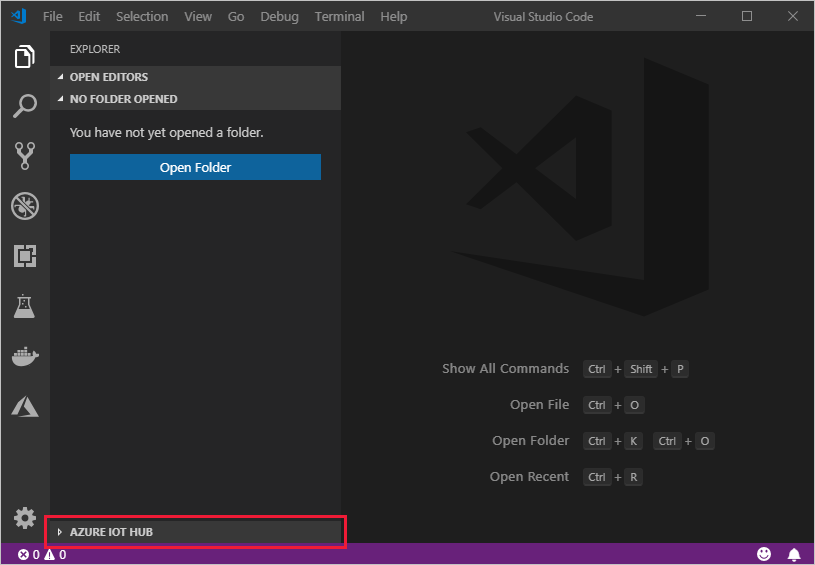
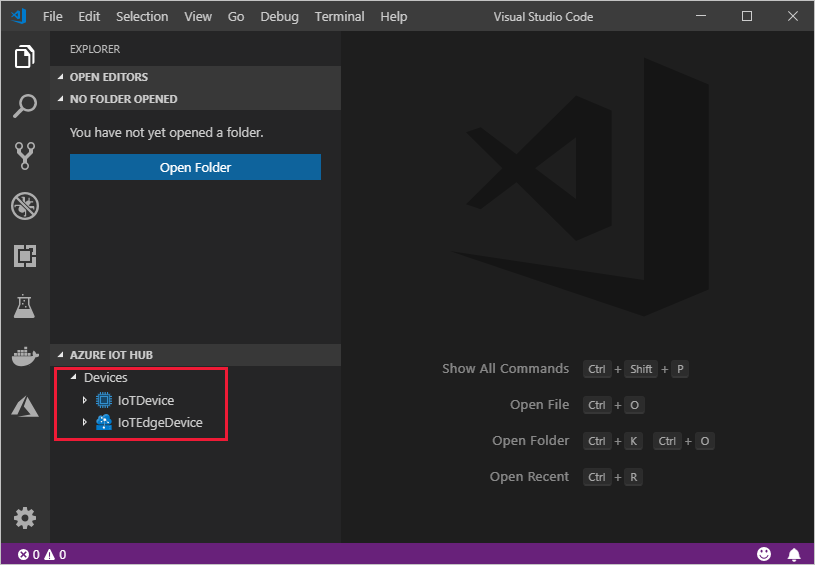
You can use several tools to register a new IoT Edge device in IoT Hub and retrieve its connection string, depending on your preference.
Prerequisites for the Azure portal
A free or standard IoT hub in your Azure subscription.
Create an IoT Edge device in the Azure portal
In your IoT Hub in the Azure portal, IoT Edge devices are created and managed separately from IOT devices that are not edge enabled.
Sign in to the Azure portal and navigate to your IoT hub.
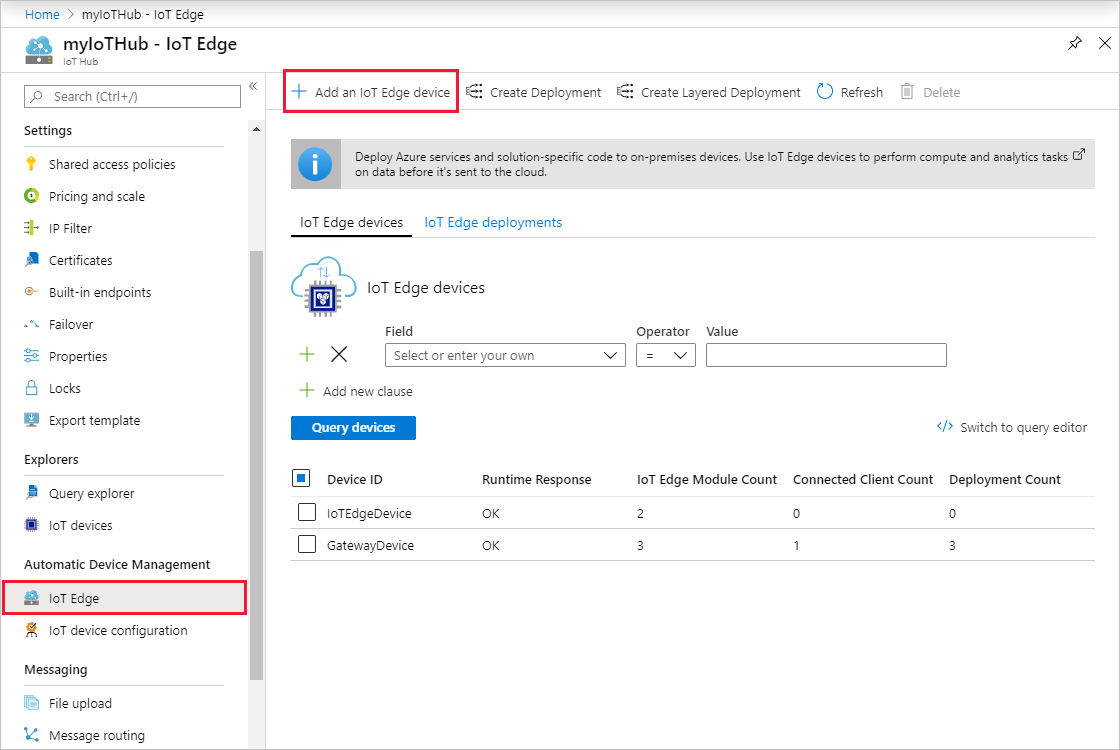
In the left pane, select IoT Edge from the menu, then select Add an IoT Edge device.
On the Create a device page, provide the following information:
- Create a descriptive device ID.
- Select Symmetric key as the authentication type.
- Use the default settings to auto-generate authentication keys and connect the new device to your hub.
Select Save.
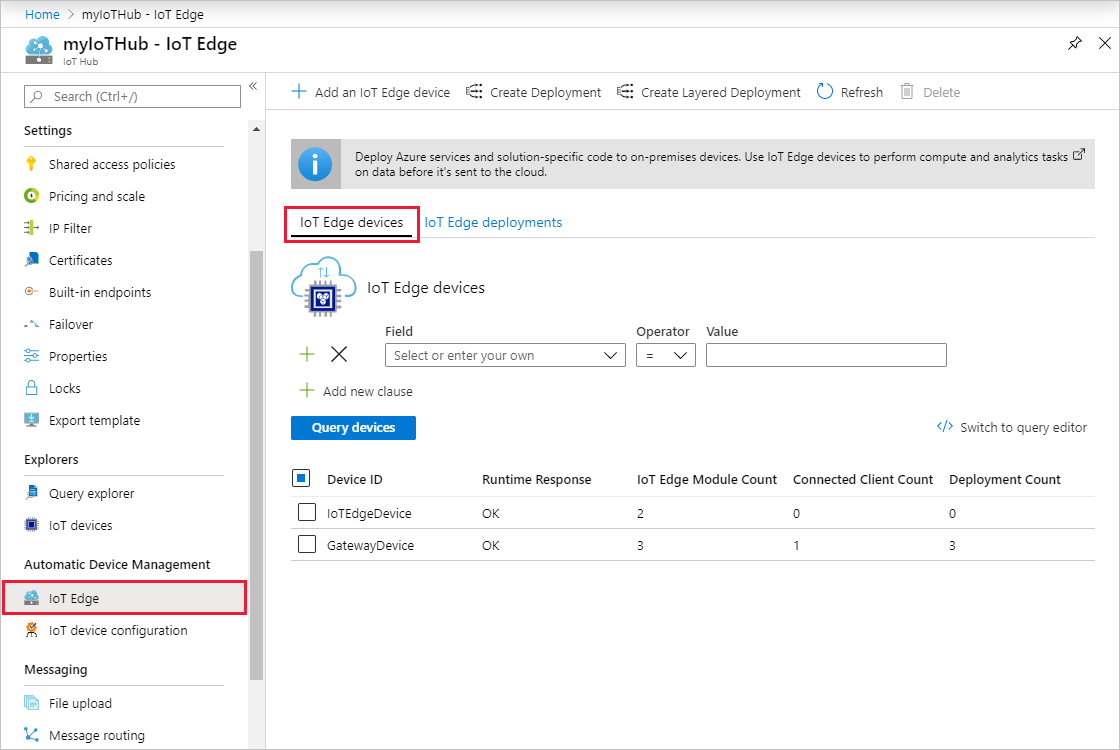
View IoT Edge devices in the Azure portal
All the edge-enabled devices that connect to your IoT hub are listed on the IoT Edge page.
Retrieve the connection string in the Azure portal
When you're ready to set up your device, you need the connection string that links your physical device with its identity in the IoT hub.
- From the IoT Edge page in the portal, click on the device ID from the list of IoT Edge devices.
- Copy the value of either Primary Connection String or Secondary Connection String.
Provision an IoT Edge device
Once the IoT Edge device has an identity in IoT Hub and a connection string that it can use for authentication, you need to provision the device itself with this information.
On a Linux device, you provide the connection string by editing a config.yaml file. On a Windows device, you provide the connection string by running a PowerShell script.
On the IoT Edge device, open the configuration file.
sudo nano /etc/iotedge/config.yaml
Find the provisioning configurations of the file and uncomment the Manual provisioning configuration using a connection string section.
Update the value of device_connection_string with the connection string from your IoT Edge device. Make sure any other provisioning sections are commented out. Make sure the provisioning: line has no preceding whitespace and that nested items are indented by two spaces.
# Manual provisioning configuration using a connection string
provisioning:
  source: "manual"
  device_connection_string: "<ADD DEVICE CONNECTION STRING HERE>"
  dynamic_reprovisioning: false
To paste clipboard contents into Nano Shift+Right Click or press Shift+Insert.
Save and close the file.
CTRL + X, Y, Enter
After entering the provisioning information in the configuration file, restart the daemon:
sudo systemctl restart iotedge
Verify successful setup
Check the status of the IoT Edge service. It should be listed as running.
Examine service logs.
Run the troubleshooting tool to check for the most common configuration and networking errors.
iotedge check
Until you deploy your first module to IoT Edge on your device, the $edgeHub system module will not be deployed to the device. As a result, the automated check will return an error for the Edge Hub can bind to ports on host connectivity check. This error can be ignored unless it occurs after deploying a module to the device.
Finally, list running modules:
iotedge list
After a new installation, the only module you should see running is edgeAgent.
Tips and troubleshooting
On resource constrained devices, it is highly recommended that you set the OptimizeForPerformance environment variable to false as per instructions in the troubleshooting guide.
If your device can't connect to IoT Hub and your network has a proxy server, follow the steps in Configure your IoT Edge device to communicate through a proxy server.
On Linux devices, you need elevated privileges to run iotedge commands. After installing the runtime, sign out of your machine and sign back in to update your permissions automatically. Until then, use sudo to run commands with elevated privileges.
Next steps
Continue to deploy IoT Edge modules to learn how to deploy modules onto your device.