Note
Access to this page requires authorization. You can try signing in or changing directories.
Access to this page requires authorization. You can try changing directories.
You can use Azure Machine Learning to create a vector index from files or folders on your machine, a location in cloud storage, an Azure Machine Learning data asset, a Git repository, or a SQL database. Azure Machine Learning can currently process .txt, .md, .pdf, .xls, and .docx files. You can also reuse an existing Azure AI Search (formerly Cognitive Search) index instead of creating a new index.
When you create a vector index, Azure Machine Learning chunks the data, creates embeddings, and stores the embeddings in a Faiss index or Azure AI Search index. In addition, Azure Machine Learning creates:
Test data for your data source.
A sample prompt flow, which uses the vector index that you created. Features of the sample prompt flow include:
- Automatically generated prompt variants.
- Evaluation of each prompt variant by using the generated test data.
- Metrics against each prompt variant to help you choose the best variant to run.
You can use this sample to continue developing your prompt.
Important
This feature is currently in public preview. This preview version is provided without a service-level agreement, and we don't recommend it for production workloads. Certain features might not be supported or might have constrained capabilities.
For more information, see Supplemental Terms of Use for Azure Previews.
Prerequisites
An Azure subscription. If you don't have an Azure subscription, create a Trial.
Access to Azure OpenAI Service.
Prompt flows enabled in your Azure Machine Learning workspace. You can enable prompt flows by turning on Build AI solutions with Prompt flow on the Manage preview features panel.
Create a vector index by using Machine Learning studio
Select Prompt flow on the left menu.
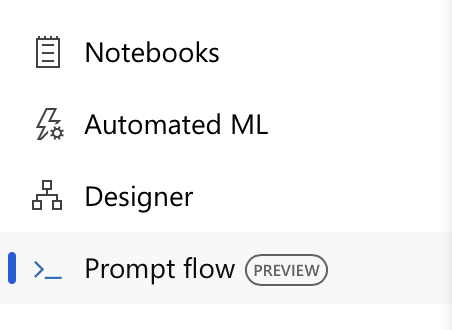
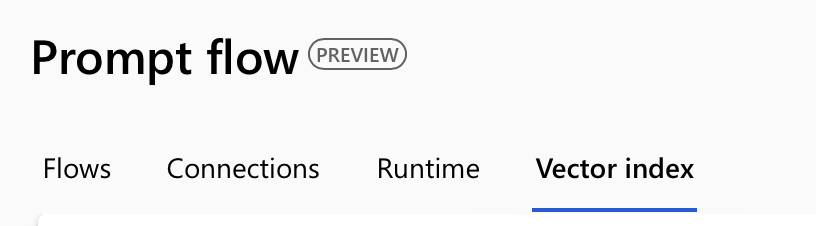
Select the Vector Index tab.
Select Create.
When the form for creating a vector index opens, provide a name for your vector index.
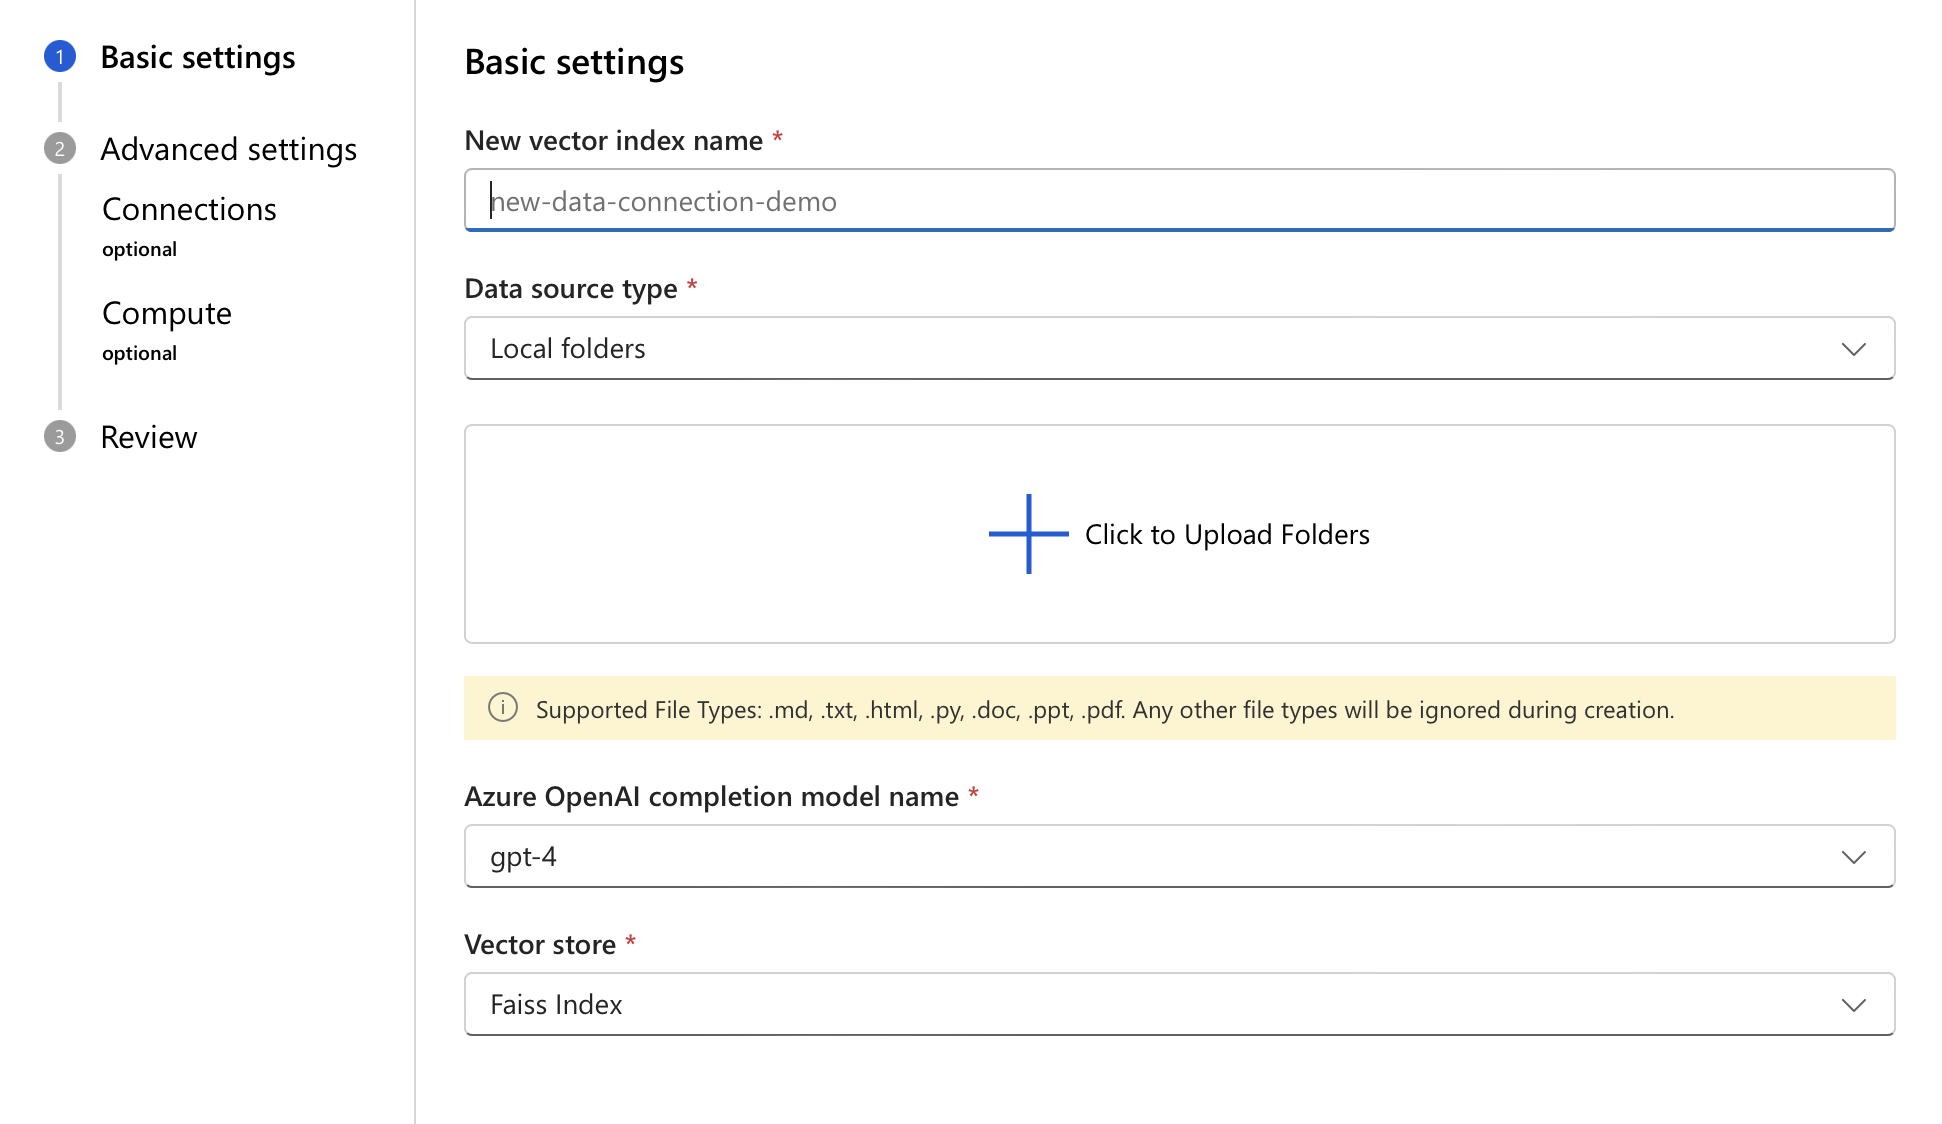
Select your data source type.
Based on the chosen type, provide the location details of your source. Then, select Next.
Review the details of your vector index, and then select the Create button.
On the overview page that appears, you can track and view the status of creating your vector index. The process might take a while, depending on the size of your data.
Add a vector index to a prompt flow
After you create a vector index, you can add it to a prompt flow from the prompt flow canvas.
Open an existing prompt flow.
On the top menu of the prompt flow designer, select More tools, and then select Index Lookup.
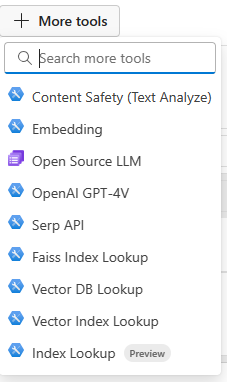
The Index Lookup tool is added to the canvas. If you don't see the tool immediately, scroll to the bottom of the canvas.
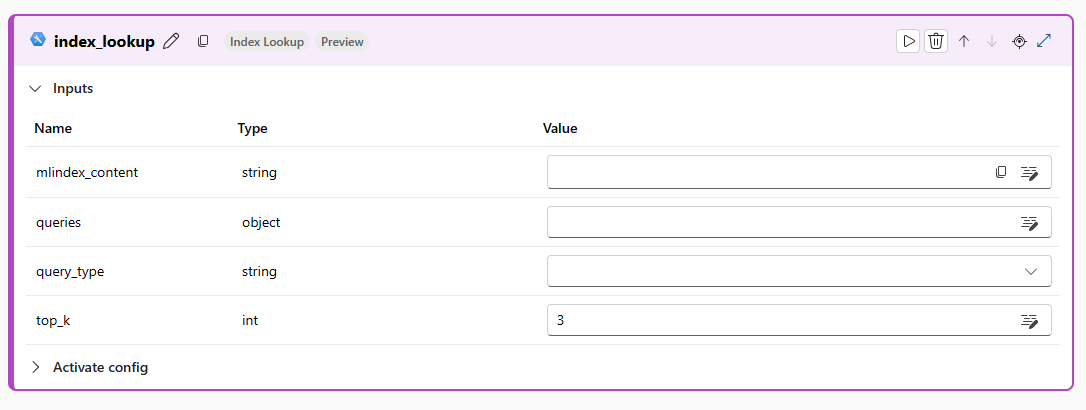
Select the mlindex_content value box, and select your index. The tool should detect the index created in the "Create a vector index" section of the tutorial. After filling in all the necessary information, select save to close the generate drawer.
Enter the queries and query_types to be performed against the index.
An example of a plain string you can input in this case would be:
How to use SDK V2?'. Here is an example of an embedding as an input:${embed_the_question.output}`. Passing a plain string will only work when the Vector Index is getting used on the workspace which created it.
Supported File Types
Supported file types for creating a vector index job: .txt, .md, .html, .htm, .py, .pdf, .ppt, .pptx, .doc, .docx, .xls, .xlsx. Any other file types will be ignored during creation.