Note
Access to this page requires authorization. You can try signing in or changing directories.
Access to this page requires authorization. You can try changing directories.
APPLIES TO:
 Azure CLI ml extension v2 (current)
Python SDK azure-ai-ml v2 (current)
Azure CLI ml extension v2 (current)
Python SDK azure-ai-ml v2 (current)
Azure Machine Learning integrates with Azure DevOps pipeline to automate the machine learning lifecycle. Some of the operations you can automate are:
- Deployment of Azure Machine Learning infrastructure
- Data preparation (extract, transform, and load operations)
- Training machine learning models with on-demand scale-out and scale-up
- Deployment of machine learning models as public or private web services
- Monitoring deployed machine learning models (such as for performance analysis)
In this article, you learn how to use Azure Machine Learning to set up an end-to-end MLOps pipeline that runs a linear regression to predict taxi fares in NYC. The pipeline is made up of components, each serving different functions. You can register these components with the workspace, version them, and reuse them with various inputs and outputs. Use the recommended Azure architecture for MLOps and AzureMLOps (v2) solution accelerator to quickly set up an MLOps project in Azure Machine Learning.
Tip
Before implementing any solution, review some of the recommended Azure architectures for MLOps. Choose the best architecture for your machine learning project.
Prerequisites
- An Azure subscription. If you don't have an Azure subscription, create a trial subscription before you begin. Try the trial subscription.
- An Azure Machine Learning workspace.
- Git running on your local machine.
- Python 3.10 or later, if using the Python SDK v2 locally.
- An organization in Azure DevOps.
- Azure DevOps project that hosts the source repositories and pipelines.
- The Terraform extension for Azure DevOps if you're using Azure DevOps + Terraform to spin up infrastructure.
Note
Git version 2.27 or newer is required. For more information on installing the Git command, see https://git-scm.com/downloads and select your operating system.
Important
The CLI commands in this article were tested using Bash. If you use a different shell, you might encounter errors.
Set up authentication with Azure and DevOps
Before you can set up an MLOps project with Azure Machine Learning, you need to set up authentication for Azure DevOps.
Create service principal
For the demo, create one or two service principals, depending on how many environments you want to work on (Dev, Prod, or both). You can create these principals by using one of the following methods:
Go to Azure App Registrations.
Select New Registration.
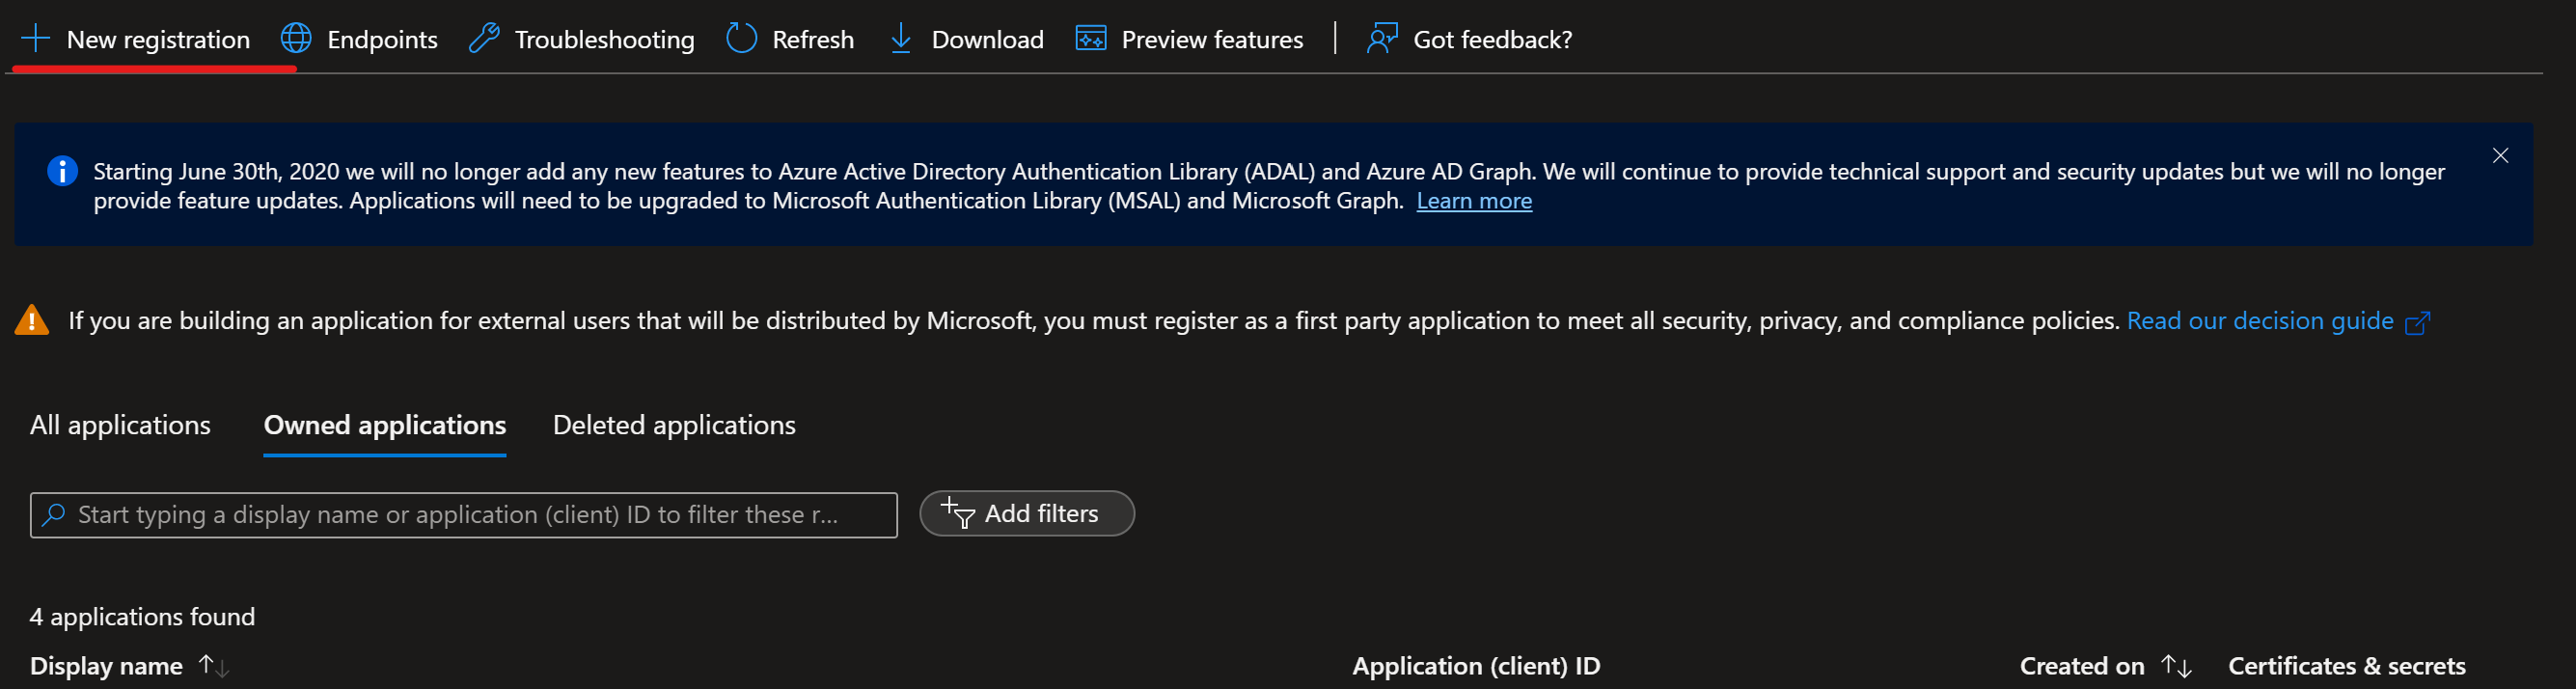
Create a service principal (SP) by selecting Accounts in any organizational directory (Any Microsoft Entra directory - Multitenant). Name the service principal Azure-ARM-Dev-ProjectName. After creating it, create a new service principal named Azure-ARM-Prod-ProjectName. Replace ProjectName with the name of your project so that the service principal can be uniquely identified.
Go to Certificates & Secrets and add New client secret for each service principal. Store the value and secret separately.
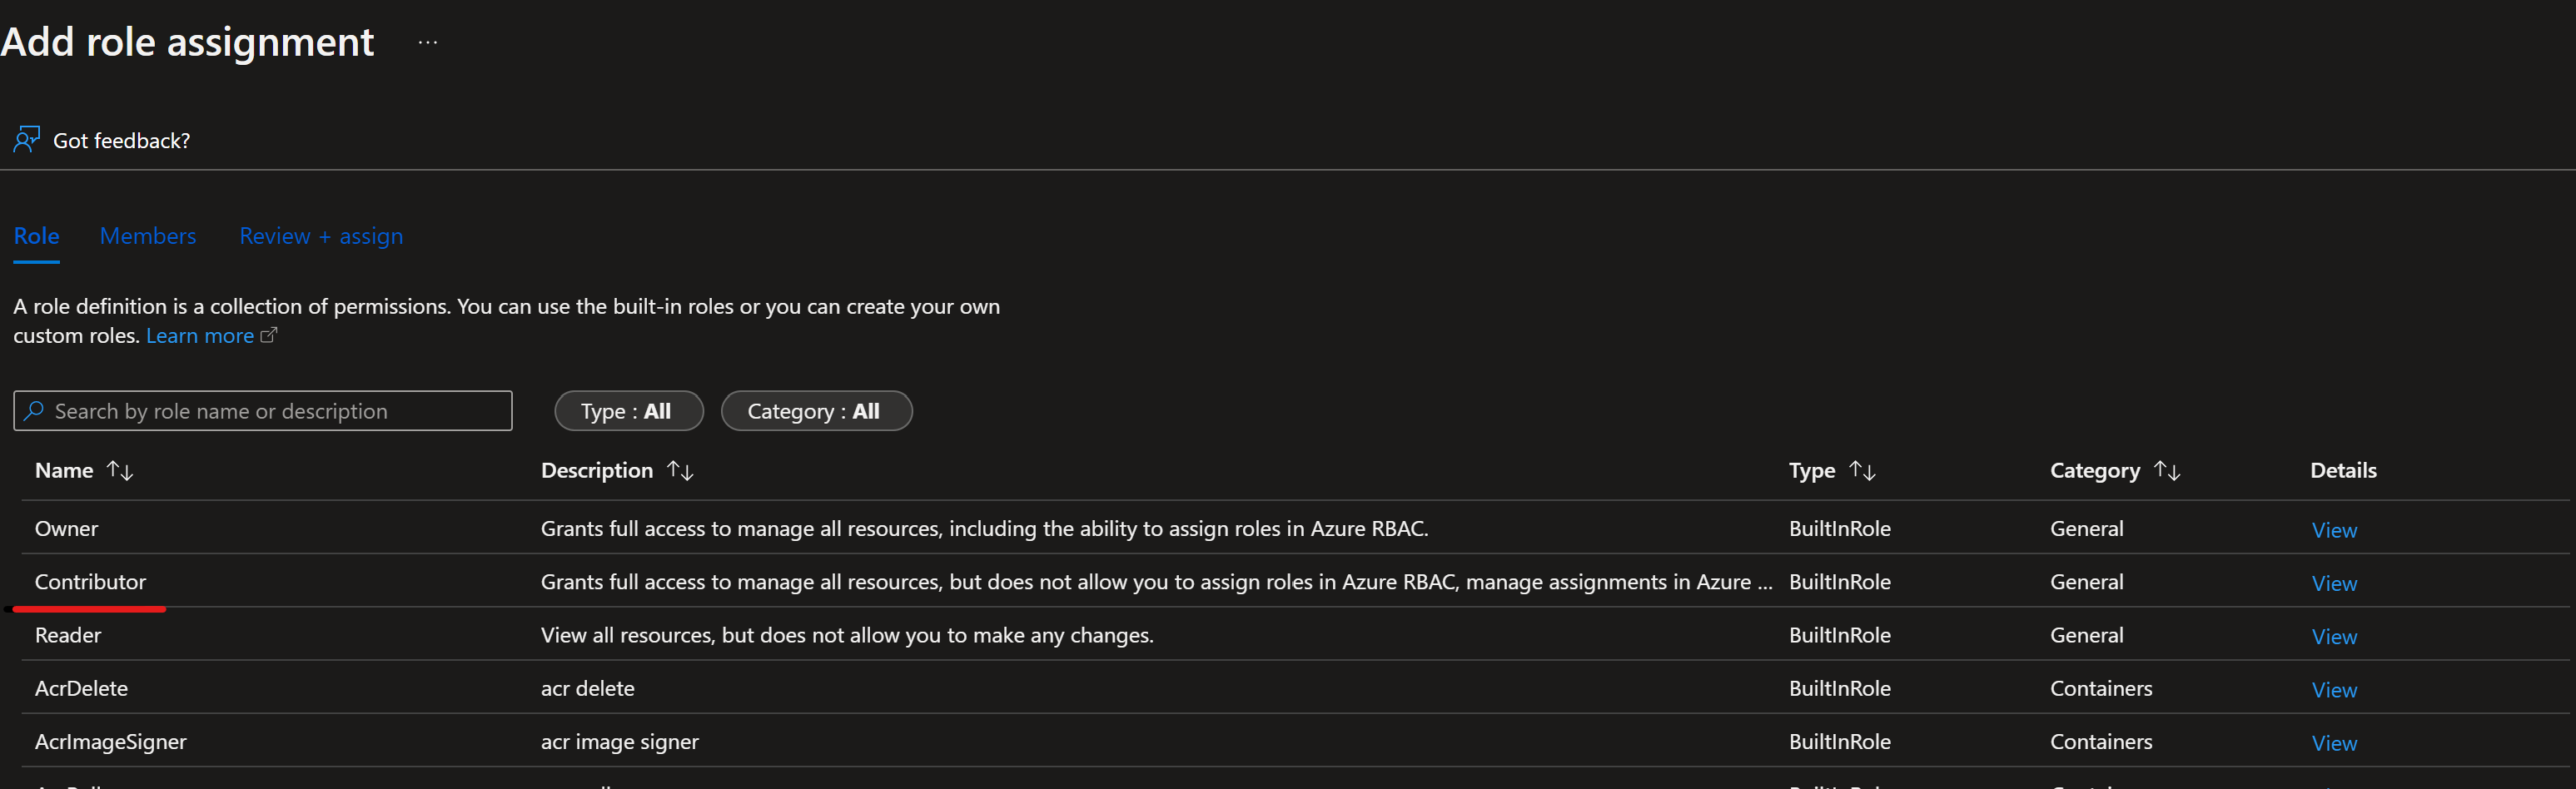
To assign the necessary permissions to these principals, select your respective subscription and go to IAM. Select +Add and then select Add Role Assignment.
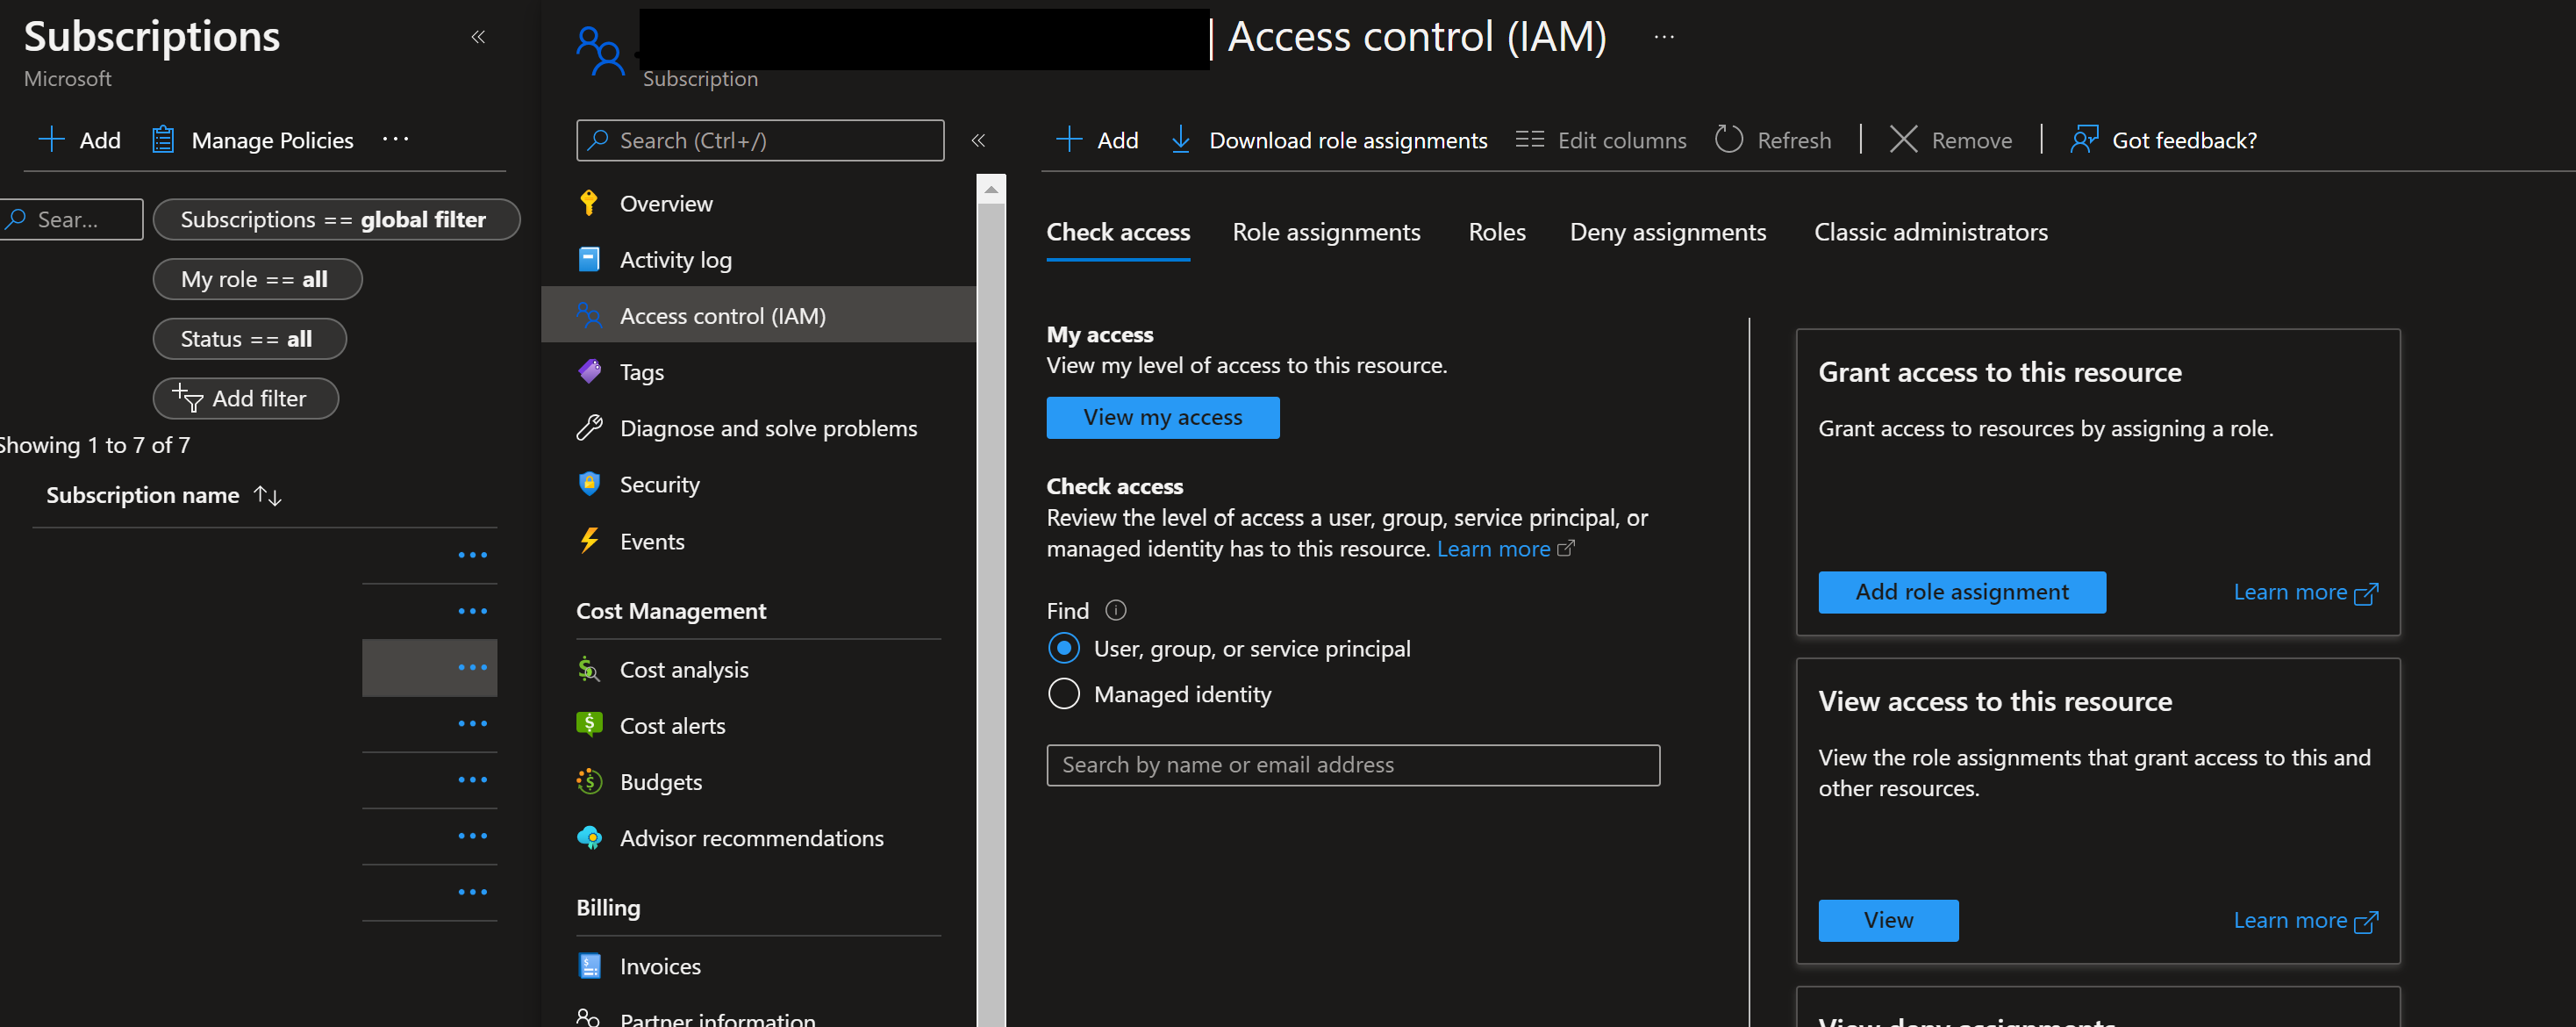
Select Contributor and add members by selecting + Select Members. Add the member Azure-ARM-Dev-ProjectName as created earlier.
Repeat this step if you deploy dev and prod into the same subscription. Otherwise, change to the prod subscription and repeat with Azure-ARM-Prod-ProjectName. The basic service principal setup is finished.
Set up Azure DevOps
Go to Azure DevOps.
Select create a new project. Name the project
mlopsv2for this tutorial.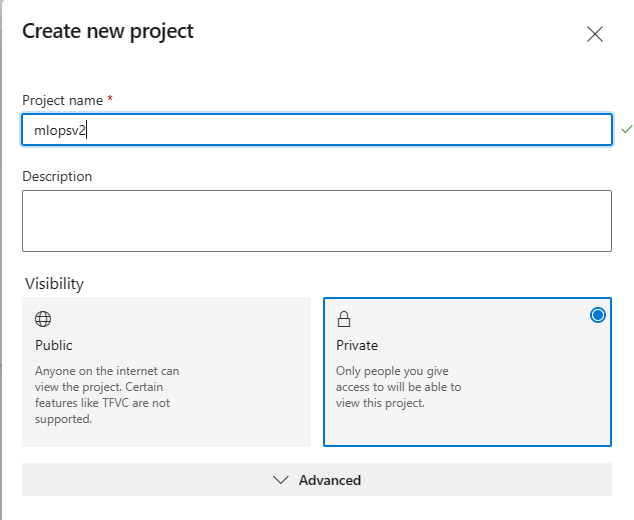
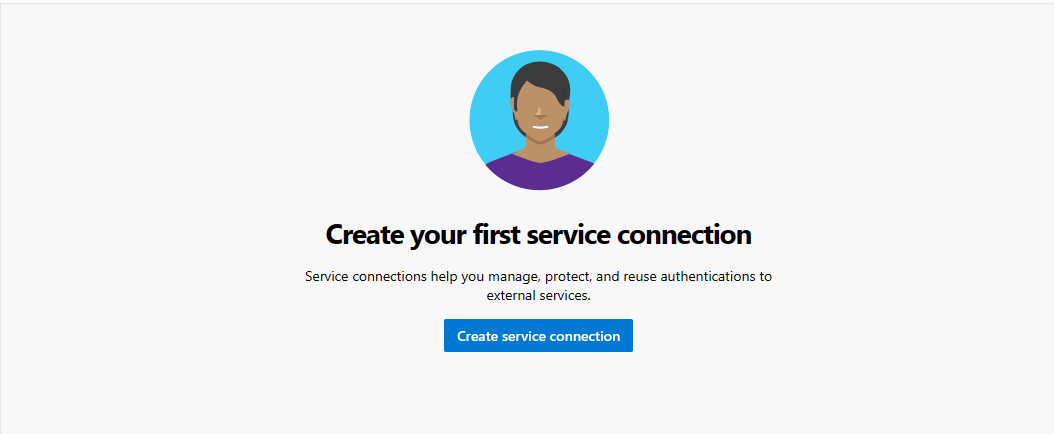
In the project, under Project Settings (at the bottom left of the project page), select Service Connections.
Select Create Service Connection.
Select Azure Resource Manager, and then select Next.
Note
For new projects, select App registration or Managed identity (manual) with Workload identity federation credential for improved security. The steps in this article use the legacy Service principal (manual) approach with a secret, which requires manual rotation.
Select Service principal (manual), select Next, and select the Scope Level Subscription.
- Subscription Name - Use the name of the subscription where your service principal is stored.
- Subscription Id - Use the
subscriptionIdyou used in Step 1 input as the Subscription ID - Service Principal Id - Use the
appIdfrom Step 1 output as the Service Principal ID - Service principal key - Use the
passwordfrom Step 1 output as the Service Principal Key - Tenant ID - Use the
tenantfrom Step 1 output as the Tenant ID
Name the service connection Azure-ARM-Prod.
Select Grant access permission to all pipelines, and then select Verify and Save.
The Azure DevOps setup finishes successfully.
Set up source repository with Azure DevOps
Open the project you created in Azure DevOps.
Open the Repos section and select Import Repository.
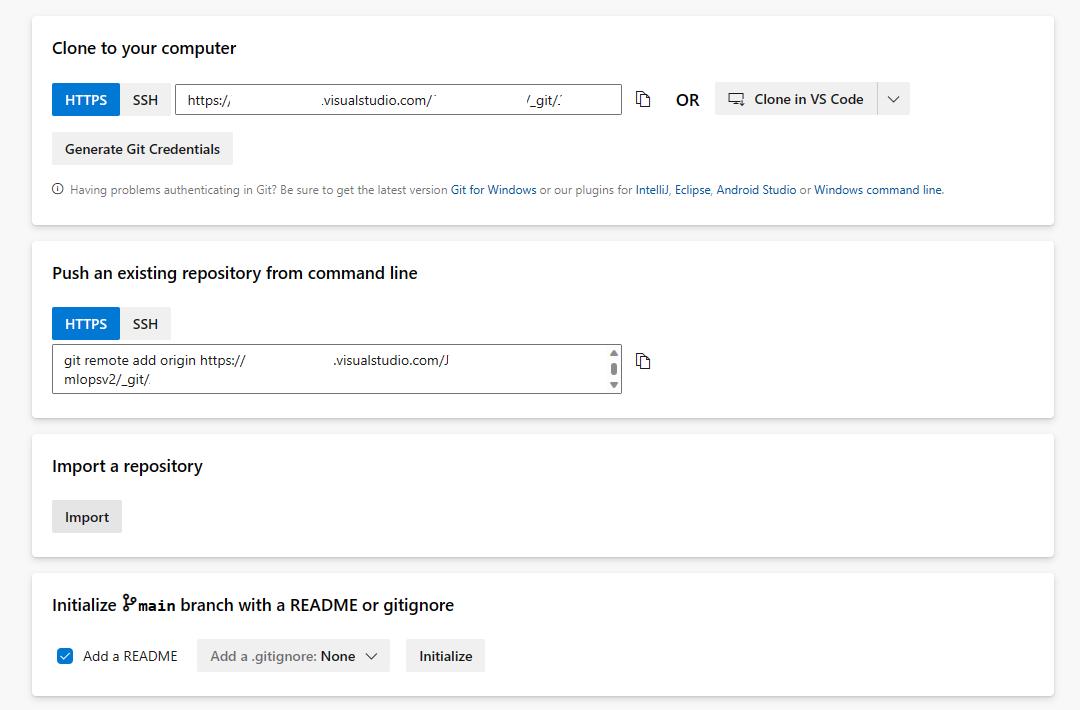
Enter
https://github.com/Azure/mlops-v2-ado-demointo the Clone URL field. Select import at the bottom of the page.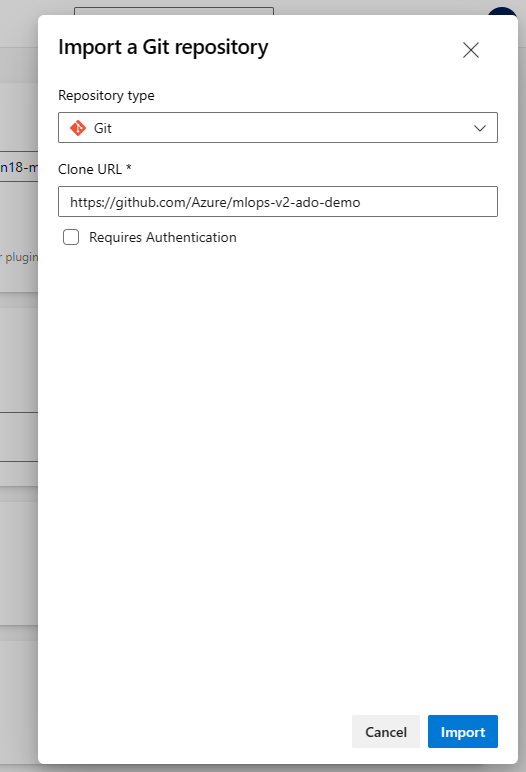
Note
The demo repository might have pending dependency updates. After importing, check for any Dependabot security alerts and apply updates as needed. For the latest features and fixes, also review the main Azure MLOps (v2) solution accelerator repository.
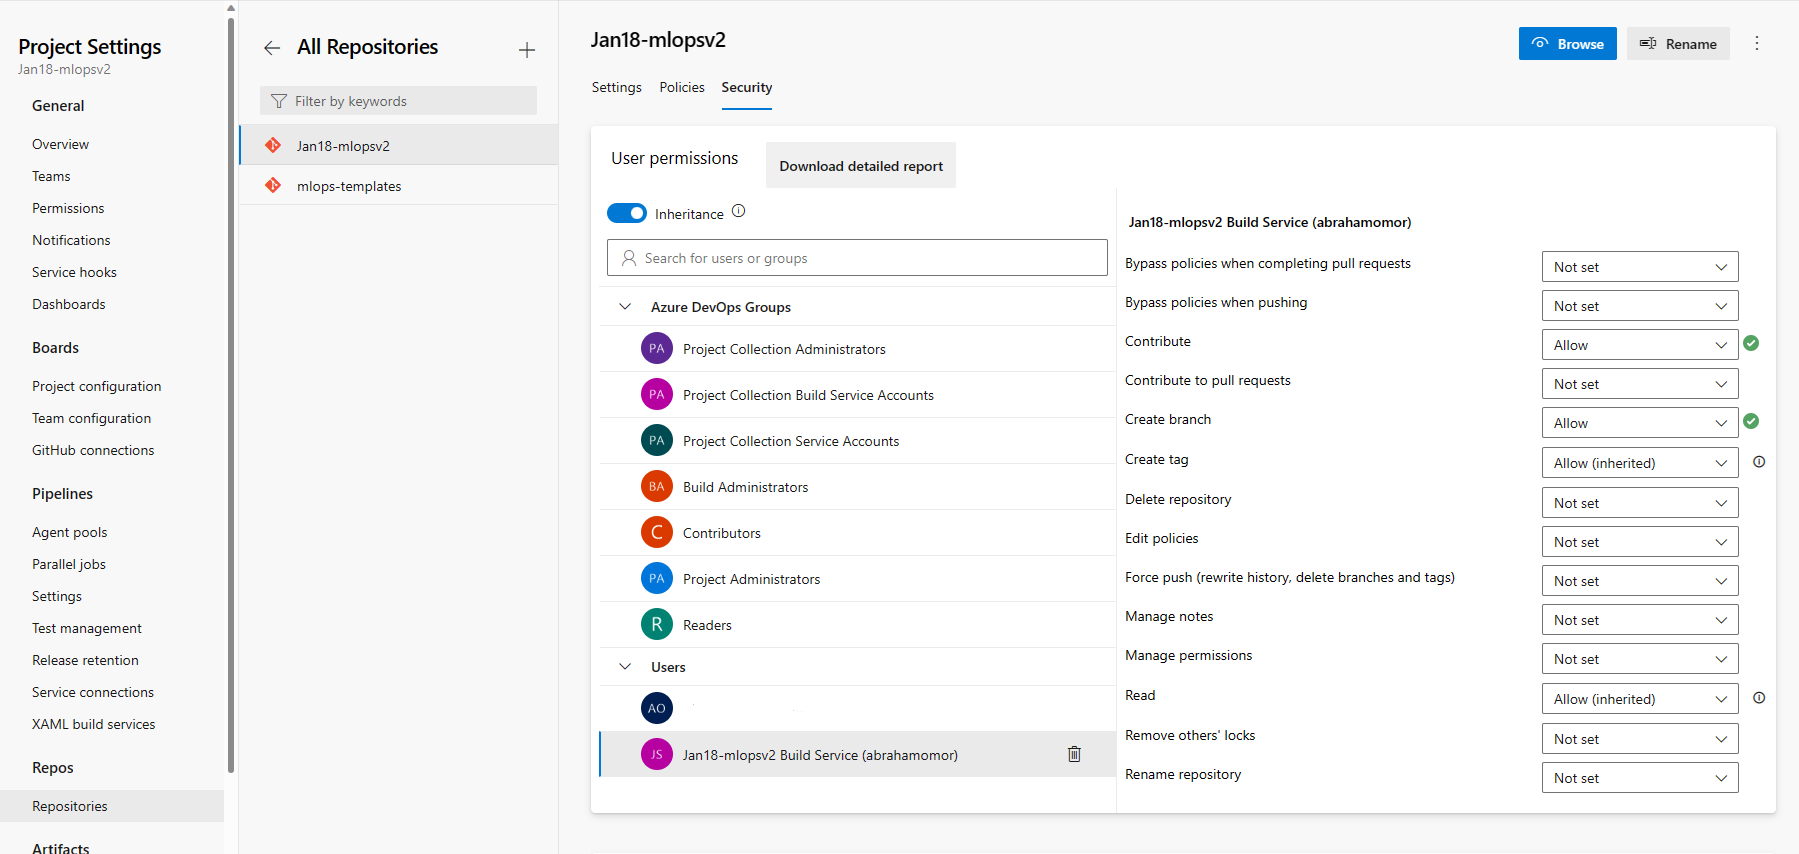
Open the Project settings at the bottom of the left hand navigation pane.
Under the Repos section, select Repositories. Select the repository you created in previous step. Select the Security tab.
Under the User permissions section, select the mlopsv2 Build Service user. Change the permission Contribute permission to Allow and the Create branch permission to Allow.
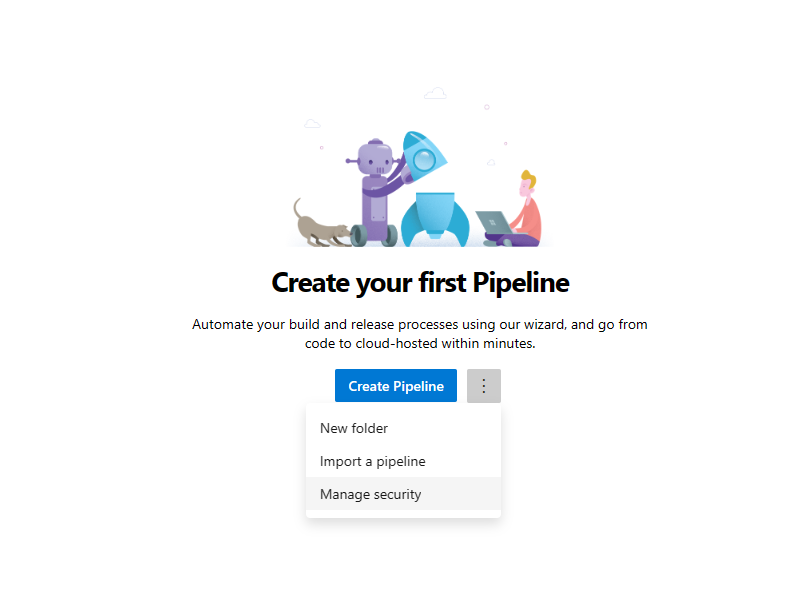
Open the Pipelines section in the left hand navigation pane and select on the 3 vertical dots next to the Create Pipelines button. Select Manage Security.
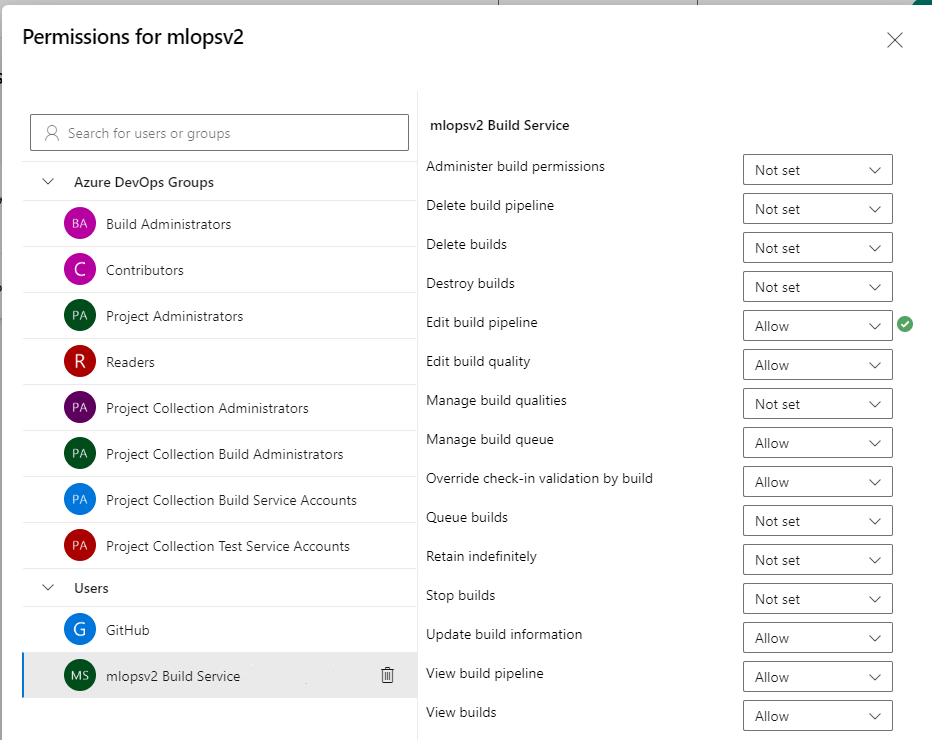
Select the mlopsv2 Build Service account for your project under the Users section. Change the permission Edit build pipeline to Allow.
Note
This finishes the prerequisite section. You can now deploy the solution accelerator.
Deploy infrastructure via Azure DevOps
This step deploys the training pipeline to the Azure Machine Learning workspace that you created in the previous steps.
Tip
Before you check out the MLOps v2 repo and deploy the infrastructure, make sure you understand the Architectural Patterns of the solution accelerator. In the examples, you use the classical ML project type.
Run Azure infrastructure pipeline
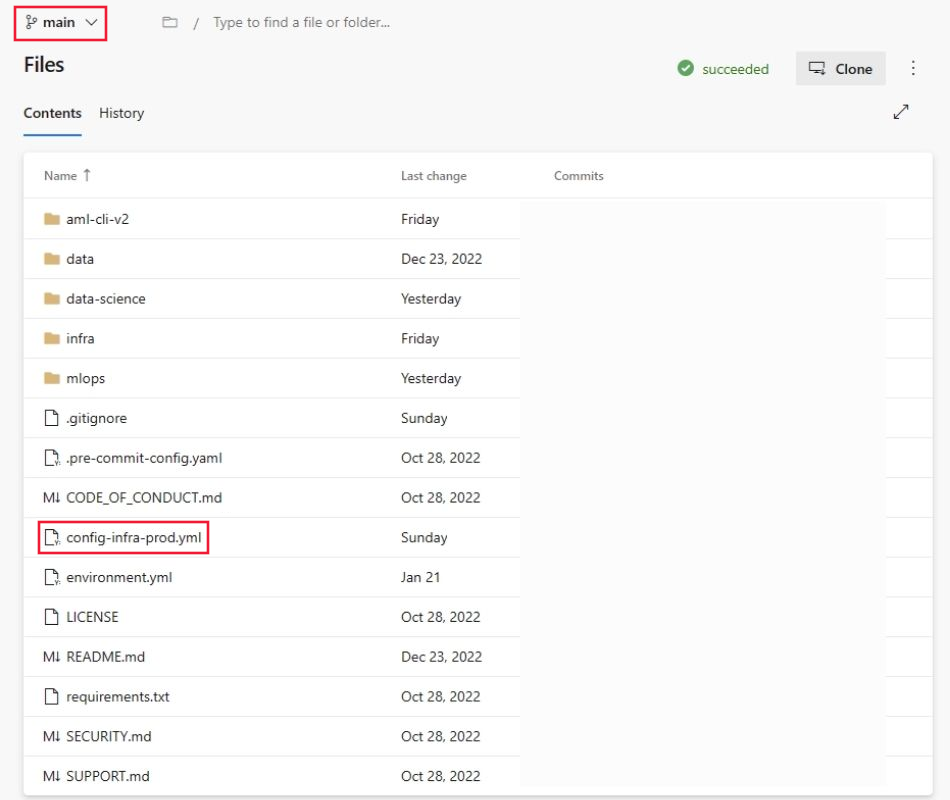
Go to your repository,
mlops-v2-ado-demo, and select the config-infra-prod.yml file.Important
Make sure you select the main branch of the repo.
This config file uses the namespace and postfix values the names of the artifacts to ensure uniqueness. Update the following section in the config to your liking.
 namespace: [5 max random new letters]
 postfix: [4 max random new digits]
 location: chinaeast2
Note
If you're running a deep learning workload such as CV or NLP, ensure your GPU compute is available in your deployment zone.
Select Commit to push code and get these values into the pipeline.
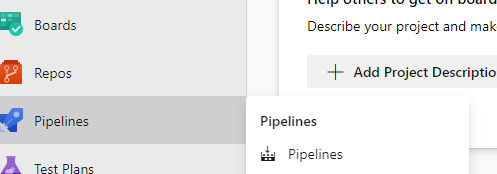
Go to the Pipelines section.
Select Create Pipeline.
Select Azure Repos Git.
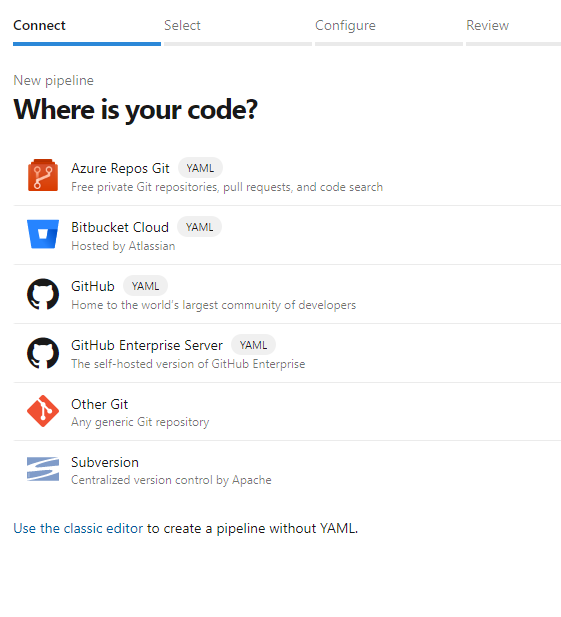
Select the repository that you cloned from the previous section,
mlops-v2-ado-demo.Select Existing Azure Pipelines YAML file.
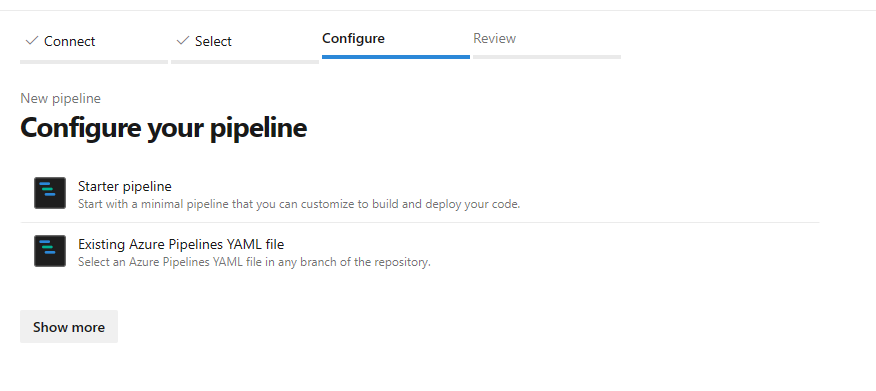
Select the
mainbranch and choosemlops/devops-pipelines/cli-ado-deploy-infra.yml, then select Continue.Run the pipeline. It takes a few minutes to finish. The pipeline creates the following artifacts:
- Resource group for your workspace including storage account, container registry, Application Insights, Key Vault, and the Azure Machine Learning Workspace itself.
- In the workspace, it also creates a compute cluster.
Now the infrastructure for your MLOps project is deployed.
Note
You can ignore the Unable move and reuse existing repository to required location warnings.
Sample training and deployment scenario
The solution accelerator includes code and data for a sample end-to-end machine learning pipeline that runs a linear regression to predict taxi fares in NYC. The pipeline is made up of components, each serving different functions. You can register these components with the workspace, version them, and reuse them with various inputs and outputs. Sample pipelines and workflows for the Computer Vision and NLP scenarios have different steps and deployment steps.
This training pipeline contains the following steps:
Prepare Data
- This component takes multiple taxi datasets (yellow and green) and merges and filters the data. It prepares the train, validation, and evaluation datasets.
- Input: Local data under ./data/ (multiple .csv files)
- Output: Single prepared dataset (.csv) and train, validation, and test datasets.
Train Model
- This component trains a Linear Regressor with the training set.
- Input: Training dataset
- Output: Trained model (pickle format)
Evaluate Model
- This component uses the trained model to predict taxi fares on the test set.
- Input: ML model and Test dataset
- Output: Performance of model and a deploy flag whether to deploy or not.
- This component compares the performance of the model with all previously deployed models on the new test dataset. It decides whether to promote the model into production. Promoting the model into production happens by registering the model in Azure Machine Learning workspace.
Register Model
- This component scores the model based on how accurate the predictions are in the test set.
- Input: Trained model and the deploy flag.
- Output: Registered model in Azure Machine Learning.
Deploy model training pipeline
Go to ADO pipelines.
Select New Pipeline.

Select Azure Repos Git.
Select the repository that you cloned from the previous section,
mlopsv2.Select Existing Azure Pipelines YAML file.
Select
mainas a branch and choose/mlops/devops-pipelines/deploy-model-training-pipeline.yml. Select Continue.Save and Run the pipeline.
Note
At this point, the infrastructure is configured and the Prototyping Loop of the MLOps Architecture is deployed. You're ready to move to the trained model to production.
Deploying the trained model
This scenario includes prebuilt workflows for two approaches to deploying a trained model: batch scoring or deploying a model to an endpoint for real-time scoring. Run either or both of these workflows to test the performance of the model in your Azure Machine Learning workspace. In this example, you use real-time scoring.
Deploy ML model endpoint
Go to ADO pipelines.
Select New Pipeline.
Select Azure Repos Git.
Select the repository that you cloned from the previous section,
mlopsv2.Select Existing Azure Pipelines YAML file.
Select
mainas a branch and choose Managed Online Endpoint/mlops/devops-pipelines/deploy-online-endpoint-pipeline.ymlthen select Continue.Online endpoint names need to be unique, so change
taxi-online-$(namespace)$(postfix)$(environment)to another unique name and then select Run. You don't need to change the default if it doesn't fail.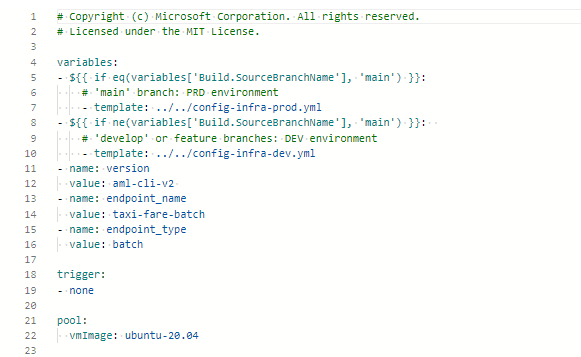
Important
If the run fails due to an existing online endpoint name, recreate the pipeline as described previously and change [your endpoint-name] to [your endpoint-name (random number)]
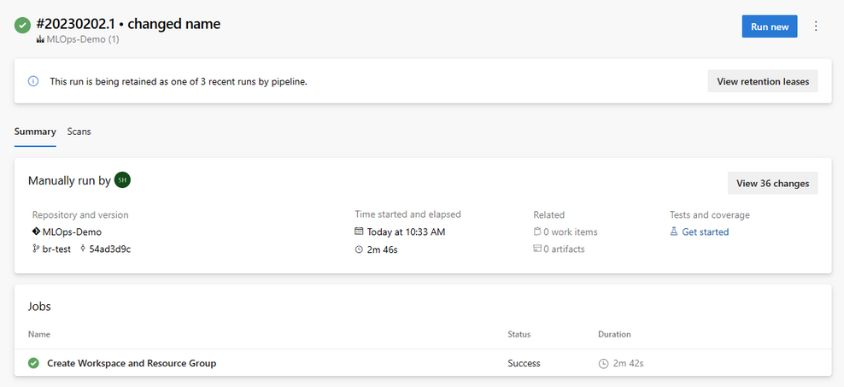
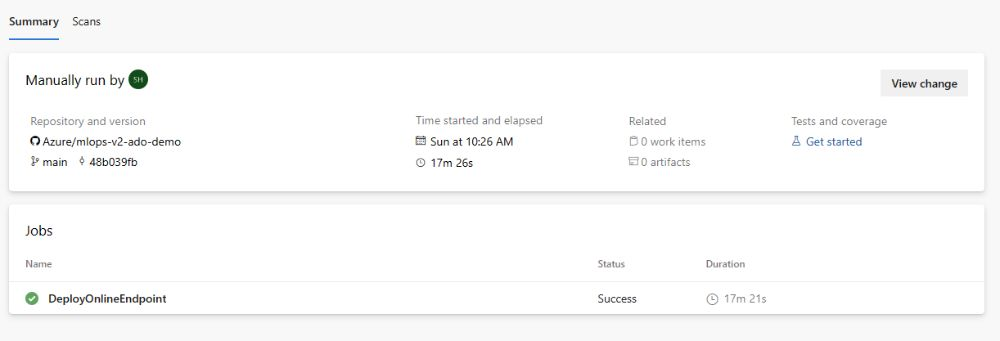
When the run completes, you see output similar to the following image:
To test this deployment, go to the Endpoints tab in your Azure Machine Learning workspace, select the endpoint, and select the Test tab. You can use the sample input data located in the cloned repo at
/data/taxi-request.jsonto test the endpoint.
Clean up resources
- If you don't plan to continue using your pipeline, delete your Azure DevOps project.
- In Azure portal, delete your resource group and Azure Machine Learning instance.
Next steps
- Install and set up Python SDK v2
- Install and set up Python CLI v2
- Azure MLOps (v2) solution accelerator on GitHub
- Learn more about Azure Pipelines with Azure Machine Learning
- Learn more about GitHub Actions with Azure Machine Learning