Note
Access to this page requires authorization. You can try signing in or changing directories.
Access to this page requires authorization. You can try changing directories.
In this quickstart, you get started with Azure Managed Grafana by creating an Azure Managed Grafana workspace using the Azure portal.
Prerequisites
- An Azure account for work or school and an active subscription. Create an account.
- Minimum required role to create a workspace: resource group Contributor.
Create an Azure Managed Grafana workspace
Sign in to the Azure portal with your Azure account.
In the Search resources, services, and docs (G+/) box, enter Azure Managed Grafana and select Azure Managed Grafana.

Select Create.
In the Basics pane, enter the following settings.
Setting Sample value Description Subscription ID my-subscription Select the Azure subscription you want to use. Resource group name my-resource-group Create a resource group for your Azure Managed Grafana resources. Location China North3 Use Location to specify the geographic location in which to host your resource. Choose the location closest to you. Name my-grafana Enter a unique resource name. It will be used as the domain name in your Azure Managed Grafana workspace URL. Pricing plan Essential (preview) Choose between the Essential (preview) or the Standard plan. The Essential plan is the cheapest option you can use to evaluate the service. This plan doesn't have an SLA and isn't recommended for production use. For more information about Azure Managed Grafana plans, go to pricing plans. Grafana version 11 Choose the latest Grafana version, or the version that best suits your needs. If you choose the Standard plan, select either the default X1 instance size or the X2 size, and optionally enable zone redundancy for your workspace.
Select Next : Advanced > to access additional options:
- Enable API key creation is set to Disable by default.
- If you've opted for the Standard plan, optionally enable the Deterministic outbound IP feature, which is set to Disable by default.
Select Next : Permission > to control access rights for your Grafana instance and data sources:
System assigned managed identity is set to On.
Note
You can use a user-assigned managed identity instead of the default system-assigned managed identity once the Azure Managed Grafana resource is deployed. For more information, go to Set up Azure Managed Grafana authentication and permissions (preview).
If you're a subscription Owner or a User Access Administrator:
- the box Add role assignment to this identity with 'Monitoring Reader' role on target subscription is checked by default. This role assignment allows Azure Managed Grafana to access and display monitoring data from various Azure services.
- the box Include myself under Grafana administrator role is checked. This option grants you the Grafana administrator role, and lets you manage access rights. Optionally select Add to share this right with team members.
If you're not a subscription Owner or a User Access Administrator, you can either:
- ask a subscription Owner or a User Access Administrator to assign you the Grafana Admin role
- or enable Creator can admin (Preview). This option available in preview grants you the required permissions to access and manage the Grafana resource.
If you've opted for the Standard plan, in the Networking tab, optionally disable public access and create a private endpoint that can access your resource.
Optionally select Next : Tags and add tags to categorize resources.
Select Next : Review + create >. After validation runs, select Create. Your Azure Managed Grafana resource is deploying.
Access your Azure Managed Grafana workspace
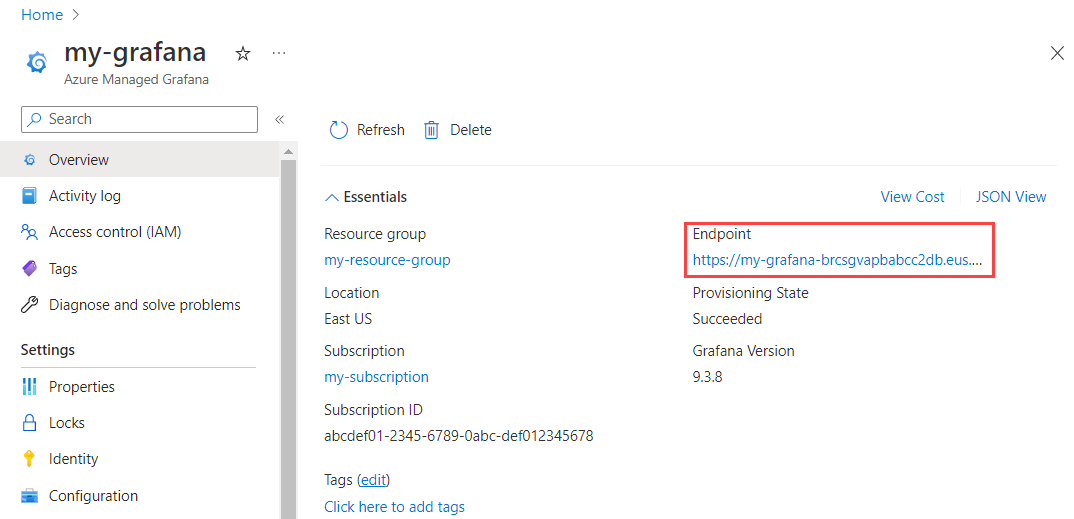
Once the deployment is complete, select Go to resource to open your resource.
In the Overview tab, select the Endpoint URL. Single sign-on via Microsoft Entra ID has been configured for you automatically. If prompted, enter your Azure account.
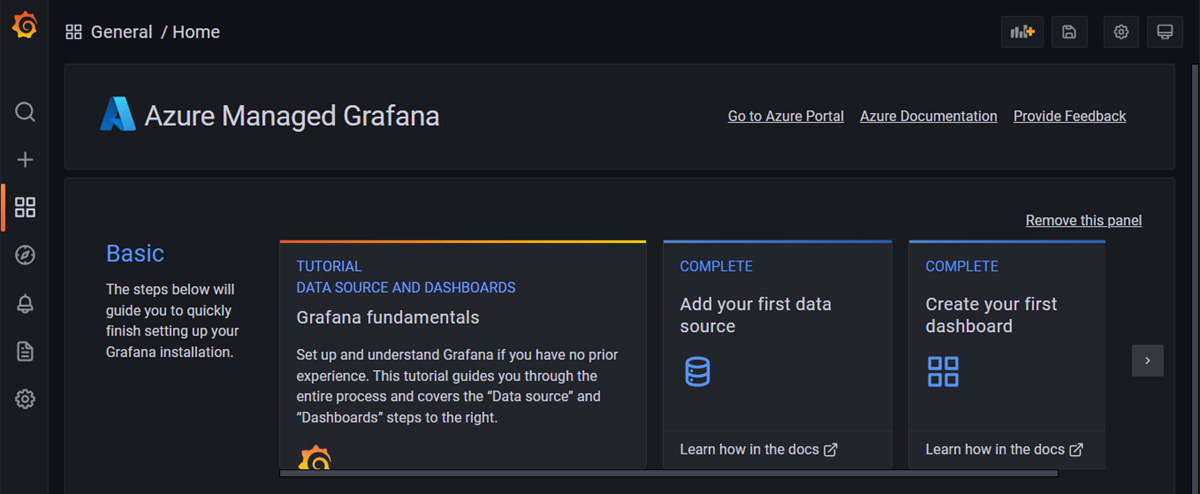
You can now start interacting with the Grafana application to configure data sources, create dashboards, reports and alerts.
Clean up resources
In the preceding steps, you created an Azure Managed Grafana workspace in a new resource group. If you don't expect to need these resources again in the future, delete the resource group.
- In the Search resources, services, and docs (G+/) box in the Azure portal, enter the name of your resource group and select it.
- In the Overview page, make sure that the listed resources are the ones you want to delete.
- Select Delete, type the name of your resource group in the text box, and then select Delete.