Note
Access to this page requires authorization. You can try signing in or changing directories.
Access to this page requires authorization. You can try changing directories.
Azure Database for PostgreSQL is a managed service that you can use to run, manage, and scale highly available PostgreSQL servers in the cloud. This article shows you how to create an Azure Database for PostgreSQL flexible server in a virtual network by using the Azure portal.
If you don't have an Azure subscription, create a trial Azure account before you begin.
Sign in to the Azure portal
Sign in to the Azure portal. Enter your credentials to sign in to the portal. The default view is your service dashboard.
Create an Azure Database for PostgreSQL
You create an Azure Database for PostgreSQL flexible server with a defined set of compute and storage resources. You create the server within an Azure resource group.
Complete these steps to create an Azure Database for PostgreSQL flexible server:
Search for and select Azure Database for PostgreSQL servers in the portal:
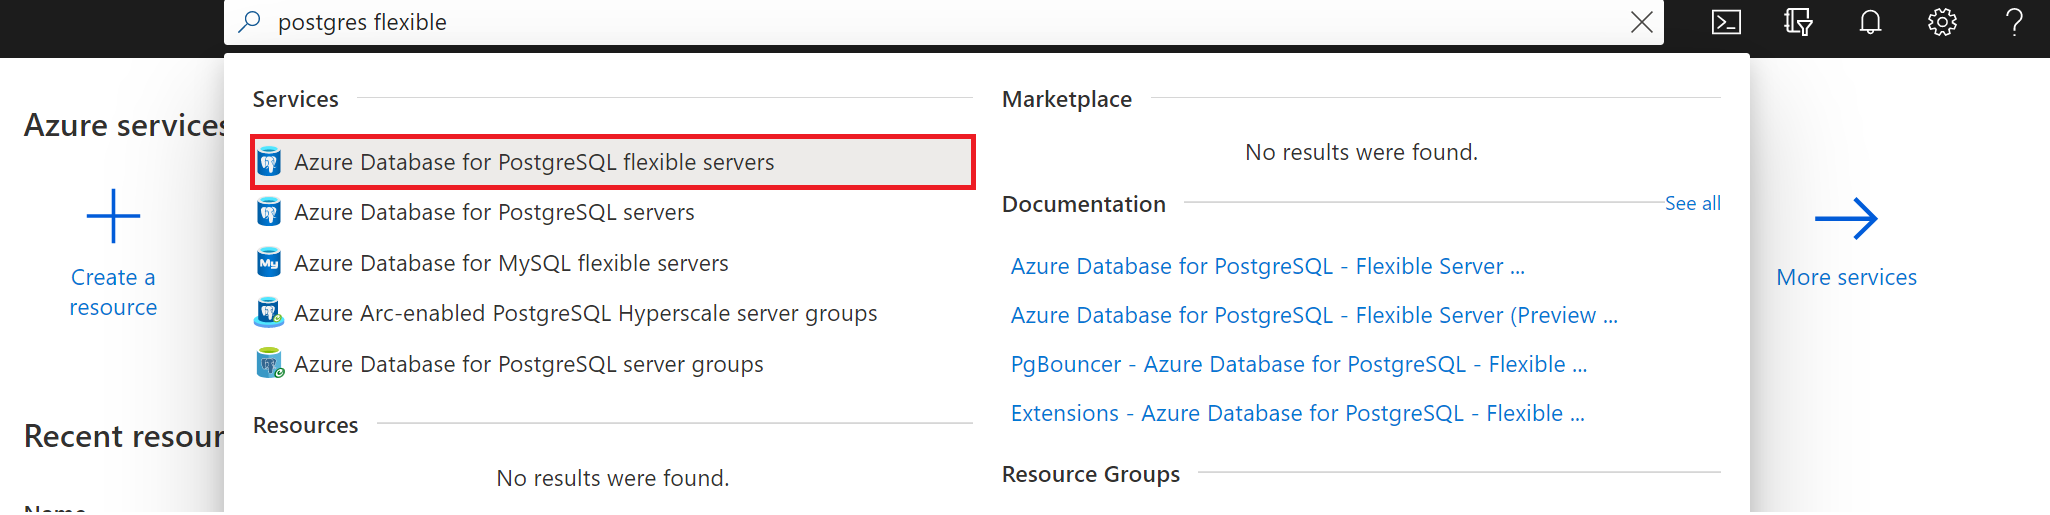
Select Add.
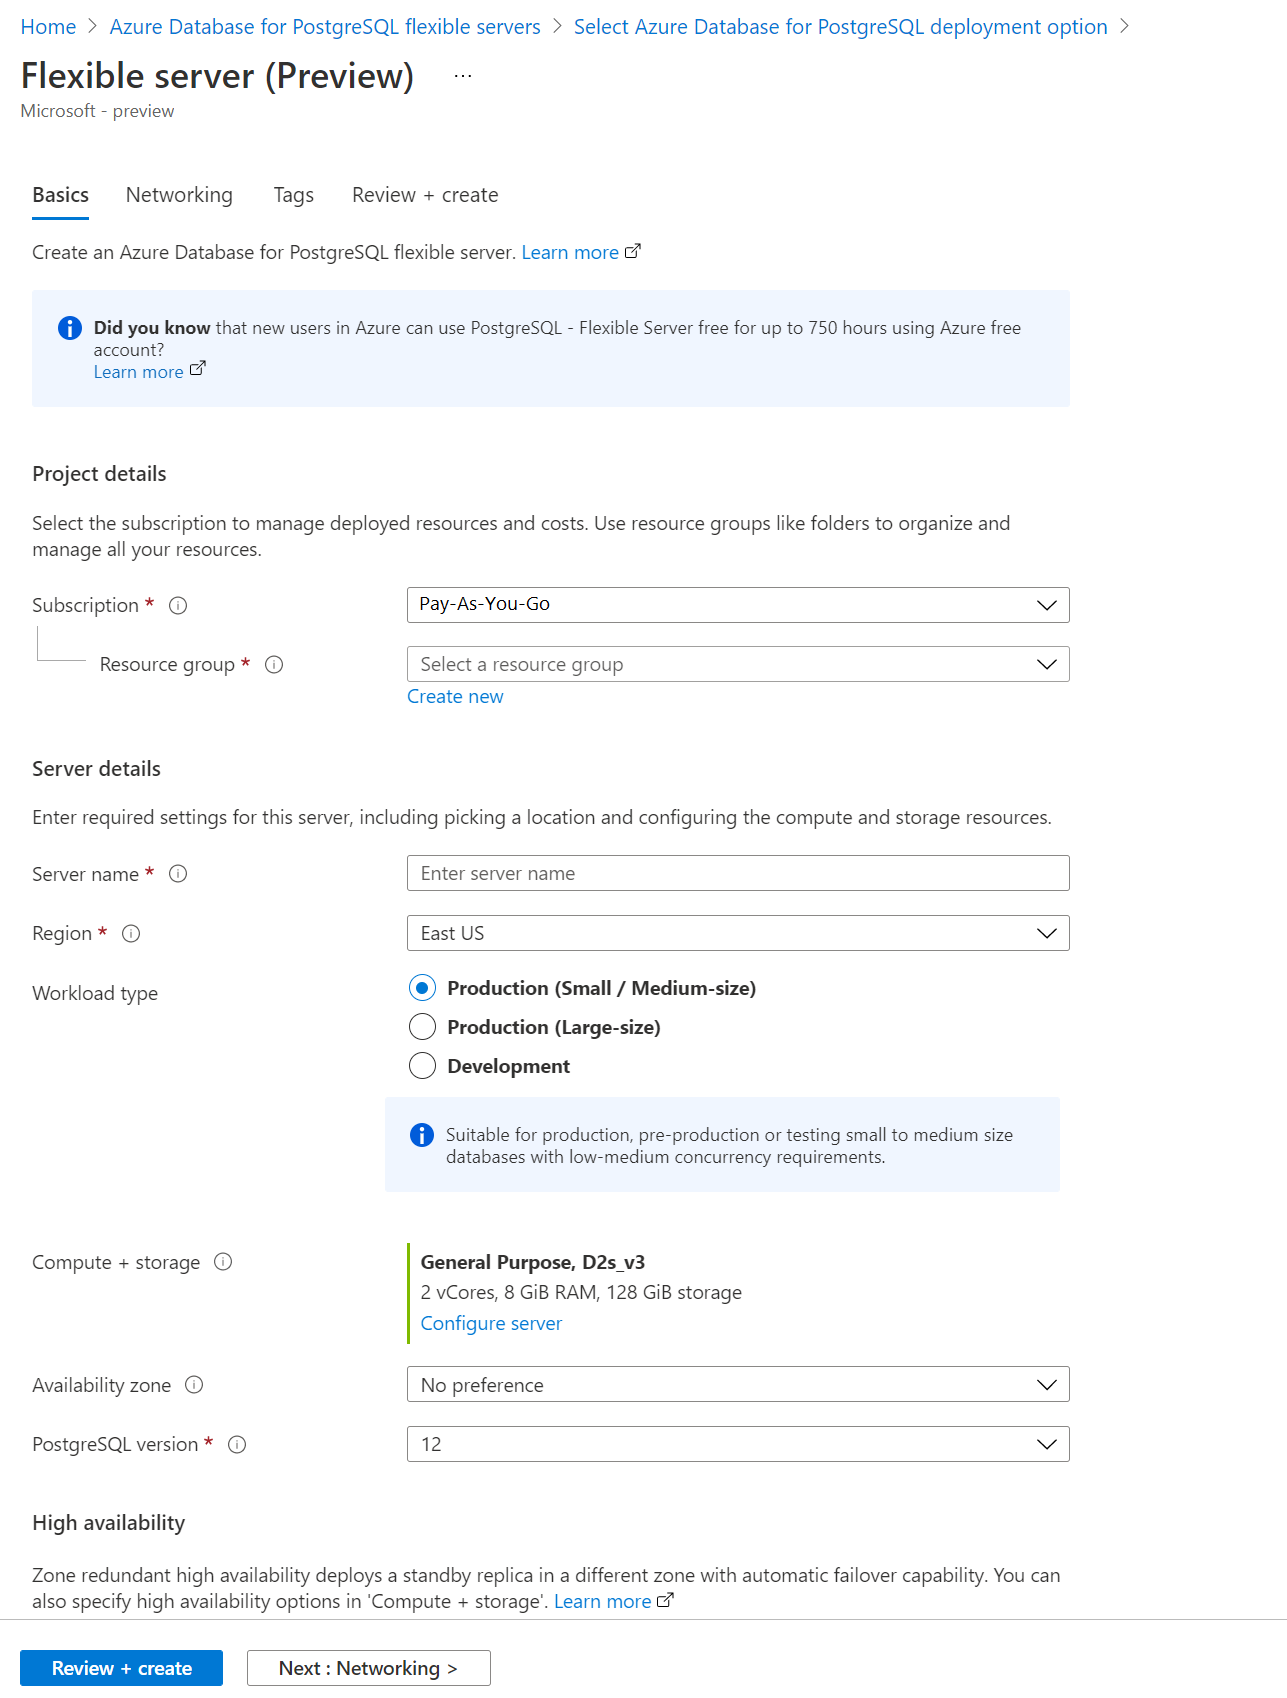
On the Basics tab, enter the subscription, resource group, region, and server name. With the default values, this configuration provisions an Azure Database for PostgreSQL flexible server of version 12 with General purpose pricing tier using 2 vCores, 8 GiB RAM, and 28 GiB storage. The backup retention is seven days. Use the Development workload to default to a lower-cost pricing tier.
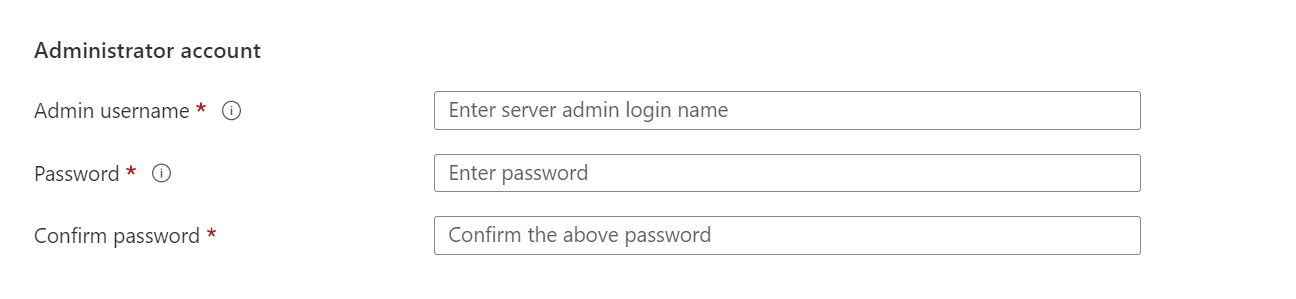
In the Basics tab, enter a unique admin username and admin password.
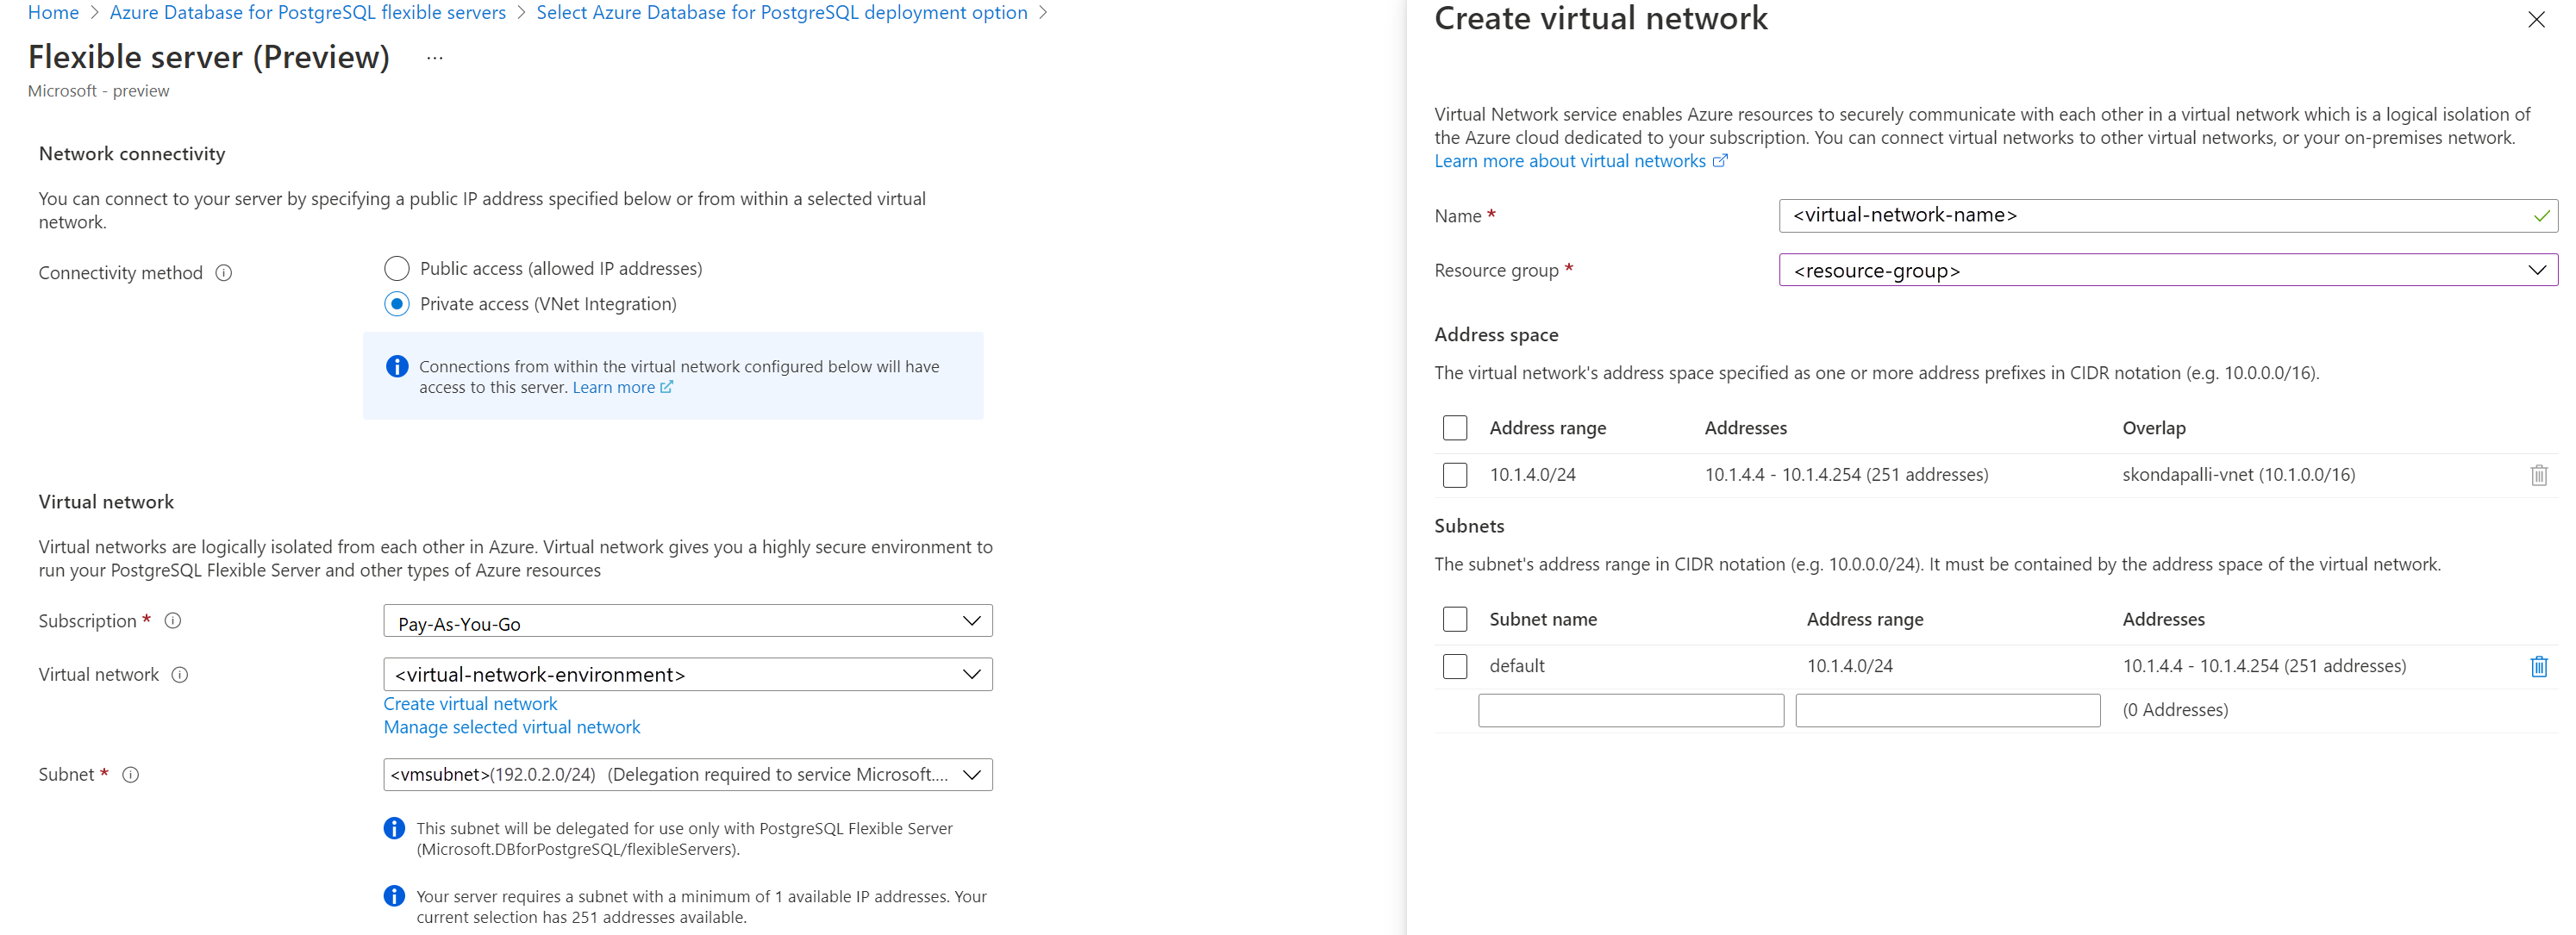
Go to the Networking tab, and select private access. You can't change the connectivity method after you create the server. Select Create virtual network to create a new virtual network vnetenvironment1. Select OK once you provide the virtual network name and subnet information.
Select Review + create to review your Azure Database for PostgreSQL flexible server configuration.
Select Create to provision the server. Provisioning can take a few minutes.
Wait until the deployment is complete and successful.
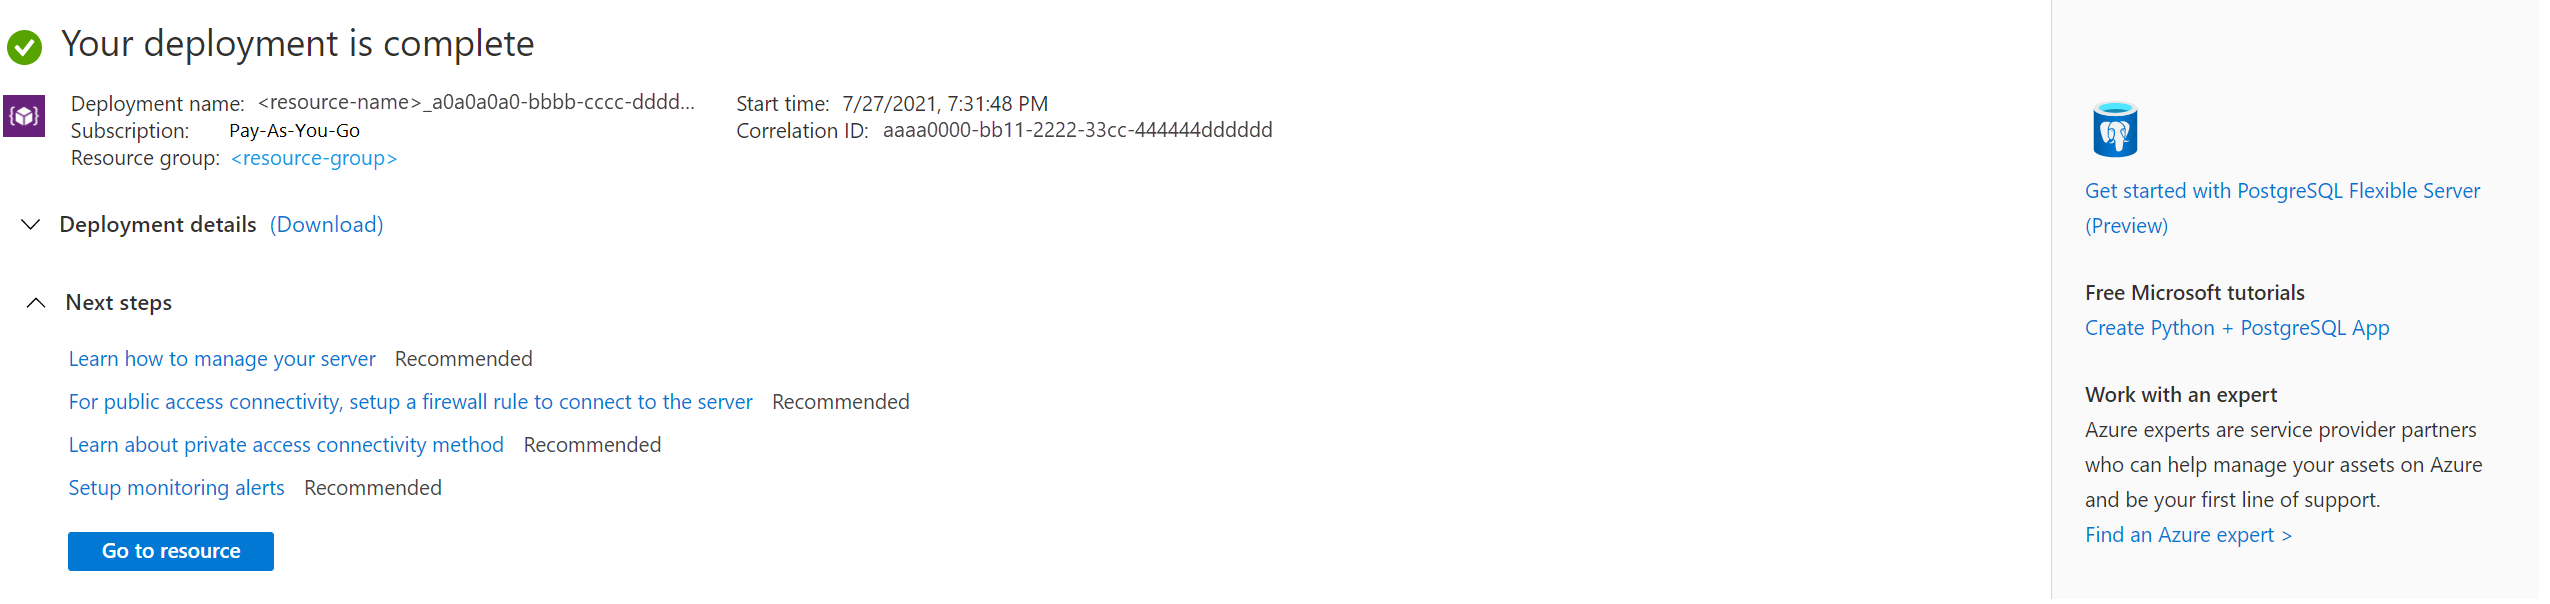
Select Go to resource to view the server's Overview page.
Create an Azure Linux virtual machine
Because the server is in a virtual network, you can only connect to the server from other Azure services in the same virtual network as the server. To connect and manage the server, create a Linux virtual machine. You must create the virtual machine in the same region and same subscription. Use the Linux virtual machine as an SSH tunnel to manage your Azure Database for PostgreSQL flexible server.
Go to your resource group where you created the server. Select Add.
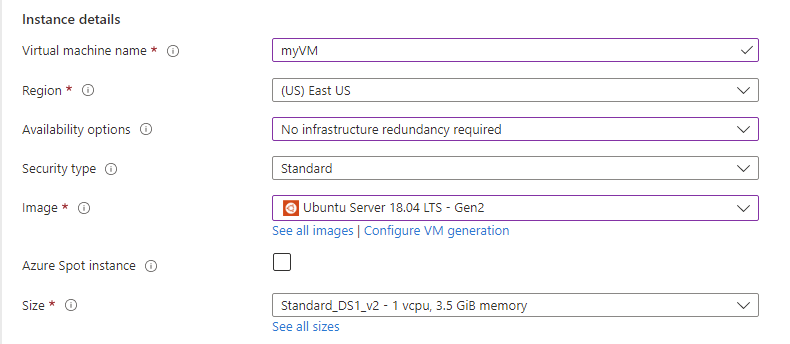
Select Ubuntu Server 18.04 LTS.
In the Basics tab, under Project details, make sure the correct subscription is selected and then choose Create new resource group. Type myResourceGroup for the name.
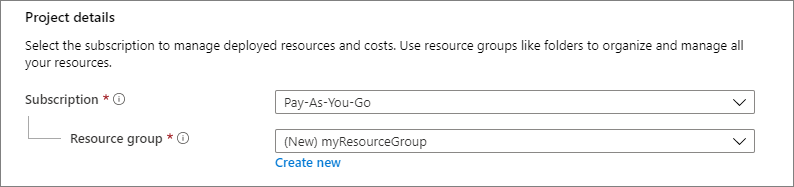
Under Instance details, type myVM for the Virtual machine name, and choose the same Region as your Azure Database for PostgreSQL flexible server.
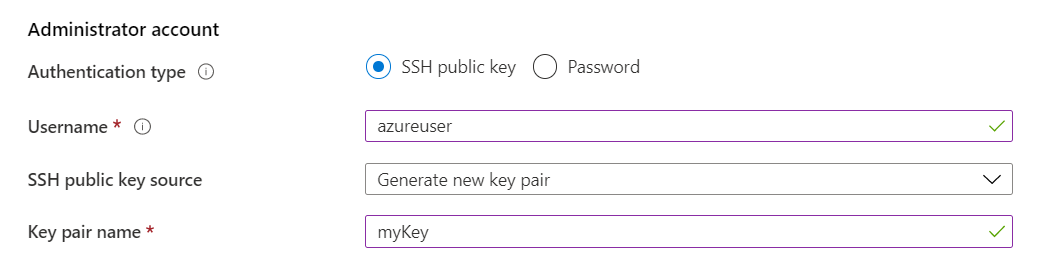
Under Administrator account, select SSH public key.
In Username type azureuser.
For SSH public key source, keep the default of Generate new key pair, and then type myKey for the Key pair name.
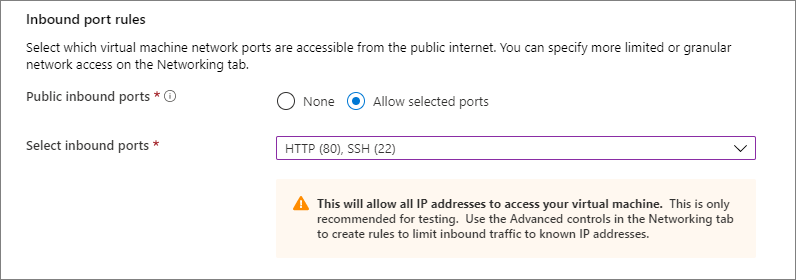
Under Inbound port rules > Public inbound ports, choose Allow selected ports. Then select SSH (22) and HTTP (80) from the drop-down.
Select the Networking page to configure the virtual network. For the virtual network, choose the vnetenvironment1 created for the database server.

Select Manage subnet configuration to create a new subnet for the server.

Add the new subnet for the virtual machine.
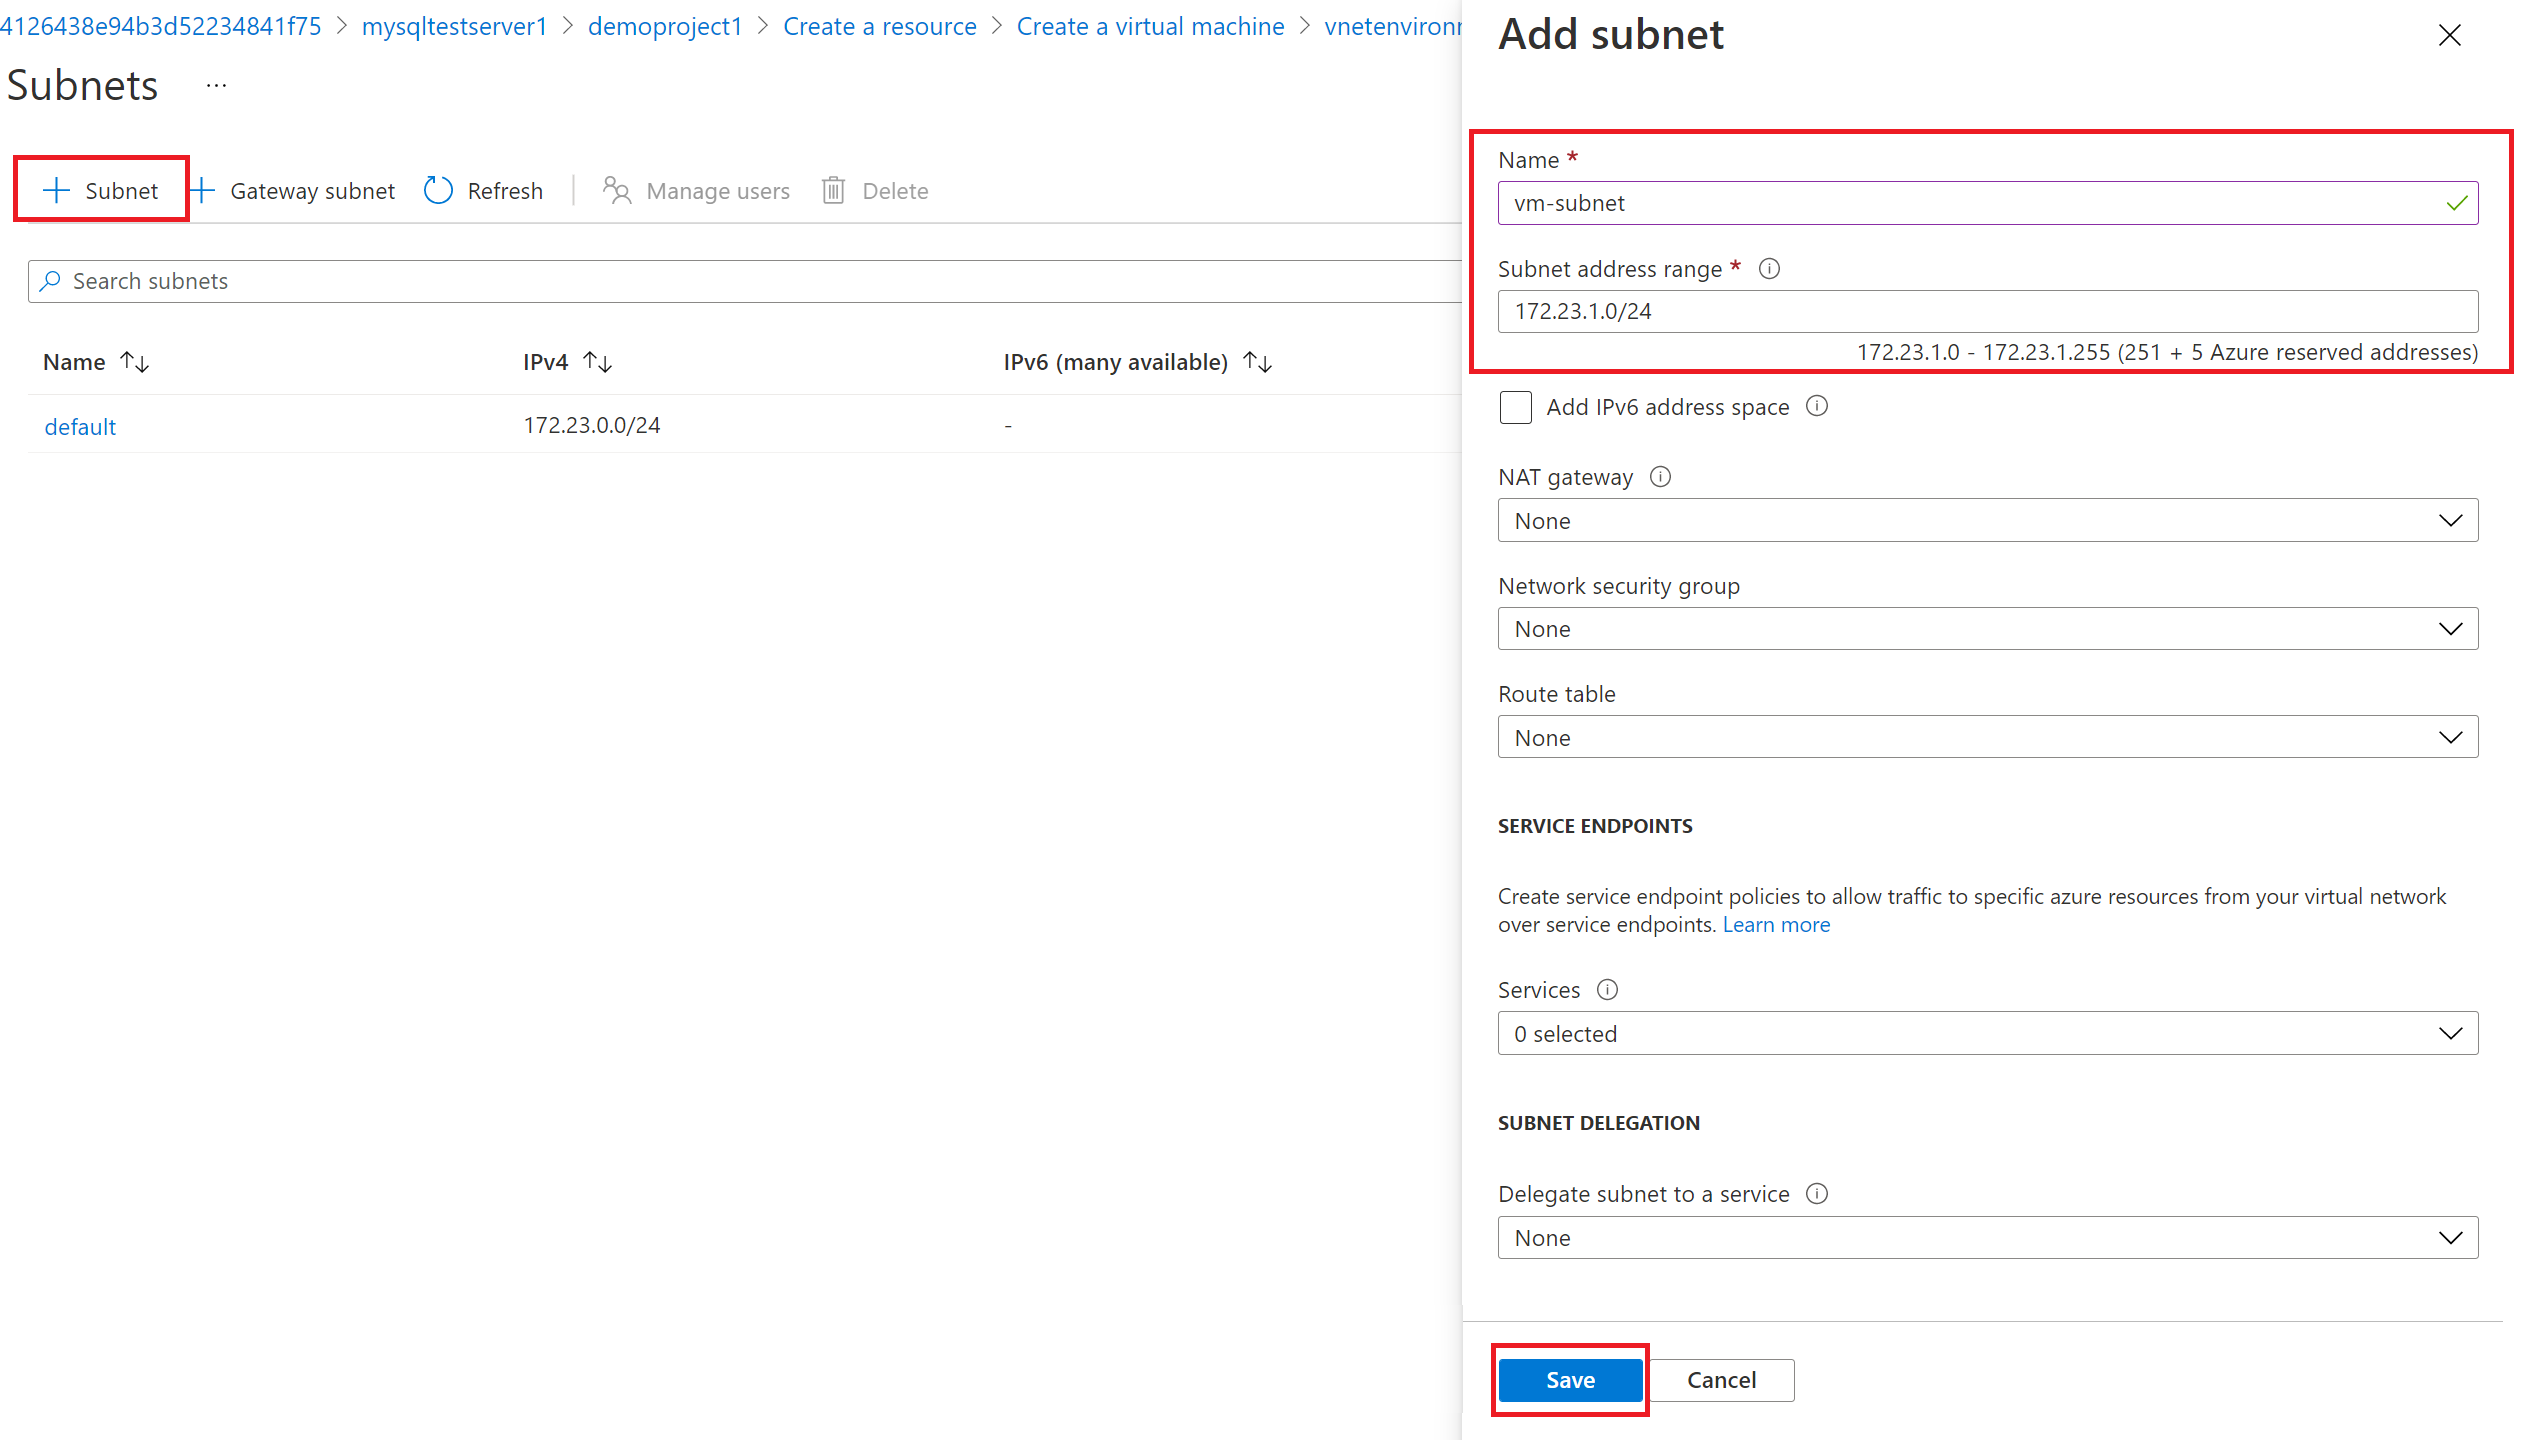
After the subnet is created successfully, close the page.

Select Review + Create.
Select Create. When the Generate new key pair window opens, select Download private key and create resource. Your key file is downloaded as myKey.pem.
Important
Make sure you know where the
.pemfile is downloaded. You need the path to it in the next step.When the deployment finishes, select Go to resource to view the virtual machine Overview page.
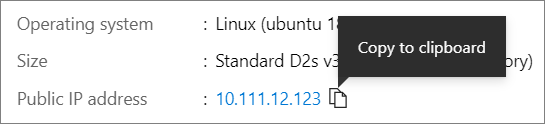
Select the public IP address and copy it to your clipboard.


Install PostgreSQL client tools
Create an SSH connection with the VM by using Bash or PowerShell. At your prompt, open an SSH connection to your virtual machine. Replace the IP address with the one from your VM, and replace the path to the .pem with the path to where the key file was downloaded.
ssh -i .\Downloads\myKey1.pem azureuser@10.111.12.123
Tip
You can use the SSH key you created the next time you create a VM in Azure. Just select Use a key stored in Azure for SSH public key source the next time you create a VM. You already have the private key on your computer, so you don't need to download anything.
You need to install the postgresql-client tool to connect to the server.
sudo apt-get update
sudo apt-get install postgresql-client
Because connections to the database require SSL, you need to download the public SSL certificate.
wget --no-check-certificate https://dl.cacerts.digicert.com/DigiCertGlobalRootCA.crt.pem
Connect to the server from Azure Linux virtual machine
With the psql client tool installed, you can now connect to the server from your local environment.
psql --host=mydemoserver-pg.postgres.database.chinacloudapi.cn --port=5432 --username=myadmin --dbname=postgres --set=sslmode=require --set=sslrootcert=DigiCertGlobalRootCA.crt.pem
Clean up resources
You created an Azure Database for PostgreSQL flexible server in a resource group. If you don't expect to need these resources in the future, you can delete them by deleting the resource group, or you can just delete the Azure Database for PostgreSQL flexible server. To delete the resource group, complete the following steps:
In the Azure portal, search for and select Resource groups.
In the list of resource groups, select the name of your resource group.
In the Overview page for your resource group, select Delete resource group.
In the confirmation dialog box, type the name of your resource group, and then select Delete.
Related content
- Manage Azure Database for PostgreSQL using the Azure portal.
- Quickstart: Use Python to connect and query data from an Azure Database for PostgreSQL.
- Quickstart: Use Java and JDBC with Azure Database for PostgreSQL.
- Quickstart: Use .NET (C#) to connect and query data from an Azure Database for PostgreSQL.
- Quickstart: Use Go language to connect and query data from an Azure Database for PostgreSQL.
- Quickstart: Use PHP to connect and query data from an Azure Database for PostgreSQL.
- Quickstart: Connect and query with Azure CLI with Azure Database for PostgreSQL.
- Quickstart: Import data from Azure Database for PostgreSQL in Power BI.