Note
Access to this page requires authorization. You can try signing in or changing directories.
Access to this page requires authorization. You can try changing directories.
This article walks through how to create a Power BI Embedded capacity in Azure. Power BI Embedded simplifies Power BI capabilities by helping you quickly add stunning visuals, reports, and dashboards to your apps.
If you don't have an Azure subscription, create a Trial before you begin.
Before you begin
To complete this quickstart, you need:
- Azure subscription: Visit Azure trial account to create an account.
- Azure Active Directory: Your subscription must be associated with an Azure Active Directory (AAD) tenant. Also, you need to be signed in to Azure with an account in that tenant. Microsoft accounts are not supported. To learn more, see Authentication and user permissions.
- Power BI tenant: At least one account in your AAD tenant must have signed up for Power BI.
- Resource group: Use a resource group you already have or create a new one.
Create a capacity
Sign into the Azure portal.
Select Create a resource > Data + analytics.
In the search box, search for Power BI Embedded.
Within Power BI Embedded, select Create.
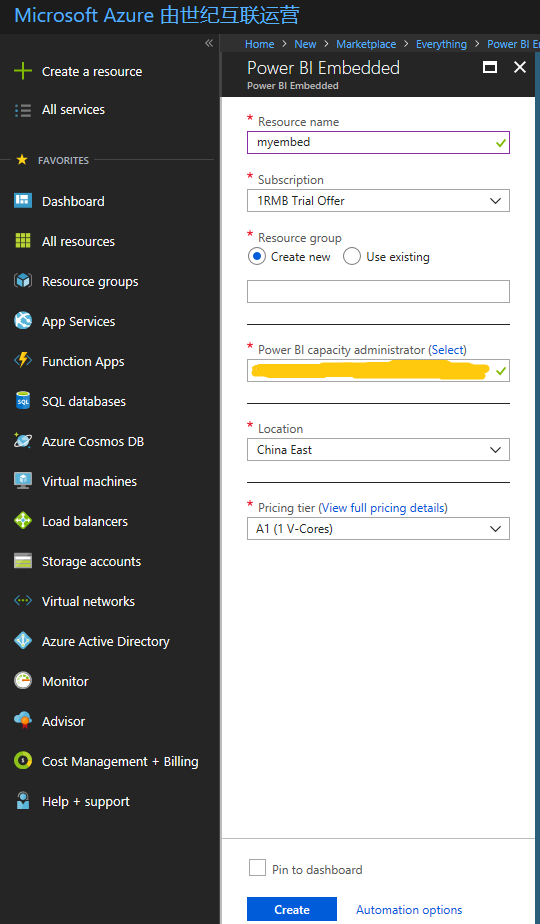
Fill in the required information and then select Create.

Setting Description Resource name A name to identify the capacity. The resource name is displayed within the Power BI admin portal in addition to the Azure portal. Subscription The subscription you would like to create the capacity against. Resource group The resource group that contains this new capacity. Pick from an existing resource group, or create another. For more information, see Azure Resource Manager overview. Power BI capacity administrator Power BI capacity administrators can view the capacity in the Power BI admin portal and give assignment permissions to other users. By default, the capacity administrator is your account. The capacity administrator must be within your Power BI tenant. Location The location where Power BI is hosted for your tenant. This setting is resolved automatically, and your default location is your home region. Pricing tier Select the SKU (v-core count and memory size) that meets your needs. For details, see Power BI Embedded pricing Select Create.
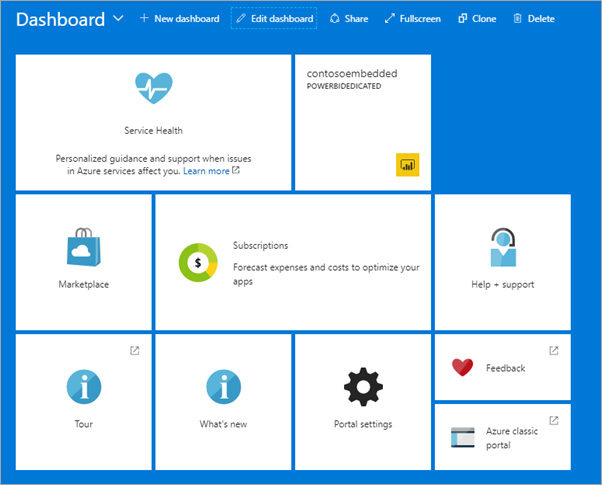
Creation usually takes under a minute; often just a few seconds. If you select Pin to dashboard, you can navigate to your dashboard to see your new capacity. Alternatively, you can navigate to All services > Power BI Embedded to see if your capacity is ready.

Next steps
To use your new Power BI Embedded capacity, browse to the Power BI admin portal to assign workspaces. For more information, see Manage capacities within Power BI Premium and Power BI Embedded.
Note
Premium capacities are not fully available yet in Power BI China.
If you don't need to use this capacity, you can pause it to stop billing. For more information, see Pause and start your Power BI Embedded capacity in the Azure portal.
To begin embedding Power BI content within your application, see How to embed your Power BI dashboards, reports and tiles.
More questions? Try asking the Power BI Community