Note
Access to this page requires authorization. You can try signing in or changing directories.
Access to this page requires authorization. You can try changing directories.
Applies to: ✔️ Linux VMs
The Azure PowerShell module is used to create and manage Azure resources from the PowerShell command line or in scripts. This quickstart shows you how to use the Azure PowerShell module to deploy a Linux virtual machine (VM) in Azure. This quickstart uses the latest Debian marketplace image. To see your VM in action, you'll also SSH to the VM and install the NGINX web server.
If you don't have an Azure subscription, create a Trial before you begin.
Launch Azure local Shell
If you want to install and use the PowerShell locally, Run Get-Module -ListAvailable Az.* to find the version. If you are running PowerShell locally, you also need to run Connect-AzAccount -Environment AzureChinaCloud to create a connection with Azure.
Create a resource group
Create an Azure resource group with New-AzResourceGroup. A resource group is a logical container into which Azure resources are deployed and managed:
New-AzResourceGroup -Name 'myResourceGroup' -Location 'ChinaNorth2'
Create a virtual machine
We will be automatically generating an SSH key pair to use for connecting to the VM. The public key that is created using -GenerateSshKey will be stored in Azure as a resource, using the name you provide as SshKeyName. The SSH key resource can be reused for creating additional VMs. Both the public and private keys will also be downloaded for you.
You will be prompted for a user name that will be used when you connect to the VM. You will also be asked for a password, which you can leave blank. Password log in for the VM is disabled when using an SSH key.
In this example, you create a VM named myVM, in China North, using the Standard_B2s VM size.
New-AzVm `
    -ResourceGroupName 'myResourceGroup' `
    -Name 'myVM' `
    -Location 'China North 2' `
    -image Debian `
    -size Standard_B2s `
    -PublicIpAddressName myPubIP `
    -OpenPorts 80 `
    -GenerateSshKey `
    -SshKeyName mySSHKey
The output will give you the location of the local copy of the SSH key. For example:
Private key is saved to /home/user/.ssh/1234567891
Public key is saved to /home/user/.ssh/1234567891.pub
Cost information isn't presented during the virtual machine creation process for PowerShell like it is for the Azure portal. If you want to learn more about how cost works for virtual machines, see the Cost optimization Overview page.
It will take a few minutes for your VM to be deployed. When the deployment is finished, move on to the next section.
Install NGINX
To see your VM in action, install the NGINX web server.
Invoke-AzVMRunCommand `
   -ResourceGroupName 'myResourceGroup' `
   -Name 'myVM' `
   -CommandId 'RunShellScript' `
   -ScriptString 'sudo apt-get update && sudo apt-get install -y nginx'
The -ScriptString parameter requires version 4.27.0 or later of the Az.Compute module.
View the web server in action
Get the public IP address of your VM:
Get-AzPublicIpAddress -Name myPubIP -ResourceGroupName myResourceGroup | select "IpAddress"
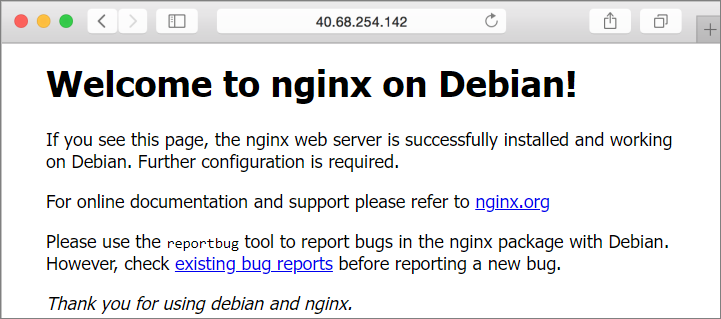
Use a web browser of your choice to view the default NGINX welcome page. Enter the public IP address of the VM as the web address.
Clean up resources
When no longer needed, you can use the Remove-AzResourceGroup cmdlet to remove the resource group, VM, and all related resources:
Remove-AzResourceGroup -Name 'myResourceGroup'
Next steps
In this quickstart, you deployed a simple virtual machine, created a Network Security Group and rule, and installed a basic web server. To learn more about Azure virtual machines, continue to the tutorial for Linux VMs.