Linux 上的 Azure 应用服务使用 Linux 操作系统,提供高度可缩放的自修补 Web 托管服务。
注意
Ruby 开发堆栈目前仅支持 Ruby on Rails。 如果想要使用不同的平台(如 Sinatra),或者想要使用不受支持的 Ruby 版本,则需要在自定义容器中运行它。

如果没有 Azure 订阅,可在开始前创建一个试用帐户。
如果在本地运行示例代码,则需要:
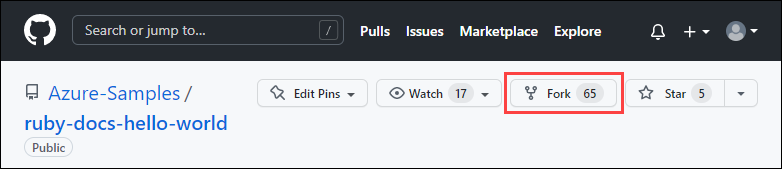
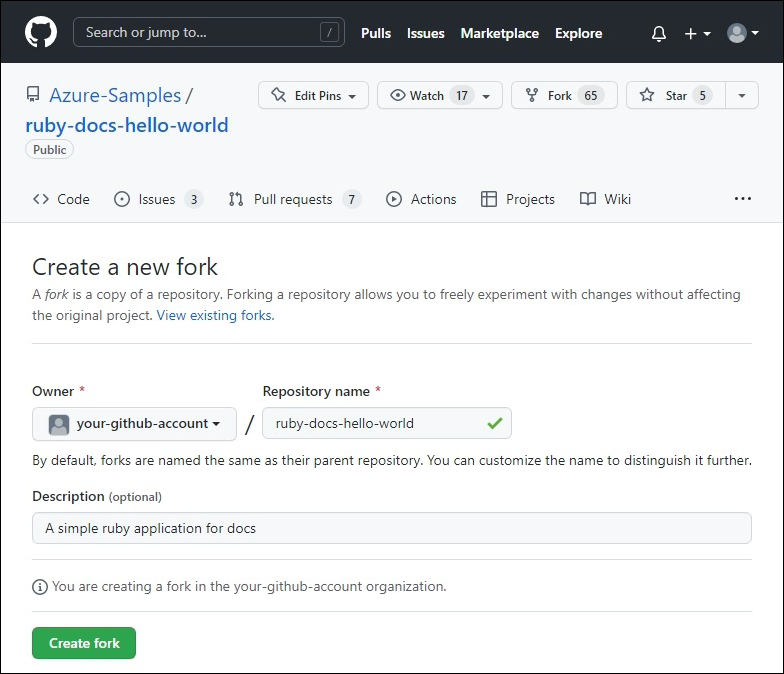
1 - 获取示例存储库
本快速入门教程介绍了如何使用 Azure CLI 将 Ruby on Rails 应用部署到 Linux 上的应用服务。
在终端窗口中,将示例应用程序克隆到本地计算机,并导航到包含示例代码的目录。
git clone https://github.com/Azure-Samples/ruby-docs-hello-world
cd ruby-docs-hello-world
确保默认分支为
main。git branch -m main提示
应用服务不需要更改分支名称。 但是,由于许多存储库将其默认分支更改为
main,因此本教程还介绍如何从main部署存储库。 有关详细信息,请参阅更改部署分支。
在本地运行应用程序
如果你想要在本地运行应用程序以查看其工作方式,请在本地克隆存储库并执行以下步骤。
安装所需的 gem。 示例中包含了
Gemfile,因此只需运行以下命令:bundle install安装 gem 后,启动应用:
bundle exec rails server使用 Web 浏览器导航到
http://localhost:3000以在本地测试该应用。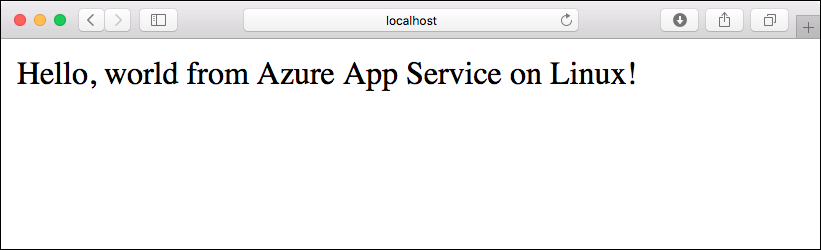
2 - 将应用程序代码部署到 Azure
配置部署用户
可以使用“deployment user”将 FTP 和本地 Git 部署到 Azure Web 应用。 配置部署用户之后,可对所有 Azure 部署使用此用户。 帐户级部署用户名和密码不同于 Azure 订阅凭据。
若要配置部署用户,请在 Azure CLI 中运行 az webapp deployment user set 命令。 将 <username> 和 <password> 替换为部署用户的用户名和密码。
- 用户名在 Azure 中必须唯一,并且为了本地Git推送,不能包含“@”符号。
- 密码必须至少为 8 个字符,且具有字母、数字和符号这三种元素中的两种。
az webapp deployment user set --user-name <username> --password <password>
JSON 输出会将该密码显示为 null。 如果收到 'Conflict'. Details: 409 错误,请更改用户名。 如果收到 'Bad Request'. Details: 400 错误,请使用更强的密码。
请记录你要用于部署 Web 应用的用户名和密码。
创建资源组
资源组是在其中部署和管理 Azure 资源(例如 Web 应用、数据库和存储帐户)的逻辑容器。 例如,可以选择在使用完之后通过一个简单的步骤删除整个资源组。
在 Azure CLI 中,使用 az group create 命令创建资源组。 以下示例在“中国东部 2”位置创建名为 myResourceGroup 的资源组。 若要查看“基本”层中 Linux 上的应用服务支持的所有位置,请运行 az appservice list-locations --sku B1 --linux-workers-enabled 命令。
az group create --name myResourceGroup --location "China North"
通常在附近的区域中创建资源组和资源。
此命令完成后,JSON 输出会显示资源组属性。
创建 Azure 应用服务计划
在 Azure CLI 中,使用 az appservice plan create 命令创建一个应用服务计划。
以下示例在免费定价层中创建名为 myAppServicePlan 的应用服务计划:
az appservice plan create --name myAppServicePlan --resource-group myResourceGroup --sku FREE --is-linux
创建应用服务计划后,Azure CLI 会显示类似于以下示例的信息:
{
  "freeOfferExpirationTime": null,
  "geoRegion": "China North",
  "hostingEnvironmentProfile": null,
  "id": "/subscriptions/0000-0000/resourceGroups/myResourceGroup/providers/Microsoft.Web/serverfarms/myAppServicePlan",
  "kind": "linux",
  "location": "China North",
  "maximumNumberOfWorkers": 1,
  "name": "myAppServicePlan",
  < JSON data removed for brevity. >
  "targetWorkerSizeId": 0,
  "type": "Microsoft.Web/serverfarms",
  "workerTierName": null
}
在
myAppServicePlan应用服务计划中创建一个 Web 应用。在本地 Shell 中,可以使用
az webapp create命令。 在以下示例中,将<app-name>替换为全局唯一的应用名称(有效字符是a-z、0-9和-)。 运行时设置为RUBY|2.7。 若要查看所有受支持的运行时,请运行az webapp list-runtimes --os linux。az webapp create --resource-group myResourceGroup --plan myAppServicePlan --name <app-name> --runtime 'RUBY|2.7' --deployment-local-git创建 Web 应用后,Azure CLI 会显示类似于以下示例的输出:
 Local git is configured with url of 'https://<username>@<app-name>.scm.chinacloudsites.cn/<app-name>.git'
 {
   "availabilityState": "Normal",
   "clientAffinityEnabled": true,
   "clientCertEnabled": false,
   "cloningInfo": null,
   "containerSize": 0,
   "dailyMemoryTimeQuota": 0,
   "defaultHostName": "<app-name>.chinacloudsites.cn",
   "deploymentLocalGitUrl": "https://<username>@<app-name>.scm.chinacloudsites.cn/<app-name>.git",
   "enabled": true,
   < JSON data removed for brevity. >
 }
现在你已经创建了一个新的空 Web 应用并启用了 Git 部署。
注意
Git 远程的 URL 将显示在
deploymentLocalGitUrl属性中,其格式为https://<username>@<app-name>.scm.chinacloudsites.cn/<app-name>.git。 保存此 URL,后续将会用到。由于要部署
main分支,因此需要将应用服务应用的默认部署分支设置为main(请参阅main)。 在 Azure CLI 中,使用az webapp config appsettings set命令设置DEPLOYMENT_BRANCH应用设置。az webapp config appsettings set --name <app-name> --resource-group myResourceGroup --settings DEPLOYMENT_BRANCH='main'回到本地终端窗口,将 Azure 远程功能添加到本地 Git 存储库。 将 <deploymentLocalGitUrl-from-create-step> 替换为创建应用时使用的
deploymentLocalGitUrl值。git remote add azure <deploymentLocalGitUrl-from-create-step>使用以下命令推送到 Azure 远程库以部署应用。 当 Git 凭据管理器提示输入凭据时,请确保输入在配置部署用户中创建的凭据,而不是用于登录到 Azure 门户的凭据。
git push azure main此命令可能需要花费几分钟时间运行。 运行时,该命令会显示类似于以下示例的信息:
remote: Using turbolinks 5.2.0
remote: Using uglifier 4.1.20
remote: Using web-console 3.7.0
remote: Bundle complete! 18 Gemfile dependencies, 78 gems now installed.
remote: Bundled gems are installed into `/tmp/bundle`
remote: Zipping up bundle contents
remote: .......
remote: ~/site/repository
remote: Finished successfully.
remote: Running post deployment command(s)...
remote: Deployment successful.
remote: App container will begin restart within 10 seconds.
To https://<app-name>.scm.chinacloudsites.cn/<app-name>.git
   a6e73a2..ae34be9  main -> main
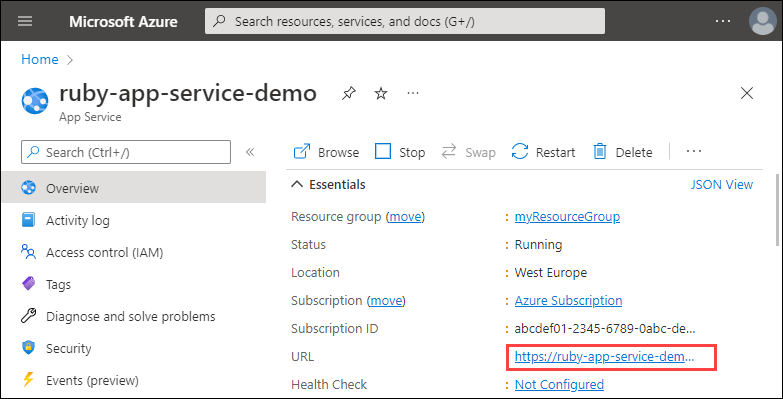
部署完成后,请等待大约 10 秒,然后重启 Web 应用,再导航到 Web 应用并验证结果。
http://<app-name>.chinacloudsites.cn
注意
应用重启时,可能会在浏览器中看到 HTTP 状态代码 Error 503 Server unavailable 或在默认页面中看到 Hey, Ruby developers!。 可能需要花费几分钟时间才能完全重启应用。

Ruby 示例代码在 Azure 应用服务 Linux Web 应用中运行。
祝贺你! 现已使用 Azure 门户将第一个 Ruby 应用部署到应用服务。
3 - 更新并重新部署应用
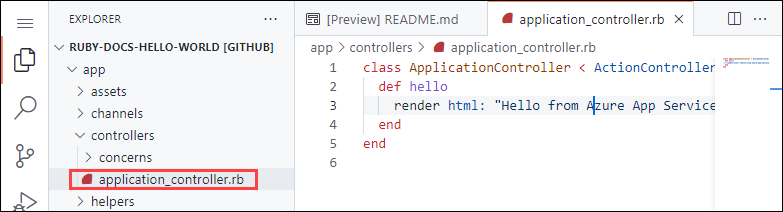
在 Azure CLI 中启动文本编辑器,编辑文件
app/controllers/application_controller.rb。 编辑 ApplicationController 类,使其显示“Hello world from Azure App Service on Linux!” 而不是“Hello from Azure App Service on Linux!”。class ApplicationController < ActionController::Base def hello render html: "Hello world from Azure App Service on Linux!" end end保存并关闭该文件。
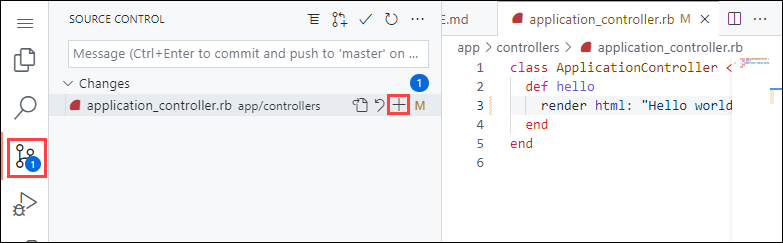
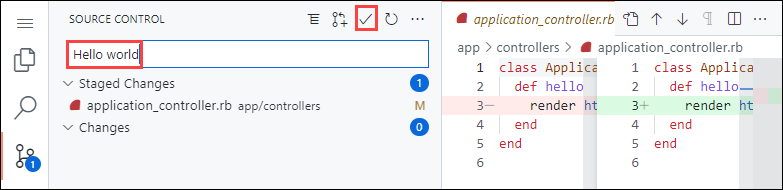
使用以下命令将更改提交到 Git:
git add .
git commit -m "Hello world"
git push azure main
注意
- 确保
git push语句包含azure main,以便直接推送到 Azure Git 部署 URL。 - 提交更改时,可能还需要设置
user.name和user.emailGit 配置值。 可以使用git config user.name "YOUR NAME"和git config user.email "YOUR EMAIL"执行该操作。

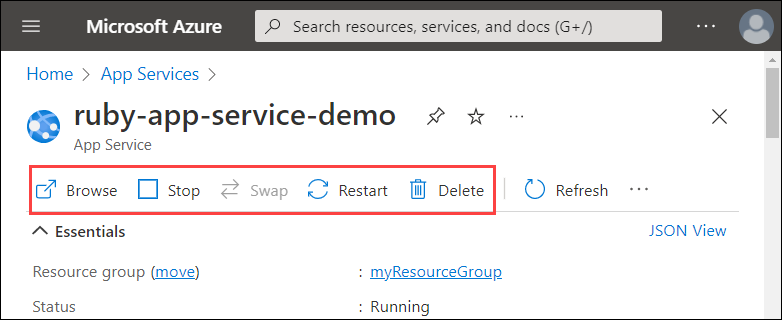
4 - 管理新的 Azure 应用
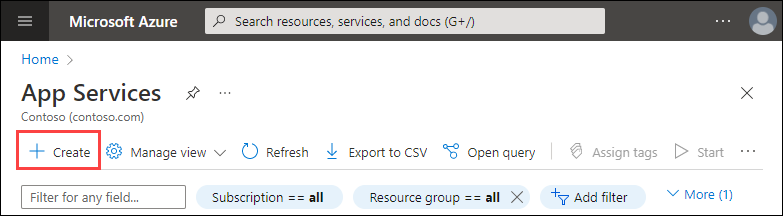
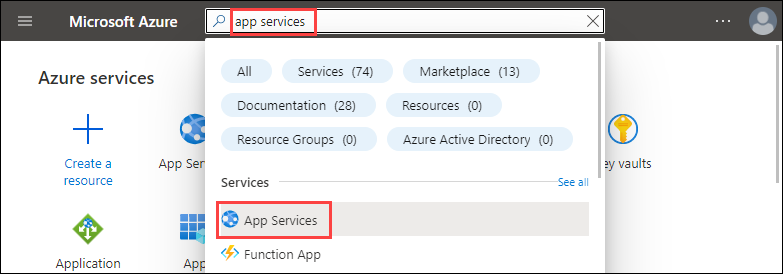
转到 Azure 门户管理创建的 Web 应用。 搜索并选择“应用服务”。
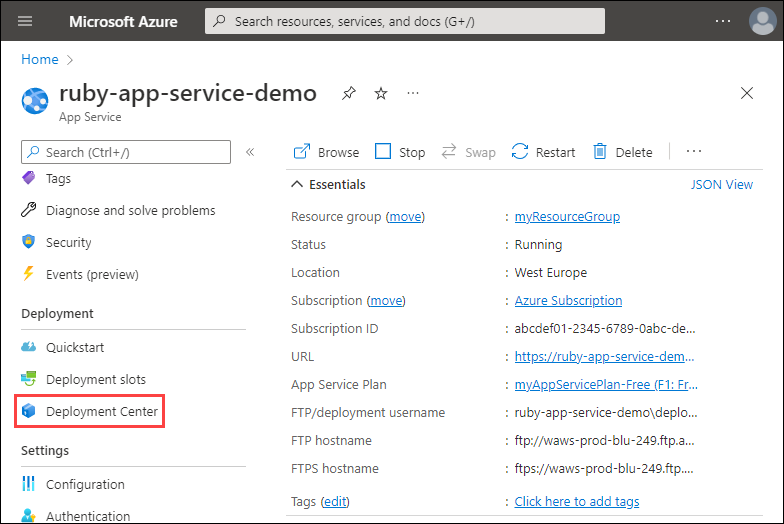
选择 Azure 应用的名称。
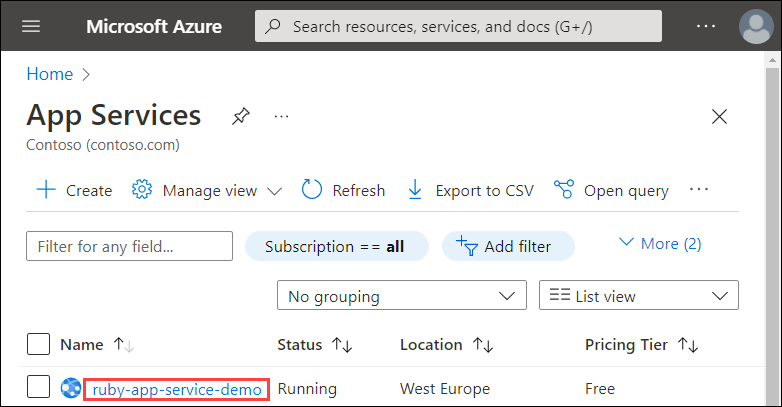
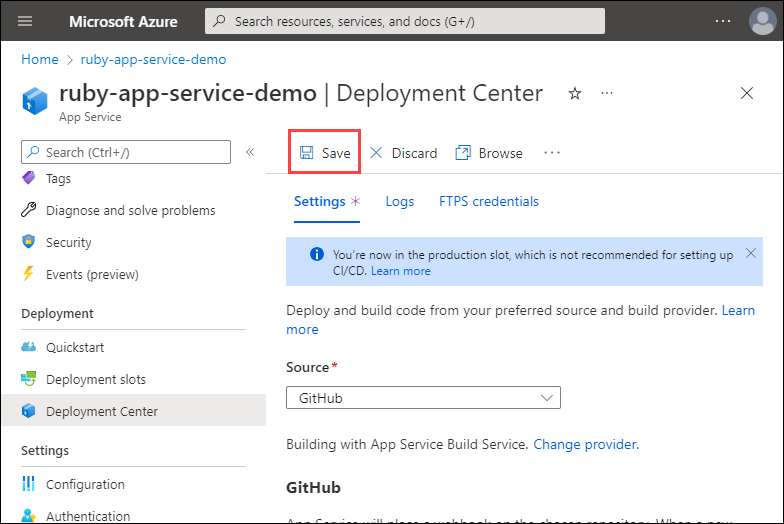
此时会显示 Web 应用的“概览”页。 可在此处执行基本的管理任务,例如浏览、停止、重启和删除。