本文介绍如何使用具有 Go 语言的 Azure Redis 缓存,并使用 Microsoft Entra ID 进行连接。
先决条件
- Azure 订阅 - 创建免费帐户
- 安装 Go 语言环境
- 将从 Redis 加载的两个导入添加到项目和开发环境中
entraid "github.com/redis/go-redis-entraid""github.com/redis/go-redis/v9"
创建 Azure 托管 Redis 实例
首先,创建缓存。 可以通过 Azure 门户使用 Azure 托管 Redis 或 Azure Redis 缓存创建缓存。 在本快速入门中,我们使用 Azure 托管 Redis。
创建缓存时,默认情况下会启用 Microsoft Entra ID,使其从头开始安全。 你的缓存在此 QuickStart 中还必须使用公共终结点。
若要使用门户创建缓存,请遵循以下过程之一:
(可选)可以使用 Azure CLI、PowerShell(无论你喜欢哪种方式)创建缓存。
用于连接到 Redis 缓存的代码
在代码示例的第一部分,将连接设置为缓存:
package main

import (
  "context"
  "crypto/tls"
  "fmt"
  "log"
  "time"

  entraid "github.com/redis/go-redis-entraid"
  "github.com/redis/go-redis/v9"
)

func main() {
  ctx := context.Background()

  // Set your Redis endpoint (hostname:port) from the cache you created.
  redisHost := "<host >:<public port number>"

  // Create a credentials provider using DefaultAzureCredential
  provider, err := entraid.NewDefaultAzureCredentialsProvider(entraid.DefaultAzureCredentialsProviderOptions{})

  if err != nil {
    log.Fatalf("Failed to create credentials provider: %v", err)
  }

  // Create Redis client with Entra ID authentication
  client := redis.NewClient(&redis.Options{
    Addr:                         redisHost,
    TLSConfig:                    &tls.Config{MinVersion: tls.VersionTLS12},
    WriteTimeout:                 5 * time.Second,
    StreamingCredentialsProvider: provider,
  })
  defer client.Close()
测试连接的代码
在下一部分中,使用返回ping字符串的 Redis 命令pong测试连接。
        // Ping the Redis server to test the connection
        pong, err := client.Ping(ctx).Result()
        if err != nil {
                log.Fatal("Failed to connect to Redis:", err)
        }
        fmt.Println("Ping returned: ", pong)
代码设置密钥,获取密钥
在本部分中,使用基本 set 和 get 序列以最简单的方式开始使用 Redis 缓存。
        // Do something with Redis and a key-value pair
        result, err := client.Set(ctx, "Message", "Hello, The cache is working with Go!", 0).Result()
        if err != nil {
                log.Fatal("SET Message failed:", err)
        }
        fmt.Println("SET Message succeeded:", result)

        value, err := client.Get(ctx, "Message").Result()
        if err != nil {
                if err == redis.Nil {
                        fmt.Println("GET Message returned: key does not exist")
                } else {
                        log.Fatal("GET Message failed:", err)
                }
        } else {
                fmt.Println("GET Message returned:", value)
        }

}
必须先将自己添加为 Redis 用户,然后才能运行此代码。
您还必须通过命令行使用 Azure 命令行工具或 Azure 开发人员命令行工具(azd)授权连接到 Azure。
还应 将用户或系统主体添加到缓存。 添加任何可能在 Redis 缓存中以用户身份运行程序的人。
结果如下所示:
Ping returned:  PONG
SET Message succeeded: OK
GET Message returned: Hello, The cache is working with Go!
在这里,你可以完整地查看此代码示例。
package main

import (
        "context"
        "crypto/tls"
        "fmt"
        "log"
        "time"

        entraid "github.com/redis/go-redis-entraid"
        "github.com/redis/go-redis/v9"
)

func main() {
        ctx := context.Background()

        // Set your Redis host (hostname:port)
        redisHost := "<host >:<public port number>"

        // Create a credentials provider using DefaultAzureCredential
        provider, err := entraid.NewDefaultAzureCredentialsProvider(entraid.DefaultAzureCredentialsProviderOptions{})

        if err != nil {
                log.Fatalf("Failed to create credentials provider: %v", err)
        }

        // Create Redis client with Entra ID authentication
        client := redis.NewClient(&redis.Options{
                Addr:                         redisHost,
                TLSConfig:                    &tls.Config{MinVersion: tls.VersionTLS12},
                WriteTimeout:                 5 * time.Second,
                StreamingCredentialsProvider: provider,
        })
        defer client.Close()

        // Ping the Redis server to test the connection
        pong, err := client.Ping(ctx).Result()
        if err != nil {
                log.Fatal("Failed to connect to Redis:", err)
        }
        fmt.Println("Ping returned: ", pong)

        // Do something with Redis and a key-value pair
        result, err := client.Set(ctx, "Message", "Hello, The cache is working with Go!", 0).Result()
        if err != nil {
                log.Fatal("SET Message failed:", err)
        }
        fmt.Println("SET Message succeeded:", result)

        value, err := client.Get(ctx, "Message").Result()
        if err != nil {
                if err == redis.Nil {
                        fmt.Println("GET Message returned: key does not exist")
                } else {
                        log.Fatal("GET Message failed:", err)
                }
        } else {
                fmt.Println("GET Message returned:", value)
        }

}
清理资源
要继续使用在本文中创建的资源,请保留资源组。
否则,如果您已不再需要使用这些资源,可以删除您创建的 Azure 资源组以避免产生费用。
重要
删除资源组的操作不可逆。 删除资源组时,包含在其中的所有资源会被永久删除。 请确保不会意外删除错误的资源组或资源。 如果在现有资源组(其中包含要保留的资源)内创建了此资源,可以逐个删除这些资源,而不是删除资源组。
删除资源组的步骤
登录到 Azure 门户,然后选择“资源组”。
选择要删除的资源组。
如果有多个资源组,请使用“筛选任何字段...”框,键入为本文创建的资源组的名称。 在结果列表中选择资源组。
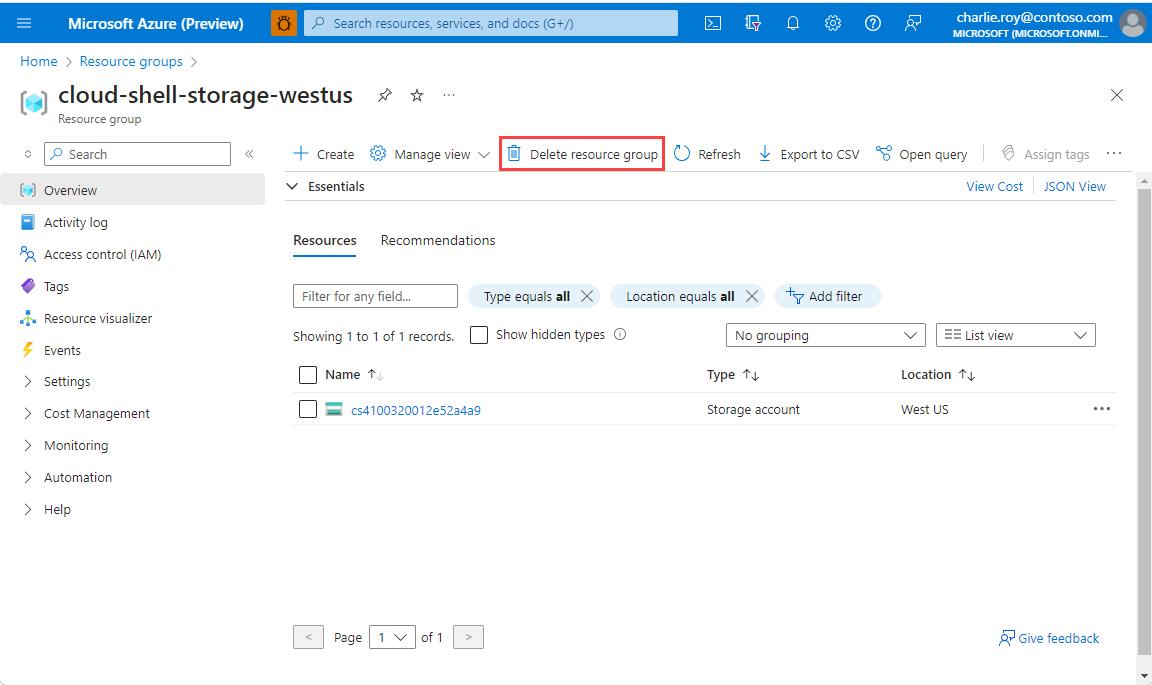
选择“删除资源组”。
系统会要求确认是否删除资源组。 键入资源组的名称进行确认,然后选择“删除”。

片刻之后,将会删除该资源组及其所有资源。