本快速入门演示如何在基于 Web 的 Azure 门户中创建表和实体。 本快速入门还演示如何创建 Azure 存储帐户。
如果没有 Azure 试用版订阅,请在开始前创建一个试用版订阅。
先决条件
若要完成此快速入门,请首先在 Azure 门户中创建 Azure 存储帐户。 有关如何创建帐户的帮助,请参阅创建存储帐户。
添加表
若要在 Azure 门户中创建表,请执行以下操作:
导航到 Azure 门户中的存储帐户。
在左侧导航面板中选择“存储浏览器”。
在存储浏览器树中,选择“表”。
选择“添加表”按钮以添加新表。
在“添加表”对话框中,提供新表的名称。
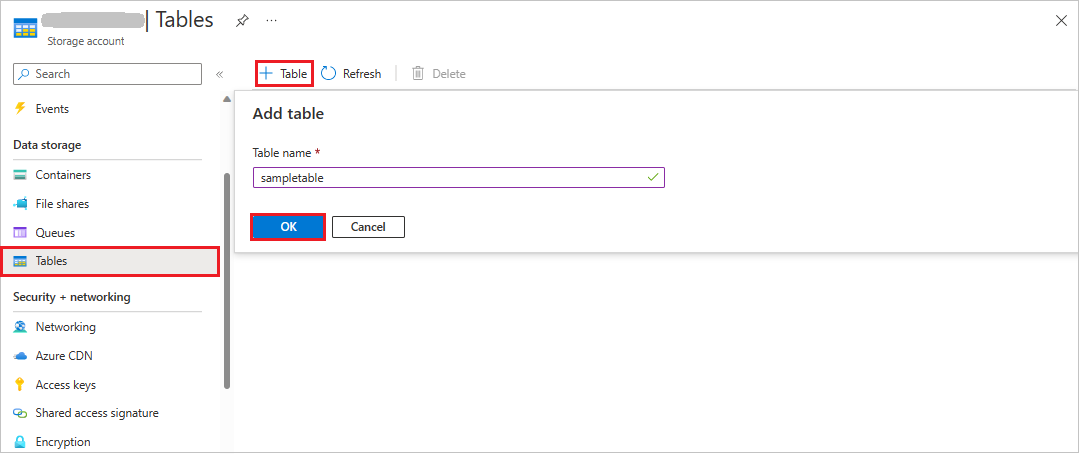
选择“确定”以创建新表。
向表添加实体
若要从 Azure 门户向表添加实体,请执行以下操作:
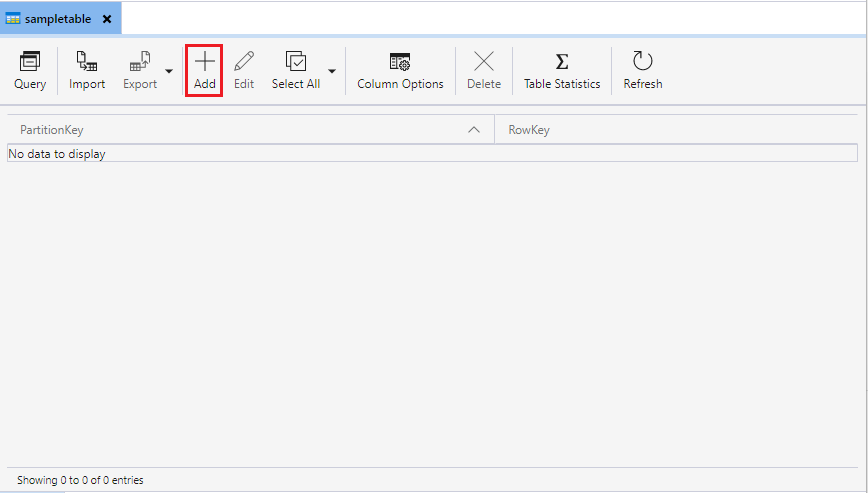
在 Azure 门户的存储浏览器中,选择之前创建的表。
选择“添加实体”按钮以添加新实体。
在“添加实体”对话框中,提供分区键和行键,然后为要写入实体的数据添加任何其他属性。
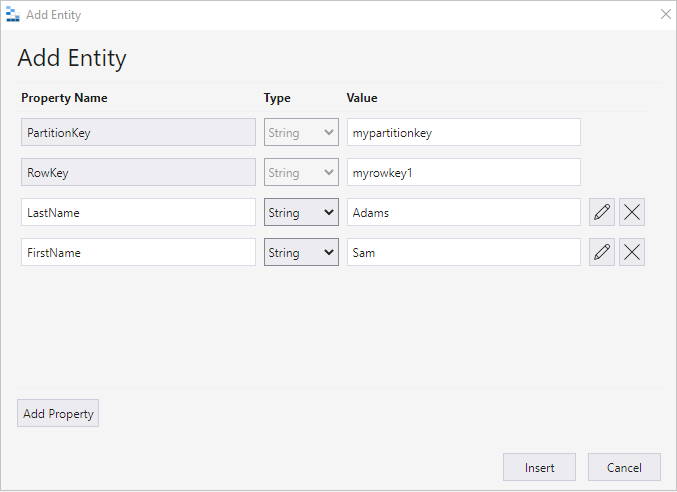
若要详细了解如何使用实体和属性,请参阅了解表服务数据模型。