可以通过 Azure 门户创建虚拟机还原点。 可通过定期创建虚拟机还原点来保护数据并防止故障时间延长。 本文介绍了如何使用 Azure 门户创建 VM 还原点。 或者,可以使用 Azure CLI 或 PowerShell 创建 VM 还原点。
在本教程中,你将了解如何执行以下操作:
先决条件
步骤 1:创建 VM 还原点集合
使用以下步骤创建 VM 还原点集合:
登录 Azure 门户。
在“搜索”框中,输入“还原点集合”。

选择“+ 创建”以创建新的还原点集合。

输入详细信息,然后选择要为其创建还原点集合的 VM。
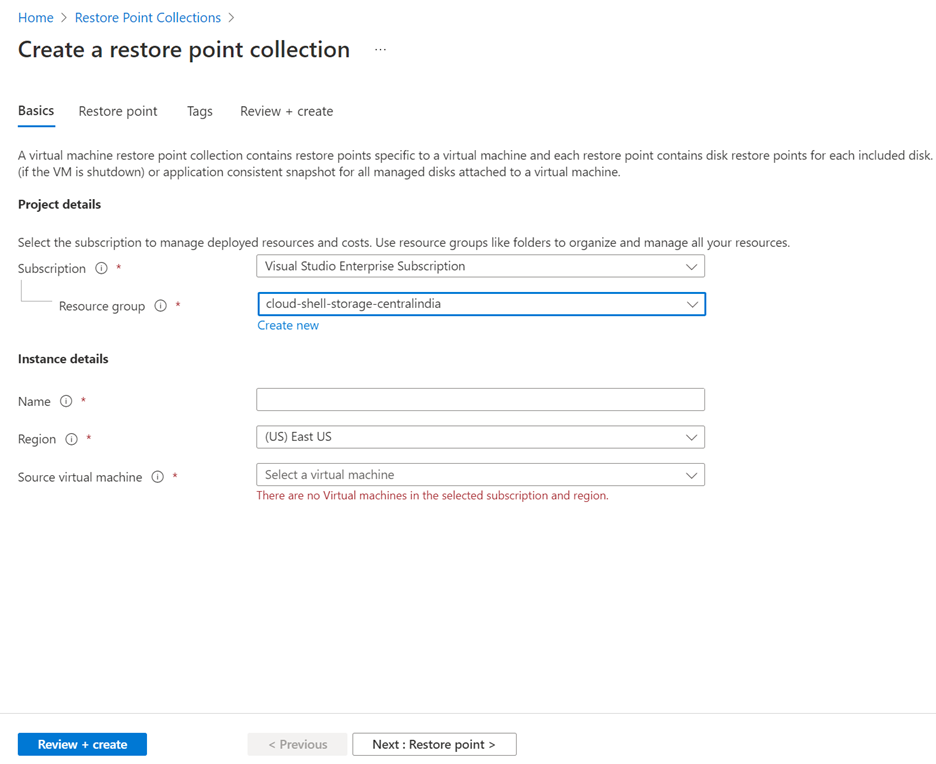
选择“下一步: 还原点”创建第一个还原点,或选择“查看 + 创建”以创建一个空的还原点集合。
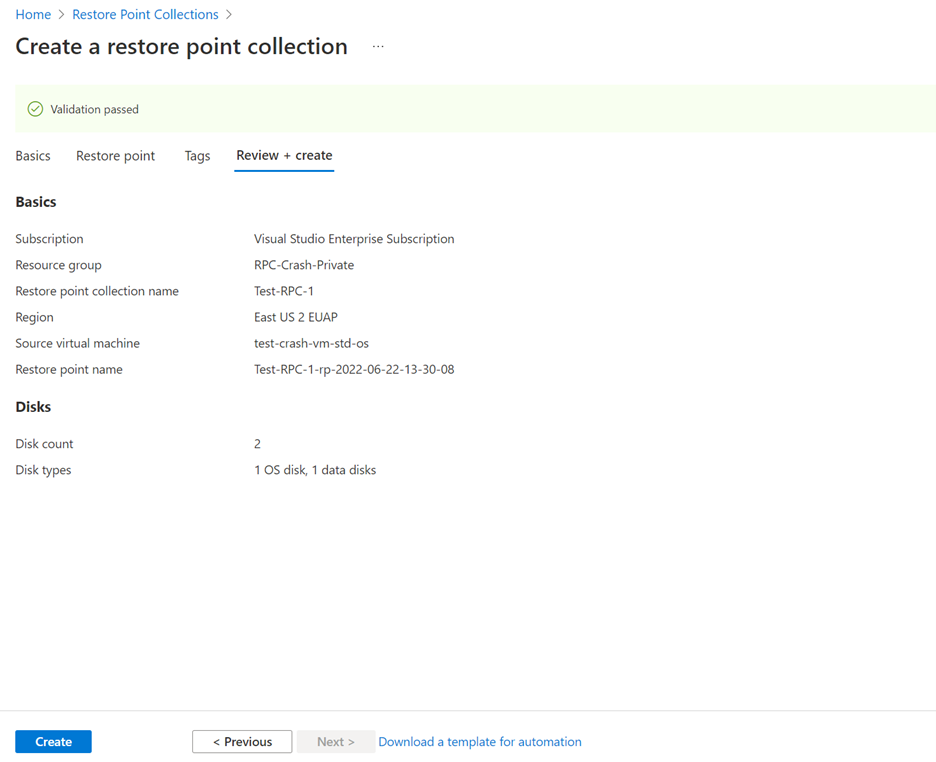
步骤 2:创建 VM 还原点
使用以下步骤创建 VM 还原点:
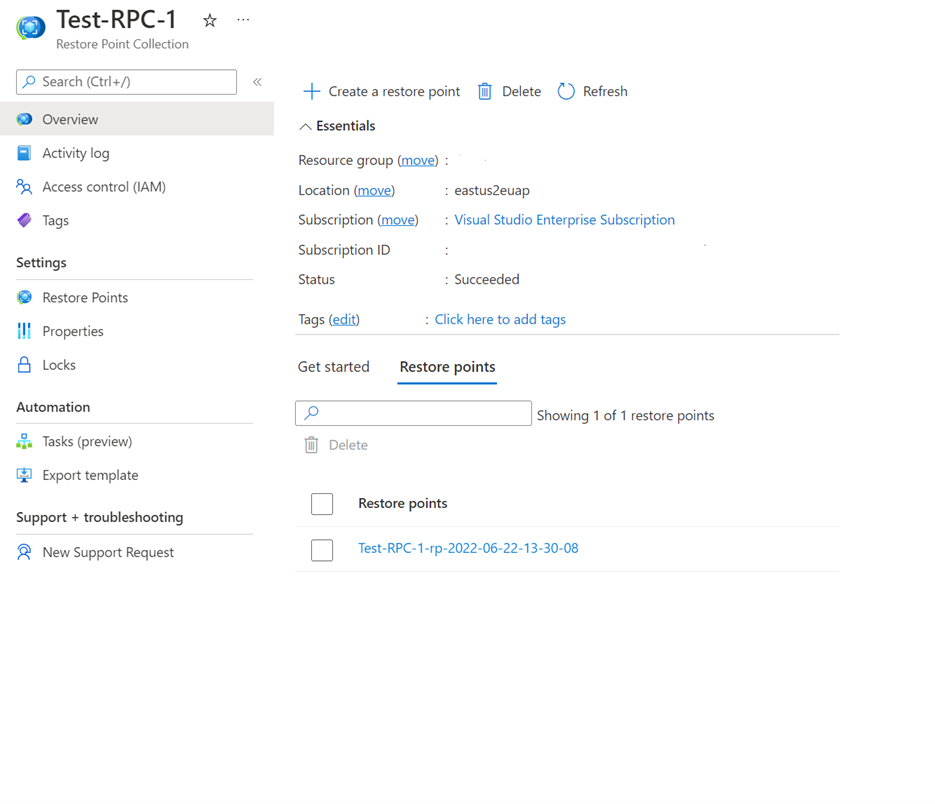
导航到要在其中创建还原点的还原点集合,然后选择“+ 创建还原点”为 VM 创建新的还原点。
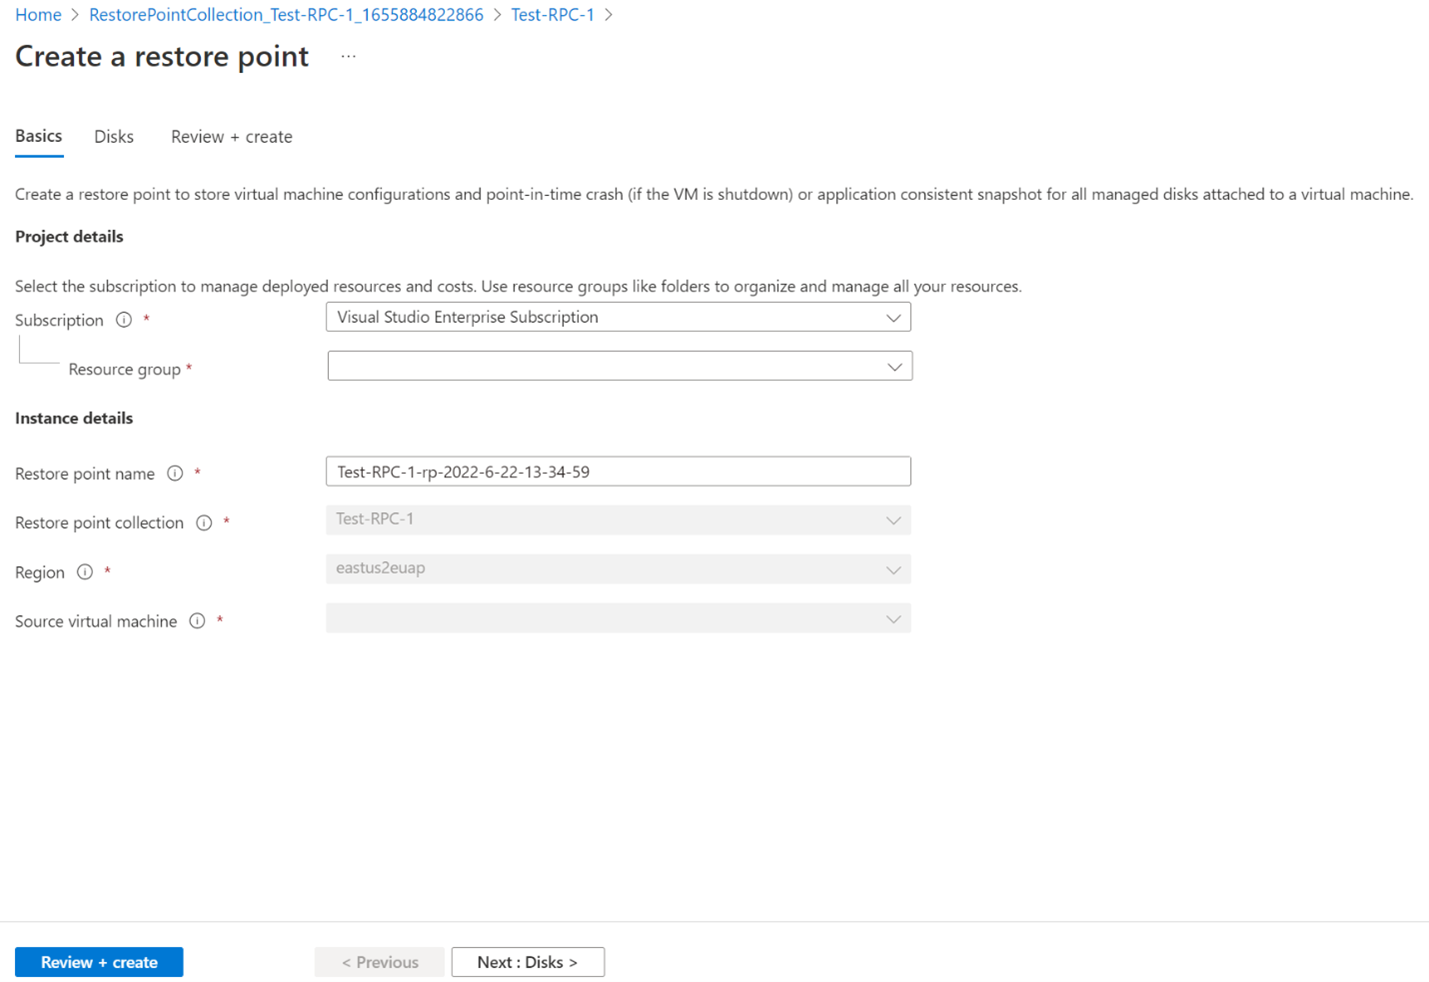
输入还原点的名称和其他所需详细信息,然后选择“下一步: 磁盘”>。
选择要包含在还原点中的磁盘。
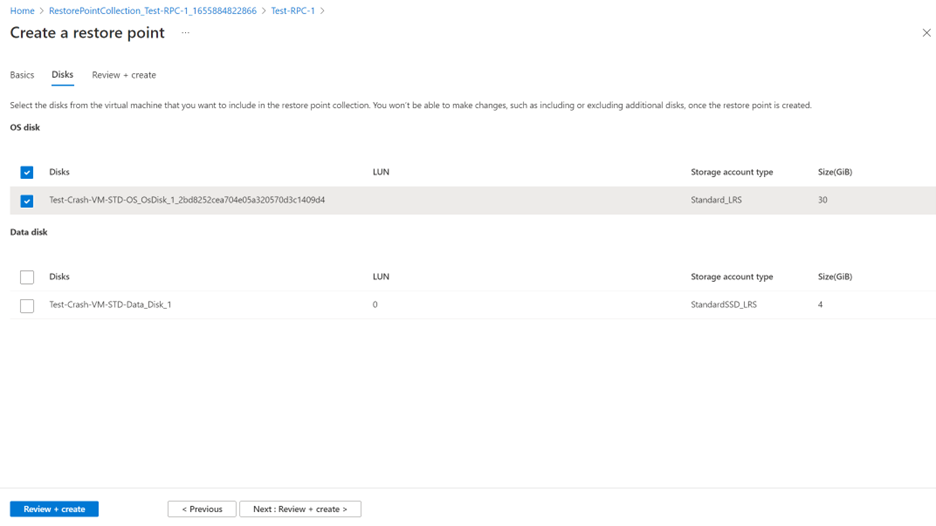
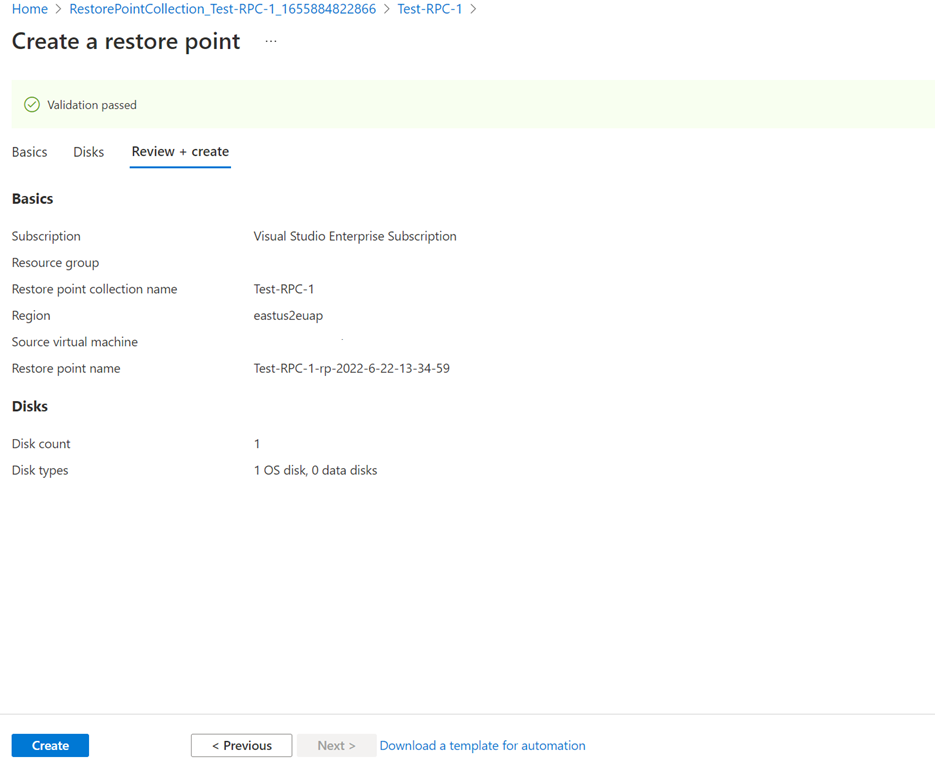
选择“查看 + 创建”以验证设置。 验证完成后,选择“创建”以创建还原点。
步骤 3:跟踪 VM 还原点创建的状态
选择通知以跟踪还原点创建进度。

从还原点还原 VM
若要从 VM 还原点还原 VM,请先从每个磁盘还原点还原单个磁盘。 还可以使用 ARM 模板还原 VM 以及所有磁盘。
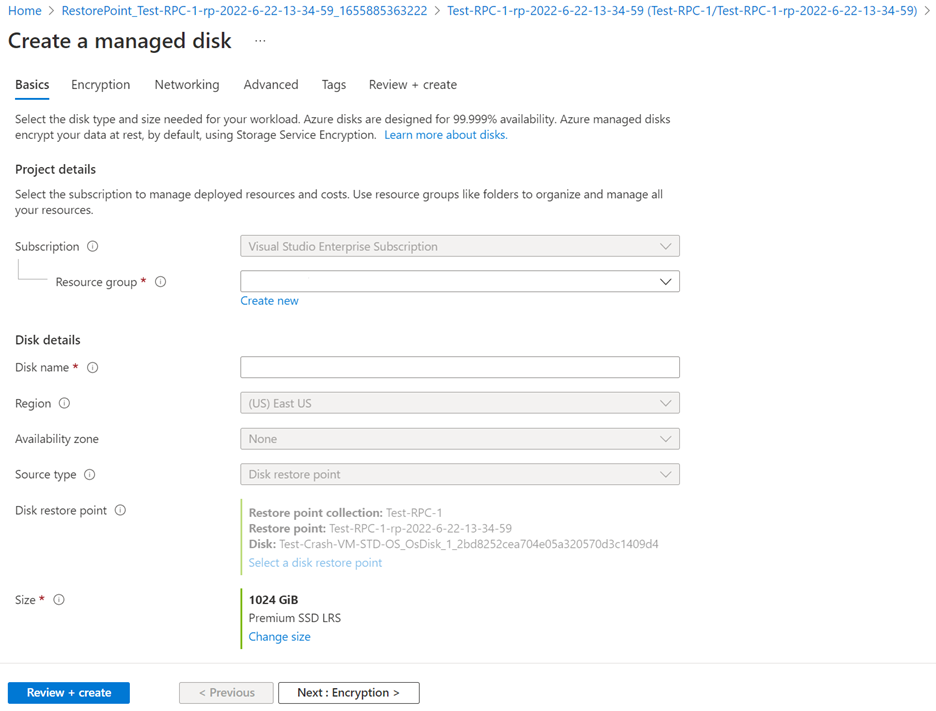
选择“从还原点创建磁盘”以从磁盘还原点还原磁盘。 对要还原的所有磁盘执行此操作。

在“创建托管磁盘”对话框中输入详细信息以从还原点创建磁盘。 创建磁盘后,创建一个新 VM,然后将这些还原的磁盘附加到新创建的 VM。
后续步骤
详细了解 Azure 中虚拟机的备份和还原选项。