Note
Access to this page requires authorization. You can try signing in or changing directories.
Access to this page requires authorization. You can try changing directories.
This tutorial describes how to back up on-premises Windows Server to Azure using the Microsoft Azure Recovery Services (MARS) agent.
Azure Backup protects Windows Server from corruption, cyberattacks, and disasters. This solution uses the lightweight Microsoft Azure Recovery Services (MARS) agent, which is installed on the server to protect files, folders, and system configuration data through Windows Server System State backups.
Sign in to Azure
Sign in to the Azure portal.
Create a Recovery Services vault
A Recovery Services vault is a management entity that stores recovery points that are created over time. It provides an interface to perform backup-related operations. These operations include taking on-demand backups, performing restores, and creating backup policies.
To create a Recovery Services vault:
Sign in to the Azure portal.
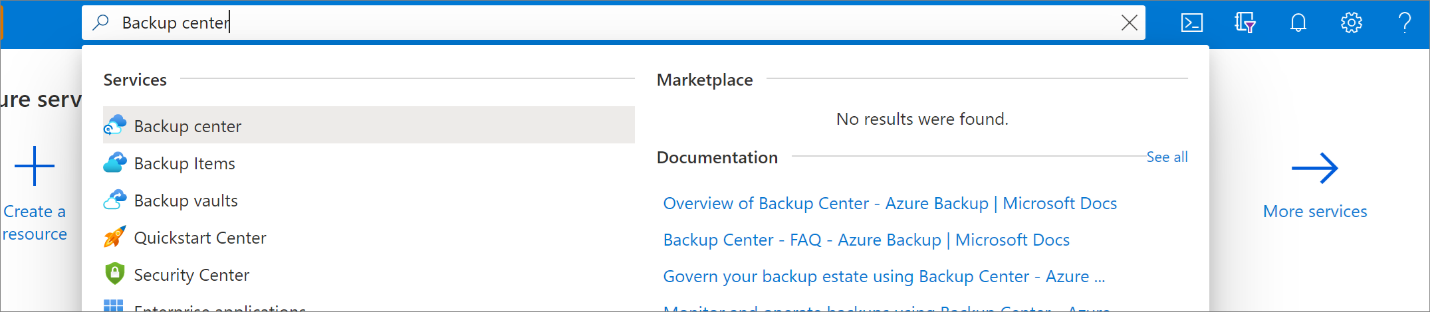
Search for Backup center, and then go to the Backup center dashboard.
On the Overview pane, select + Vault.

Select Recovery Services vault > Continue.
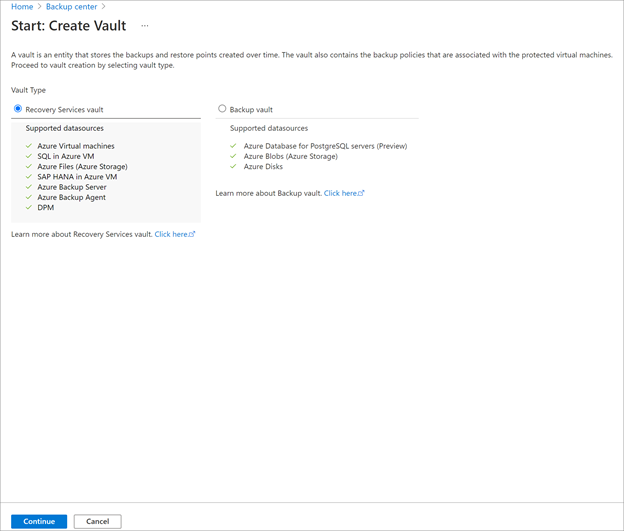
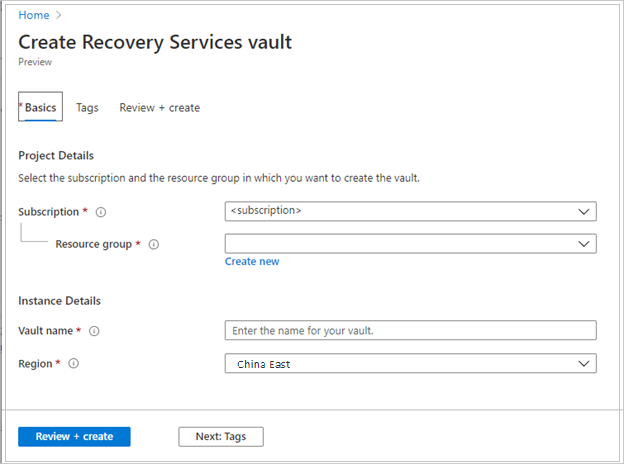
On the Recovery Services vault pane, enter the following values:
Subscription: Select the subscription to use. If you're a member of only one subscription, you see that name. If you're not sure which subscription to use, use the default subscription. Multiple choices appear only if your work or school account is associated with more than one Azure subscription.
Resource group: Use an existing resource group or create a new one. To view a list of available resource groups in your subscription, select Use existing. Then select a resource in the dropdown list. To create a new resource group, select Create new, and then enter the name. For more information about resource groups, see Azure Resource Manager overview.
Vault name: Enter a friendly name to identify the vault. The name must be unique to the Azure subscription. Specify a name that has at least 2 but not more than 50 characters. The name must start with a letter and consist only of letters, numbers, and hyphens.
Region: Select the geographic region for the vault. For you to create a vault to help protect any data source, the vault must be in the same region as the data source.
Important
If you're not sure of the location of your data source, close the window. Go to the list of your resources in the portal. If you have data sources in multiple regions, create a Recovery Services vault for each region. Create the vault in the first location before you create a vault in another location. You don't need to specify storage accounts to store the backup data. The Recovery Services vault and Azure Backup handle that step automatically.
After you provide the values, select Review + create.
To finish creating the Recovery Services vault, select Create.
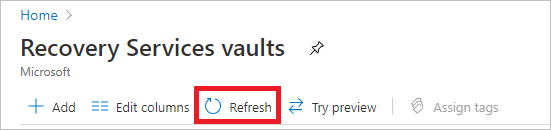
It can take a while to create the Recovery Services vault. Monitor the status notifications in the Notifications area at the upper right. After the vault is created, it appears in the list of Recovery Services vaults. If the vault doesn't appear, select Refresh.
Azure Backup now supports immutable vaults that help you ensure that after recovery points are created, they can't be deleted before their expiry according to the backup policy. You can make the immutability irreversible to help protect your backup data from various threats, including ransomware attacks and malicious actors. Learn more about Azure Backup immutable vaults.
Download Recovery Services agent
The Microsoft Azure Recovery Services (MARS) agent creates an association between Windows Server and your Recovery Services vault.
To download the agent to your server, follow these steps:
From the list of Recovery Services vaults, select myRecoveryServicesVault to open its dashboard.
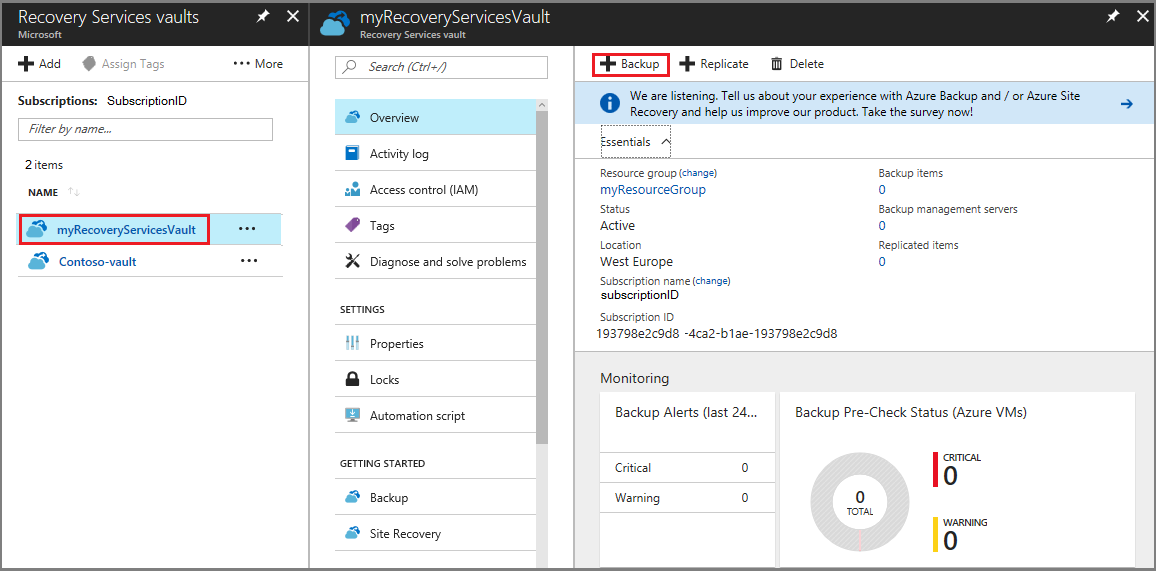
On the vault dashboard menu, select Backup.
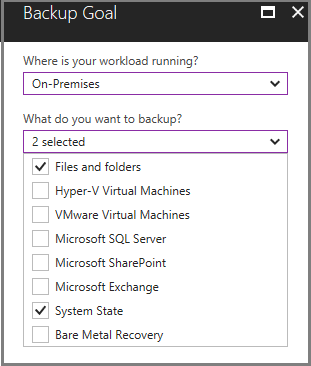
On the Backup Goal menu:
- For Where is your workload running?, select On-premises
- For What do you want to backup?, select Files and folders and System State
Select Prepare Infrastructure to open the Prepare infrastructure menu.
On the Prepare infrastructure menu, select Download Agent for Windows Server or Windows Client to download the MARSAgentInstaller.exe.
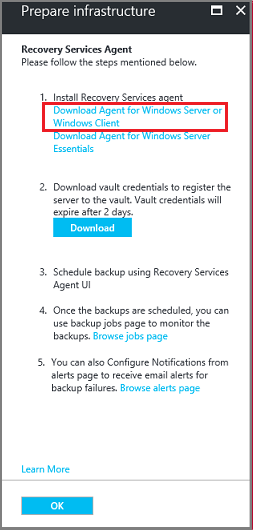
The installer opens a separate browser and downloads MARSAgentInstaller.exe.
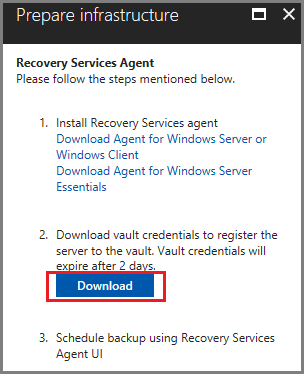
Before you run the downloaded file, on the Prepare infrastructure menu select Download and save the Vault Credentials file. Vault credentials are required to connect the MARS Agent with the Recovery Services vault.
Install and register the agent
To install and register the agent, follow these steps:
Locate and double-click the downloaded MARSagentinstaller.exe.
The Microsoft Azure Recovery Services Agent Setup Wizard appears.
On the wizard, enter the following details when prompted:
Location for the installation and cache folder.
Proxy server details, if you use a proxy server to connect to the internet.
Your user name and password details if you use an authenticated proxy.

Select Register.
At the end of the wizard, select Proceed to Registration and provide the Vault Credentials file you downloaded in the previous procedure.
When prompted, enter an encryption passphrase to encrypt backups from Windows Server. Save the passphrase in a secure location since Microsoft can't recover the passphrase if it's lost.
Select Finish.
Configure backup and retention for Windows Server
You use the Microsoft Azure Recovery Services agent to schedule when backups to Azure, occur on Windows Server.
To configure backup and retention on the server where you downloaded the agent, follow these steps:
Open the Microsoft Azure Recovery Services agent. You can find it by searching your machine for Microsoft Azure Backup.
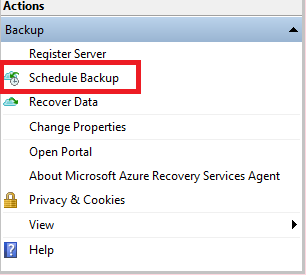
On the Recovery Services agent console, select Schedule Backup under the Actions Pane.
Select Next to go to the Select Items to Back up pane.
Select Add Items and from the dialog box that opens, select System State and files or folders that you want to back up. Then select OK.
Select Next.
On the Specify Backup Schedule (System State) pane, specify the time of the day, or week when backups need to be triggered for System State and select Next.
On the Select Retention Policy (System State) pane, select the Retention Policy for the backup copy for System State and select Next.
Similarly, select the backup schedule and retention policy for selected files and folders.
On the Choose Initial Back up Type pane, select Automatically over the network, and select Next.
On the Confirmation pane, review the information, and select Finish.
After the wizard finishes creating the backup schedule, select Close.
Run an on-demand backup of Windows Server
After you configure the backup schedule, jobs run automatically. However, the server isn't protected until a backup is actually performed. As a disaster recovery best practice, we recommend you to initiate an on-demand backup to ensure data resiliency.
To run an on-demand backup of Windows Server, follow these steps:
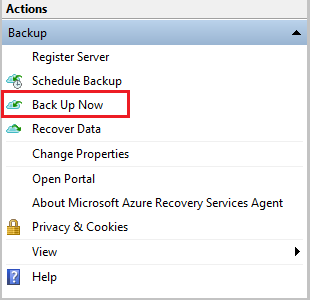
On the Microsoft Azure Recovery Services agent console, select Back Up Now.
On the Back Up Now wizard, select one from Files and Folders or System State that you want to back up and select Next
On the Confirmation pane, review the settings that the Back Up Now wizard uses to back up your server. Then select Back Up.
Select Close to close the wizard. If you close the wizard before the backup process finishes, the wizard continues to run in the background.
After the initial backup is complete, Job completed status appears on Jobs pane of the MARS agent console.
Next steps
In this tutorial, you used the Azure portal to:
- Create a Recovery Services vault
- Download the Microsoft Azure Recovery Services agent
- Install the agent
- Configure backup for Windows Server
- Perform an on-demand backup
Continue to the next tutorial to recover files from Azure to Windows Server