Note
Access to this page requires authorization. You can try signing in or changing directories.
Access to this page requires authorization. You can try changing directories.
In this quickstart, you create a new Azure Cosmos DB for NoSQL account in the Azure portal. You then use the Data Explorer experience within the Azure portal to create a database and container configuring all required settings. Finally, you add sample data to the container and issue a basic query.
Prerequisites
- An Azure account with an active subscription. Create an account.
Create an account
Start by creating a new Azure Cosmos DB for NoSQL account
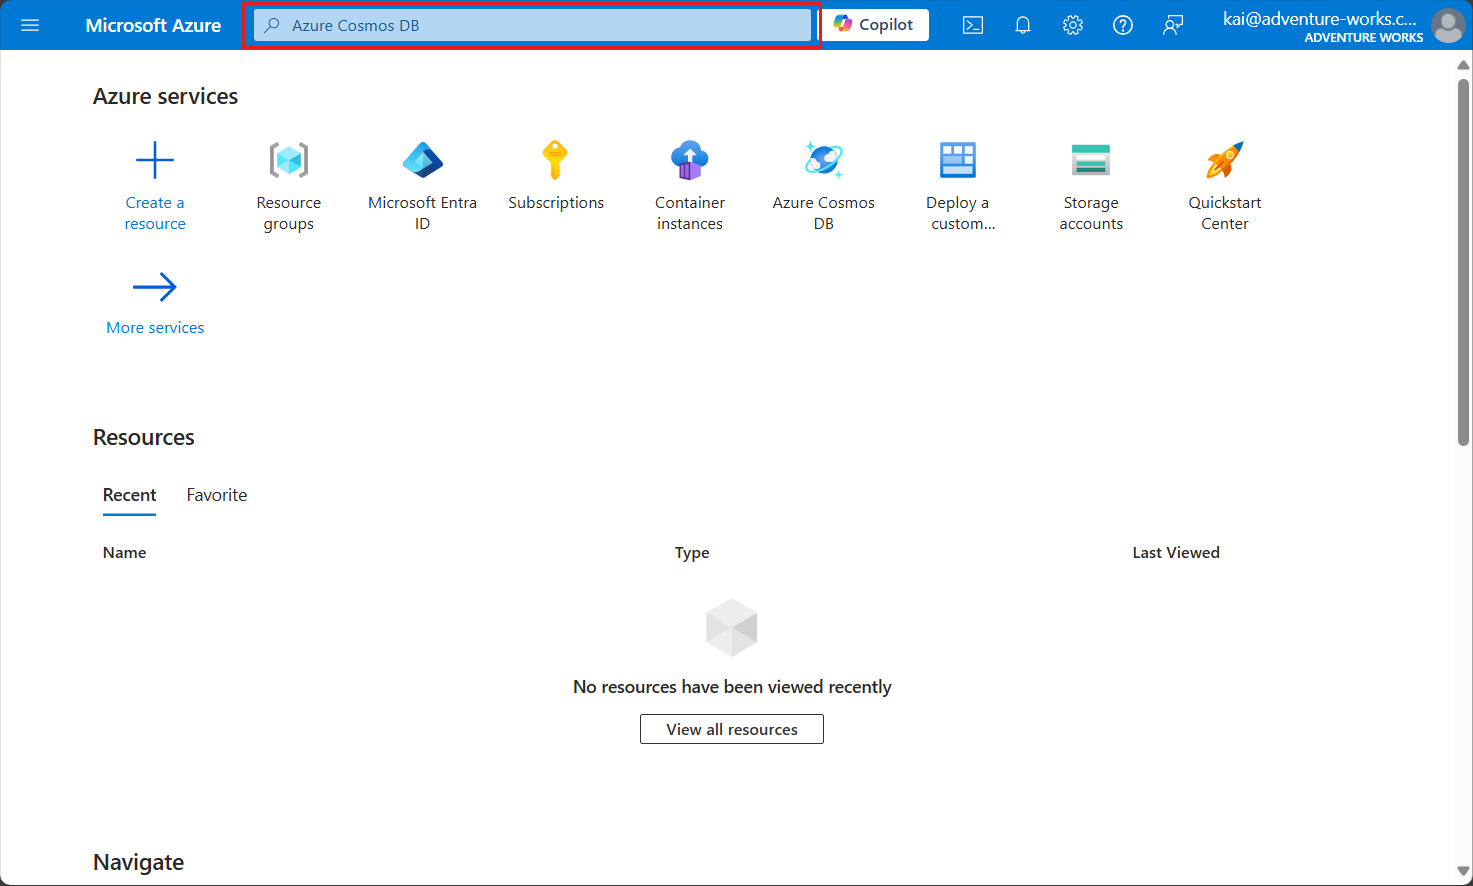
Sign in to the Azure portal (https://portal.azure.cn).
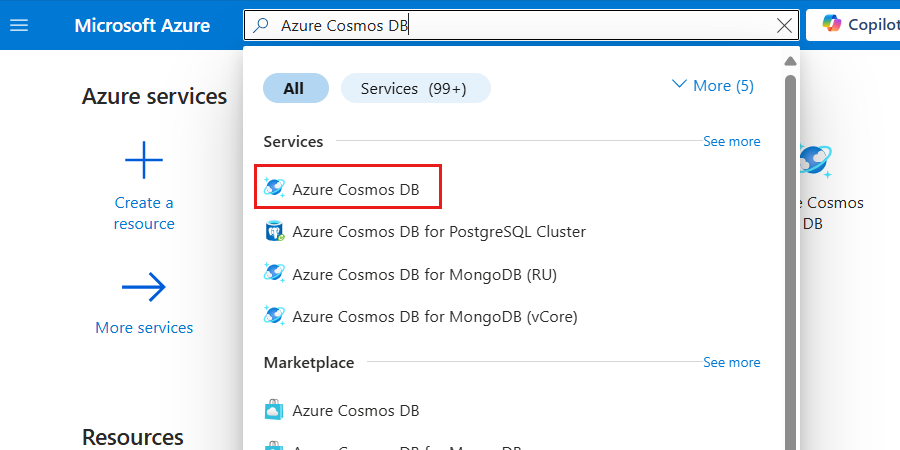
Enter Azure Cosmos DB in the global search bar.
Within Services, select Azure Cosmos DB.
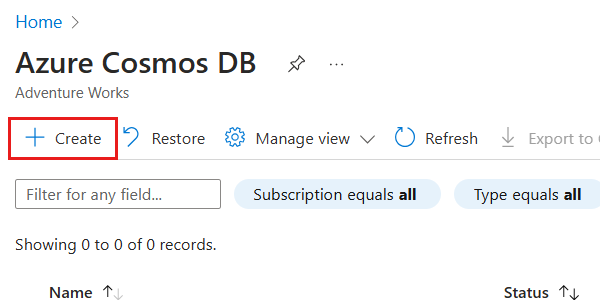
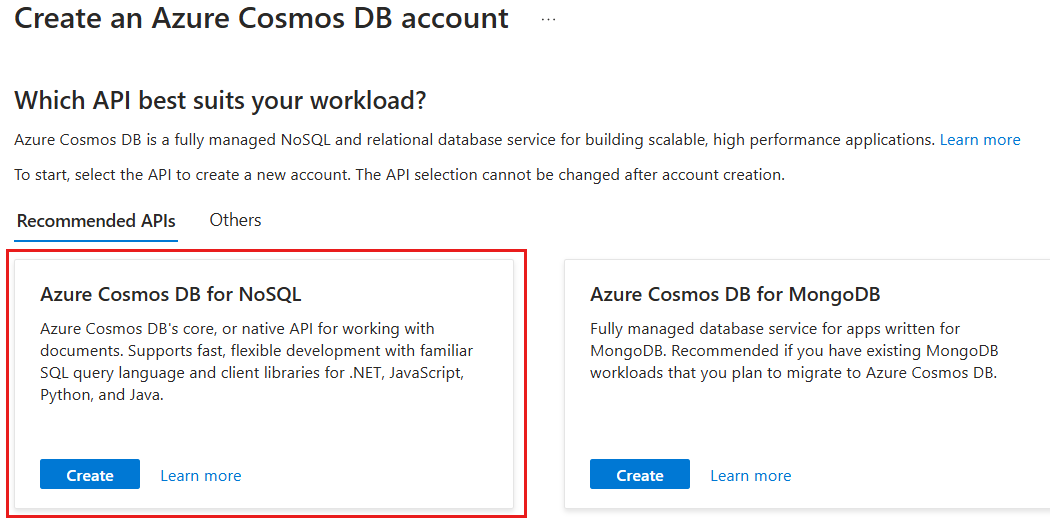
In the Azure Cosmos DB pane, select Create, and then Azure Cosmos DB for NoSQL.
Within the Basics pane, configure the following options, and then select Review + create:
Value Subscription Select your Azure subscription Resource Group Create a new resource group or select an existing resource group Account Name Provide a multiple-regionally unique name Availability Zones Disable Location Select a supported Azure region for your subscription 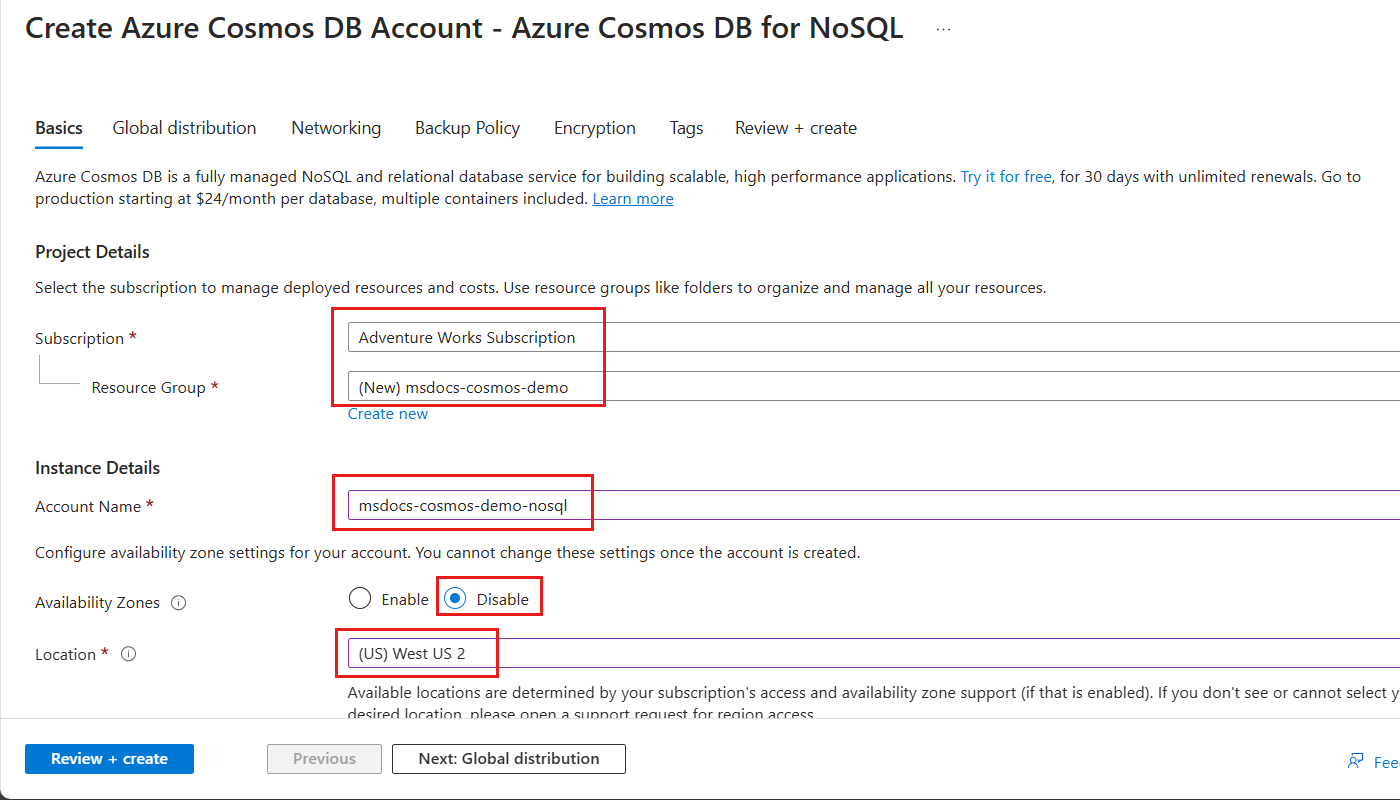
Tip
You can leave any unspecified options to their default values. You can also configure the account to limit total account throughput to 1,000 request units per second (RU/s) and enable free tier to minimize your costs.
On the Review + create pane, wait for validation of your account to finish successfully, and then select Create.

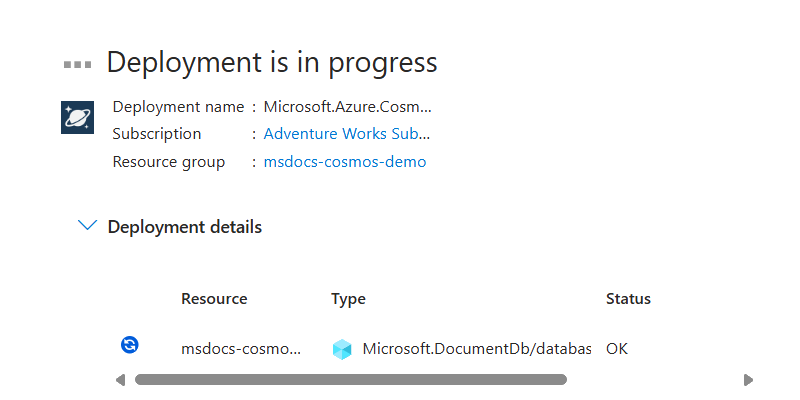
The portal automatically navigates to the Deployment pane. Wait for the deployment to complete.
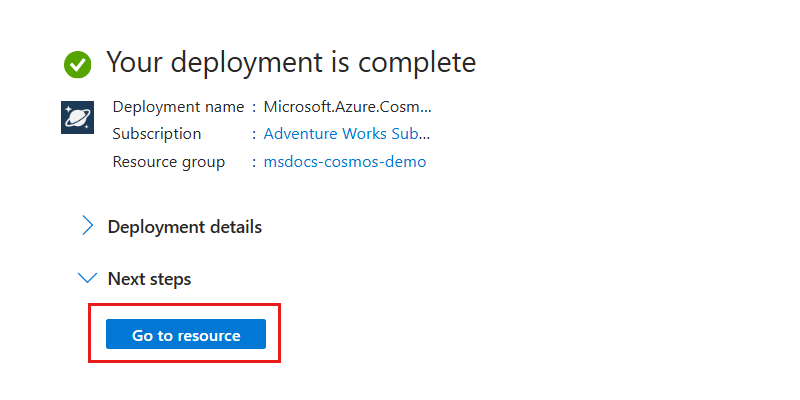
Once the deployment is complete, select Go to resource to navigate to the new Azure Cosmos DB for NoSQL account.

Create a database and container
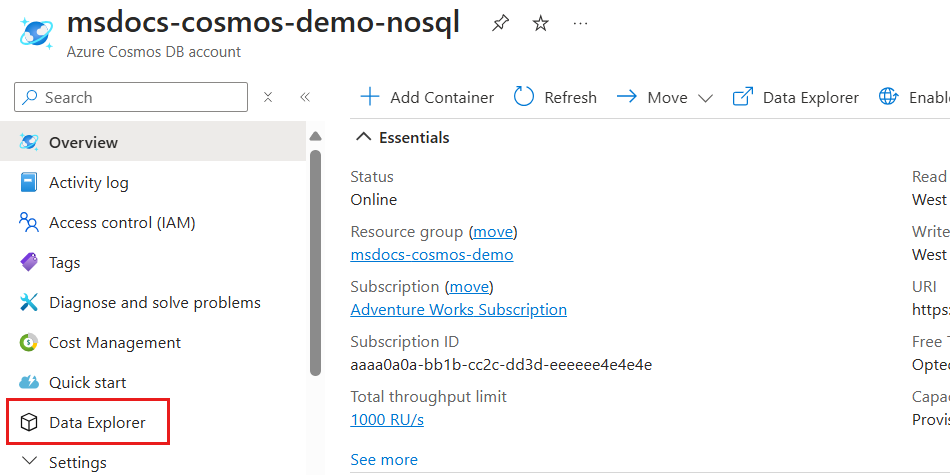
Next, use the Data Explorer to create a database and container in-portal.
In the account resource pane, select Data Explorer in the service menu.
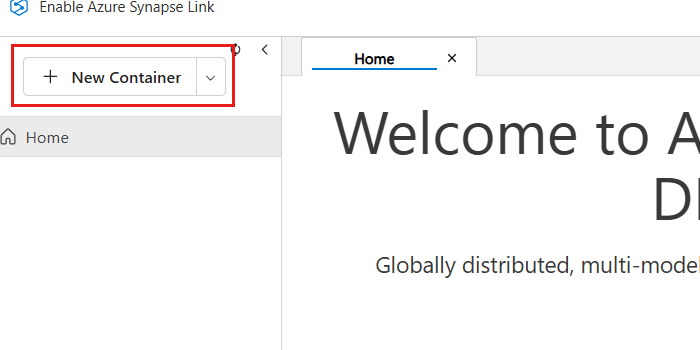
In the Data Explorer pane, select the New Container option.
In the New Container dialog, configure the following values and then select OK:
Value Database Create new Database id cosmicworksShare throughput across containers Don't select Container id employeesPartition key department/nameContainer throughput (autoscale) Autoscale Container Max RU/s 1000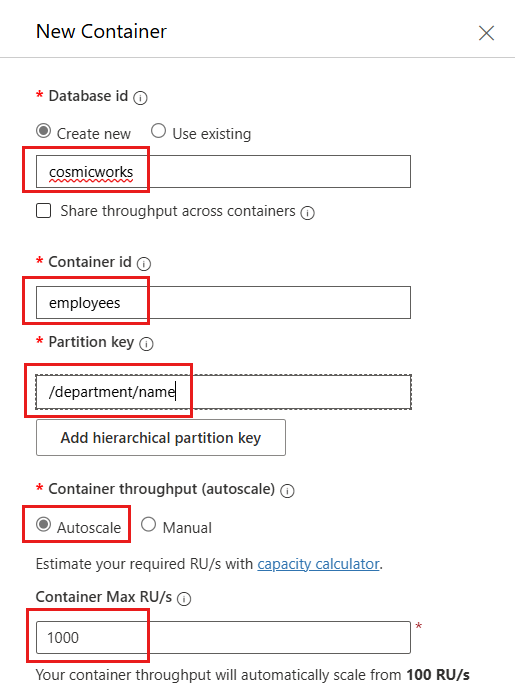
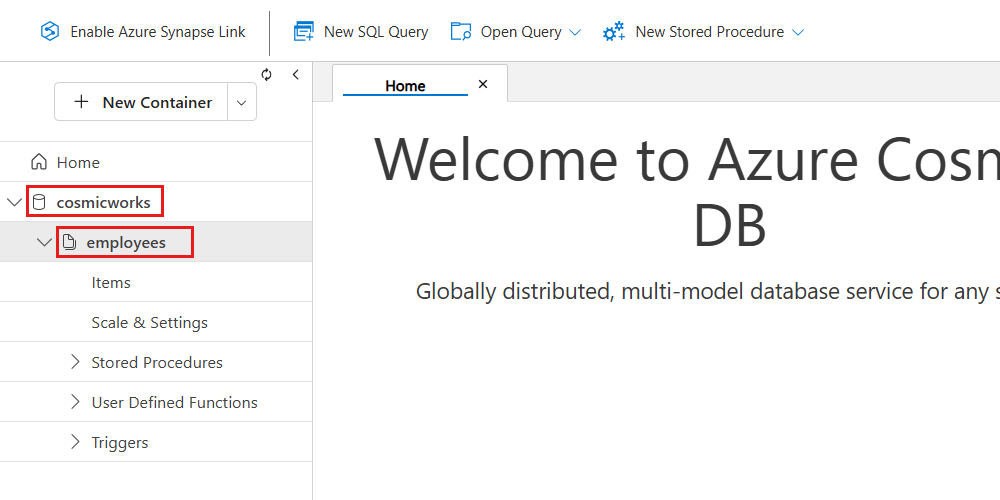
Observe the newly created database and container in the Data Explorer's hierarchy.
Tip
Optionally, you can expand the container node to observe extra properties and configuration settings.
Add and query sample data
Finally, use the Data Explorer to create a sample item and then issue a basic query to the container.
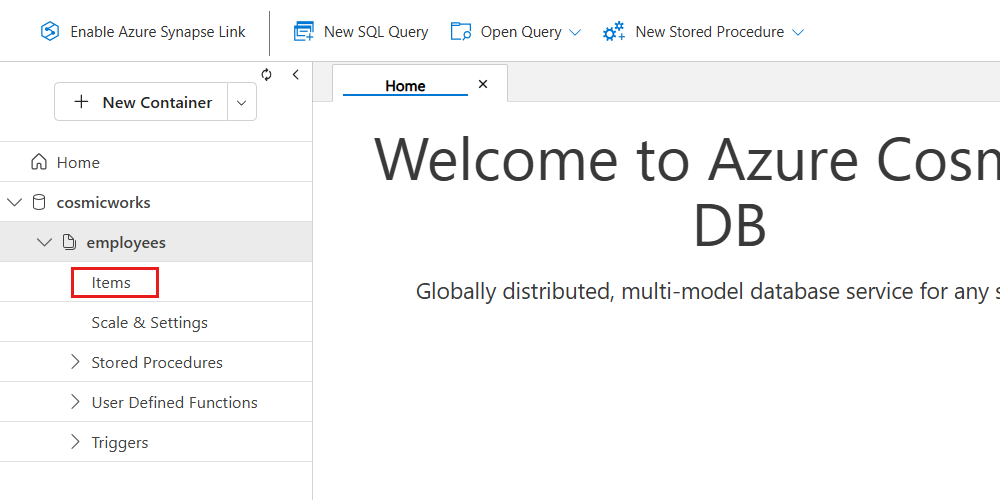
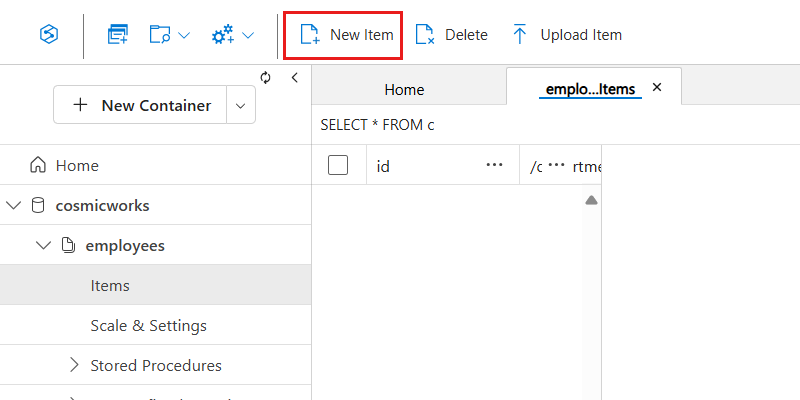
Expand the node for the employees container in the tree of the Data Explorer. Then, select the Items option.
In the Data Explorer's menu, select New Item.
Now, insert the following JSON for a new item in the employees container and then select Save:
{
  "id": "aaaaaaaa-0000-1111-2222-bbbbbbbbbbbb",
  "name": {
    "first": "Kai",
    "last": "Carter"
  },
  "email": "<kai@adventure-works.com>",
  "department": {
    "name": "Logistics"
  }
}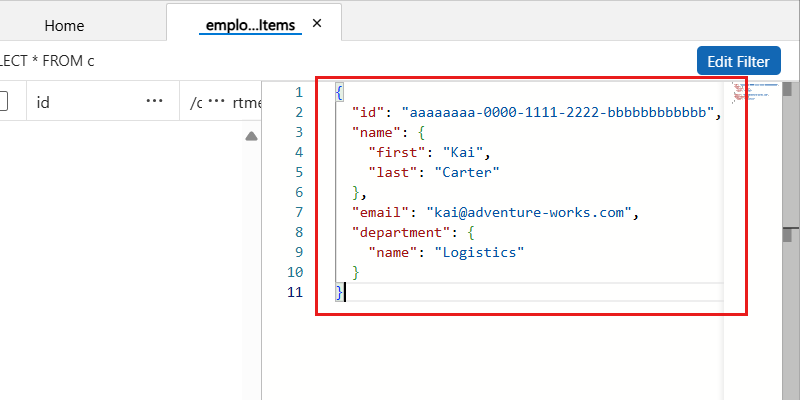
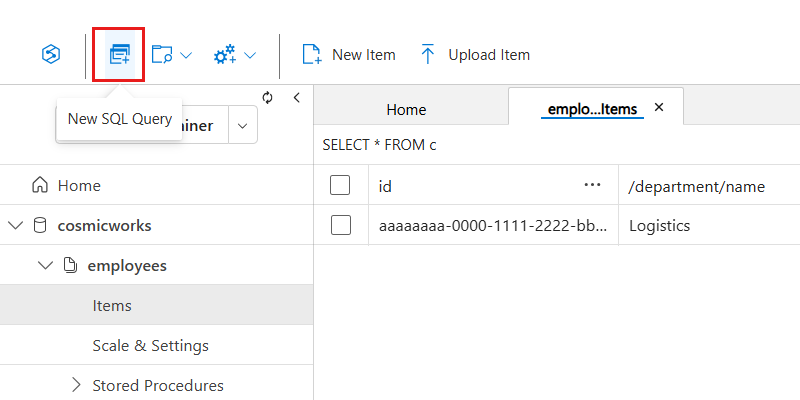
In the Data Explorer's menu, select New SQL Query.
Now, insert the following NoSQL query to get all items for the
logisticsdepartment using a case-insensitive search. The query then formats the output as a structured JSON object. Run the query by selecting Execute Query:SELECT VALUE { "name": CONCAT(e.name.last, " ", e.name.first), "department": e.department.name, "emailAddresses": [ e.email ] } FROM employees e WHERE STRINGEQUALS(e.department.name, "logistics", true)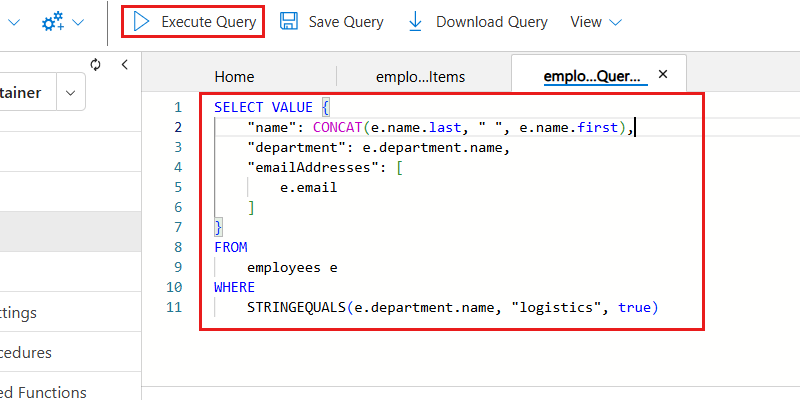
Observe the JSON array output from the query.
[
  {
    "name": "Carter Kai",
    "department": "Logistics",
    "emailAddresses": [
      "kai@adventure-works.com"
    ]
  }
]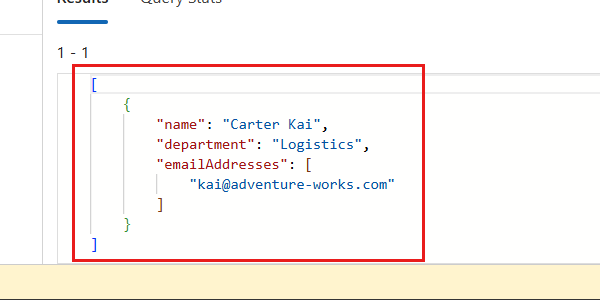
Explore more setup and optimization guidance
After you create and query your data, use the Overview section to try different features of Azure Cosmos DB.
In the account resource pane, select Overview in the service menu.
Review the resources in the Overview Hub including, but not limited to:
Quickstarts to help you build and test your application.
Setup & Optimization guidance to support every stage of your journey from learning to production. Sections include partitioning, indexing, modeling, cost control, backup configuration, and performance tuning.
Containers & Data access for querying your data, adjusting throughput, and opening containers in Data Explorer or Visual Studio Code.
Monitoring tools such as Insights, Metrics, Alerts, and Diagnostic settings, plus a scorecard that surfaces availability, alerts, and Azure Advisor recommendations.
Learning resources like video tutorials, sample apps, and documentation.
Actionable recommendations personalized to your account for reliability, security, and cost efficiency.


Tip
The content shown in the Overview Hub adapts to your activity and workload type to make it easier to find what's most relevant to you.