Note
Access to this page requires authorization. You can try signing in or changing directories.
Access to this page requires authorization. You can try changing directories.
This tutorial describes how to return Azure Data Box and the data is erased once the device is received at the Azure data.
In this tutorial, you will learn about topics such as:
- Prerequisites
- Prepare to ship
- Ship Data Box to Azure
- Erasure of data from Data Box
Prerequisites
Before you begin, make sure:
- You've have completed the Tutorial: Copy data from Azure Data Box.
- Copy jobs are complete. Prepare to ship can't run if copy jobs are in progress.
Prepare to ship
Final step is to prepare the device to ship. In this step, all the device shares are taken offline. The shares cannot be accessed once you start this process. You can also choose to clean up device whereby the local data on the device is erased permanently. Once the step is complete, your e-ink display will show the return shipping label.
Important
- You can choose to erase the data on the device permanently in this step and clean up the device. The data in your Azure Storage account will stay and accrue charges. We recommend that you delete this data only after you have verified that data copy to an on-premises data server is complete.
Go to Prepare to ship and select Start preparation.

The prepare to ship starts and the device shares go offline. By default, the device clean up is performed and Data Box erases the data on its disks.
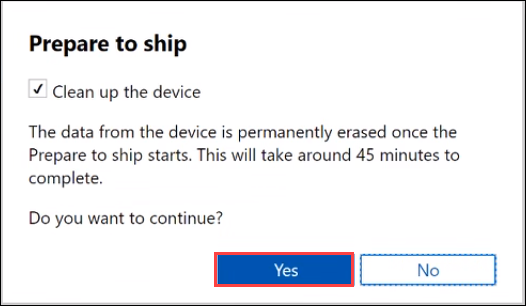
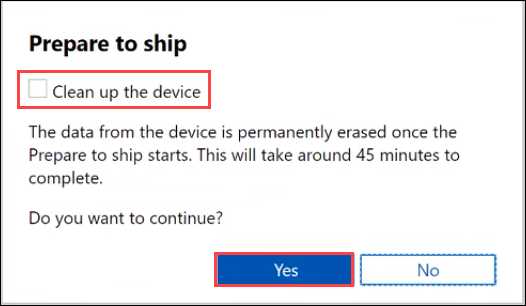
You can opt out of the cleanup procedure by unchecking the combo box. In this case, the device data is erased later at the datacenter.
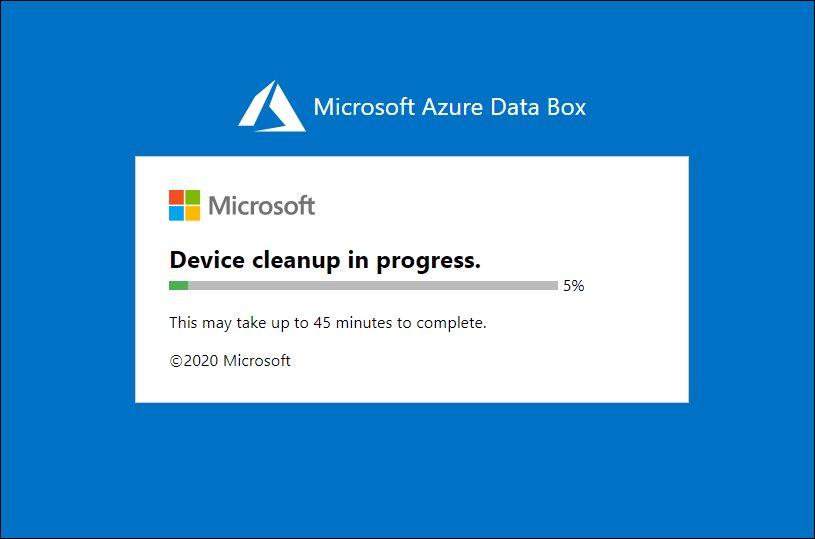
Once the Prepare to ship starts, you will see a progress notification with a progress bar.
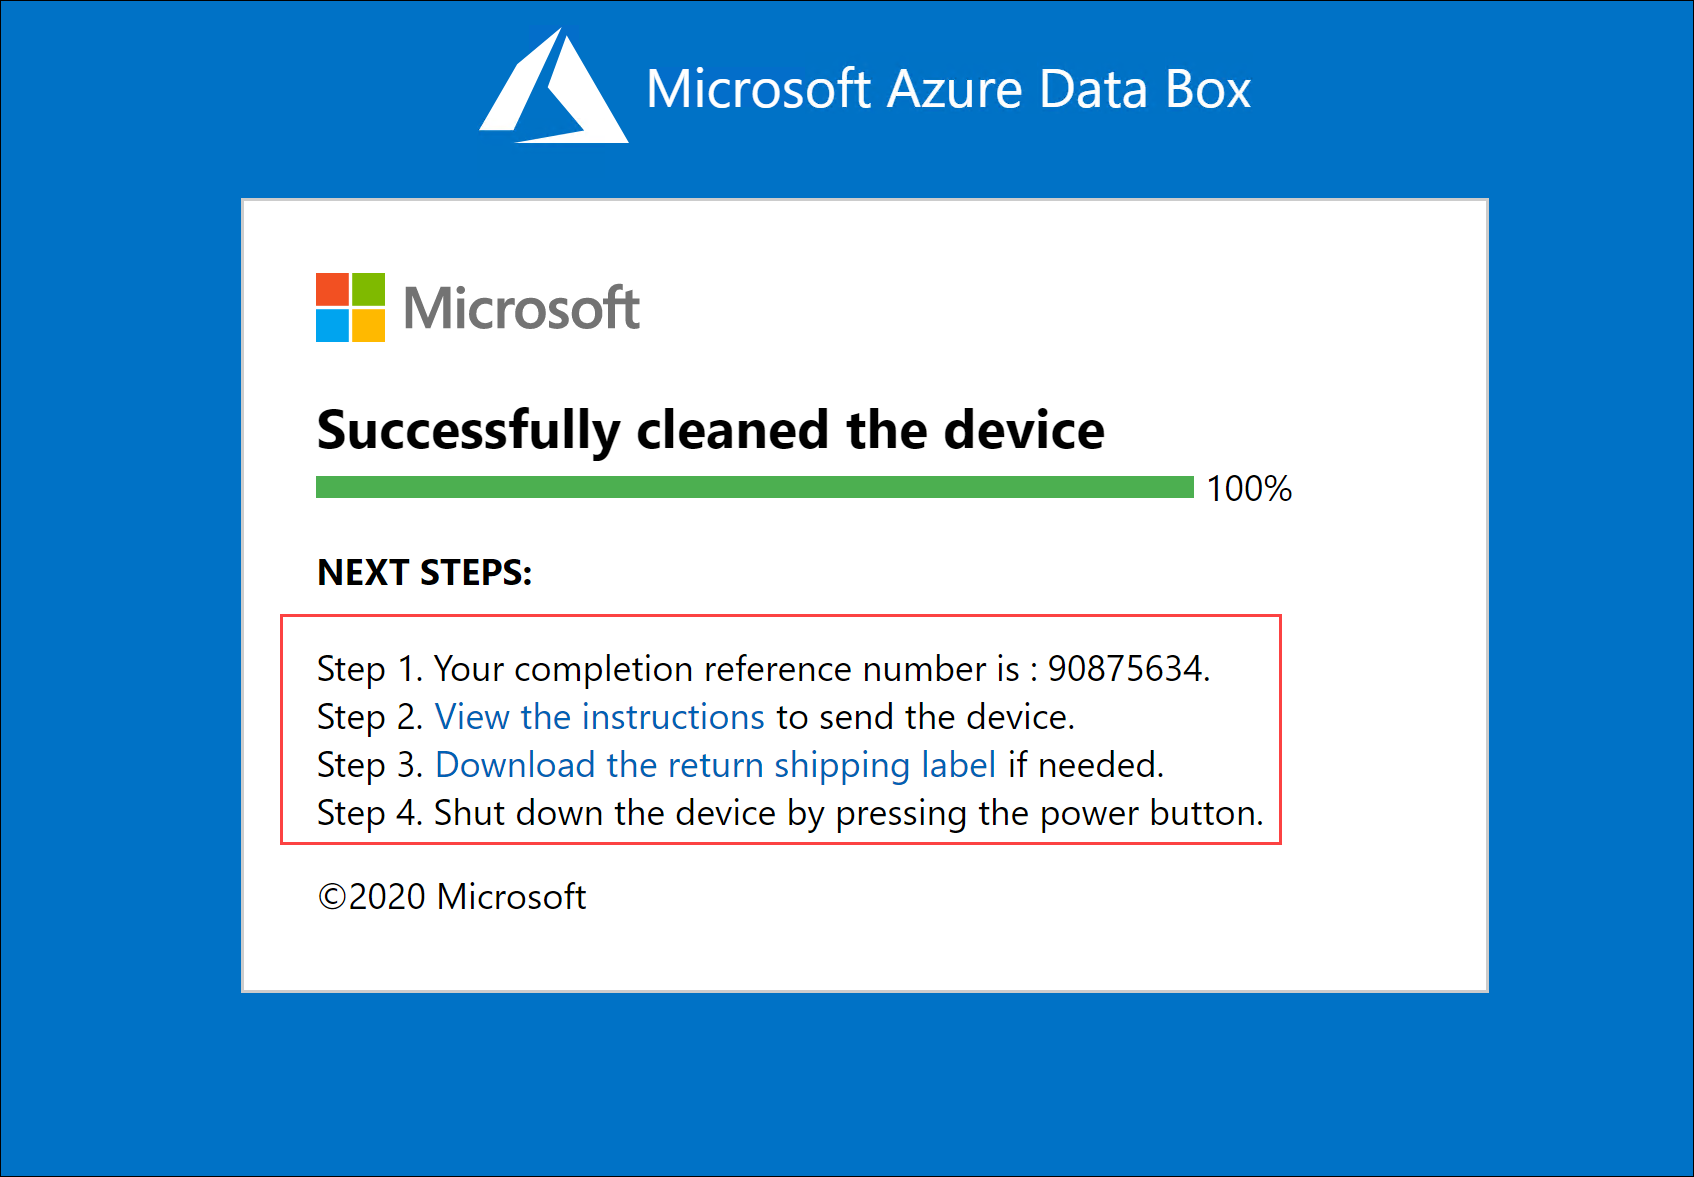
After the prepare to ship and the device cleanup (if selected) is complete, the E-ink display on your device will also display the return the shipping label.
You also see a completion reference number which is used for different things depending on the country/region in which you are located. You can also view the instructions for return shipment. Depending on the type of shipping you chose, Azure managed or self managed, the instructions will vary.
Shut down the device. Locate the power button on the front operating panel of the device. Turn off the device.
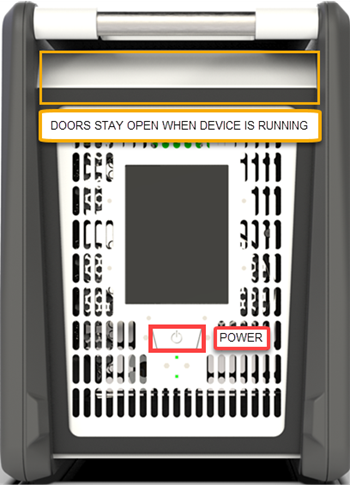
Remove the cables. The next step is to ship the device to Azure.
The next steps are determined by where you are returning the device.
Ship Data Box back
Based on the region where you're shipping the device, the procedure is different. In many regions, you can use Azure managed shipping or self-managed shipping.
If using Azure managed shipping, follow these steps.
Self-managed shipping
Self-managed shipping is only available in the following regions:
| Region | Region | Region | Region | Region |
|---|---|---|---|---|
| China East | China East 2 | China North | China North 2 | China North 3 |
If you selected self-managed shipping when you created your order, follow these instructions.
Write down the Authorization code that's shown on the Prepare to Ship page of the local web UI for the Data Box after the step completes successfully.
Power off the device and remove the cables. Spool and securely place the power cord that was provided with the device at the back of the device.
When you're ready to return the device, send an email to the Azure Data Box Operations team using the template below.
To: adbops@microsoft.com
Subject: Request for Azure Data Box drop-off for order: 'orderName'
Body:
    1. Order name
    2. Authorization code available after Prepare to Ship has completed [Yes/No]
    3. Contact name of the person dropping off. You will need to display a government-approved ID during the drop off.
Erasure of data from Data Box
Once the device reaches Azure datacenter, the Data Box erases the data on its disks as per the NIST SP 800-88 Revision 1 guidelines.
Next steps
In this tutorial, you learned about topics such as:
- Prerequisites
- Prepare to ship
- Ship Data Box to Azure
- Erasure of data from Data Box
Advance to the next article to learn how to manage your Data Box.