Note
Access to this page requires authorization. You can try signing in or changing directories.
Access to this page requires authorization. You can try changing directories.
In this quickstart, you create an Azure Event Hubs namespace and an event hub in the namespace by using the Azure portal.
Prerequisites
- An Azure subscription. If you don't have one, create a trial subscription before you begin.
- If you're new to Azure Event Hubs, read through Event Hubs overview and Event Hubs features.
Create a resource group
A resource group is a logical collection of Azure resources. All resources are deployed and managed in a resource group. To create a resource group:
Sign in to the Azure portal.
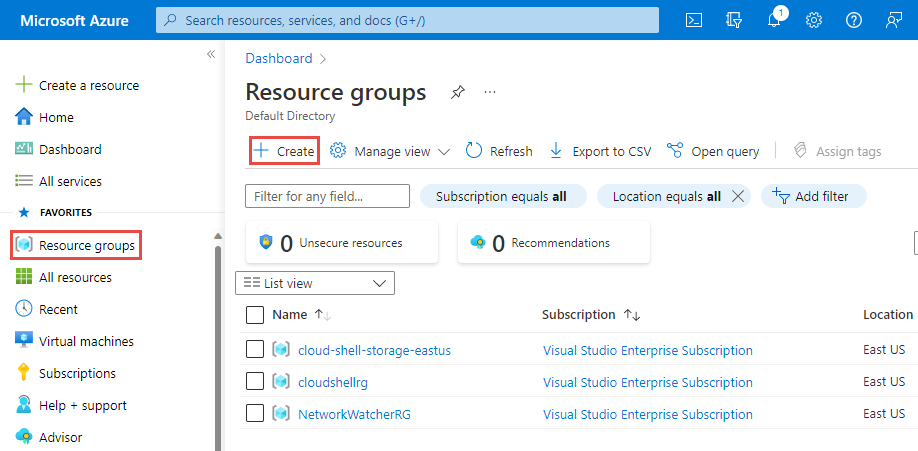
In the left navigation, select Resource groups, and then select Create.
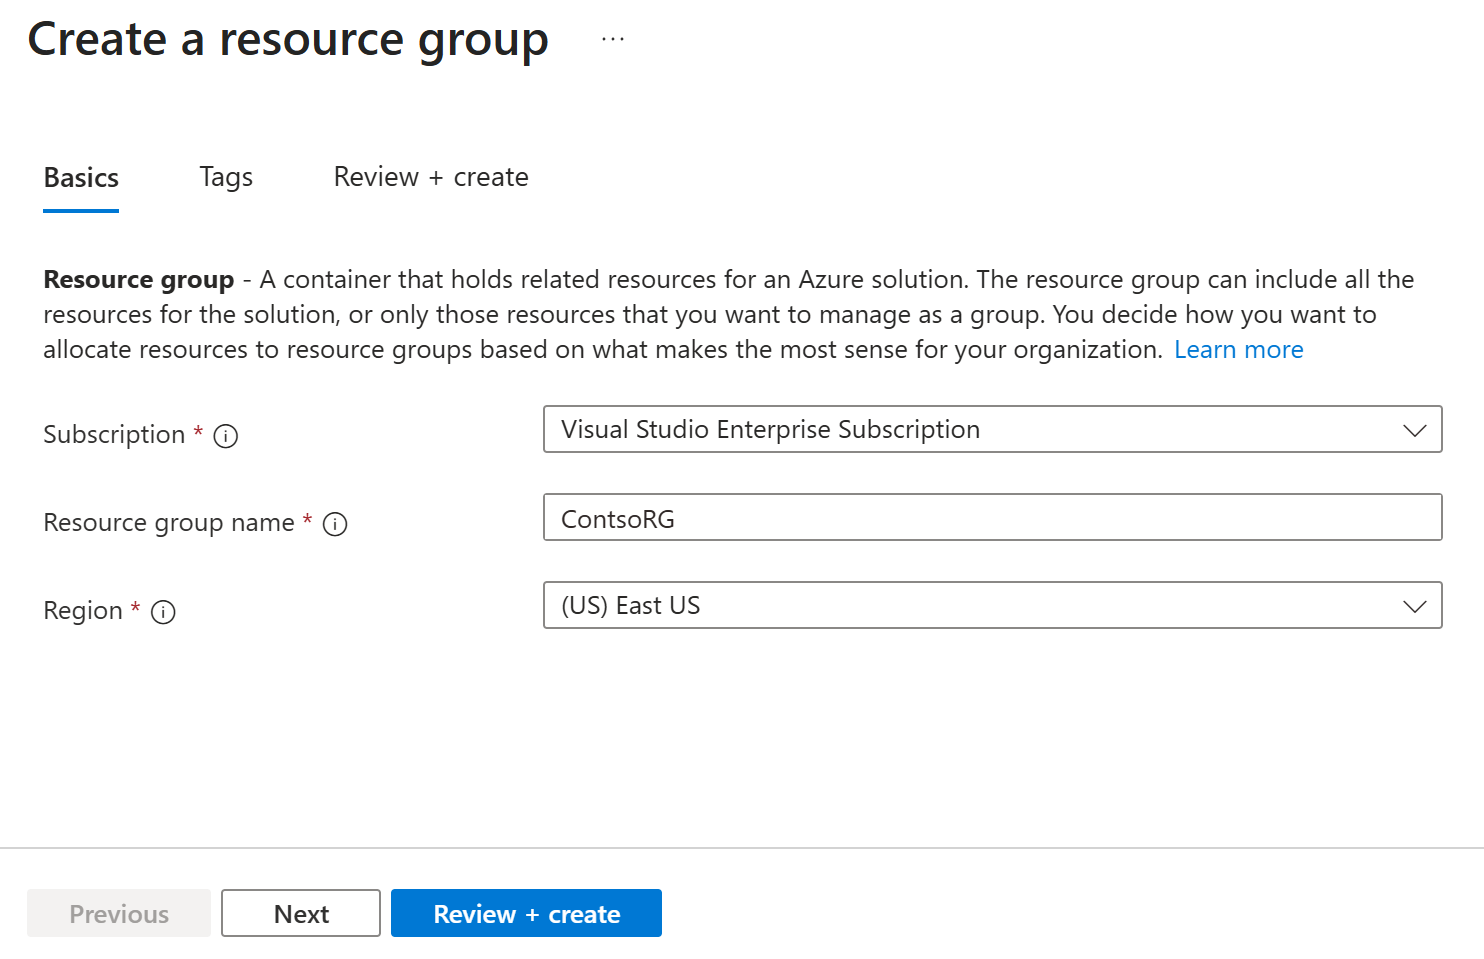
For Subscription, select the name of the Azure subscription in which you want to create the resource group.
Type a unique name for the resource group. The system immediately checks to see if the name is available in the currently selected Azure subscription.
Select a region for the resource group.
Select Review + Create.
On the Review + Create page, select Create.


Create an Event Hubs namespace
An Event Hubs namespace provides a unique scoping container, in which you create one or more event hubs. To create a namespace in your resource group using the portal, do the following actions:
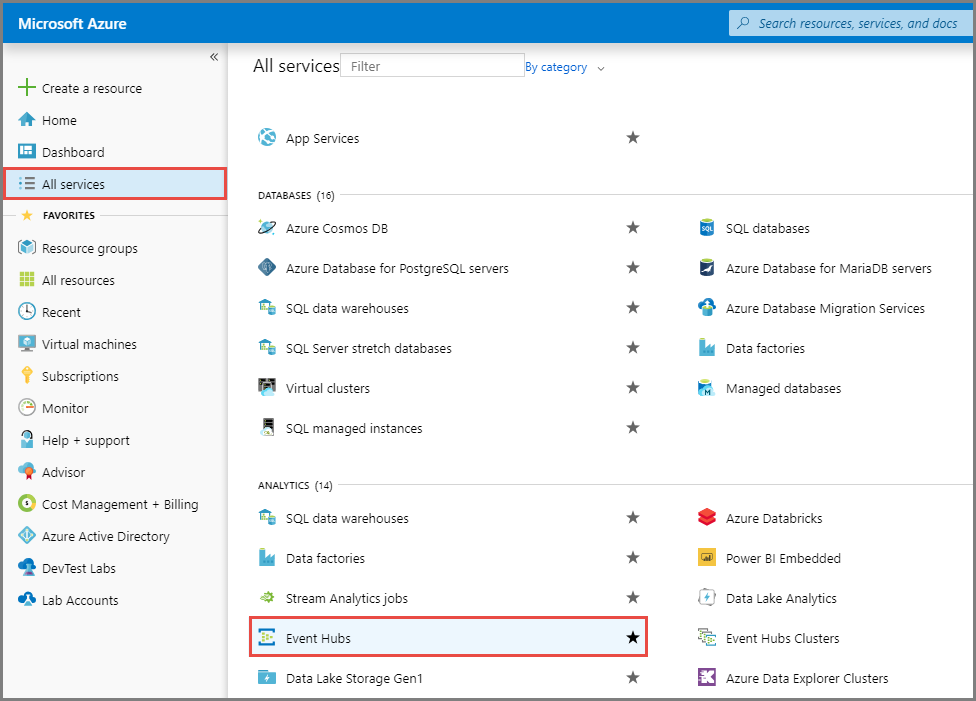
In the Azure portal, select All services in the left menu, and select Event Hubs in the Analytics category.
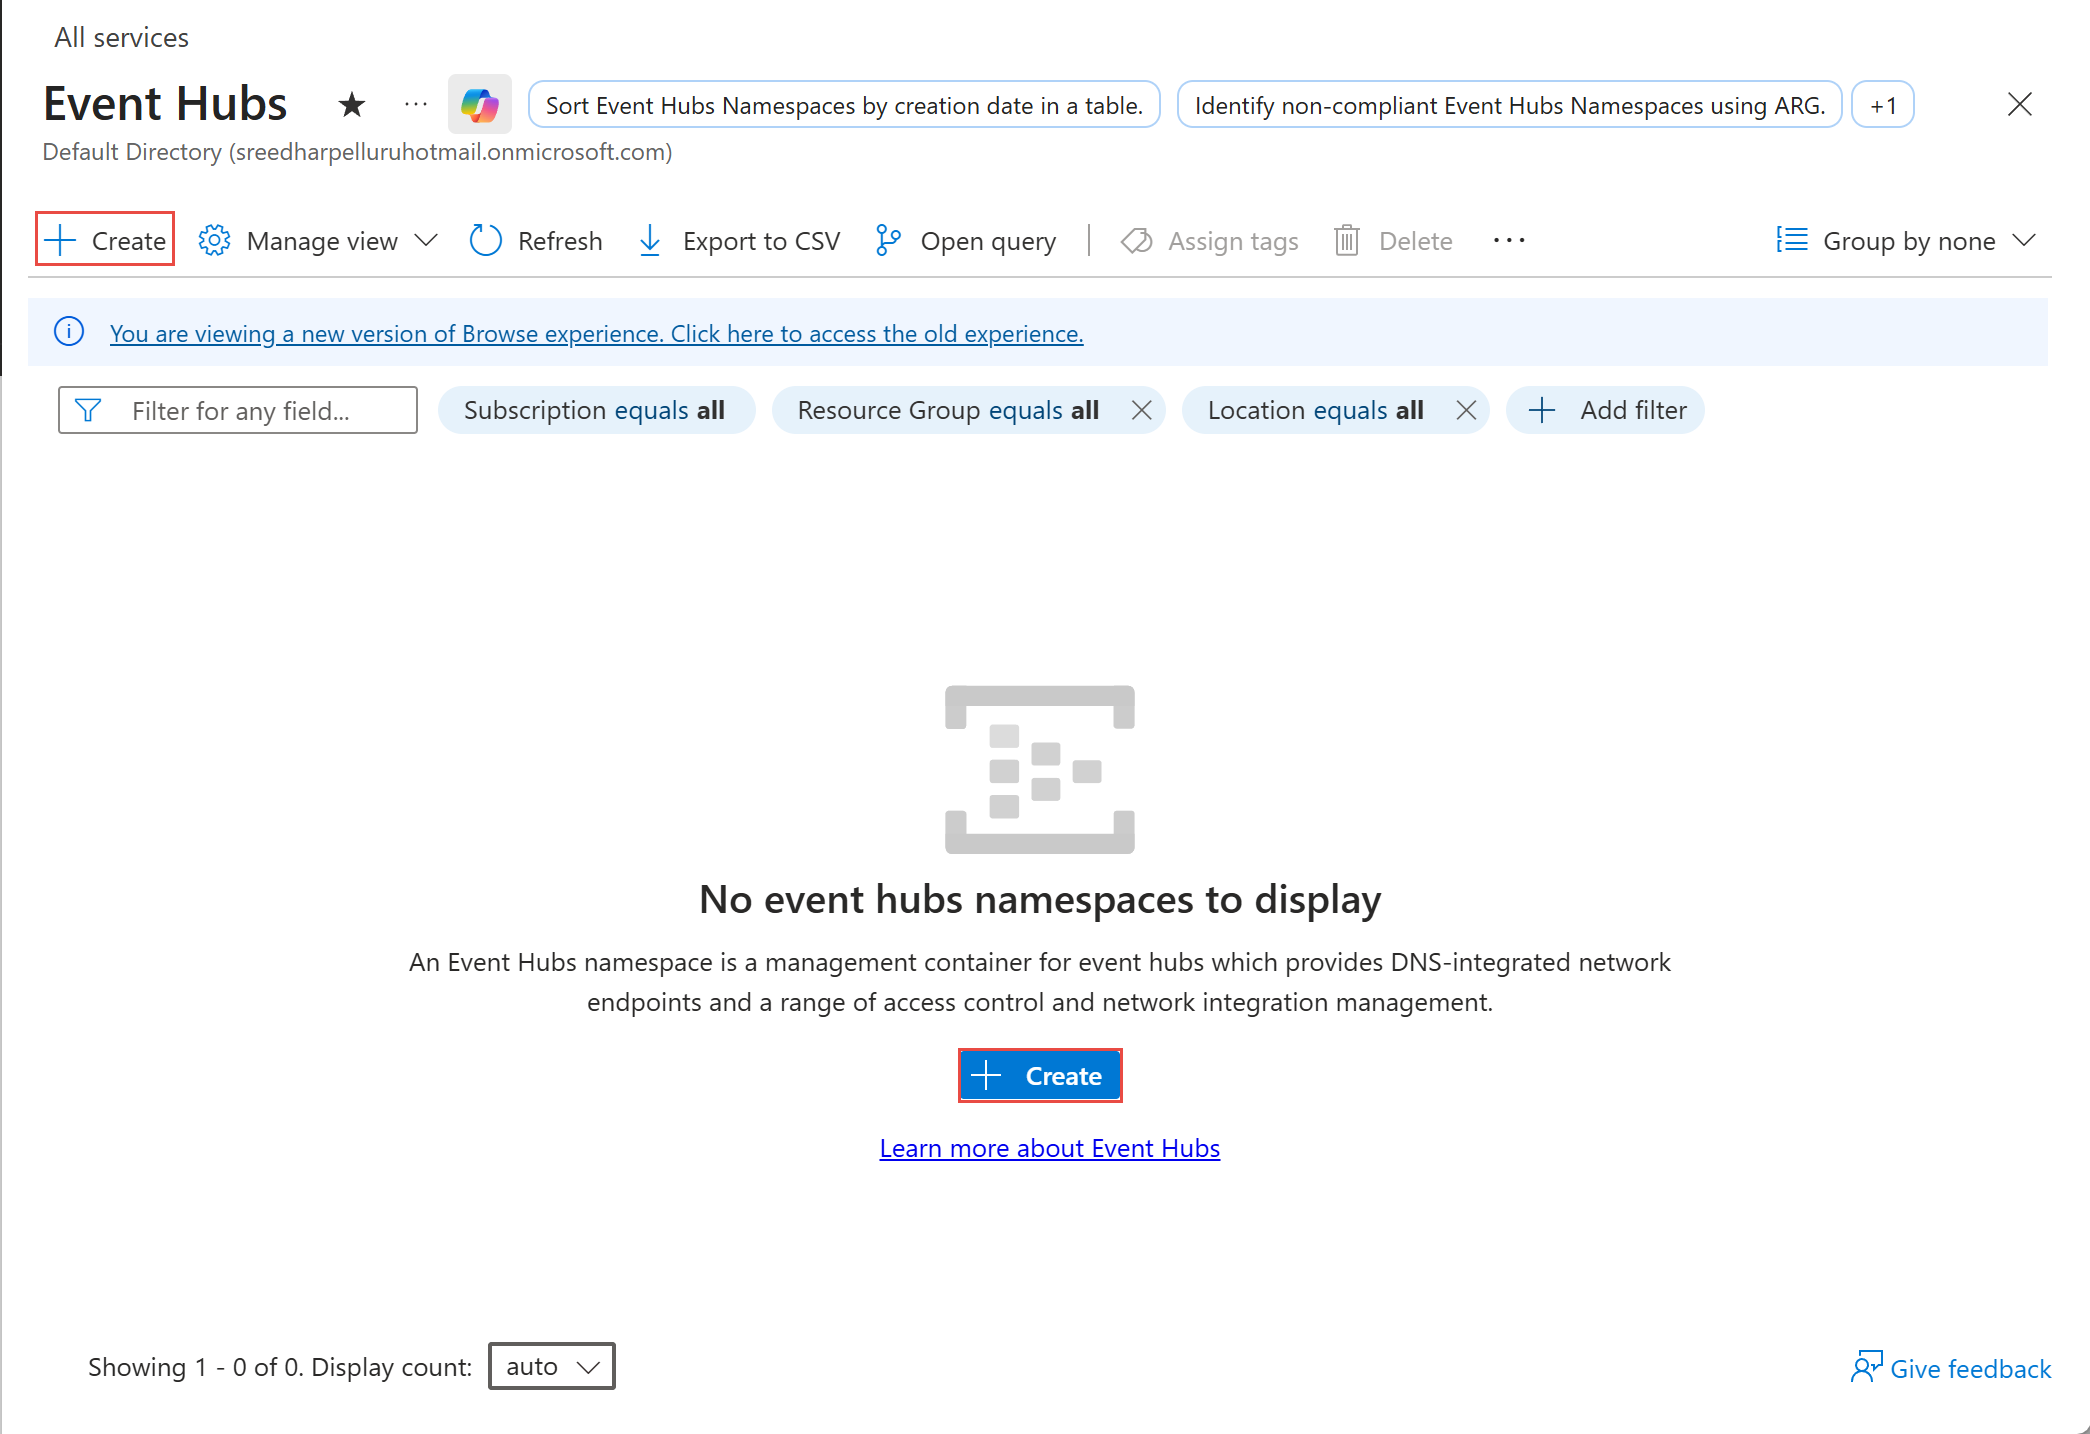
On the Event Hubs page, select Create on the toolbar.
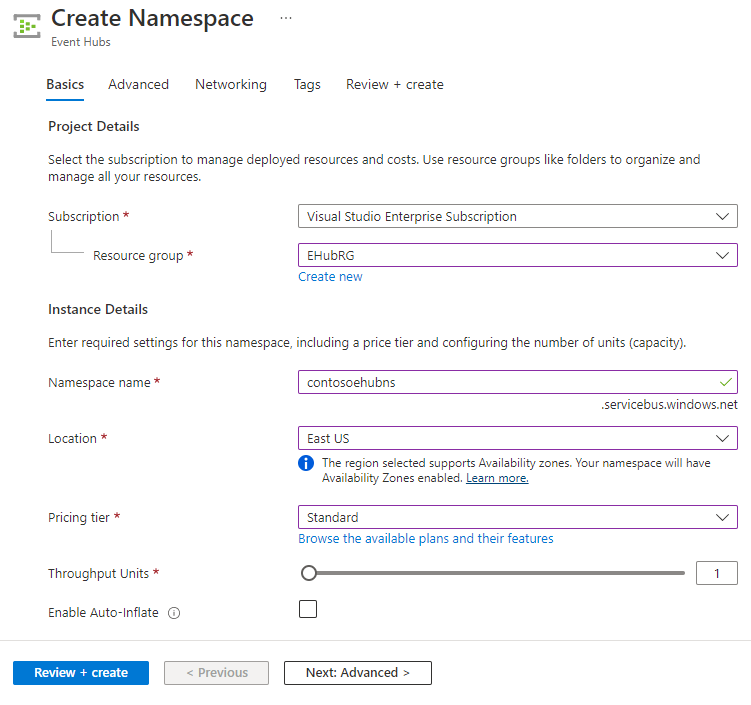
On the Create namespace page, take the following steps:
Select the subscription in which you want to create the namespace.
Select the resource group you created in the previous step.
Enter a name for the namespace. The system immediately checks to see if the name is available.
Select a location for the namespace.
Choose Basic for the pricing tier. If you plan to use the namespace from Apache Kafka apps, use the Standard tier. The basic tier doesn't support Apache Kafka workloads. To learn about differences between tiers, see Quotas and limits, Event Hubs Premium articles.
Leave the throughput units (for standard tier) or processing units (for premium tier) settings as it is. To learn about throughput units or processing units: Event Hubs scalability.
Enable the Auto-inflate feature if you want Event Hubs to automatically increase the number of throughput units (TUs) to meet usage needs. Increasing TUs prevents throttling scenarios where data ingress or data egress rates exceed the rates allowed by the TUs assigned to the namespace. The Event Hubs service increases the throughput when load increases beyond the minimum threshold, without any requests failing with ServerBusy errors.
Select Review + Create at the bottom of the page.
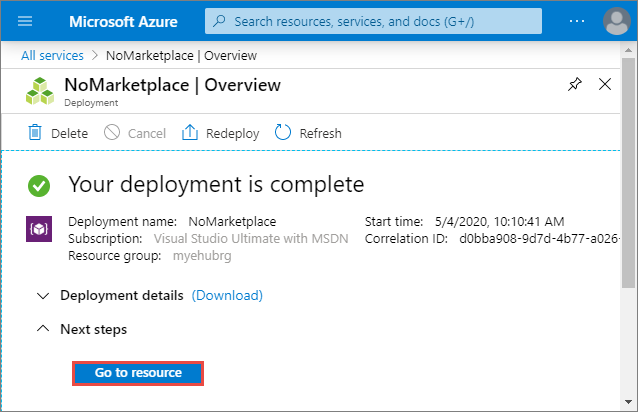
On the Review + Create page, review the settings, and select Create. Wait for the deployment to complete.
On the Deployment page, select Go to resource to navigate to the page for your namespace.
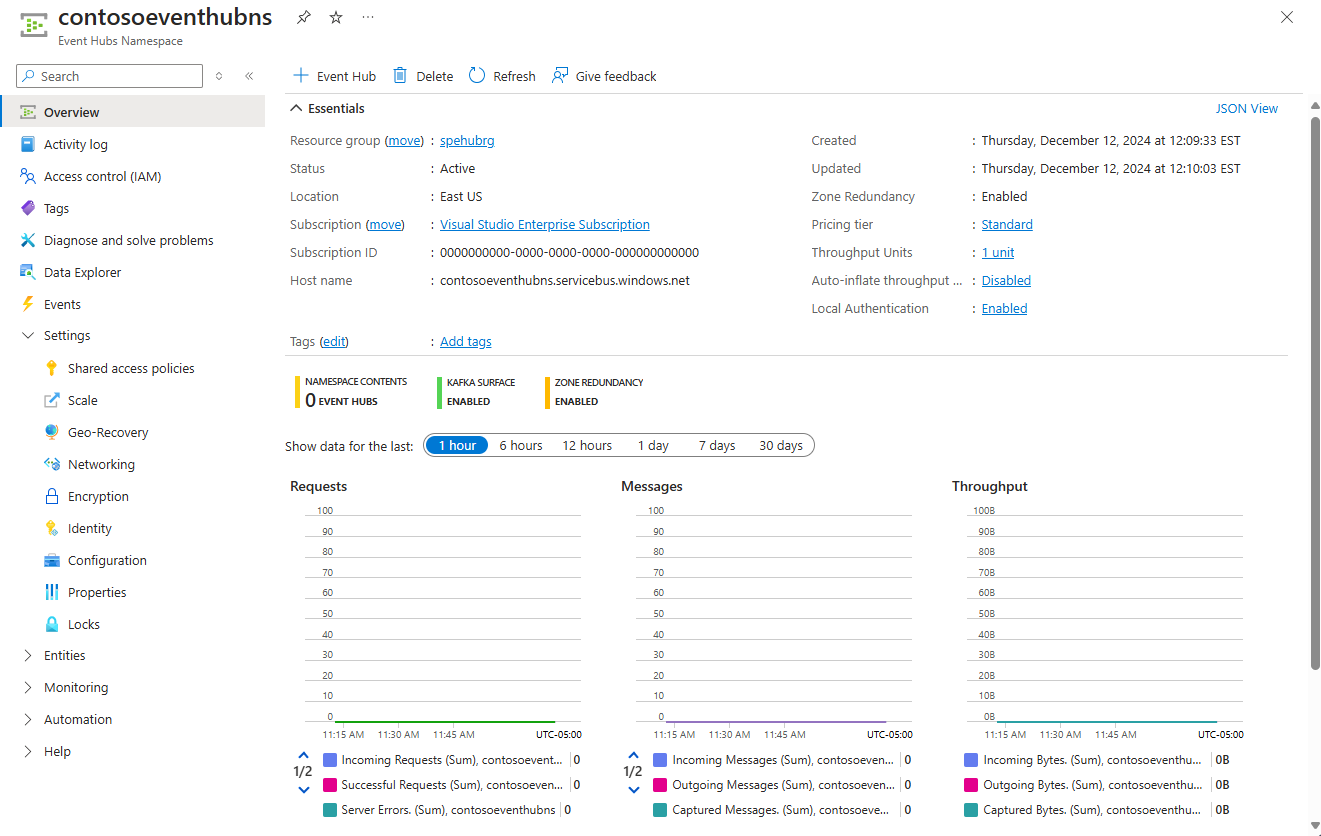
Confirm that you see the Event Hubs namespace page similar to the following example:
Note
Azure Event Hubs provides you with a Kafka endpoint. This endpoint enables your Event Hubs namespace to natively understand Apache Kafka message protocol and APIs. With this capability, you can communicate with your event hubs as you would with Kafka topics without changing your protocol clients or running your own clusters. Event Hubs supports Apache Kafka versions 1.0 and later. For more information, see Use Event Hubs from Apache Kafka applications.


Create an event hub
To create an event hub within the namespace, do the following actions:
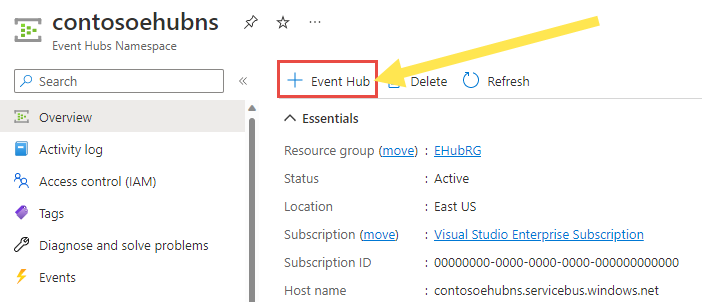
On the Overview page, select + Event hub on the command bar.
Type a name for your event hub, then select Review + create.
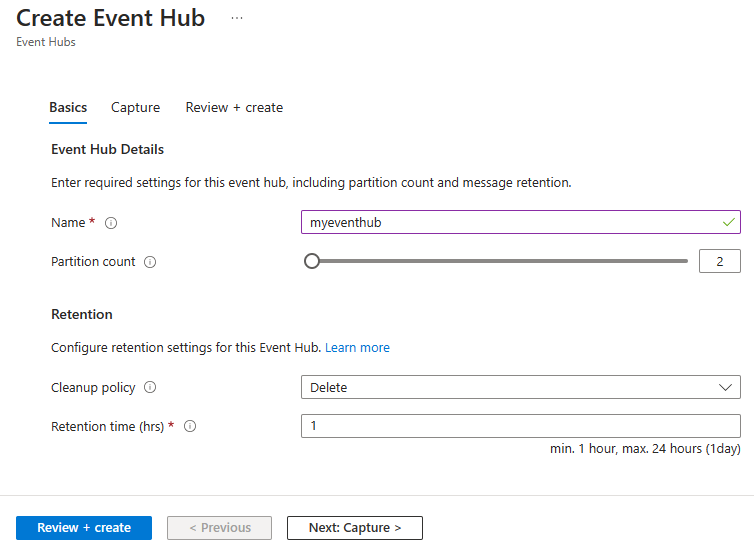
The partition count setting allows you to parallelize consumption across many consumers. For more information, see Partitions.
The message retention setting specifies how long the Event Hubs service keeps data. For more information, see Event retention.
On the Review + create page, select Create.
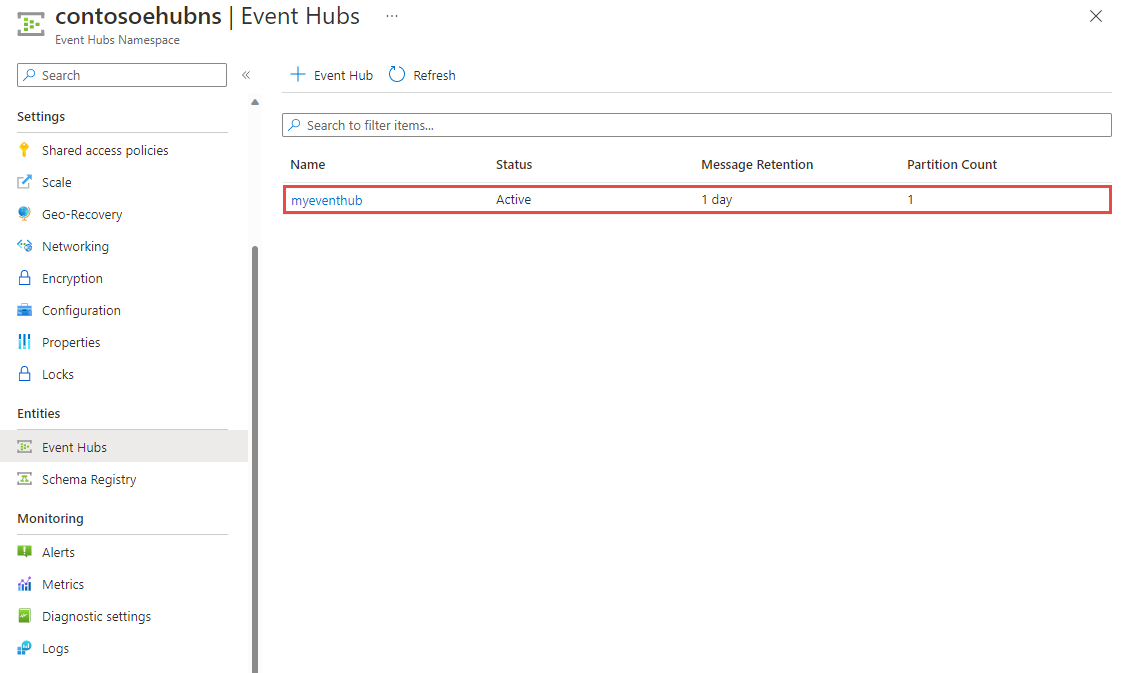
You can check the status of the event hub creation in alerts. After the event hub is created, you see it in the list of event hubs.


Related content
In this article, you created a resource group, an Event Hubs namespace, and an event hub. For step-by-step instructions to send events to (or) receive events from an event hub, see these tutorials: