Note
Access to this page requires authorization. You can try signing in or changing directories.
Access to this page requires authorization. You can try changing directories.
This article shows you how to create, configure, and manage a virtual network gateway for ExpressRoute using the Azure portal. You can use these steps to create a gateway for a virtual network created with the Resource Manager deployment model. For more information about virtual network gateways and gateway configuration settings, see About virtual network gateways for ExpressRoute.

Prerequisites
Before you begin, make sure you have:
- An Azure account with an active subscription.
- An existing virtual network where you want to create the gateway. For more information, see Create a virtual network using the Azure portal.
- Sufficient address space in your virtual network for a gateway subnet (/27 or larger).
Important
ExpressRoute virtual network gateways no longer support the Basic public IP SKU. Azure automatically creates an auto-assigned Standard public IP address and associates it with your virtual network gateway. For more information, see ExpressRoute auto-assigned public IP.
Example configuration values
This article uses the following example values for reference. You can use these values to create a test environment, or refer to them to better understand the examples:
- Virtual network name: vnet-1
- Virtual network address space: 10.0.0.0/16
- Subnet name: default
- Subnet address space: 10.0.0.0/24
- Resource group: vnetdemo
- Location: China North 3
- Gateway subnet name: GatewaySubnet (you must always name the gateway subnet GatewaySubnet)
- Gateway subnet address space: 10.0.1.0/24
- Gateway name: myERGwScale
- Gateway type: ExpressRoute
Create a gateway subnet
Before you create a virtual network gateway, you need to create a gateway subnet in your virtual network.
Sign in to the Azure portal.
Navigate to your virtual network.
In the Settings section, select Subnets.
Select + Gateway subnet.
The Name field is automatically populated with GatewaySubnet. This name is required for Azure to recognize the subnet as a gateway subnet.
Configure the Address range to meet your requirements:
- For most configurations, use a /27 or larger subnet (/26, /25, etc.).
- Subnets /28 or smaller aren't supported for new deployments.
- If you plan to connect 16 or more ExpressRoute circuits to your gateway, you must use a /26 or larger subnet.
(Optional) If you're using a dual stack virtual network with IPv6-based private peering:
- Select Add IPv6 address space.
- Enter the IPv6 address range values.
Select Save to create the gateway subnet.
Create a virtual network gateway
In the Azure portal, select Create a resource.
In the search box, enter Virtual Network Gateway, and then press Enter.
Select Virtual network gateway from the results, and then select Create.
On the Create virtual network gateway page, enter or select the following settings:
Setting Value Project details Subscription Select your Azure subscription. Resource Group This field is automatically populated after you select your virtual network. Instance details Name Enter a name for your gateway. This name is for the gateway resource, not the gateway subnet. Region Select the region where your virtual network is located. Gateway type Select ExpressRoute. SKU Select a gateway SKU. For more information about SKUs, see About ExpressRoute virtual network gateways. Minimum Scale Units (ErGwScale SKU only) Enter the minimum number of scale units (1-40). For more information, see About ExpressRoute scalable gateway. Maximum Scale Units (ErGwScale SKU only) Enter the maximum number of scale units (1-40). For more information, see About ExpressRoute scalable gateway. Virtual network Select your virtual network. Public IP address Azure automatically assigns a Standard public IP address to your ExpressRoute gateway. For more information, see Auto-assigned public IP. Important
If you plan to use IPv6-based private peering over ExpressRoute, create your gateway with a Standard, Static public IP address using the PowerShell instructions.
Select Review + create to validate your configuration.
After validation passes, select Create to begin the deployment.
The deployment can take up to 45 minutes to complete.
Enable VNet-to-VNet or VNet-to-Virtual WAN traffic
By default, virtual network-to-virtual network (VNet-to-VNet) and VNet-to-Virtual WAN traffic is disabled through ExpressRoute. You can enable this connectivity using the following steps.
Note
You must complete these steps on all virtual networks that need to communicate with each other through ExpressRoute.
In the Azure portal, go to your ExpressRoute virtual network gateway.
Under Settings, select Configuration.
Select one or both of the following options:
- Allow traffic from remote virtual networks - Enables VNet-to-VNet traffic through ExpressRoute.
- Allow traffic from remote Virtual WAN network - Enables VNet-to-Virtual WAN traffic through ExpressRoute. When this setting is enabled, Virtual Network gateway will learn routes for virtual networks directly connected to the shared ExpressRoute circuit between Virtual Network gateway and Virtual wAN. This setting doesn't change whether Virtual Network gateway learns other Virtual WAN routes, such as Virtual WAN VPN routes or Virtual WAN inter-hub routes.
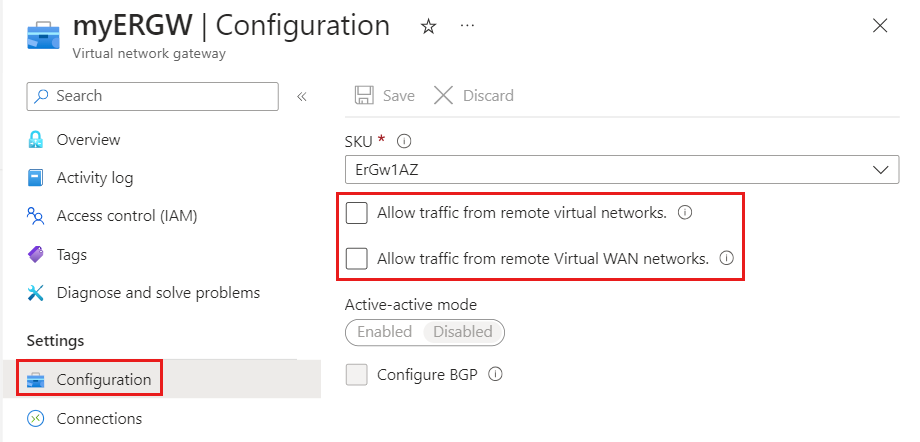
Select Save to apply your changes.
Upgrade a gateway SKU
You can upgrade your gateway SKU to a higher-performance SKU without deleting and recreating the gateway.
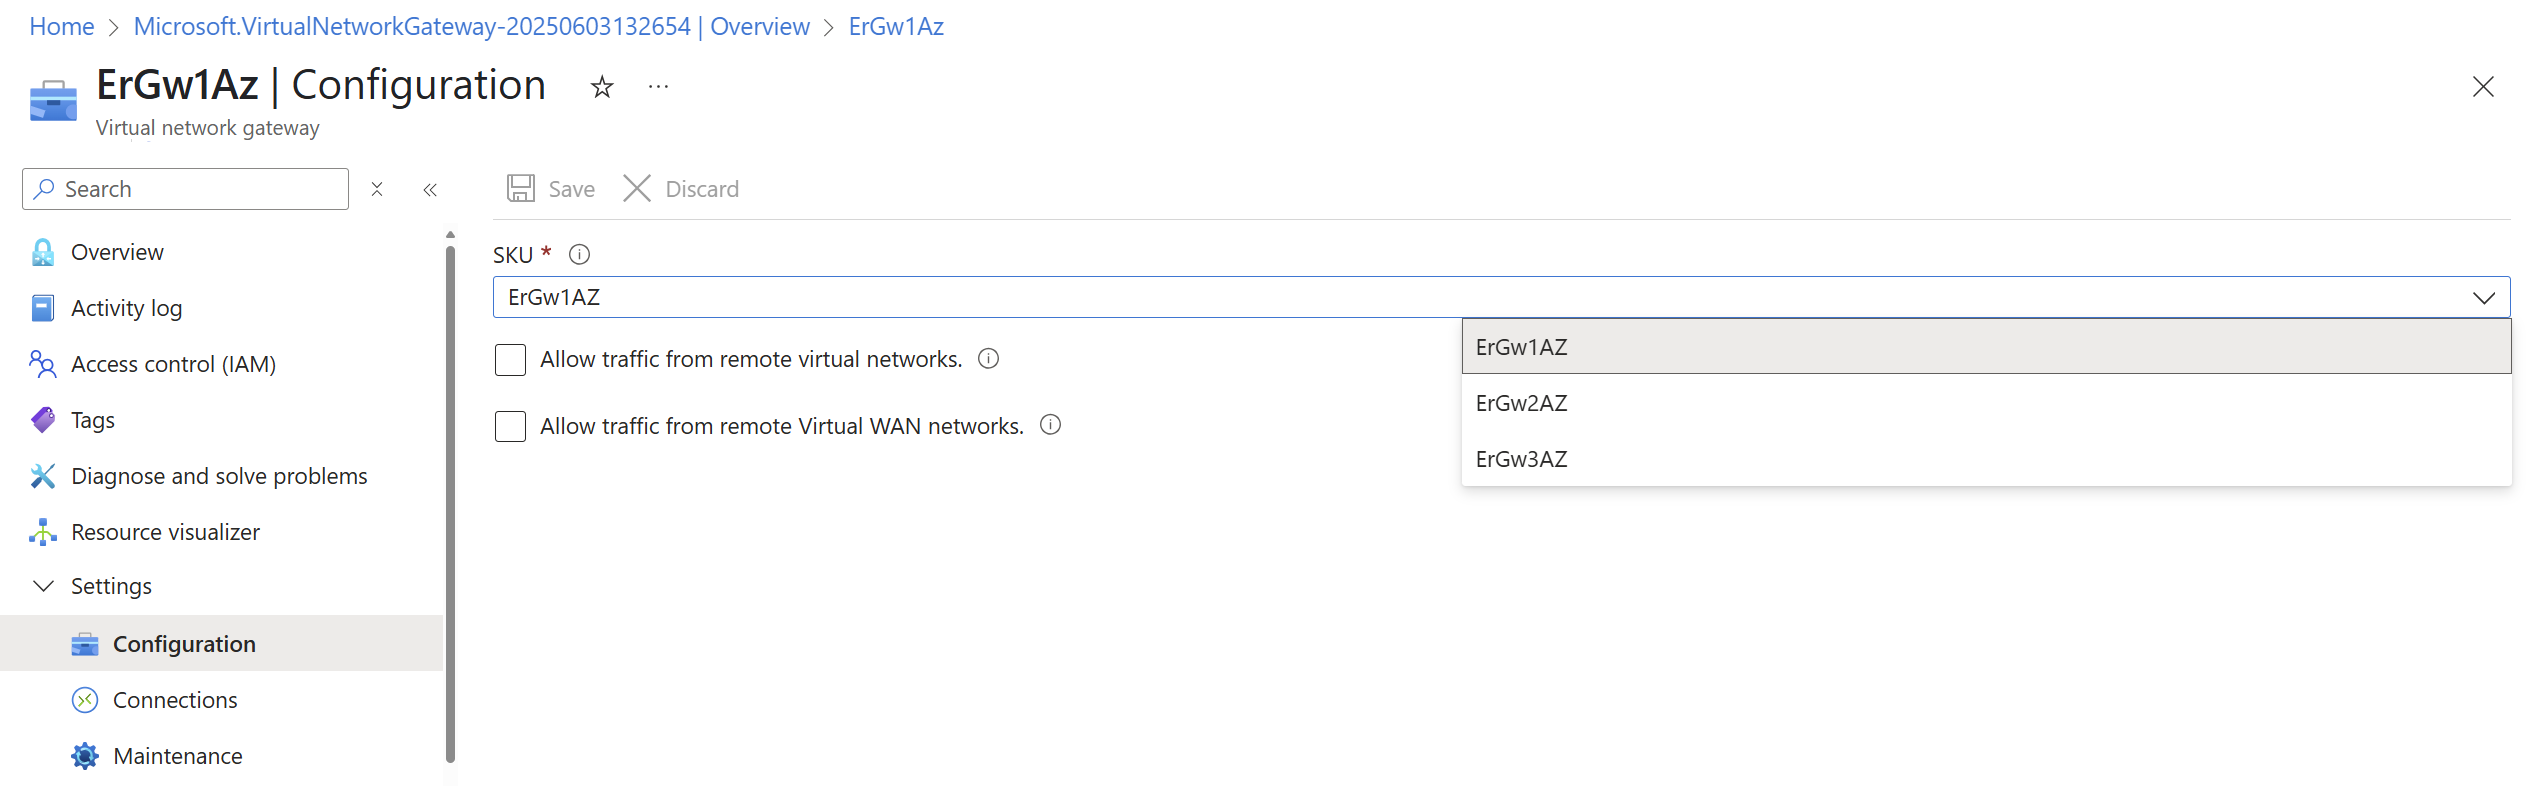
In the Azure portal, go to your ExpressRoute virtual network gateway.
Under Settings, select Configuration.
In the SKU dropdown, select your desired SKU.
Select Save to apply the change.
You can upgrade between the following SKU types:
Non-availability zone SKUs: Standard, HighPerformance, UltraPerformance
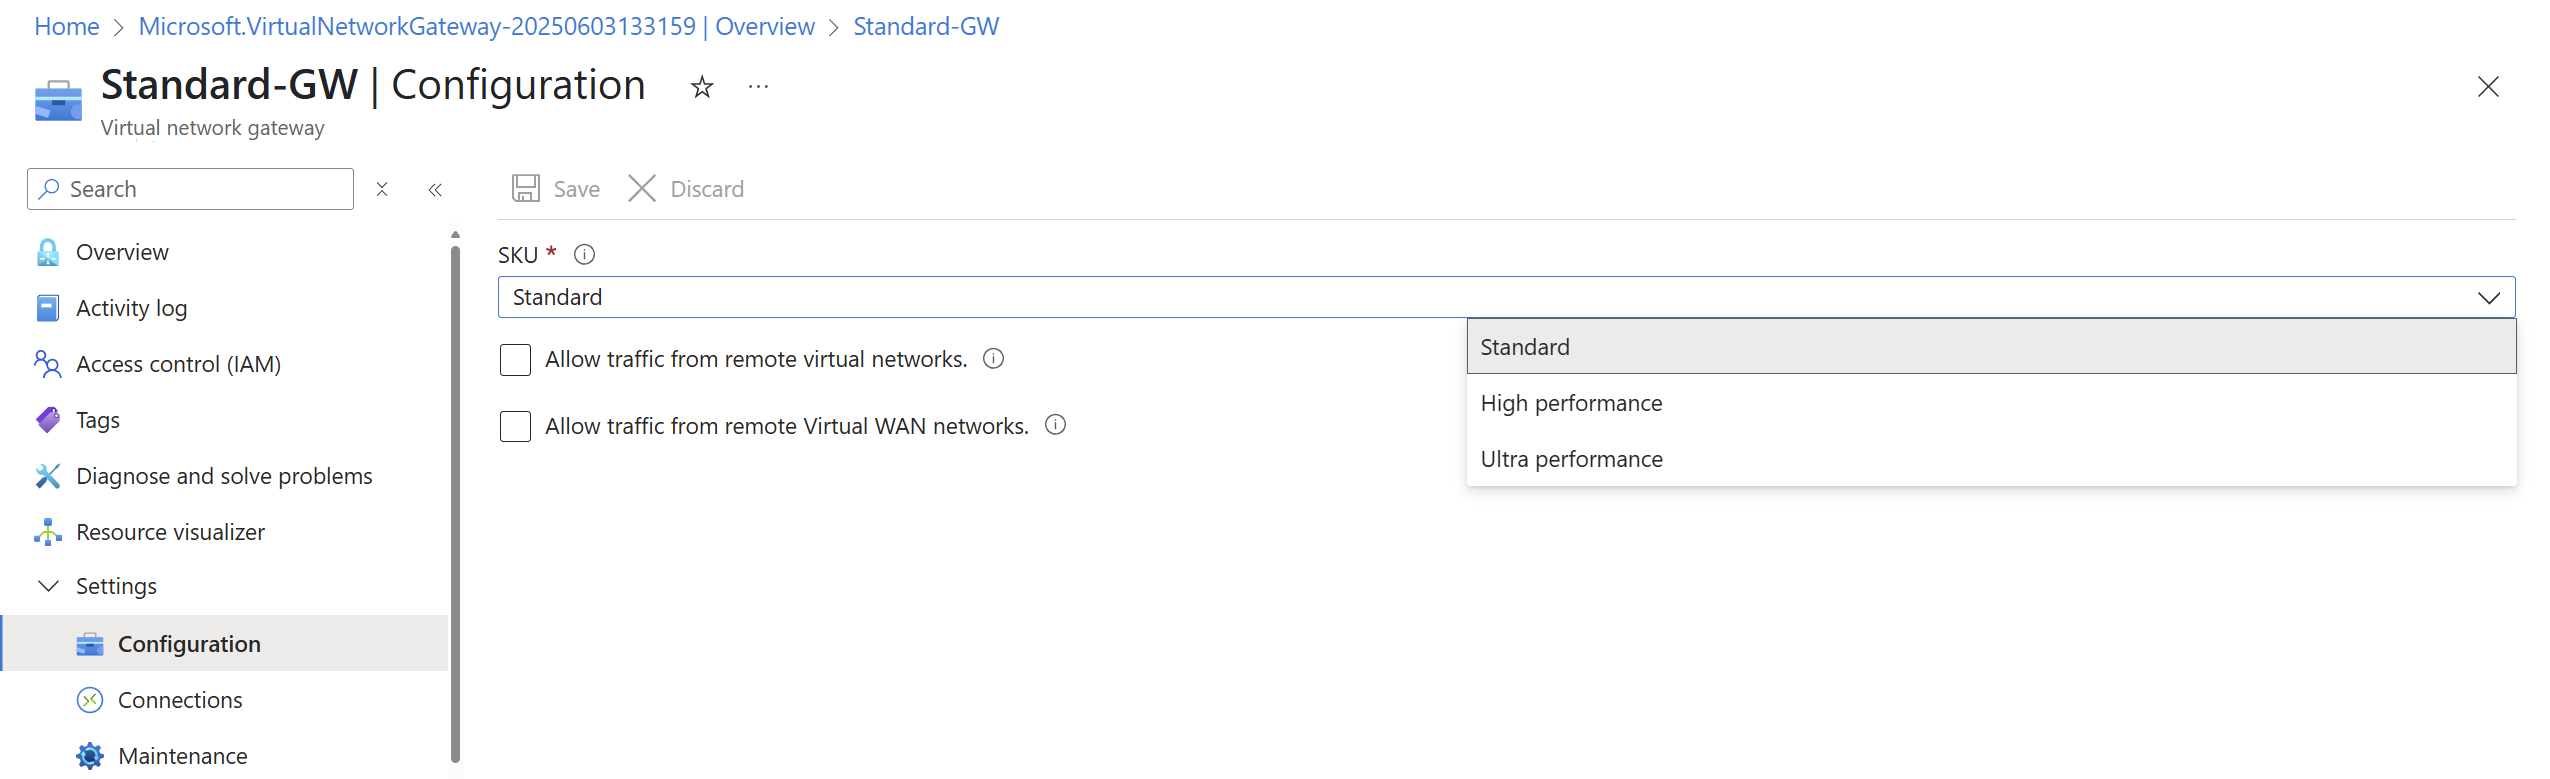
Availability zone-enabled SKUs: ErGw1Az, ErGw2Az, ErGw3Az, ErGwScale
Note
For all other scenarios (such as downgrading SKUs or switching between availability zone and non-availability zone SKUs), you must delete and recreate the gateway. This process incurs downtime.
Delete a gateway
If you no longer need your ExpressRoute gateway, you can delete it.
Important
Before you delete a gateway, make sure it doesn't have any connections to ExpressRoute circuits.
In the Azure portal, go to your virtual network gateway.
Select Delete.
Confirm the deletion.