Note
Access to this page requires authorization. You can try signing in or changing directories.
Access to this page requires authorization. You can try changing directories.
In this article, you learn how to use the IoT extension for Azure CLI with various management options on your development machine. The IoT extension for Azure CLI is an open-source IoT extension that adds to the capabilities of the Azure CLI. The Azure CLI includes commands for interacting with Azure Resource Manager and management endpoints. For example, you can use Azure CLI to create an Azure VM or an IoT hub. A CLI extension enables an Azure service to augment the Azure CLI giving you access to additional service-specific capabilities. The IoT extension gives IoT developers command-line access to all IoT Hub, IoT Edge, and IoT Hub Device Provisioning Service capabilities.
| Management option | Task |
|---|---|
| Direct methods | Make a device act such as starting or stopping sending messages or rebooting the device. |
| Twin desired properties | Put a device into certain states, such as setting an LED to green or setting the telemetry send interval to 30 minutes. |
| Twin reported properties | Get the reported state of a device. For example, the device reports the LED is blinking now. |
| Twin tags | Store device-specific metadata in the cloud. For example, the deployment location of a vending machine. |
| Device twin queries | Query all device twins to retrieve those twins with arbitrary conditions, such as identifying the devices that are available for use. |
For more detailed explanation on the differences and guidance on using these options, see Device-to-cloud communication guidance and Cloud-to-device communication guidance.
Device twins are JSON documents that store device state information (metadata, configurations, and conditions). IoT Hub persists a device twin for each device that connects to it. For more information about device twins, see Get started with device twins.
Note
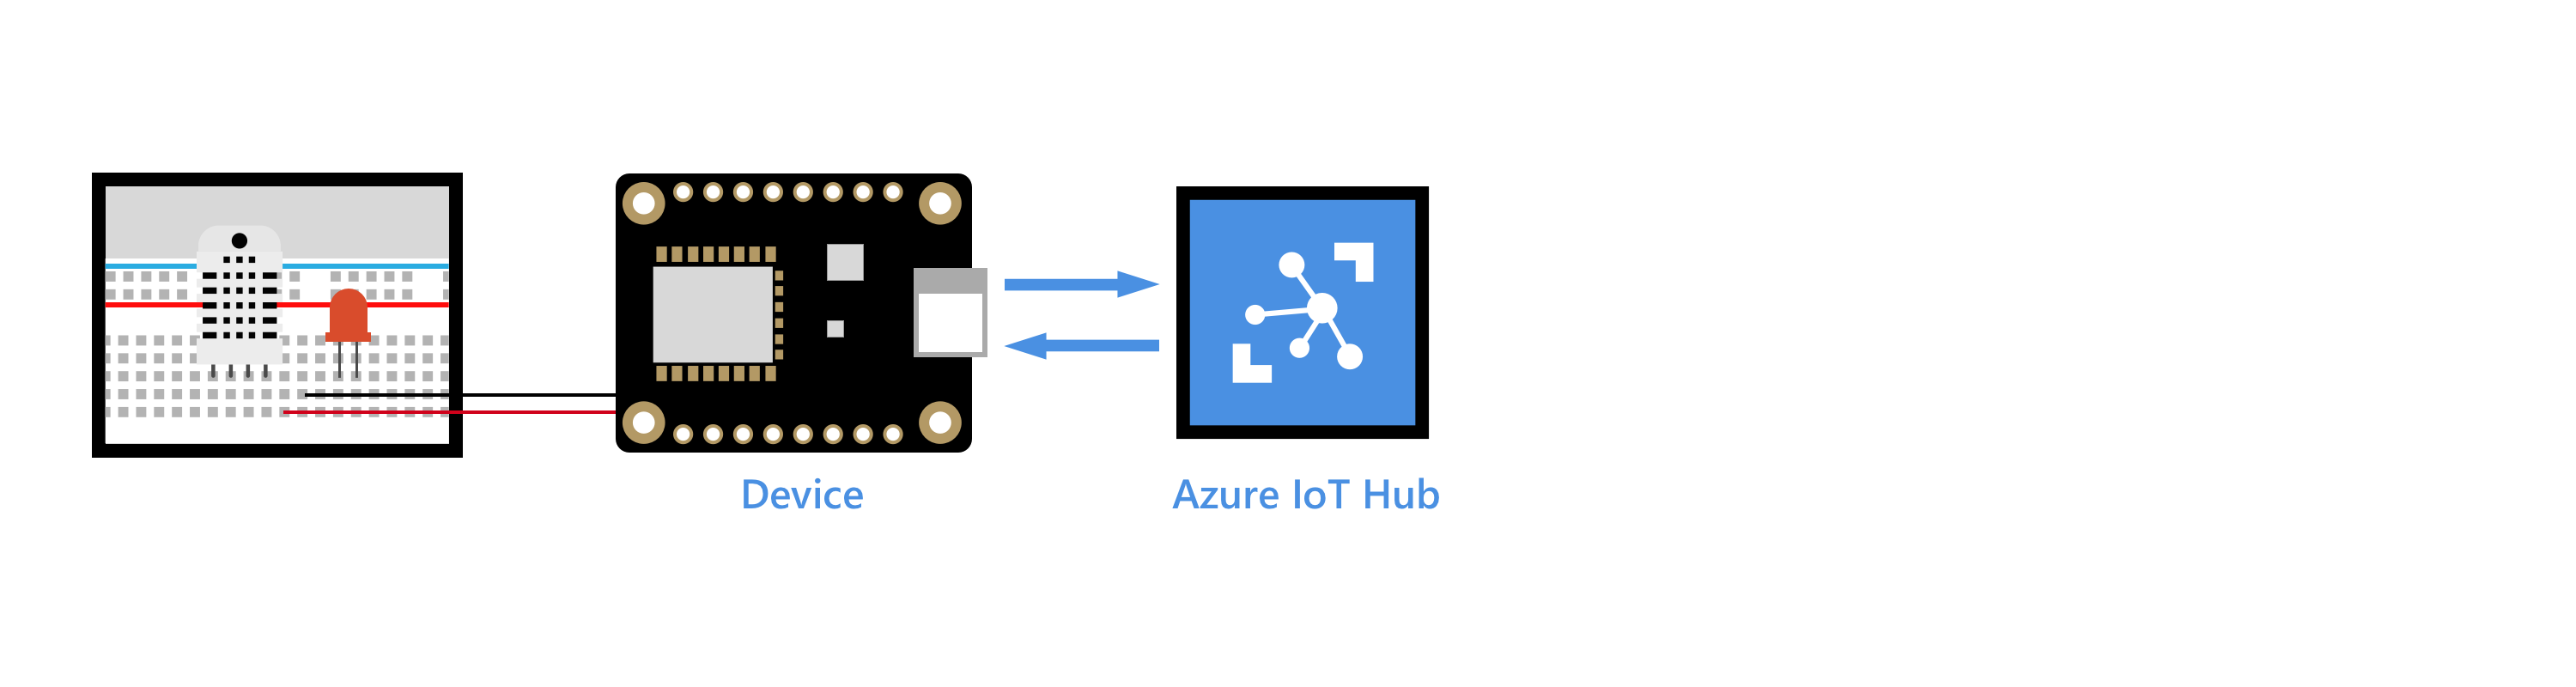
Before you start this tutorial, complete the Raspberry Pi online simulator tutorial or one of the device tutorials. For example, you can go to Raspberry Pi with node.js. In these articles, you set up your Azure IoT device and IoT hub, and you deploy a sample application to run on your device. The application sends collected sensor data to your IoT hub.
Note
This article uses the newest version of the Azure IoT extension, called azure-iot. The legacy version is called azure-cli-iot-ext. You should only have one version installed at a time. You can use the command az extension list to validate the currently installed extensions.
Use az extension remove --name azure-cli-iot-ext to remove the legacy version of the extension.
Use az extension add --name azure-iot to add the new version of the extension.
To see what extensions are currently installed, use az extension list.
Note
The features described in this article are available only in the standard tier of IoT Hub. For more information about the basic and standard/free IoT Hub tiers, see Choose the right IoT Hub tier and size for your solution.
Prerequisites
Complete the Raspberry Pi online simulator tutorial or one of the device tutorials. For example, you can go to Raspberry Pi with Node.js or to one of the Send telemetry quickstarts. These articles cover the following requirements:
- An active Azure subscription.
- An Azure IoT hub under your subscription.
- A client application that sends messages to your Azure IoT hub.
Make sure your device is running with the client application during this tutorial.
The Azure CLI. If you need to install it, see Install the Azure CLI. At a minimum, your Azure CLI version must be 2.0.70 or above. Use
az -versionto validate.Note
This article uses the newest version of the Azure IoT extension, called
azure-iot. The legacy version is calledazure-cli-iot-ext. You should only have one version installed at a time. You can use the commandaz extension listto validate the currently installed extensions.Use
az extension remove --name azure-cli-iot-extto remove the legacy version of the extension.Use
az extension add --name azure-iotto add the new version of the extension.To see what extensions are currently installed, use
az extension list.Install the IoT extension. The simplest way is to run
az extension add --name azure-iot. The IoT extension readme describes several ways to install the extension.
Sign in to your Azure account
Sign in to your Azure account by running the following command:
az login
Direct methods
az iot hub invoke-device-method --device-id <your device id> \
  --hub-name <your hub name> \
  --method-name <the method name> \
  --method-payload <the method payload>
Device twin desired properties
Set a desired property interval = 3000 by running the following command:
az iot hub device-twin update -n <your hub name> \
  -d <your device id> --set properties.desired.interval=3000
This property can be read from your device.
Device twin reported properties
Get the reported properties of the device by running the following command:
az iot hub device-twin show -n <your hub name> -d <your device id>
One of the twin reported properties is $metadata.$lastUpdated, which shows the last time the device app updated its reported property set.
Device twin tags
Display the tags and properties of the device by running the following command:
az iot hub device-twin show --hub-name <your hub name> --device-id <your device id>
Add a field role = temperature&humidity to the device by running the following command:
az iot hub device-twin update \
  --hub-name <your hub name> \
  --device-id <your device id> \
  --set tags='{"role":"temperature&humidity"}'
Device twin queries
Query devices with a tag of role = 'temperature&humidity' by running the following command:
az iot hub query --hub-name <your hub name> \
  --query-command "SELECT * FROM devices WHERE tags.role = 'temperature&humidity'"
Query all devices except those with a tag of role = 'temperature&humidity' by running the following command:
az iot hub query --hub-name <your hub name> \
  --query-command "SELECT * FROM devices WHERE tags.role != 'temperature&humidity'"
Next steps
You've learned how to monitor device-to-cloud messages and send cloud-to-device messages between your IoT device and Azure IoT Hub.
To continue to get started with Azure IoT Hub and to explore all extended IoT scenarios, see the following: