Note
Access to this page requires authorization. You can try signing in or changing directories.
Access to this page requires authorization. You can try changing directories.
You can serve static content (HTML, CSS, JavaScript, and image files) directly from a container in a general-purpose V2 or BlockBlobStorage account. To learn more, see Static website hosting in Azure Storage.
This article shows you how to enable static website hosting by using the Azure portal, the Azure CLI, or PowerShell.
Enable static website hosting
Static website hosting is a feature that you have to enable on the storage account.
Sign in to the Azure portal to get started.
Locate your storage account and select it to display the account's Overview pane.
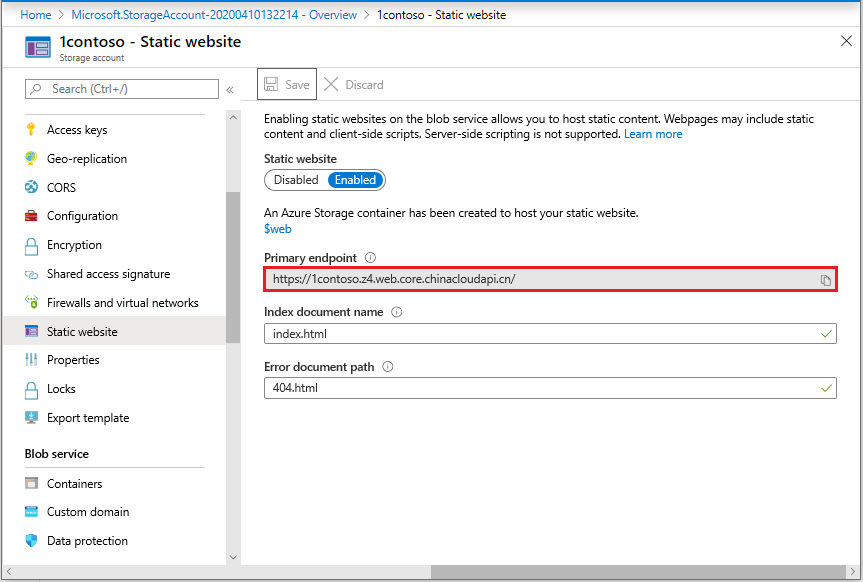
In the Overview pane, select the Capabilities tab. Next, select Static website to display the configuration page for the static website.

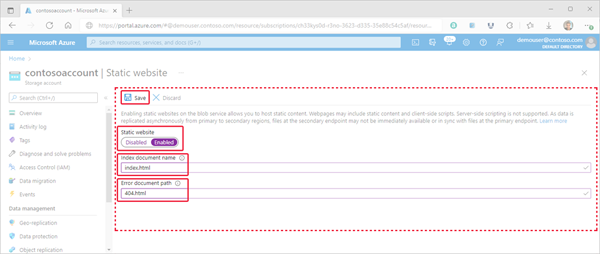
Select Enabled to enable static website hosting for the storage account.
In the Index document name field, specify a default index page (For example: index.html).
The default index page is displayed when a user navigates to the root of your static website.
In the Error document path field, specify a default error page (For example: 404.html).
The default error page is displayed when a user attempts to navigate to a page that does not exist in your static website.
Click Save to finish the static site configuration.
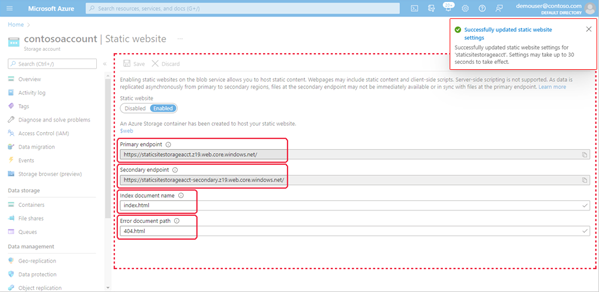
A confirmation message is displayed. Your static website endpoints and other configuration information are shown within the Overview pane.


Upload files
The following instructions show you how to upload files by using the Azure portal. You could also use AzCopy, PowerShell, CLI, or any custom application that can upload files to the $web container of your account. For a step-by-step tutorial that uploads files by using Visual Studio code, see Tutorial: Host a static website on Blob Storage.
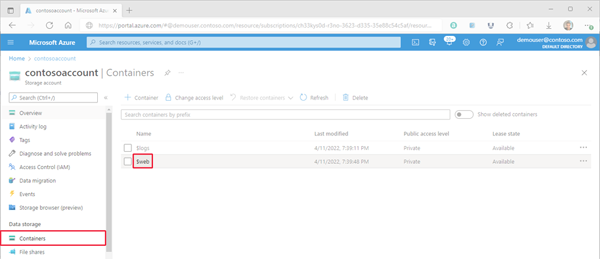
In the Azure portal, navigate to the storage account containing your static website. Select Containers in the left navigation pane to display the list of containers.
In the Containers pane, select the $web container to open the container's Overview pane.
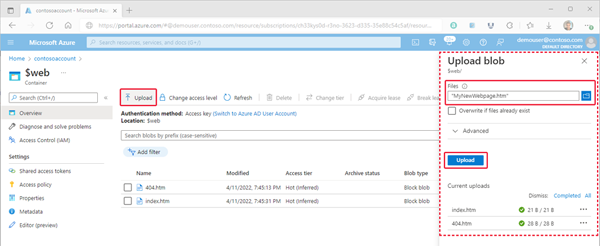
In the Overview pane, select the Upload icon to open the Upload blob pane. Next, select the Files field within the Upload blob pane to open the file browser. Navigate to the file you want to upload, select it, and then select Open to populate the Files field. Optionally, select the Overwrite if files already exist checkbox.
If you intend for the browser to display the contents of file, make sure that the content type of that file is set to
text/html. To verify this, select the name of the blob you uploaded in the previous step to open its Overview pane. Ensure that the value is set within the CONTENT-TYPE property field.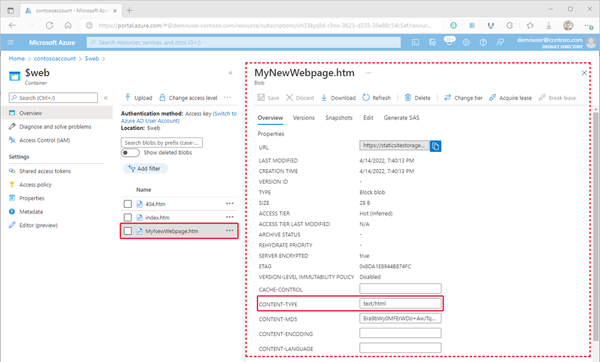
Note
This property is automatically set to
text/htmlfor commonly recognized extensions such as.html. However, in some cases, you'll have to set this yourself. If you don't set this property totext/html, the browser will prompt users to download the file instead of rendering the contents. This property can be set in the previous step.


Find the website URL
You can view the pages of your site from a browser by using the public URL of the website.
In the pane that appears beside the account overview page of your storage account, select Static Website. The URL of your site appears in the Primary endpoint field.
Enable metrics on static website pages
Once you've enabled metrics, traffic statistics on files in the $web container are reported in the metrics dashboard.
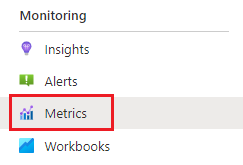
Click Metrics under the Monitoring section of the storage account menu.
Note
Metrics data are generated by hooking into different metrics APIs. The portal only displays API members used within a given time frame in order to only focus on members that return data. In order to ensure you're able to select the necessary API member, the first step is to expand the time frame.
Click on the time frame button, choose a time frame, and then click Apply.

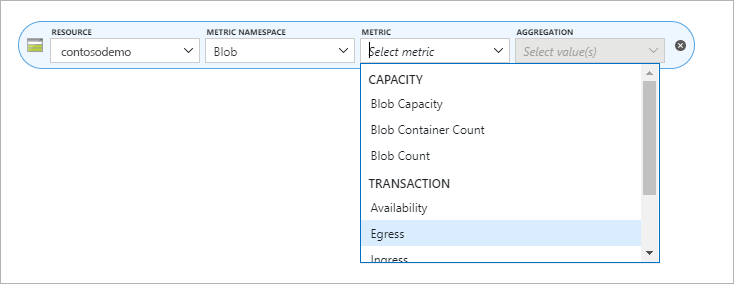
Select Blob from the Namespace drop down.
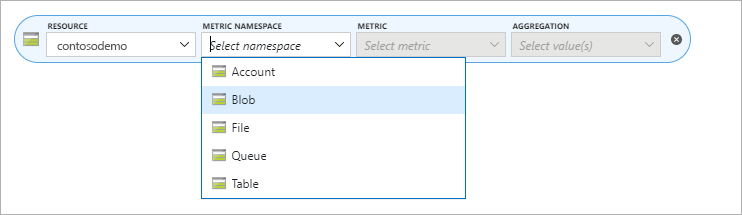
Then select the Egress metric.
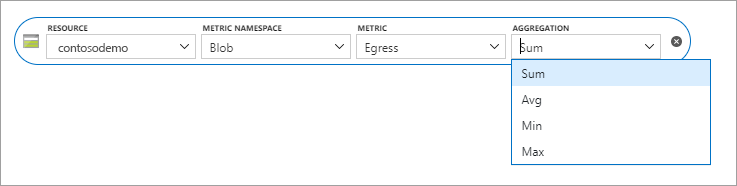
Select Sum from the Aggregation selector.
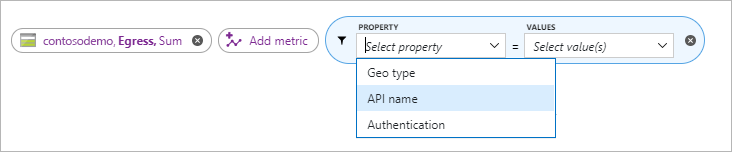
Click the Add filter button and choose API name from the Property selector.
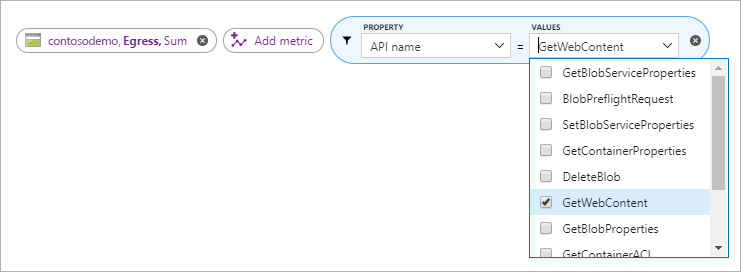
Check the box next to GetWebContent in the Values selector to populate the metrics report.
Note
The GetWebContent checkbox appears only if that API member was used within a given time frame. The portal only displays API members used within a given time frame in order to only focus on members that return data. If you can't find a specific API member in this list, expand the time frame.
Next steps
- Learn how to configure a custom domain with your static website. See Map a custom domain to an Azure Blob Storage endpoint.