Note
Access to this page requires authorization. You can try signing in or changing directories.
Access to this page requires authorization. You can try changing directories.
Applies to: ✔️ Linux VMs ✔️ Windows VMs ✔️ Flexible scale sets ✔️ Uniform scale sets
When you delete a virtual machine (VM) in Azure, by default, any disks that are attached to the VM aren't deleted. This helps to prevent data loss due to the unintentional deletion of VMs. After a VM is deleted, you will continue to pay for unattached disks. This article shows you how to find and delete any unattached disks using the Azure portal, and reduce unnecessary costs. Deletions are permanent, you will not be able to recover data once you delete a disk.
Unmanaged disks are VHD files that are stored as page blobs in Azure storage accounts.
If you have unmanaged disks that aren't attached to a VM, no longer need the data on them, and would like to delete them, the best way to find and delete them is to use the scripts in either the Azure CLI or Azure PowerShell articles.
Prerequisites
None
Managed disks: Find and delete unattached disks
If you have unattached managed disks and no longer need the data on them, the following process explains how to find them from the Azure portal:
Sign in to the Azure portal.
Search for and select Disks.
On the Disks blade, you are presented with a list of all your disks.
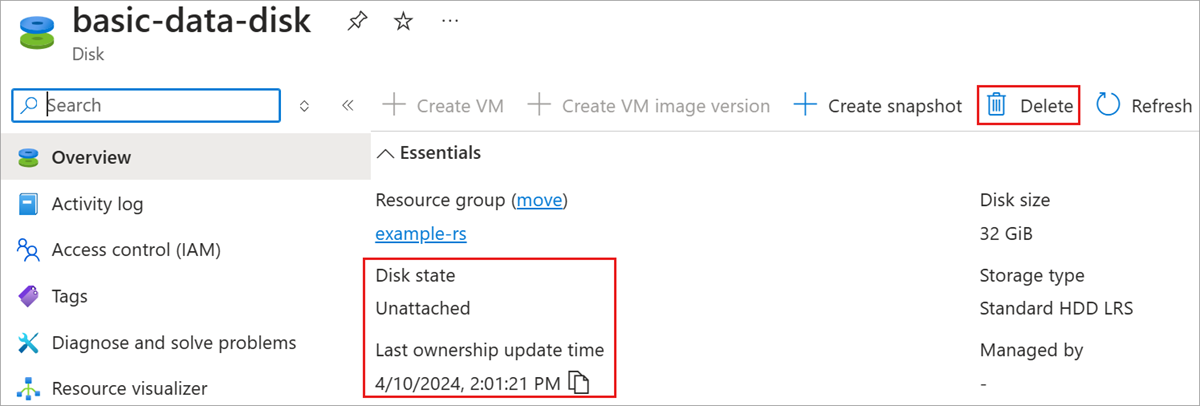
Select the disk you'd like to delete, this brings you to the individual disk's blade.
On the individual disk's blade, confirm the disk state is unattached, then select Delete.