Use this article to learn how to set up these requirements and create a project.
Prerequisites
- An Azure subscription. If you don't have one, you can create one for trial.
- An Azure AI Language resource.
Create a Language resource
Before you start using conversational language understanding (CLU), you need an Azure AI Language resource.
Note
You need to have an Owner role assigned for the resource group to create a Language resource.
Create a new resource from the Azure portal
Sign in to the Azure portal to create a new Azure Language resource.
Select Create a new resource.
In the window that appears, search for Language.
Select Create.
Create a Language resource with the following information:
| Instance detail |
Required value |
| Region |
One of the supported regions for your Language resource. |
| Name |
Required name for your Language resource. |
| Pricing tier |
One of the supported pricing tiers for your Language resource. |
Create a new Language resource from Language Studio
If it's your first time to sign in, you see a window in Language Studio that you can use to choose an existing Language resource or create a new one. You can also create a resource by selecting the settings icon in the upper-right corner, selecting Resources, and then selecting Create a new resource.
Create a Language resource with the following information:
| Instance detail |
Required value |
| Azure subscription |
Your Azure subscription. |
| Azure resource group |
Your Azure resource group. |
| Azure resource name |
Your Language resource name. |
| Location |
Supported regions for your Language resource. |
| Pricing tier |
Supported pricing tiers for your Language resource. |
Important
- Make sure to enable managed identity when you create a Language resource.
- Read and confirm the Responsible AI notice.
Sign in to Language Studio
Go to the Language Studio and sign in with your Azure account.
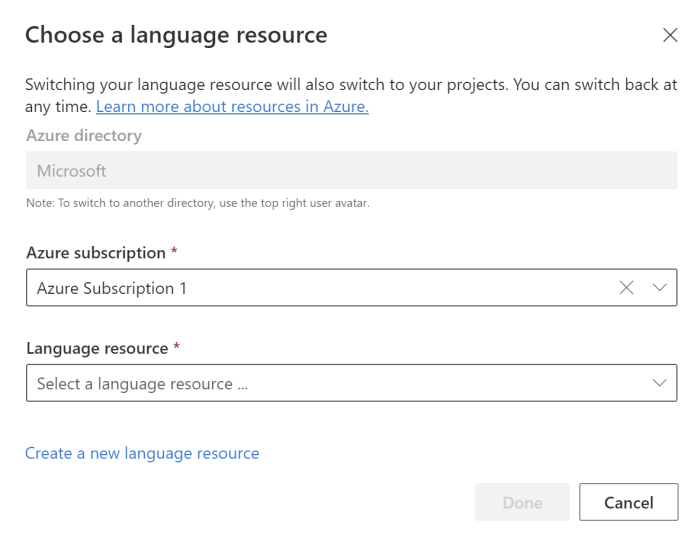
In the Choose a language resource window that appears, find your Azure subscription, and choose your Language resource. If you don't have a resource, you can create a new one.
| Instance detail |
Required value |
| Azure subscription |
Your Azure subscription. |
| Azure resource group |
Your Azure resource group name. |
| Azure resource name |
Your Azure resource name. |
| Location |
One of the supported regions for your Language resource. An example is China North 2. |
| Pricing tier |
One of the valid pricing tiers for your Language resource. You can use the Free (F0) tier to try the service. |
Create a conversation project
After you create a Language resource, create a CLU project.
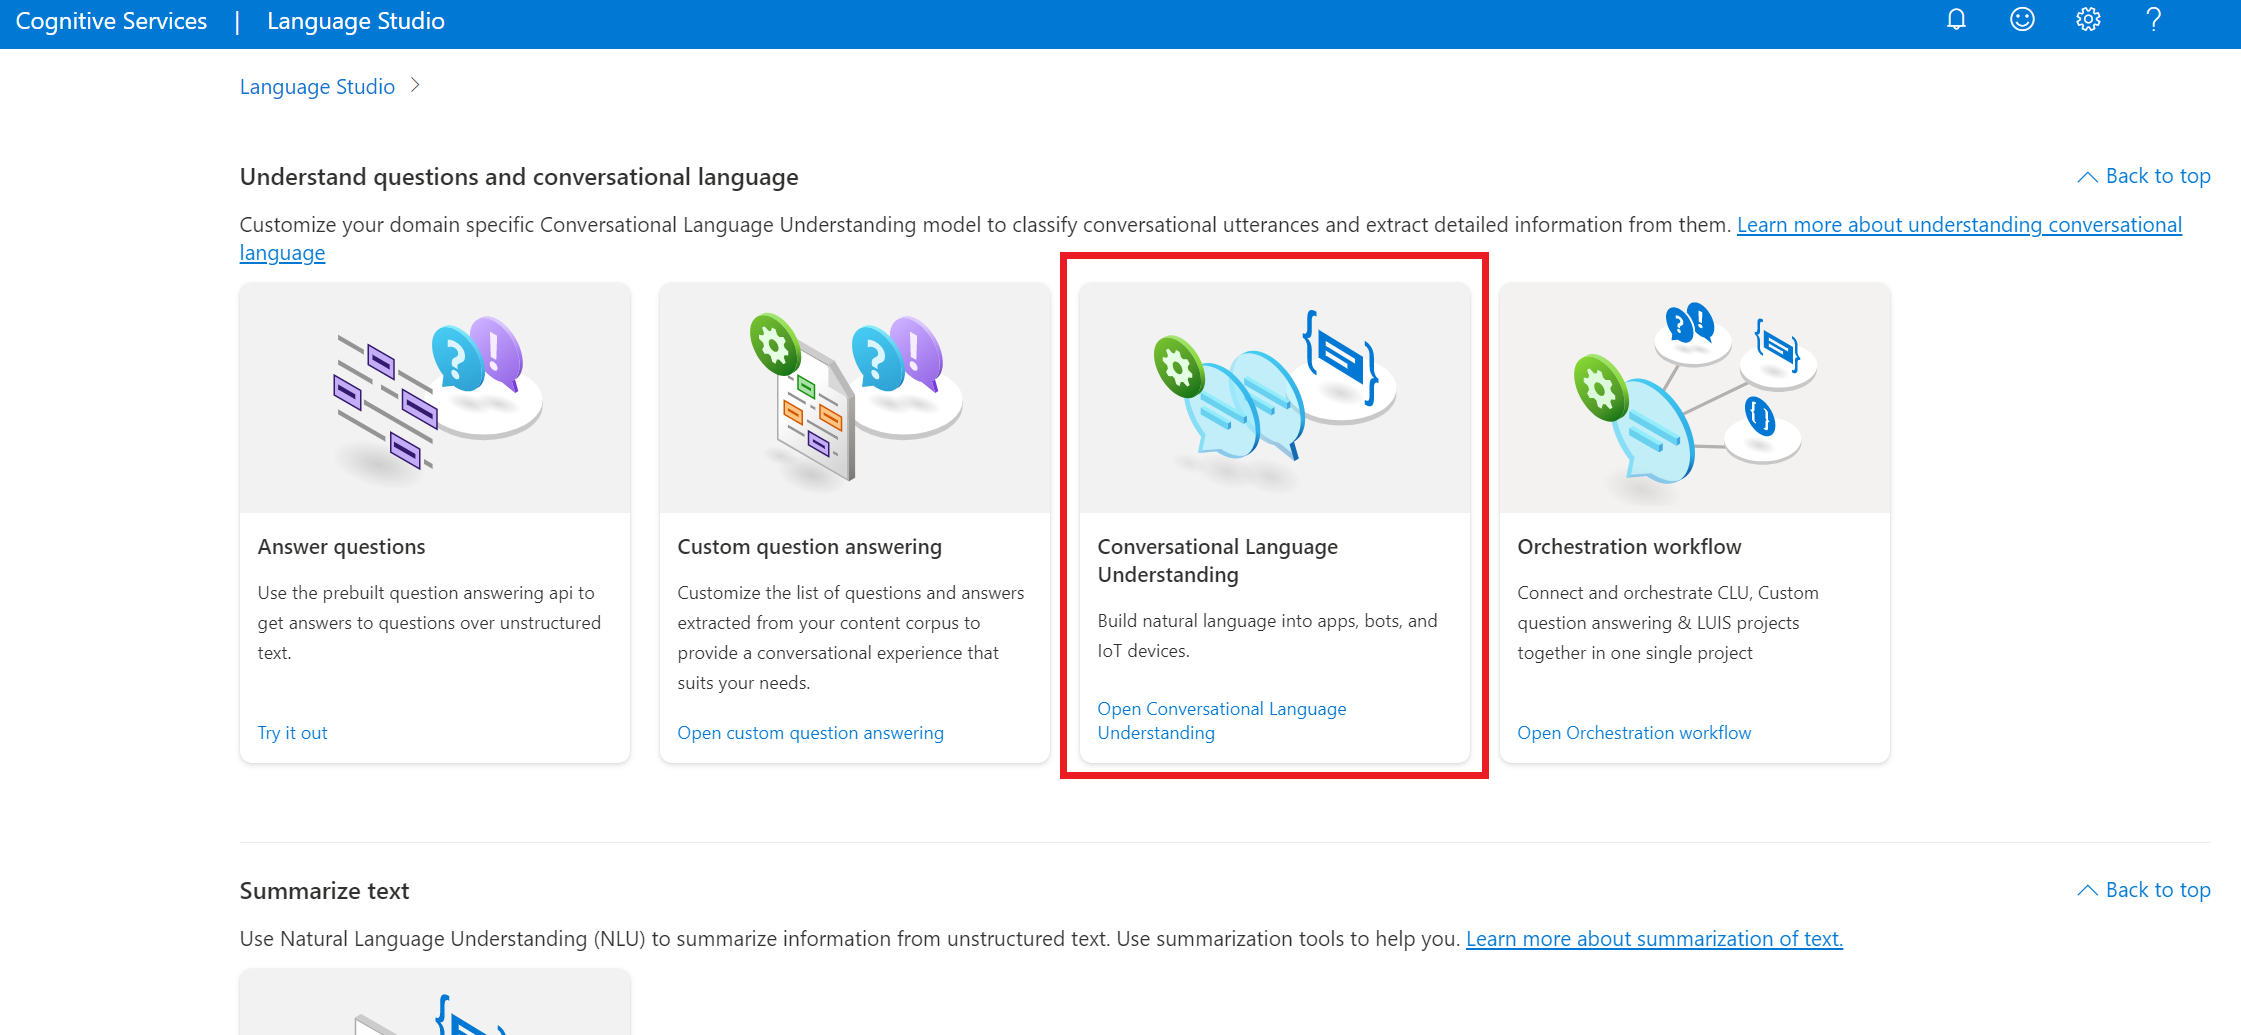
In Language Studio, find the section named Understand questions and conversational language and select Conversational Language Understanding.
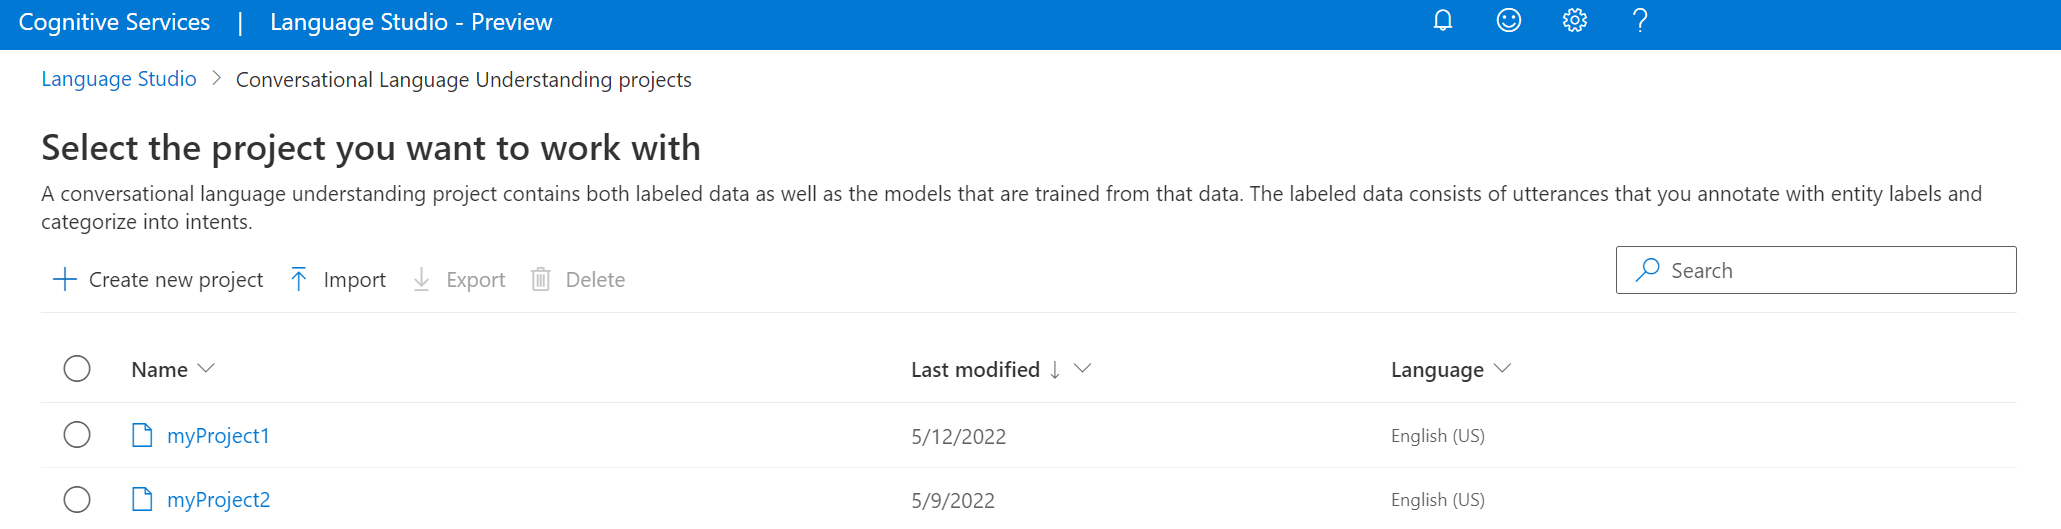
When the Conversational Language Understanding projects page opens, select Create new project.
To create a new project, provide the following information:
| Value |
Description |
| Name |
A name for your project. After you create it, the name can't be changed. |
| Description |
Optional project description. |
| Utterances primary language |
The primary language of your project. Your training data should primarily be in this language. |
| Enable multiple languages |
Whether you want to enable your project to support multiple languages at once. |
After you finish, select Create. You should now see the Getting started landing page for your project.
Submit a PATCH request by using the following URL, headers, and JSON body to create a new project.
Request URL
Use the following URL when you create your API request. Replace the placeholder values with your own values.
{ENDPOINT}/language/authoring/analyze-conversations/projects/{PROJECT-NAME}?api-version={API-VERSION}
| Placeholder |
Value |
Example |
{ENDPOINT} |
The endpoint for authenticating your API request. |
https://<your-custom-subdomain>.cognitiveservices.azure.cn |
{PROJECT-NAME} |
The name for your project. This value is case sensitive. |
myProject |
{API-VERSION} |
The version of the API you're calling. |
2023-04-01 |
Use the following header to authenticate your request.
| Key |
Value |
Ocp-Apim-Subscription-Key |
The key to your resource. Used for authenticating your API requests. |
Content-Type |
application/merge-patch+json |
Body
Use the following sample JSON as your body.
{
  "projectName": "{PROJECT-NAME}",
  "language": "{LANGUAGE-CODE}",
  "projectKind": "Conversation",
  "description": "Project description",
  "multilingual": true
}
| Key |
Placeholder |
Value |
Example |
projectName |
{PROJECT-NAME} |
The name of your project. This value is case sensitive. |
EmailApp |
language |
{LANGUAGE-CODE} |
A string that specifies the language code for the utterances used in your project. If your project is a multilingual project, choose the language code of most of the utterances. |
en-us |
multilingual |
true |
A Boolean value that enables you to have documents in multiple languages in your dataset. When your model is deployed, you can query the model in any supported language (not necessarily included in your training documents). To learn more about multilingual support, see Language support. |
true |
Import a project
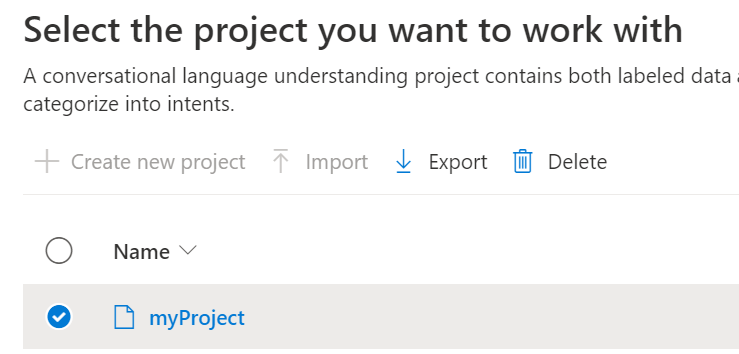
You can export a CLU project as a JSON file at any time. On the conversation projects page, select a project, and on the top menu, select Export.
You can reimport that project as a new project. If you import a project with the exact same name, it replaces the project's data with the newly imported project's data.
If you have an existing Language Understanding (LUIS) application, you can import the LUIS application JSON to CLU directly. It creates a Conversation project with all the pieces that are currently available: intents, machine learning entities, and utterances. For more information, see Migrate from Language Understanding (LUIS) to conversational language understanding (CLU).
To import a project, select the arrow button next to Create a new project and select Import. Then select the LUIS or CLU JSON file.

You can import a CLU JSON into the service.
Submit a POST request by using the following URL, headers, and JSON body to import your project.
Request URL
Use the following URL when you create your API request. Replace the placeholder values with your own values.
{ENDPOINT}/language/authoring/analyze-conversations/projects/{PROJECT-NAME}/:import?api-version={API-VERSION}
| Placeholder |
Value |
Example |
{ENDPOINT} |
The endpoint for authenticating your API request. |
https://<your-custom-subdomain>.cognitiveservices.azure.cn |
{PROJECT-NAME} |
The name for your project. This value is case sensitive and must match the project name in the JSON file that you're importing. |
EmailAppDemo |
{API-VERSION} |
The version of the API that you're calling. |
2023-04-01 |
Use the following header to authenticate your request.
| Key |
Value |
Ocp-Apim-Subscription-Key |
The key to your resource. Used for authenticating your API requests. |
Body
The JSON body you send is similar to the following example. For more information about the JSON object, see the reference documentation.
{
  "projectFileVersion": "{API-VERSION}",
  "stringIndexType": "Utf16CodeUnit",
  "metadata": {
    "projectKind": "Conversation",
    "settings": {
      "confidenceThreshold": 0.7
    },
    "projectName": "{PROJECT-NAME}",
    "multilingual": true,
    "description": "Trying out CLU",
    "language": "{LANGUAGE-CODE}"
  },
  "assets": {
    "projectKind": "Conversation",
    "intents": [
      {
        "category": "intent1"
      },
      {
        "category": "intent2"
      }
    ],
    "entities": [
      {
        "category": "entity1"
      }
    ],
    "utterances": [
      {
        "text": "text1",
        "dataset": "{DATASET}",
        "intent": "intent1",
        "entities": [
          {
            "category": "entity1",
            "offset": 5,
            "length": 5
          }
        ]
      },
      {
        "text": "text2",
        "language": "{LANGUAGE-CODE}",
        "dataset": "{DATASET}",
        "intent": "intent2",
        "entities": []
      }
    ]
  }
}
| Key |
Placeholder |
Value |
Example |
{API-VERSION} |
The version of the API that you're calling. |
2023-04-01 |
|
projectName |
{PROJECT-NAME} |
The name of your project. This value is case sensitive. |
EmailAppDemo |
language |
{LANGUAGE-CODE} |
A string that specifies the language code for the utterances used in your project. If your project is a multilingual project, choose the language code of most of the utterances. |
en-us |
multilingual |
true |
A Boolean value that enables you to have documents in multiple languages in your dataset. When your model is deployed, you can query the model in any supported language, including languages that aren't included in your training documents. |
true |
dataset |
{DATASET} |
For information on how to split your data between a testing and training set, see Label your utterances in Foundry. Possible values for this field are Train and Test. |
Train |
After a successful request, the API response contains an operation-location header with a URL that you can use to check the status of the import job. The header is formatted like this example:
{ENDPOINT}/language/authoring/analyze-conversations/projects/{PROJECT-NAME}/import/jobs/{JOB-ID}?api-version={API-VERSION}
Export a project
You can export a CLU project as a JSON file at any time. On the conversation projects page, select a project, and then select Export.
You can export a CLU project as a JSON file at any time.
Create a POST request by using the following URL, headers, and JSON body to export your project.
Request URL
Use the following URL when you create your API request. Replace the placeholder values with your own values.
{ENDPOINT}/language/authoring/analyze-conversations/projects/{PROJECT-NAME}/:export?stringIndexType=Utf16CodeUnit&api-version={API-VERSION}
| Placeholder |
Value |
Example |
{ENDPOINT} |
The endpoint for authenticating your API request. |
https://<your-custom-subdomain>.cognitiveservices.azure.cn |
{PROJECT-NAME} |
The name for your project. This value is case sensitive. |
EmailApp |
{API-VERSION} |
The version of the API that you're calling. |
2023-04-01 |
Use the following header to authenticate your request.
| Key |
Value |
Ocp-Apim-Subscription-Key |
The key to your resource. Used for authenticating your API requests. |
After you send your API request, you receive a 202 response that indicates success. In the response headers, extract the operation-location value. The value is formatted like this example:
{ENDPOINT}/language/authoring/analyze-conversations/projects/{PROJECT-NAME}/jobs/{JOB-ID}?api-version={API-VERSION}
JOB-ID is used to identify your request because this operation is asynchronous. Use this URL to get the exported project JSON by using the same authentication method.
Get CLU project details
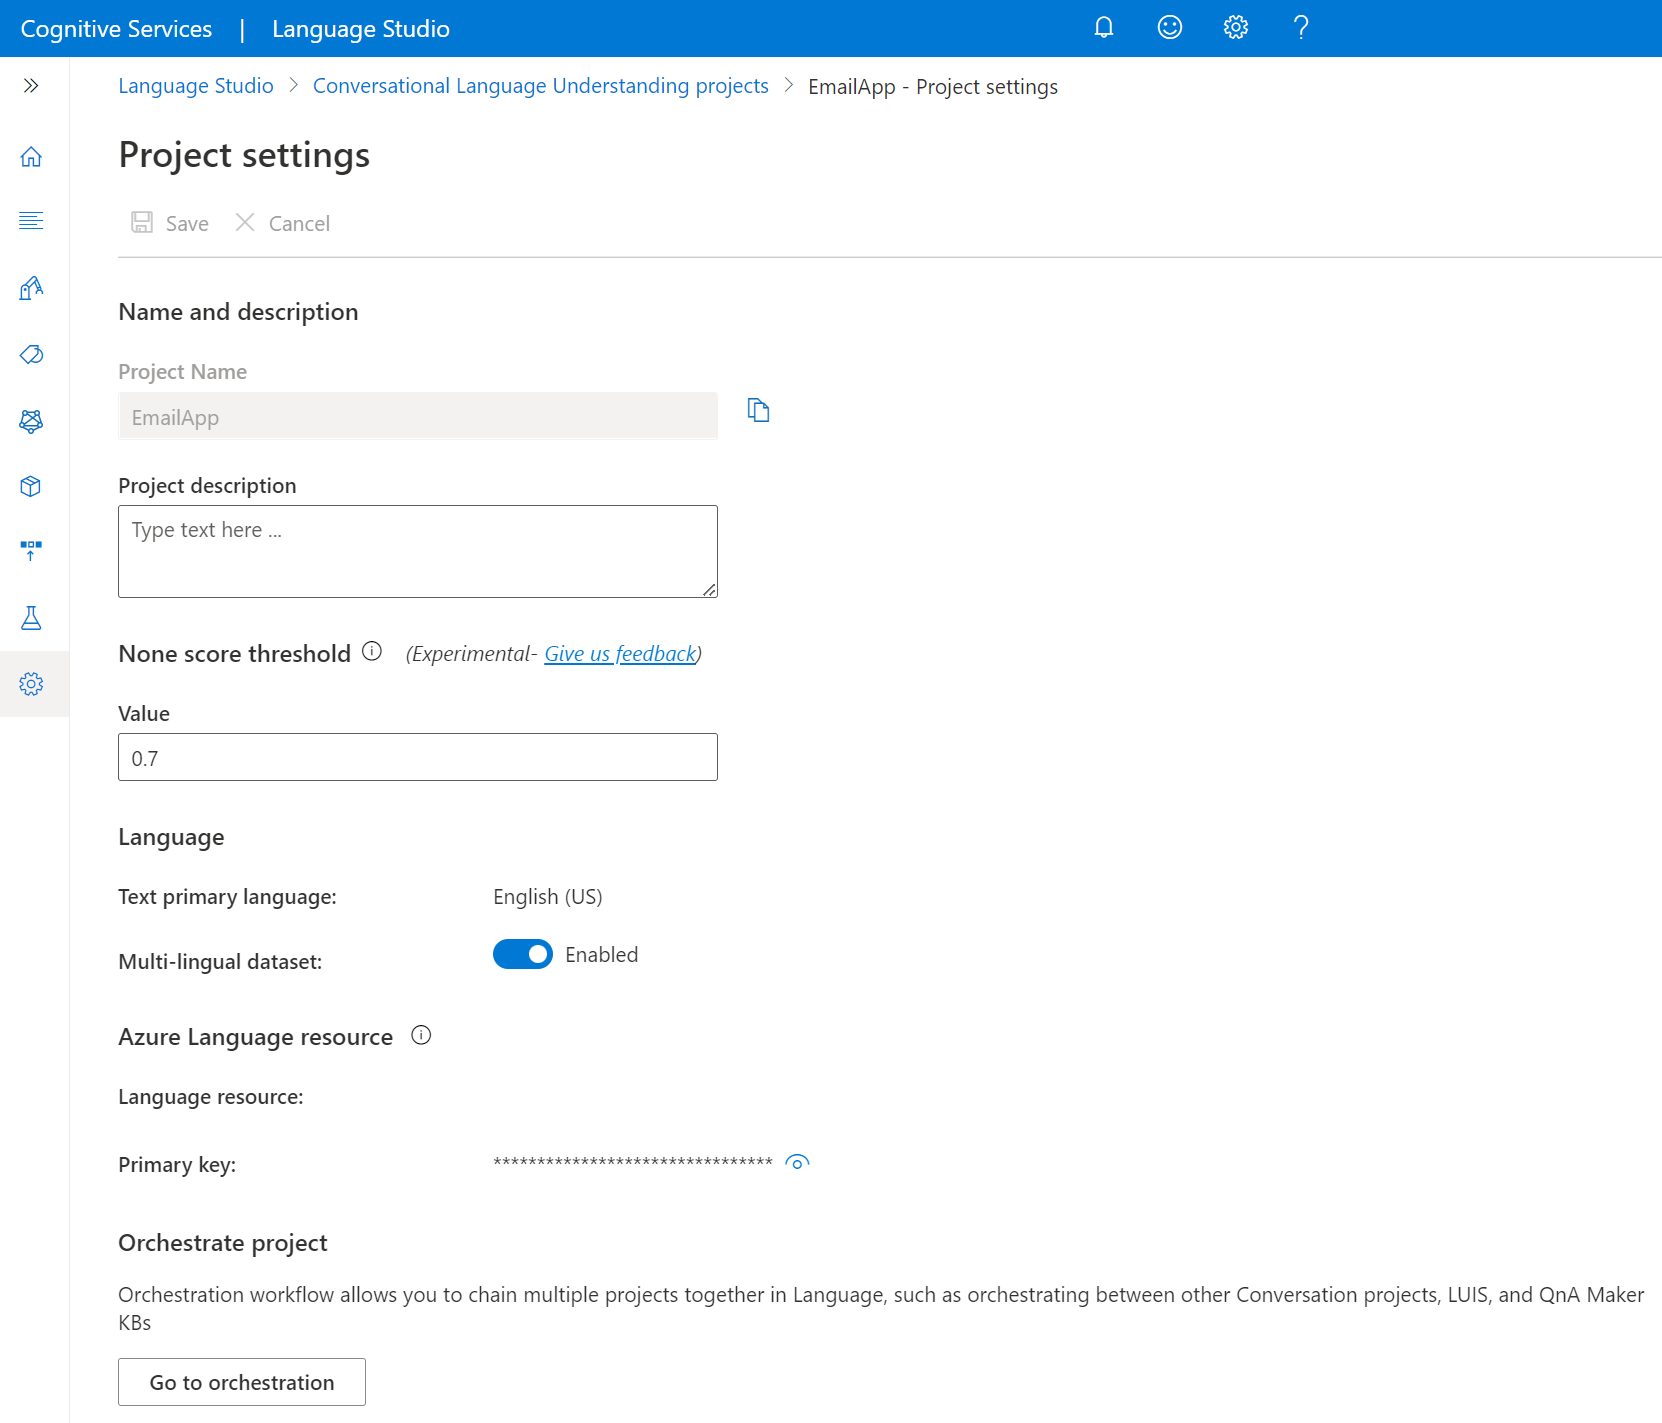
Go to your Project settings page in Language Studio.
Review your project details.
On this page, you can update your project description and enable or disable Multi-lingual dataset in project settings.
You can also retrieve your resource primary key from this page.
To get your project details, submit a GET request by using the following URL and headers. Replace the placeholder values with your own values.
{ENDPOINT}/language/authoring/analyze-conversations/projects/{PROJECT-NAME}?api-version={API-VERSION}
| Placeholder |
Value |
Example |
{ENDPOINT} |
The endpoint for authenticating your API request. |
https://<your-custom-subdomain>.cognitiveservices.azure.cn |
{PROJECT-NAME} |
The name for your project. This value is case sensitive. |
myProject |
{API-VERSION} |
The version of the API that you're calling. |
2023-04-01 |
Use the following header to authenticate your request.
| Key |
Value |
Ocp-Apim-Subscription-Key |
The key to your resource. Used for authenticating your API requests. |
Response body
After you send the request, you get the following response:
{
  "createdDateTime": "2022-04-18T13:53:03Z",
  "lastModifiedDateTime": "2022-04-18T13:53:03Z",
  "lastTrainedDateTime": "2022-04-18T14:14:28Z",
  "lastDeployedDateTime": "2022-04-18T14:49:01Z",
  "projectKind": "Conversation",
  "projectName": "{PROJECT-NAME}",
  "multilingual": true,
  "description": "This is a sample conversation project.",
  "language": "{LANGUAGE-CODE}"
}
After you send your API request, you receive a 200 response that indicates success and includes a JSON response body with your project details.
Delete a project
Deleting a project ensures that it and all of its associated data are permanently removed from the system.
When you don't need your project anymore, you can use Language Studio to delete your project. On the left pane, select Projects, select the project that you want to delete, and then select Delete from the top menu.
If your project is no longer required, you can delete it using the REST API. To proceed, access the REST API and follow the documented steps for project deletion to complete this action.
Create a DELETE request by using the following URL, headers, and JSON body to delete a conversational language understanding project.
Request URL
{ENDPOINT}/language/authoring/analyze-conversations/projects/{PROJECT-NAME}?api-version={API-VERSION}
| Placeholder |
Value |
Example |
{ENDPOINT} |
The endpoint for authenticating your API request. |
https://<your-custom-subdomain>.cognitiveservices.azure.cn |
{PROJECT-NAME} |
The name for your project. This value is case sensitive. |
myProject |
{API-VERSION} |
The version of the API that you're calling. |
2023-04-01 |
Use the following header to authenticate your request.
| Key |
Value |
Ocp-Apim-Subscription-Key |
The key to your resource. Used for authenticating your API requests. |
After you send your API request, you receive a 202 response that indicates success, which means that your project was deleted.
Next steps
After you create your fine-tuning workspace, start your fine-tuning task by defining your intents and entities and adding them to your schema:


