Note
Access to this page requires authorization. You can try signing in or changing directories.
Access to this page requires authorization. You can try changing directories.
APPLIES TO: All API Management tiers
This article shows how to import a logic app as an API and test the imported API.
In this article, you learn how to:
- Import a logic app as an API
- Test the API in the Azure portal
Note
Azure API Management supports automated import of a Logic App (Consumption) resource, which runs in the multitenant Logic Apps environment. For more information, see Differences between Standard single-tenant logic apps and Consumption multitenant logic apps.
Prerequisites
- Create an Azure API Management instance.
- Make sure there's a Consumption plan-based Logic App resource in your subscription that exposes an HTTP endpoint. For more information, see Trigger workflows with HTTP endpoints.
Import and publish a backend API
Navigate to your API Management service in the Azure portal.
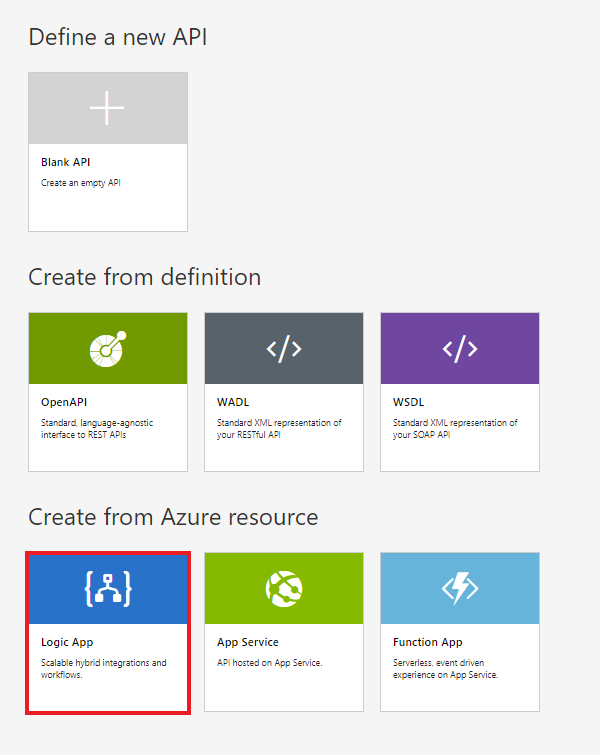
In the sidebar menu, in the APIs section, select APIs, and then select + Add API.
Under Create from Azure resource, select the Logic App tile:
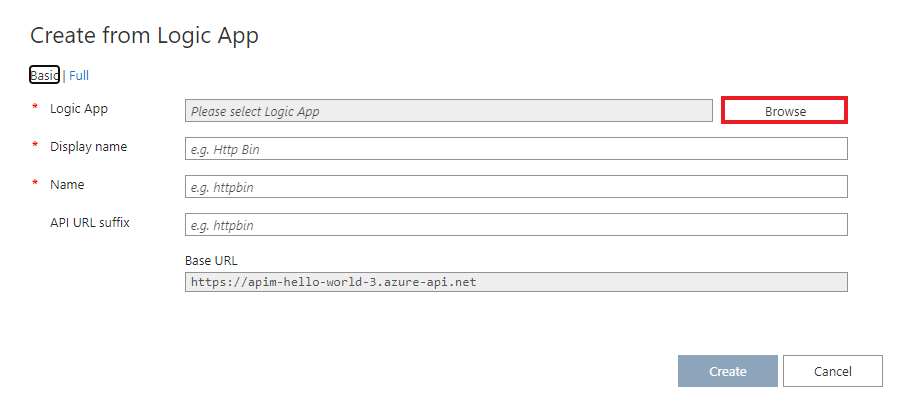
Select Browse to see the list of logic apps that have HTTP trigger in your subscription. (Logic apps without an HTTP trigger don't appear in the list.)
Select the logic app:
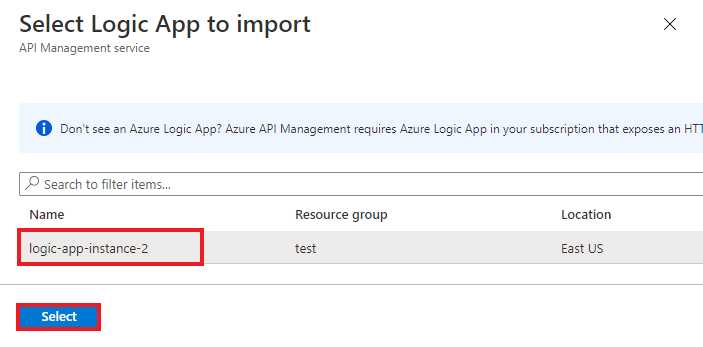
API Management finds the Swagger document that's associated with the selected app, fetches it, and imports it.
Add an API URL suffix. The suffix uniquely identifies the API in the API Management instance.
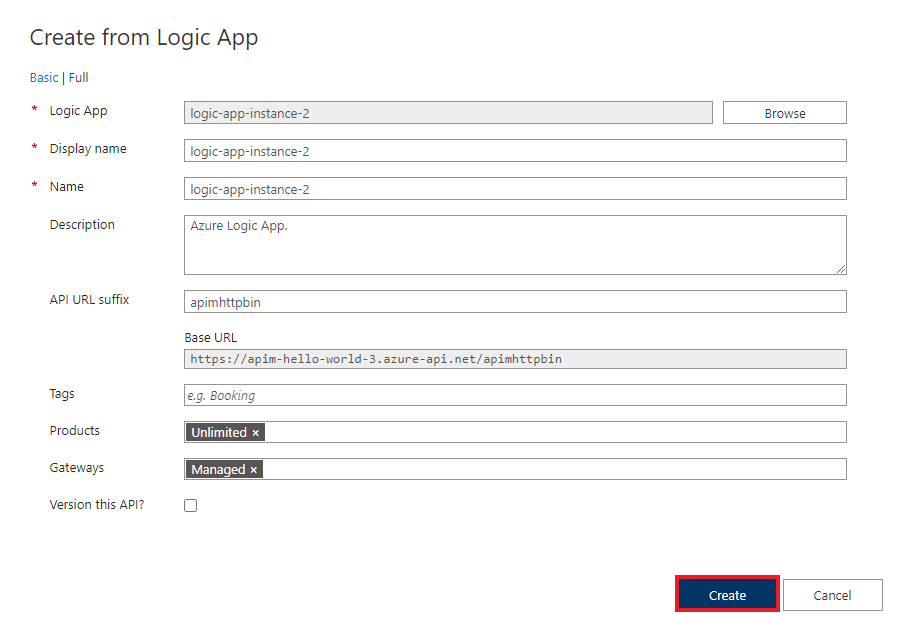
If you want the API to be published and available to developers, switch to the Full view and associate the API with a Product. This example uses the Unlimited product. You can add your API to a product when you create it or later via the Settings tab.
Note
Products are associations of one or more APIs offered to developers via the developer portal. First, developers must subscribe to a product to get access to the API. After they subscribe, they get a subscription key for any API in the product. As creator of the API Management instance, you're an administrator and are subscribed to every product by default.
In certain tiers, each API Management instance comes with two default sample products:
- Starter
- Unlimited
Enter other API settings. You can set these values when you create the API or later by going to the Settings tab. The settings are explained in the Import and publish your first API tutorial.
Select Create.


Test the API in the Azure portal
You can call operations directly from the Azure portal. This method provides a convenient way to view and test the operations of an API.

Select the API that you created in the previous step.
On the Test tab, select the operation that you want to test.
- The page displays fields for query parameters and headers.
- One of the headers is
Ocp-Apim-Subscription-Key. This header is for the product subscription key that's associated with the API. - As creator of the API Management instance, you're an administrator, so the key is filled in automatically.
Select Send. When the test succeeds, the backend responds with 200 OK and data.
Append other APIs
You can compose an API out of APIs that are exposed by different services, including:
- An OpenAPI specification
- A SOAP API
- A GraphQL API
- A Web App that's hosted in Azure App Service
- Azure Functions
- Azure Logic Apps
- Azure Service Fabric
Note
When you import an API, the operations are appended to your current API.
To append an API to an existing API:
Go to your Azure API Management instance in the Azure portal:
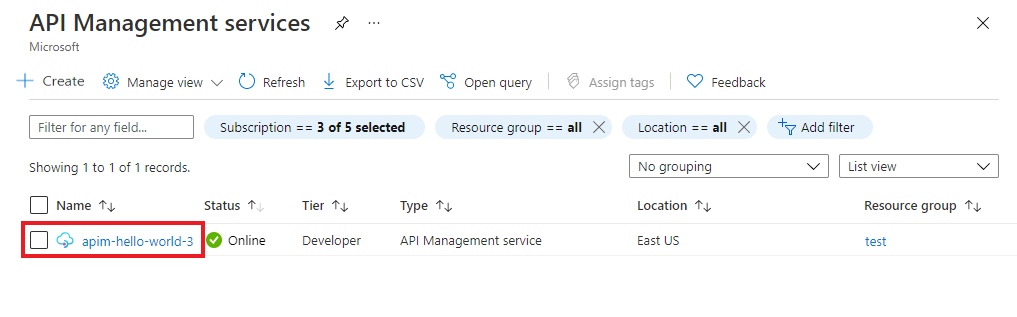
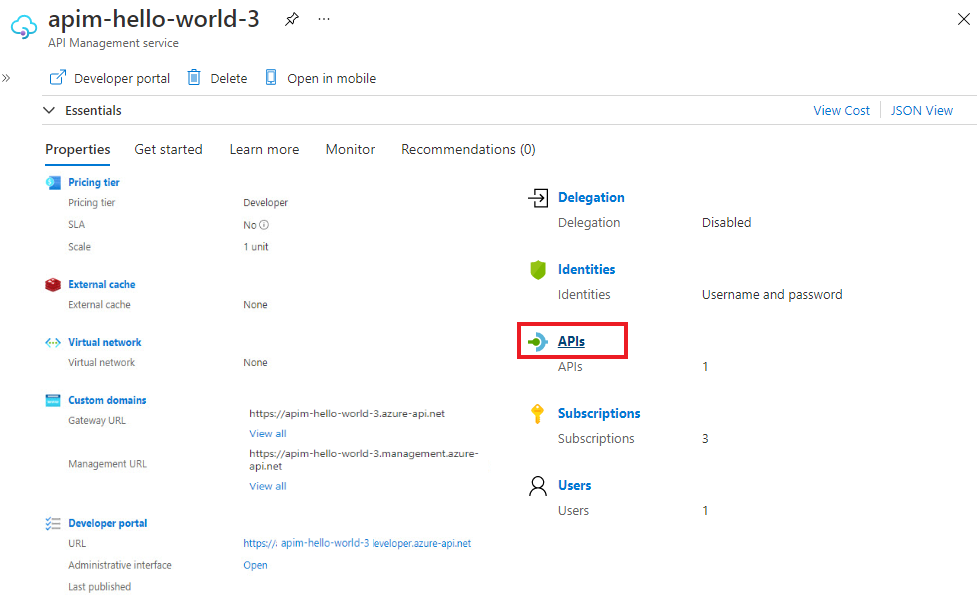
Select APIs on the Overview page or select APIs > APIs in the menu on the left.
Select the ellipsis (...) next to the API that you want to append another API to.
Select Import from the drop-down menu:
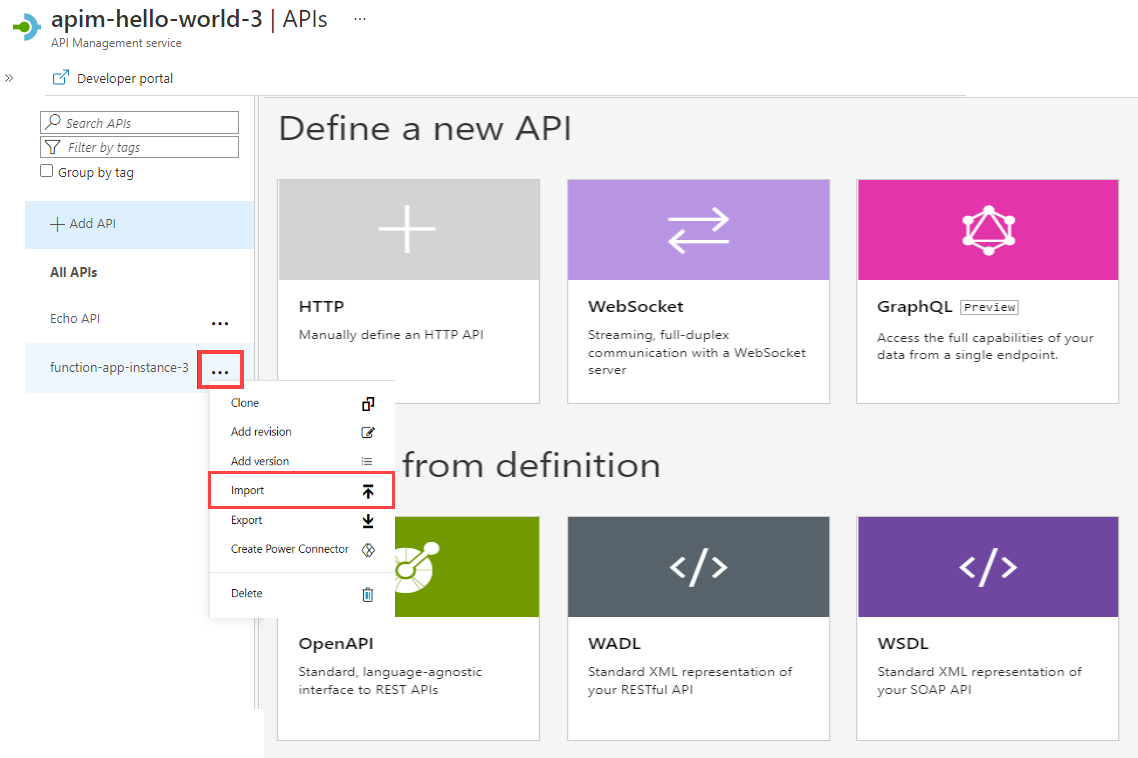
Select a service from which to import an API.


Note
Every Logic App has a manual-invoke operation. If you want to combine multiple logic apps in an API, you need to rename the function. To rename the function/API, change the title value in the OpenAPI Specification editor.
Related content
- API import limitations
- Import an OpenAPI specification
- Import a SOAP API
- Import a SOAP API and convert it to REST
- Import an App Service API
- Import a WebSocket API
- Import a GraphQL API
- Import a function app API
- Import a logic app API
- Import a Service Fabric service
- Import SAP OData metadata
- Edit an API